Installing
Oracle Application Performance Management Agent on Microsoft Internet
Information Services
Installing
Oracle Application Performance Management Agent on Microsoft Internet
Information Services Before You Begin
This 10 minute tutorial shows you how to install the APM .NET Agent on Microsoft Internet Information Services (IIS) Server to monitor the sample application running on the IIS server.
What Do You Need?
- A valid Oracle Cloud account, an Oracle Management Cloud
instance, and OMC Administrator role credentials.
You should have administrator access to download the APM .Net Agent or create a key.
- IIS Server 7
- Visual Studio 2013 or Visual Studio Express for Web 2013
- ASP.NET 4 registered with IIS 7 on your local computer and an ASP.NET 4 application pool assigned to the Default Web Site
- Administrative rights on your local computer
- Windows Server 2008 and above
 Prerequisites
Before installing the APM .NET Agent, ensure that you have done the following:
- Generate or download a registration key.
- Make a backup of the following system configuration files:
- C:\Windows\System32\inetsrv\config\applicationHost.config
- C:\Windows\Microsoft.NET\Framework\v4.0.30319\Config\web.config
- C:\Windows\Microsoft.NET\Framework\v2.0.50727\CONFIG\web.config
- C:\Windows\Microsoft.NET\Framework64\v4.0.30319\Config\web.config
- C:\Windows\Microsoft.NET\Framework64\v2.0.50727\CONFIG\web.config
 Importing
a Package to IIS
Importing
a Package to IIS
For this example, we're going to be using a new MVC project Sample from Visual Studio 2013
- In the Visual Studio home page, click New Project.
- From the list of available templates, select Visual C#,
select Web, then click ASP.NET Web Application.
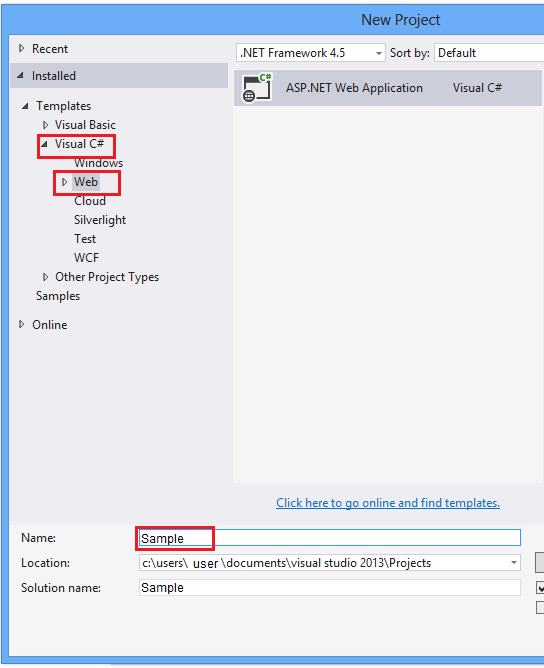
Description of the illustration - Enter a name for the application. For example: Sample.
- From the available templates, click MVC and click OK. You now have a working project Sample that you we can export to IIS.
- Press F5 to start IIS Express and run your web application in your localhost:port.
 Downloading
and Installing the APM Agent in an IIS Server
Downloading
and Installing the APM Agent in an IIS Server
To install the APM .Net Agent on your IIS server:
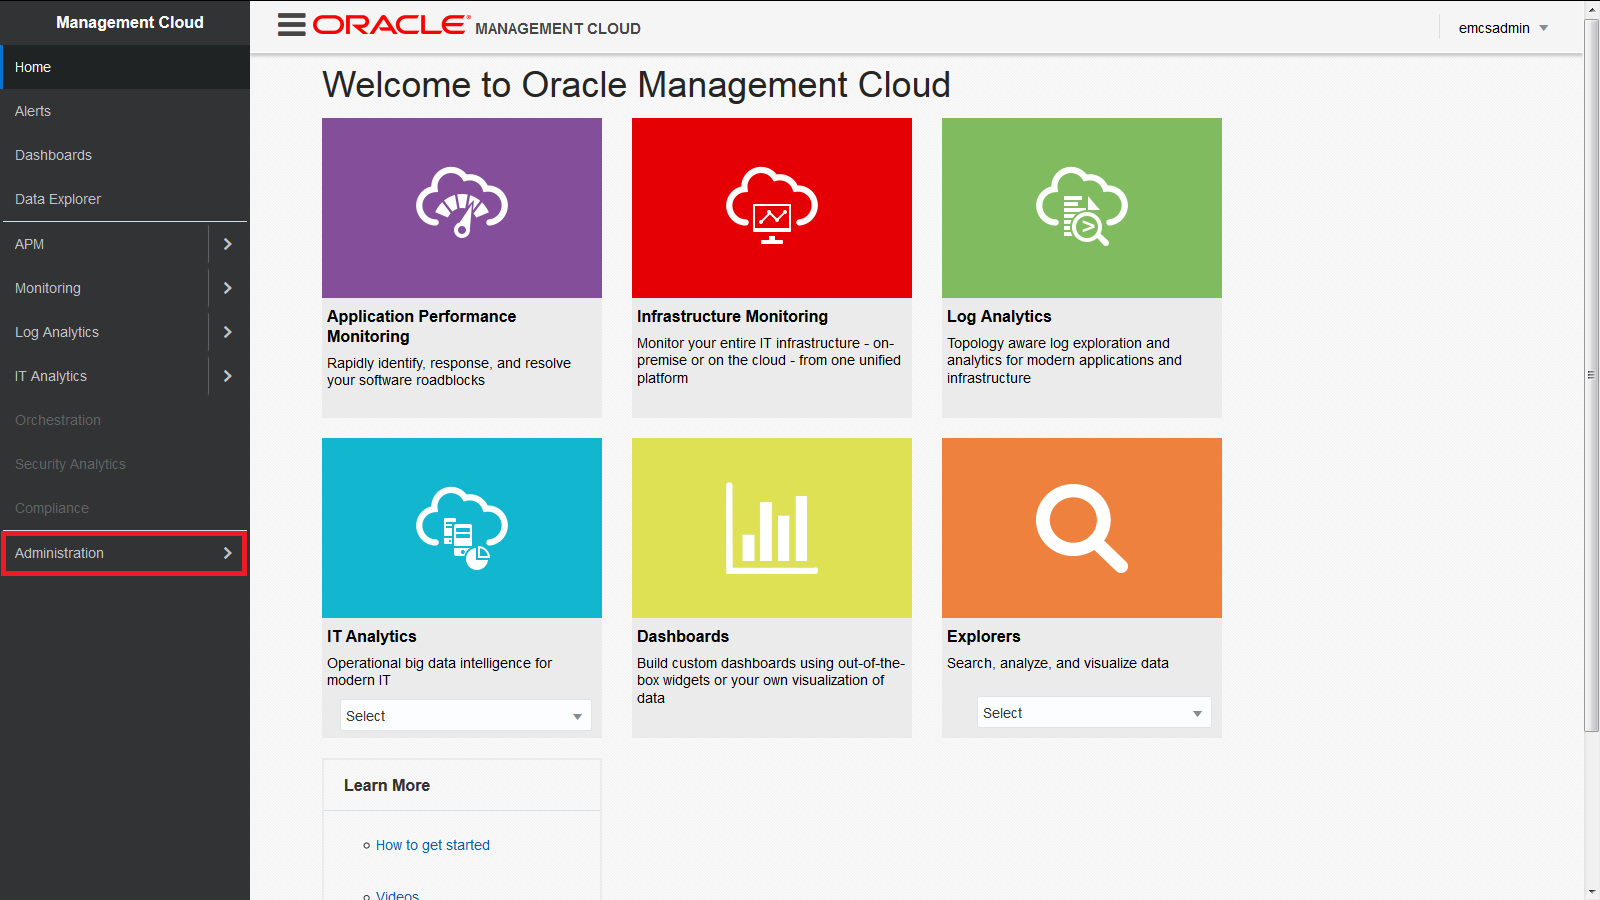
- Log in as administrator to Oracle Management Cloud and click Administration > Agents > Downloads.
- Download the NET Agent zip file and extract it in a new folder.
- Click the Start menu on your local
computer and enter the following command to stop the IIS
server:
iisreset /stop - Ensure that the
AgentConfig.infofile and theApmAgent.msifile is in the same folder in which you downloaded the zip file. - Select and click the
ApmAgent.msiexecutable in the folder.The installation wizard is displayed in a new window.
- Click Next. Read and accept the terms in the License Agreement.
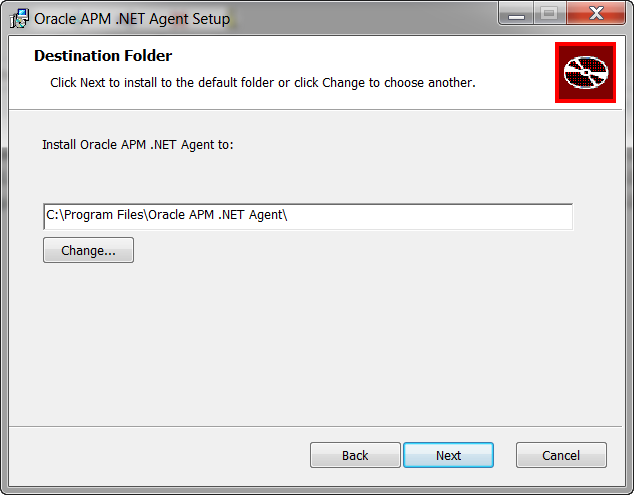
- Select the folder in which you want to install the agent and
click Next.
Description of the illustration - (Optional) Select Configure a Proxy and specify the
proxy information.
The password that you specify here is encrypted to enhance security.
- Click Next.
- Enter the required details.
(Optional) Select Configure Gateways and specify the required details for the fields, Gateway Host and Gateway Port.
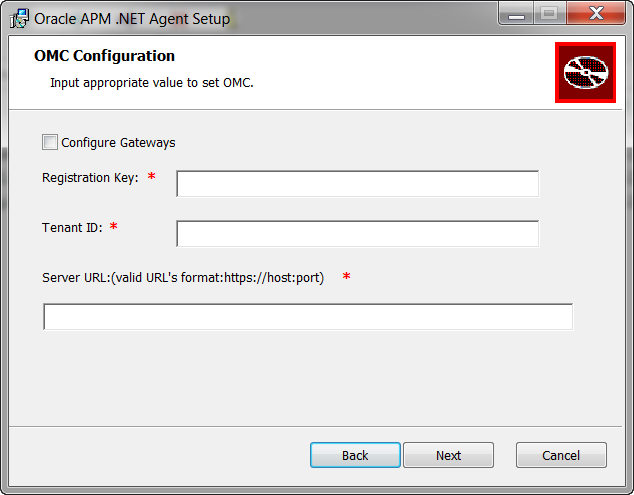
Description of the illustration - Click Next.
- In the Set Host Name field, review the default host name, and modify if required.
- Select Sample as the application to be monitored from the Monitored Application Configuration screen. Click Next.
- Click Install.
- After the installation is complete, click the Start
menu and enter the following command to start the IIS server:
iisreset /start - Open the Sample application in any browser window.
This generates the agent log files and enables the APM agent to start monitoring the application.
 Verifying
the APM Agent Installation
Verifying
the APM Agent Installation
- Log in to the Oracle Management Cloud home page.
- Click Administration.
- Click Agents and then click APM Agents.
The status of the .NET agent is displayed.