Verifying Data in Oracle Analytics
Steps to verify if the data has been copied from your NoSQL table to the Autonomous AI Database in Oracle Autonomous AI Lakehouse .
Verify the data in the Oracle Autonomous AI Database
After executing the Oracle NoSQL Database Analytics Integrator to copy the data from your NoSQL table to the Autonomous AI Database in Oracle Autonomous AI Lakehouse, you can verify that the NoSQL table data has been copied correctly by executing the following steps from the Oracle Cloud Console:
-
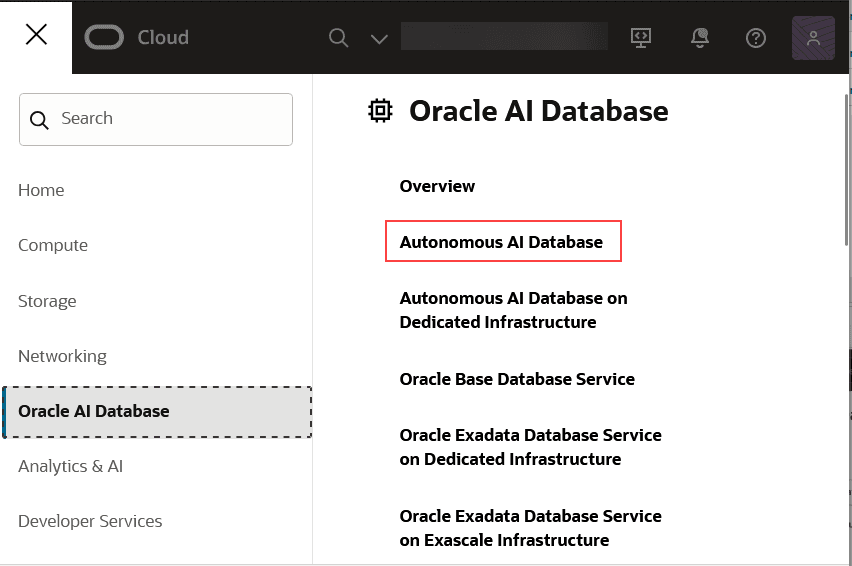
Select Oracle AI Database from the menu on the left side of the display.
-
Select Autonomous AI Database.
-
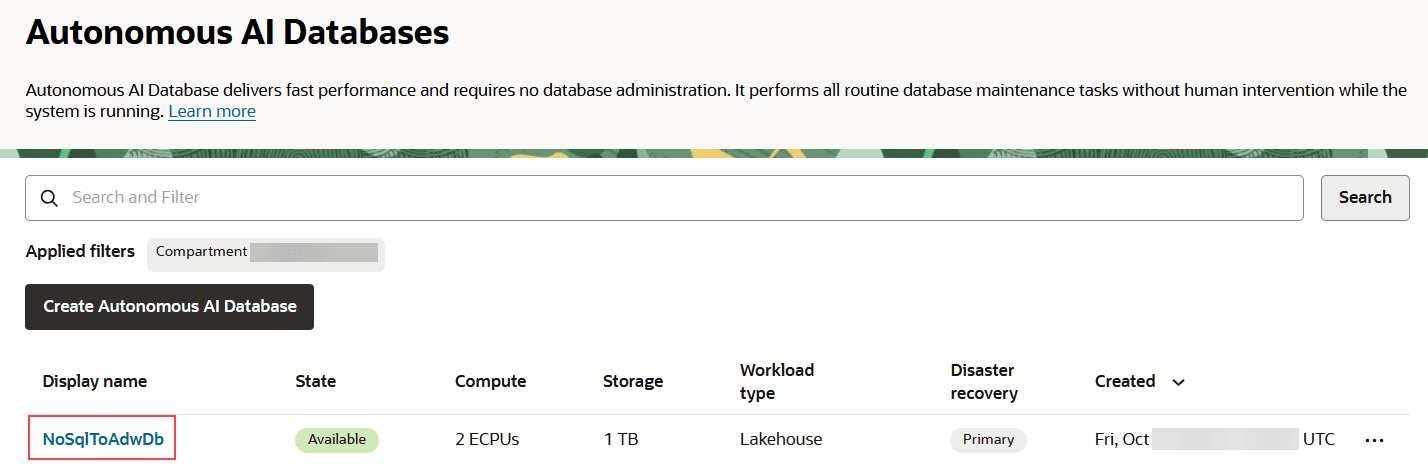
In Applied Filters, select the Compartment in which the database is located.
-
Select the link with the display name you entered when creating the database.
-
Under Database actions, select SQL.
From the Navigator tab of the window on the left of the display, first, verify that the table you created appears in the list of tables contained in the database. If it does, then from the Worksheet* window execute the SQL query,
SELECT * FROM <table-name>;Verify that the expected contents of the table are displayed in the window in the center bottom of the display, under the window Query Result.
Verify the data in Oracle Analytics
After verifying that the Oracle NoSQL Database Analytics Integrator successfully copied the data from the example table in the NoSQL Cloud Service to a corresponding table in the database you created in Oracle Autonomous AI Lakehouse, you can then connect Oracle Analytics to that database and verify that Oracle Analytics can access and analyze the data in that table. In the section below, Oracle Analytics Desktop is used to demonstrate how this can be done. But if you have access to an Oracle Analytics Cloud instance, you should be able to verify the data using similar functions.
Download Oracle Analytics Desktop:
Oracle Analytics Desktop provides standalone data exploration and visualization in a per-user desktop download. Oracle Analytics Desktop is the tool for quick exploration of sample data from multiple sources or for analysis and investigation of your own local datasets.
You can download the Oracle Analytics Desktop here.
After executing the Oracle Analytics application in your environment, you can invoke the graphical user interface to create a connection to the database in Oracle Autonomous AI Lakehouse and access the database in Oracle Autonomous AI Lakehouse.
Create a Connection to the Database in Oracle Autonomous AI Lakehouse:
-
Open the GUI for Oracle Analytics Desktop and click Create.
-
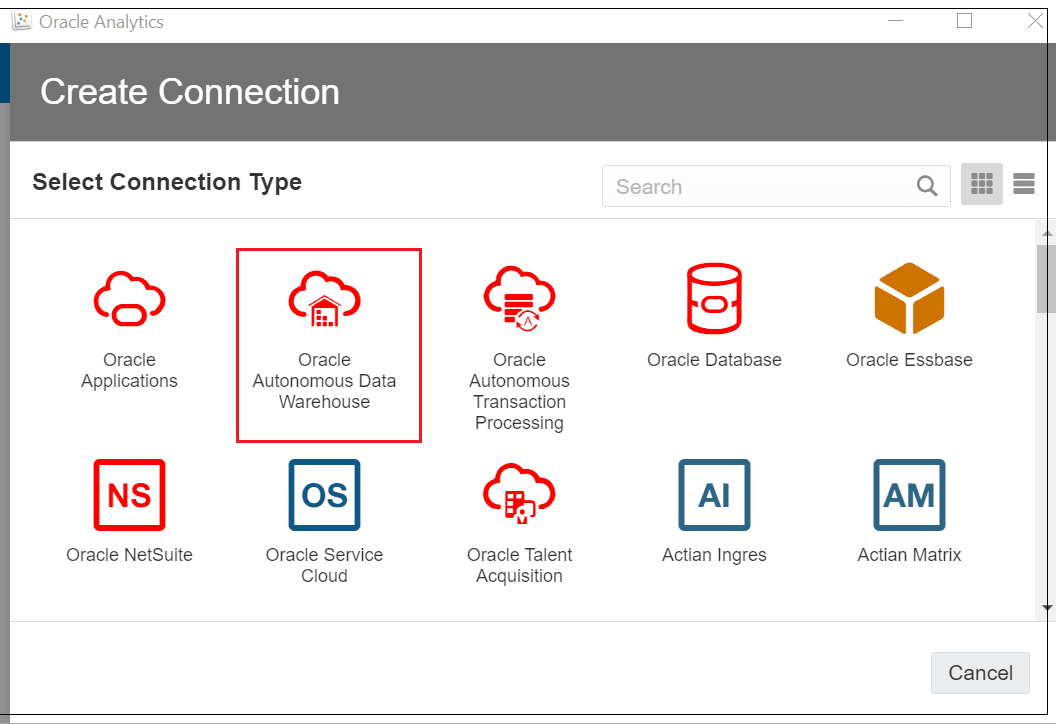
Click Connection and then choose Oracle Autonomous Data Warehouse.
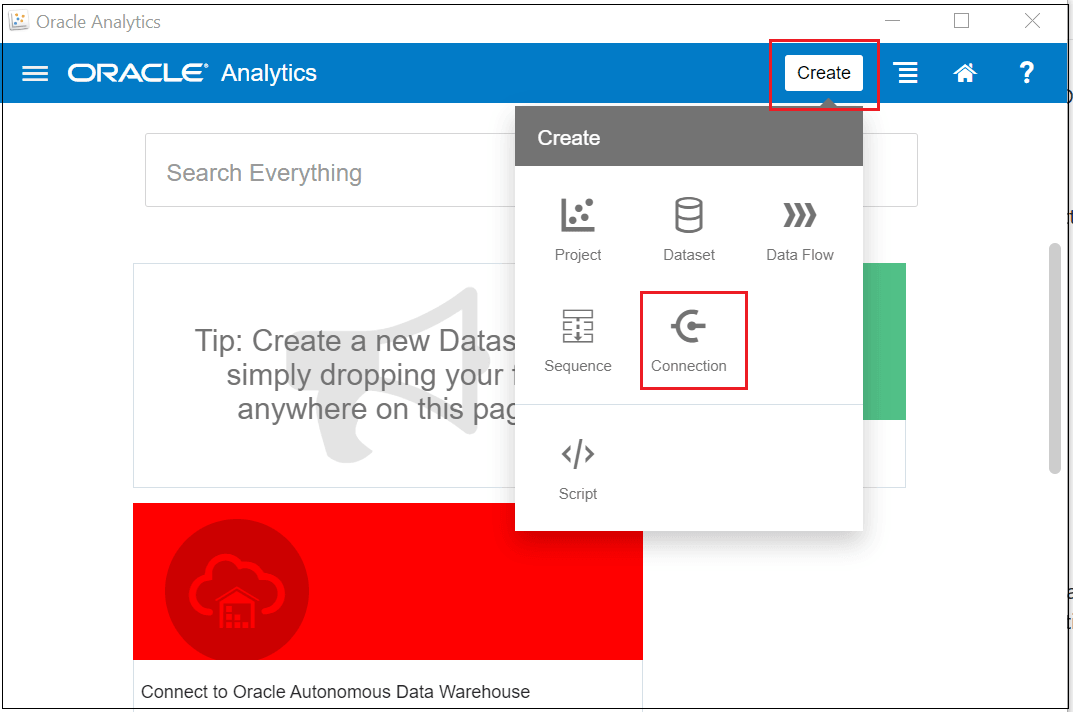
Description of the illustration analytics_utility_conn.png
-
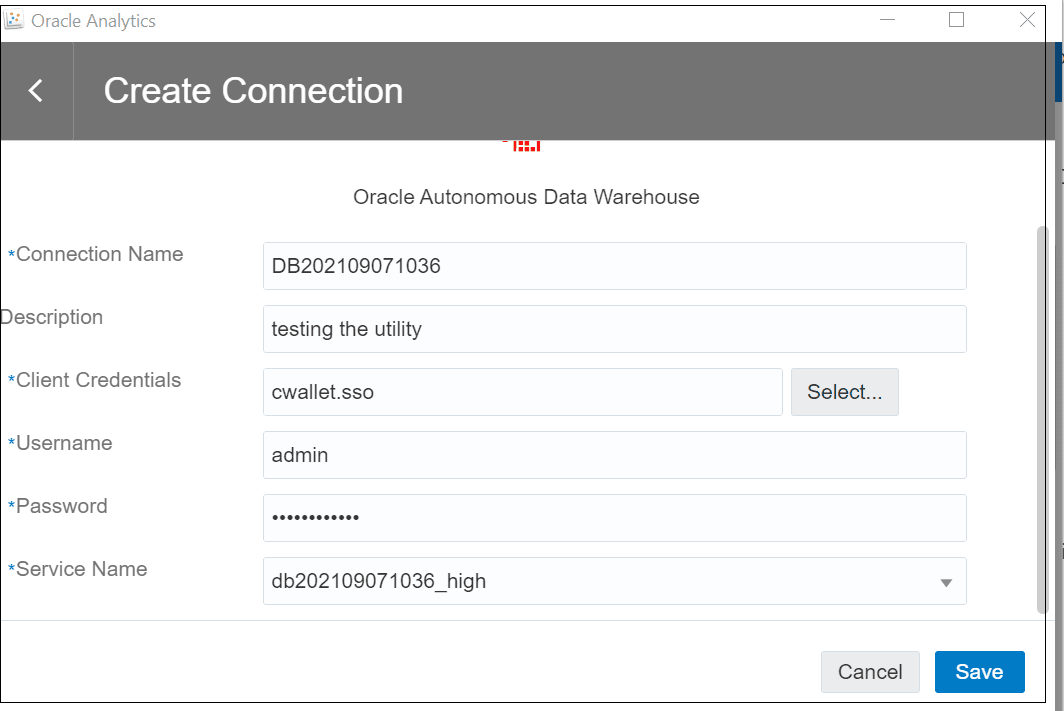
In the pop-up window that appears, enter the following information:
-
Connection Name: <name of the database>
-
Client Credentials: <path-to-wallet.zip>
-
Username: ADMIN
-
Password: <password-set-during-database-creation>
-
-
Click on Save.
Note: For Client Credentials, when you enter the path to the wallet zip file, the tool will extract the file cwallet.sso and replace what you entered with that file’s name. Finally, once you enter the Connection Name, the tool will automatically enter a value for Service Name that is based on what was entered for Connection Name.
Access the Database in Oracle Autonomous AI Lakehouse
After creating the connection to the database in Oracle Autonomous AI Lakehouse, you can then connect to that database from the Oracle Analytics GUI:
-
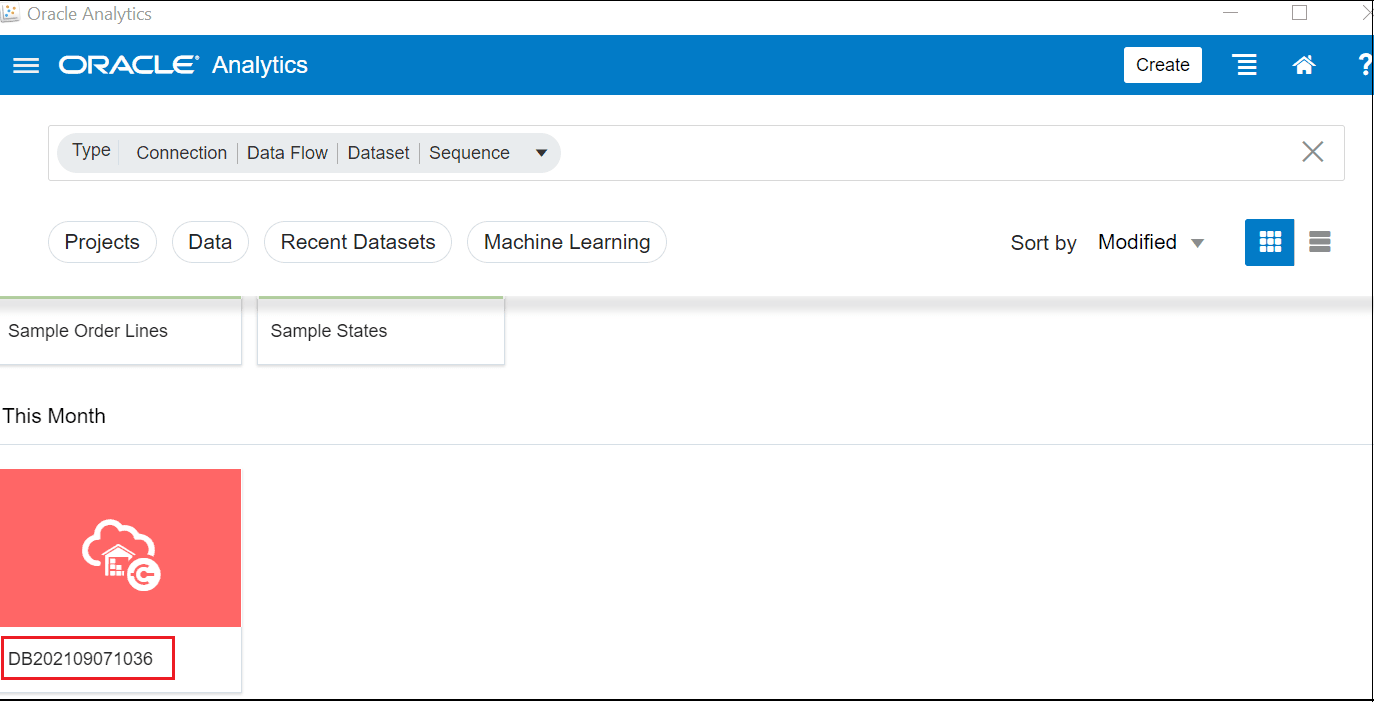
Click on Data.
-
Click on the icon with the connection name.
-
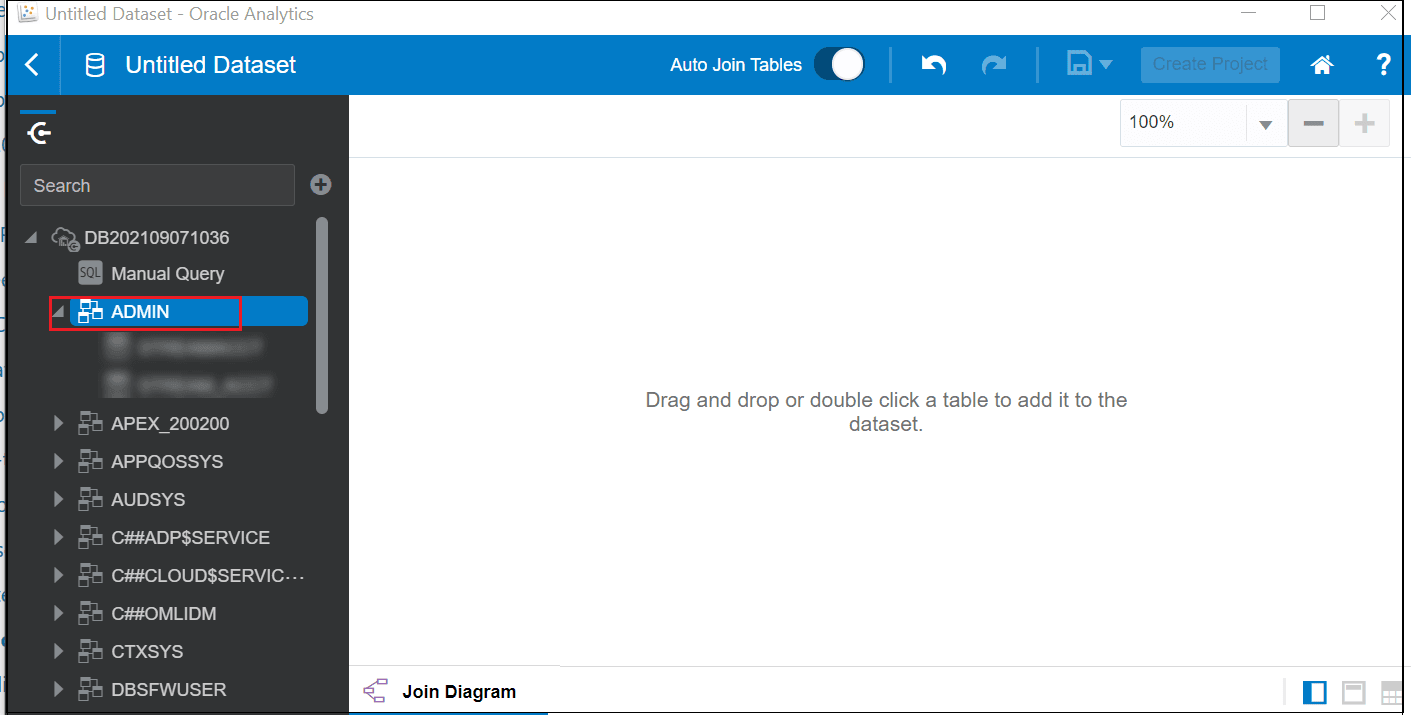
Click ADMIN.
-
Scroll down the list of tables and select the table you copied from NoSQL Database Cloud Service.
-
Click Add to Data Set. Verify the data displayed is what you expect.
Your data is now ready to be analyzed using all of the facilities provided by Oracle Analytics.