- Administering Visual Builder Studio
- Set Up VB Studio for CI/CD
- Step 6: Configure your OCI resources
- Set Up the OCI Account
Set Up the OCI Account
When you switch OCI accounts or change from using the Free VM account to using an OCI account, you may need to manually set up the OCI account and then connect it to VB Studio.
- Open the OCI console and, in the upper-left corner, click Navigation Menu
 .
. - Select Identity & Security and then, under Identity, select Compartments.
- On the Compartments page, create a compartment to host VB Studio resources.
- To create the compartment in the tenancy (root compartment), click Create Compartment.
- In the Create Compartment dialog box, fill in the fields and click
Create Compartment.
To learn more about compartments, see Managing Compartments. - Create a user that can access the VB Studio compartment:
- In the navigation menu, select Identity & Security.
- Under Identity, select Users.
- Click Create User.
- Select the IAM user type.
- In the Create User dialog box, fill in the fields, then click
Create.
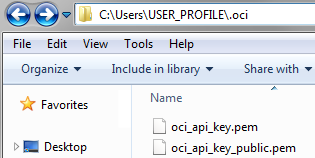
To learn more about OCI users, see Managing Users. - On your computer, generate a private-public key pair in the PEM format.To find out how to generate a private-public key pair in the PEM format, see How to Generate an API Signing Key.
Here's an example of private-public key files on a Windows computer:
- Upload the public key to the user's details page:
- Open the public key file in a text editor and copy its contents.
- In the navigation menu, select Identity and Security.
- Under Identity, select Users.
- Click the user's name created in Step 4.
- Under Resources, click API Keys.
- Click Add API Key.
- In the Add API Key dialog box, select the Paste Public Key option, paste the contents of the public key file, then click Add.
To learn more about uploading keys, see How to Upload the Public Key. - On the Groups page, create a group for the user who can access the VB Studio
compartment and add the user to that group:
- In the navigation menu, select Identity and Security.
- Under Identity, select Groups.
- Click Create Group.
- In the Create Group dialog box, fill in the fields and click
Create.
- On the Groups page, click the group's name.
- On the Group Details page, click Add User to Group.
- In the Add User to Group dialog box, select the user created in Step 4
and click Add.
To learn more about groups, see Managing Groups. - In the root compartment, not the VB Studio compartment, create a policy to
allow the group created in step 6 to access the VB Studio compartment.
- In the navigation menu, select Identity and Security.
- Under Identity, select Policies.
- On the left side of the Policies page, from the Compartment list, select the root compartment.
- Click Create Policy.
- In Name and Description, enter a unique name and a description.
- In Compartment, select the root compartment.
- In Policy Builder, click Show manual
editor and add these statements:
allow group <group-name> to
                                        manage all-resources in compartment
                                            <compartment-name>
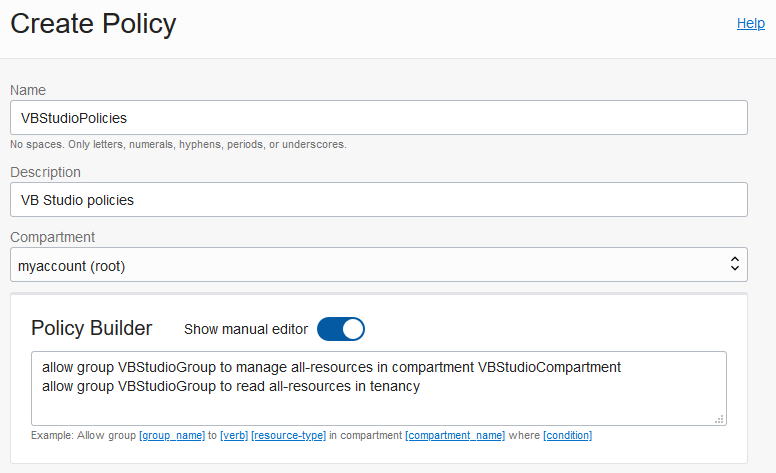
This grants all permissions to the VB Studio group users to manage all resources within the VB Studio compartment.
allow group <group-name> to
                                        read all-resources in tenancy
This grants read permissions to the VB Studio group so that its users can read—but not use, create or modify—all resources inside and outside the VB Studio compartment. The group users can't use, create, or modify the resources.
Here's an example:
- Click Create.
To learn more about policies, see Managing Policies.

