Use a Project as the VB Studio Component Exchange
- On the Organization page, click + Create. If you’ve already created a project to use as Component Exchange, jump to step 10.
-
On the Details page, enter a unique name and description for the project. For example:
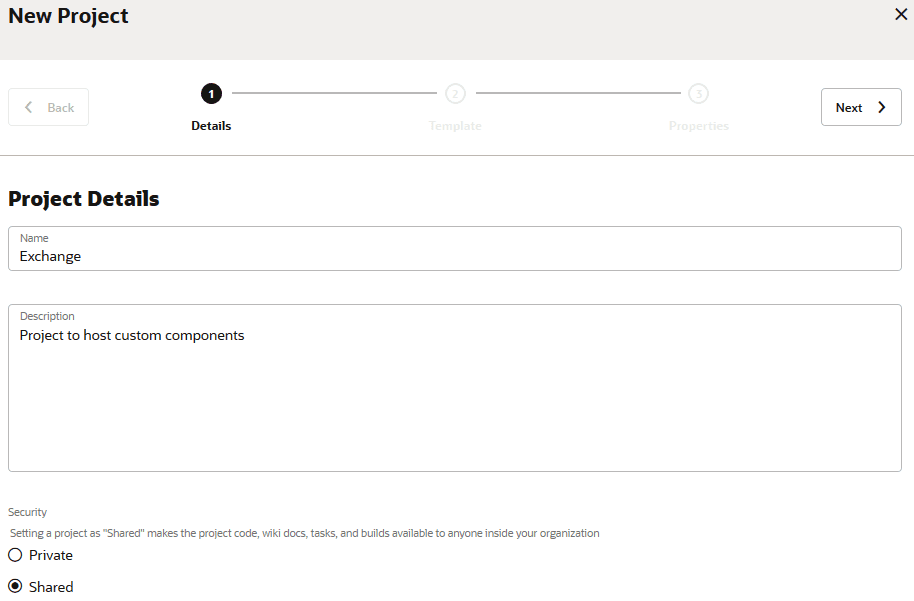
Description of the illustration vbstudio-exchange-project1.png
- In Security, select Shared.
- In Preferred Language, specify the language for the email notifications your project users will receive.
You can change the language in which the user interface appears in your user preferences. - Click Next.
- On the Template page, select Empty Project, and click Next.
- In Wiki Markup, select the project’s wiki markup language.
Project’s users use the markup language to format wiki pages and comments. If you’re not sure which markup language to choose, use the default markup language. You can change the markup language later from the Project Administration page. See Change a Project’s Wiki Markup Language. - Click Finish.
After the project is provisioned, you’re navigated to the Project Home page. - Add users to the project and assign them proper memberships. See Manage Project Users and Groups.
Add users who would develop the components and assign them either the Developer or Developer Limited membership. Assign the Project Owner membership to trusted users only. Remember that a user with the Project Owner membership can delete the project and Git repositories. - In the left navigator, click Organization
 .
. - Click the Component Exchange tab.
- Click Edit.
- Select the Enable organization-wide component hosting check box.
- Select the In a project option.
- In Select Project, select the project you created.
- Click Save.
That’s it. When your team members upload the components to the Component Exchange, they’ll be automatically available in the Designer’s Component tab.