Add a Component Using Code Completion
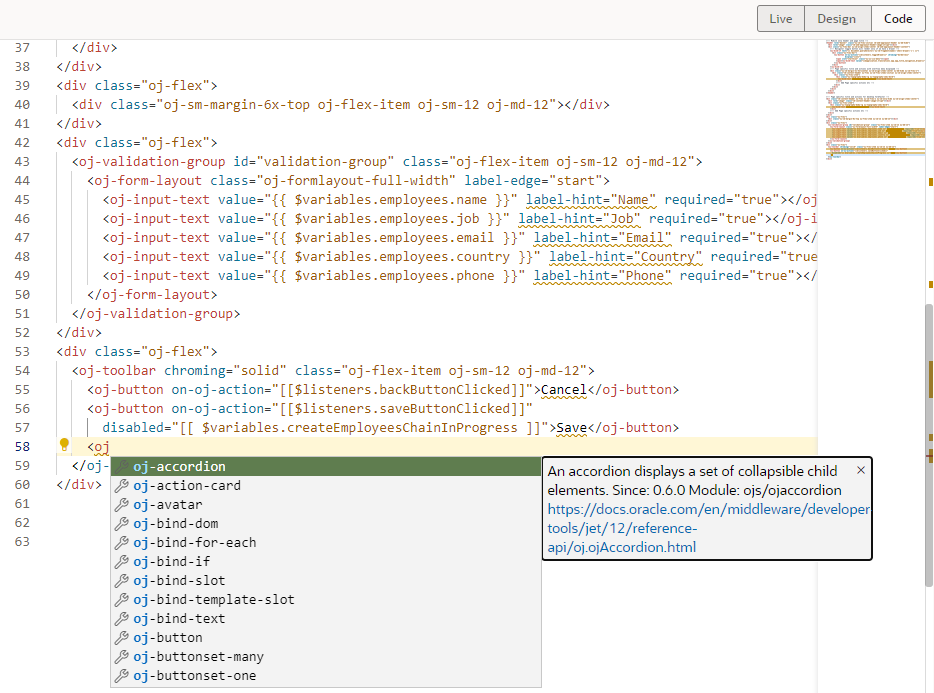
Edit a page's HTML in the Page Designer's Code view, where you can use code completion to add components to the page. You can also drag components from the Components palette and drop them directly into valid places in the code editor. It's also possible to use standard HTML5 tags to extend functionality.
To add a component to a page in Code view:
Tip:
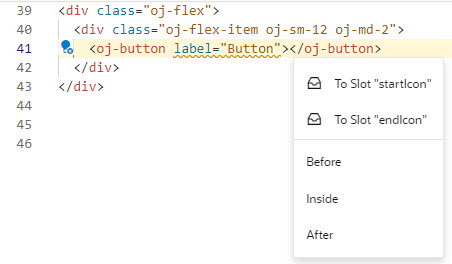
Add a component by using the code editor's right-click (or context) menu, where you can insert a component before, inside, or after an existing component. You can then choose from a list of components, identical to what's shown in the Components palette. If the component you're working with has multiple slots, selecting Insert Component in the context menu will give you the option of dropping the component into a particular slot, as shown here for a button component:Once the component tag is added to the HTML code, you can define its properties using code completion. Alternatively, use the Properties pane in Design view.

