Manage User Roles and Access
You can create, edit, and remove user roles to secure access to your application's business objects.
In addition to the Authenticated User role granted to users who sign in to your application, users can be assigned a user role based on their credentials and the groups they've been assigned to in Oracle Identity Cloud Service (IDCS). When a user tries to access data in a business object secured by this user role, the roles assigned to the user are authenticated in IDCS. Access is granted if one of the user roles securing the business object is mapped to one of the groups the user has been assigned to in IDCS or if the user was mapped to that user role directly.
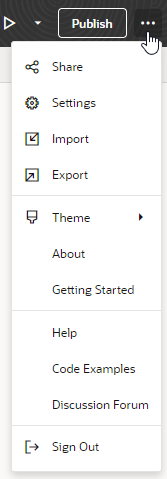
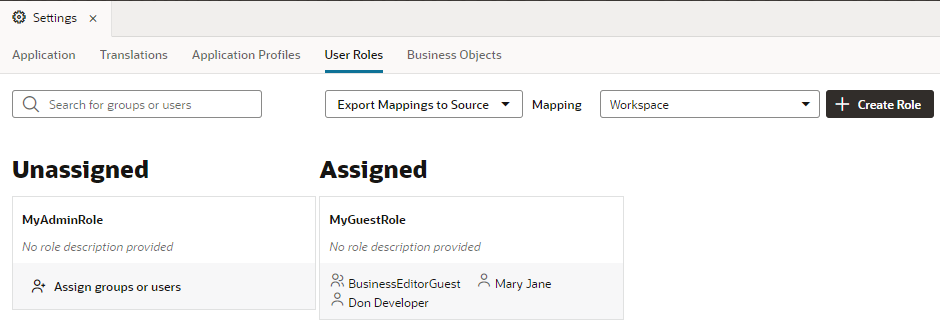
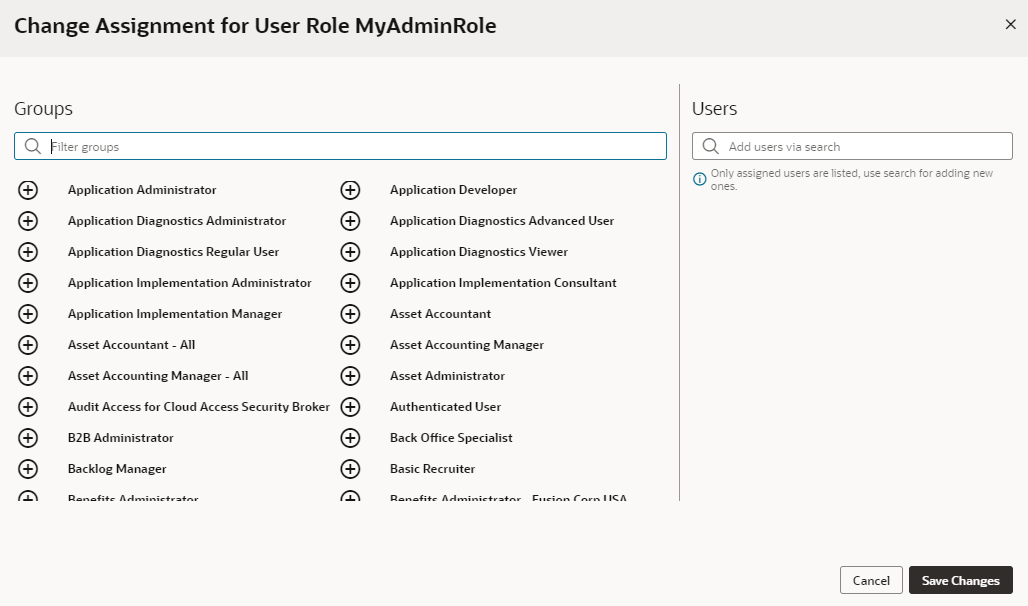
Use the User Roles tab in a visual application’s Settings editor to create a user role and assign users and groups in your IDCS account to the user role. Assigning groups to your user role maps the role to IDCS groups and is known as "role mapping". Once you create a user role, the role and any users or groups assigned to it are automatically added to the client application in IDCS, something that's created when you first share or deploy your application. Until then, any roles you define are stored in the user-roles.json source file under the visual application's settings folder.
It's important to remember that role mappings are defined in different scopes for the stages that your application goes through: when it is shared from your workspace, when it is deployed during development with a version in its URL, and when it is deployed live to production. These role mappings are defined separately for each scope and stored as the initial defaultMapping in user-roles.json. So essentially, you can assign different IDCS users or groups to the user role in different scopes. For example, you can assign different IDCS groups when your application is being tested, but use entirely different groups when you are ready to deploy the live version of your application. This way, you can make the data in your application in each scope available only to those with certain roles.
To create a user role in your visual application:
After you create a role, you'll need to enable role-based security for the application's business objects by specifying the user roles that can access the object and setting access privileges for the role in the business object’s Security tab.
Besides securing access to the data in your business objects, user roles can help control what a user sees in your application. For example, you can use role-based permissions to limit access to the app, entire pages or flows, even set restrictions on certain components in a page, so only users with certain roles can view that information.


