Upload Translated Files
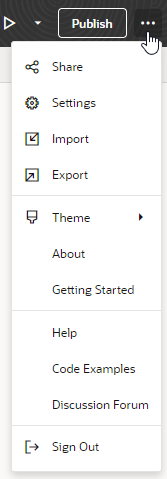
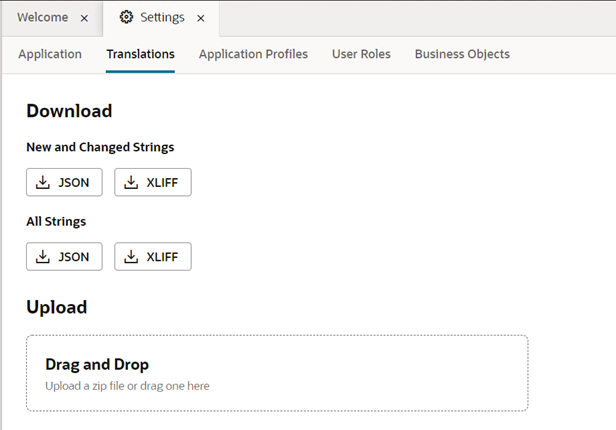
You can upload the resource files containing translated strings in the Translations tab in the Settings editor.
To upload translated files, you need to create a ZIP archive containing the files with the translated strings. Before you create the archive, however, you need to modify the file names to append the locale abbreviation to identify the correct locale. For example, to upload a JSON file that contains translations for the French locale, you will modify the file name to <bundle—name>-strings-fr.json.
To upload an archive with translation files:
If you added a file with translations for a new locale, a folder for the new locale is created in the bundle. The new locale is also automatically added to the file defining the locales in the bundle.

