Manage Your Published Extensions
By default, the Publish button deploys your extension only to the Oracle Cloud Applications instance you’re currently working in, which is typically an instance used for testing. To publish to a different instance, say to your production instance, use the Manage Extension Lifecycle page. From this page, you can deploy an extension to other instances and also delete them when no longer needed.
Before you can deploy an extension to another instance from this page, make sure the extension is already published to your default Oracle Cloud Applications instance. You must also have a valid user name and password for the target Oracle Cloud Applications instance you want to deploy to.
-
Click Extension Lifecycle from the menu in the Designer’s header:
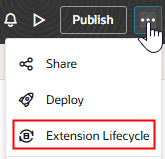
Description of the illustration mel-ui-menu.png
You should now see the Manage Extension Lifecycle page, which lists all the environments that are available for you to deploy to.
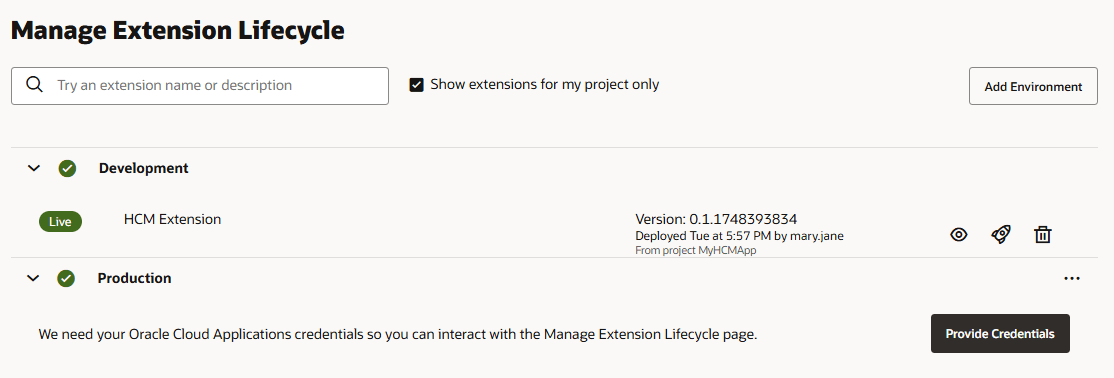
Description of the illustration mel-ui-full.png
In VB Studio, an environment defines an Oracle Cloud Applications instance you want to work with. By default, VB Studio creates an environment for you called "Development", which is where the Publish button deploys your extensions.
Expand each environment to view a list of the extensions already deployed. Each entry includes the extension name plus additional details, such as extension version, deployment date, who deployed the extension, and project name.
Note: If you see a Provide Credentials button next to an environment, you must first sign in before you can work with that environment on this page.
Use the Show extensions for my project only checkbox to toggle between viewing extensions deployed only from the current project, or from all projects.
- To publish an extension to another Oracle Cloud Applications instance:
-
Find the extension that you want to deploy and click
 .
. -
Choose the environment that points to the instance you want to deploy to.
Note: Your project administrator should have already created any additional environments you might need to deploy to. If you don’t see an expected Oracle Cloud Applications instance or if that instance is unavailable, check with your project administrator or add a new environment right from this page (see step 3).
-
Click Deploy.
-
- If you’d like to deploy to an Oracle Cloud Applications instance but it’s not listed on this page, you can add it.
- Click Add Environment.
- In the Add Environment panel, enter basic environment details, such as the environment’s base URL, environment name, and user name and password for the target Oracle Cloud Applications instance.
- Click Add.
-
Note that you can delete the credentials that let you work with an instance from this page. Why might you do this? Maybe you need to authenticate with the Manage Extension Lifecycle page as a different Oracle Cloud Applications user—perhaps someone who has the privileges to deploy and delete extensions. Or, maybe you just need to start over again with a different login.
To delete existing credentials, click the three dots at the end of an environment’s row and then click Delete Extension Lifecycle Credentials > Delete. If you don’t see the three dots, check with your project administrator.
Once you delete the existing credentials, you can click Provide Credentials to authenticate with this page as a different Oracle Cloud Applications user.
-
To delete an extension from an Oracle Cloud Applications instance, click
 .
.Deleting an extension restores your application to its original state.