Cherry-pick a Commit
Cherry-picking is taking a single commit out of one branch and applying it as a new commit to another. It’s helpful when you need the change from just one commit but don’t want to bring in the rest of the branch. For example, if a commit was accidentally made to the wrong branch, you can switch to the correct one and cherry-pick it to move it where it belongs.
You can cherry-pick commits from the Git page (accessed from VB Studio's left navigator), or while making changes in a workspace in the Designer.
For example, in the Designer, you can cherry-pick commits from a remote branch to your working branch for either an extension or visual application.
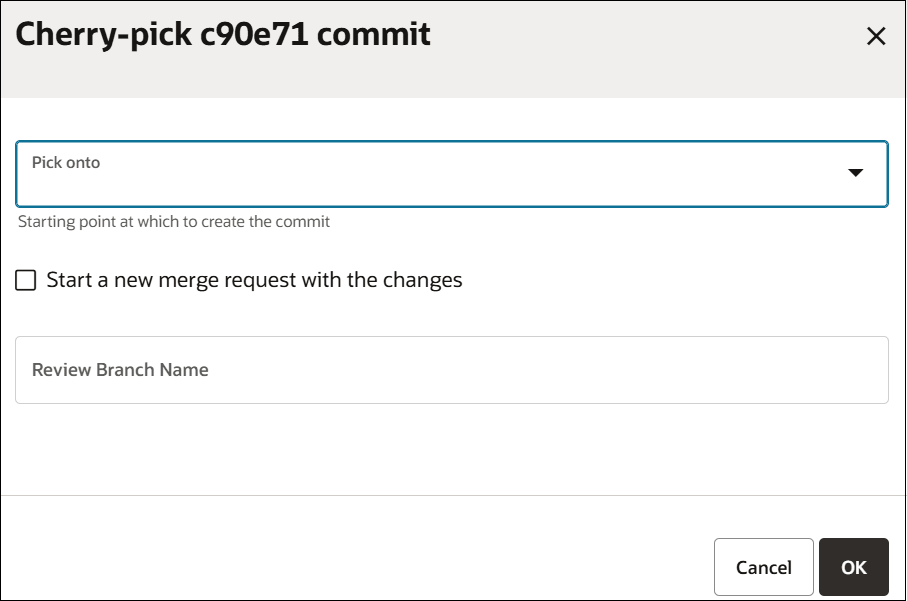
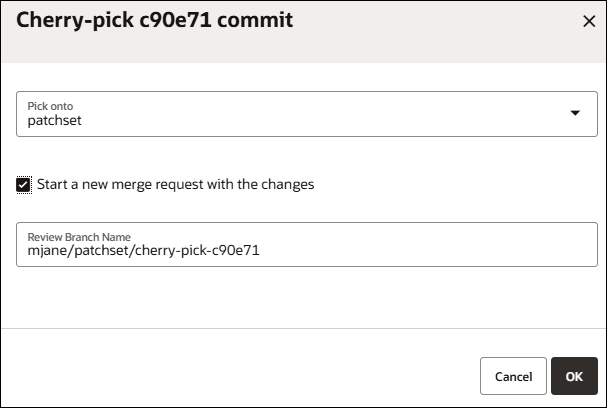
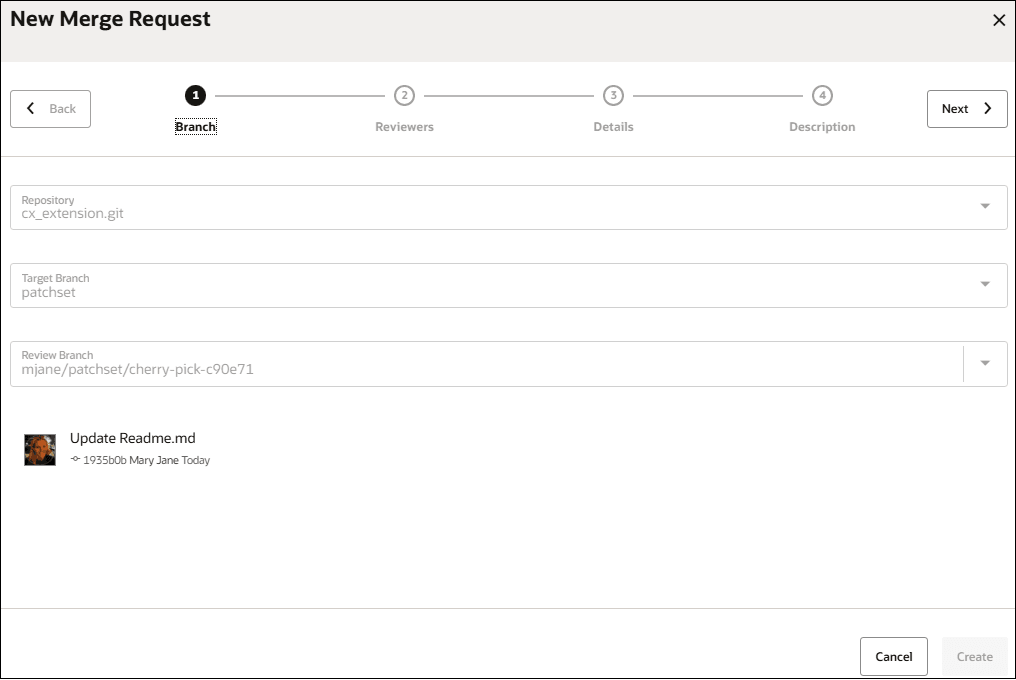
Here's how to cherry-pick a commit from the Git page:
Once the commit has been successfully applied to the target branch, you can return to the Git page, select the Logs view and, in the history graph, examine the results.
Use the Git Command Line as an Alternative to the VB Studio Git User Interface
If you prefer, you can use the Git command line instead of VB Studio’s Git user interface to cherry-pick a commit from one branch and add it to another.
git cherry-pick command is pretty
simple:git cherry-pick <commit-ID><commit-ID> is the reference to the commit you
want to apply.
To find the commit reference, you'll need to use the git
log. There are a few options you can use to format and filter the
results For example, use --graph to draws an ASCII graph that
represents the commit history's branch structure. This often used with
--oneline (shows each commit on a single line) and
--decorate (shows references like branches and tags for each
commit).
You can also use the Git command line to create a merge request.


