Publish JUnit Results
JUnit test reports provide useful information about test results, such as historical test result trends, failure tracking, and so on.
If you use JUnit to run your application's test scripts, you can configure your job to publish JUnit test reports:
-
Upload your application with test script files to the Git repository.
-
Open the job’s configuration page.
-
Click the After Build tab.
-
From Add After Build Action, select JUnit Publisher.
-
In Include JUnit XMLs, specify the path and names of XML files to include. You can use wildcards to specify multiple files:
- If you’re using Ant, you could specify the path as
**/build/test-reports/*.xml. - If you’re using Maven, you could specify the path as
target/surefire-reports/*.xml.
If you use this pattern, make sure that you don’t include any non-report files.
- If you’re using Ant, you could specify the path as
-
In Exclude JUnit XMLs, specify the path and names of XML report files to exclude. You can use wildcards to specify multiple files.
-
To see and retain the standard output and errors in the build log, select the Retain long standard output/error check box.
If you don’t select the check box, the build log is saved, but the build executor truncates it to save space. If you select the check box, every log message is saved, but this might increase memory consumption and can slow the performance of the build executor.
-
To combine all test results into a single table of results, select the Organize test output by parent location check box.
If you use multiple browsers, the build executor will categorize the results by browser.
-
To mark the build as failed when JUnit tests fail, select the Fail the build on fail tests check box.
-
To archive videos and image files, select the Archive Media Files check box.
-
Click Save.
After a build runs, you can view its test results.
View a Build's JUnit Test Results
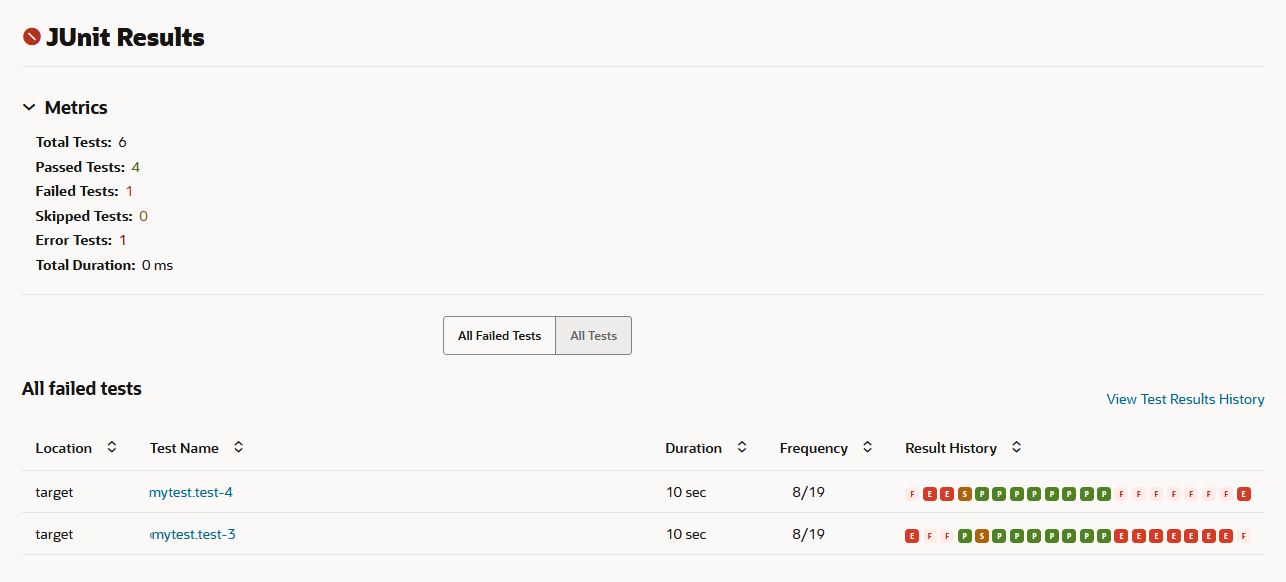
See the Test Results page to examine a build's JUnit test results:
| Action | How To |
|---|---|
|
View the last build's test results |
|
|
View a particular build's test results |
|
|
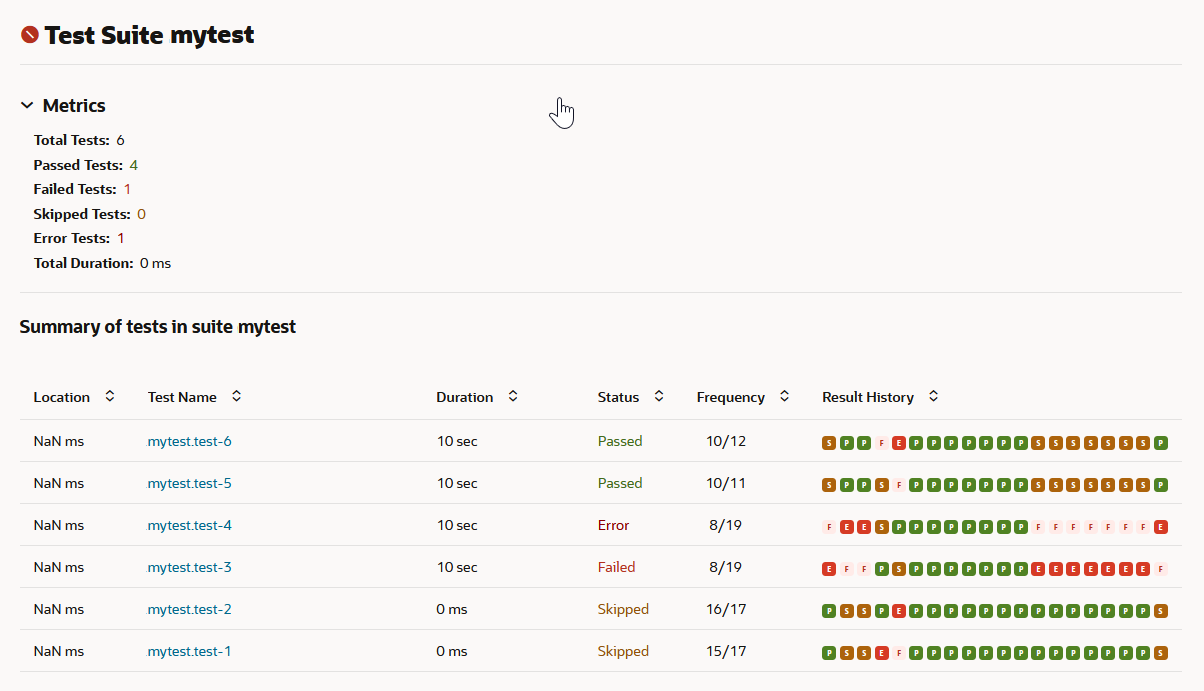
View a test suite's details |
On the Test Results page, click the All Tests toggle
button. From the Suite Name, click the suite
name.
The test suite details page is displayed. |
|
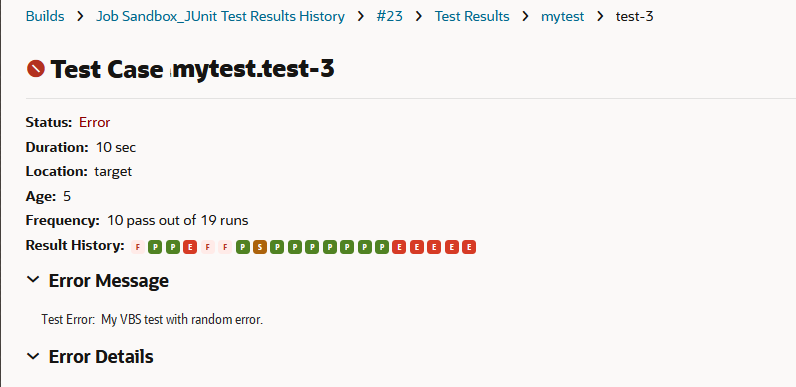
View a test's details |
Open the test suite details page and click the test name. To view details of a failed test, on the Test Results page, click the All Failed Tests toggle button, and then click the test name. |
|
View test results history |
On the Test Results page, click View Test Results History. |
- Click Show
 to download the test image.
Supported image formats include
.png, .jpg,.gif,.tif,.tiff,.bmp,.ai,.psd,.svg,.img,.jpeg,.ico,.eps, and.ps. - Click Watch
 to download the test video file.
Supported video formats include
.mp4,.mov,.avi,.webm,.flv,.mpg,.gif,.wmv,.rm,.asf,.swf,.avchd, and.m4v.
Access and Analyze Your JUnit Test Result History
Some notable changes have come to the Test result history pages. The Frequency column is new. It shows the number of passing results compared to the number of times the test has been run. In addition, the Order column's name was changed to Result History.
- In Failed tests

- In the Test information listed in the suite

- In the Test details page
