Introduction
A group attribute is a user-defined attribute that consists of one or more member attributes. Group attributes can store multiple values for a set of member attributes. One member attribute in the group attribute must be assigned as the key member attribute. Group attributes for Reconciliation Compliance can be configured within the Attributes tab under Application -> Configuration. Group attributes for Transaction Matching can be configured within the Group Attributes tab under Application -> Match Types.
Background
In this tutorial, you perform the following tasks in Transaction Matching:
- Create a group attribute.
- Assign a group attribute to a data source.
- Import transactions to a data source with group attributes.
Prerequisites
Before starting this tutorial, you should have:
- A working knowledge about Account Reconciliation.
- Access to Account Reconciliation, and a source data load file.
- Save this Application snapshot locally and import it into your application.
- Ensure that you have the following files:
Creating a group attribute
In Account Reconciliation, you can create a group attribute by performing the following steps:
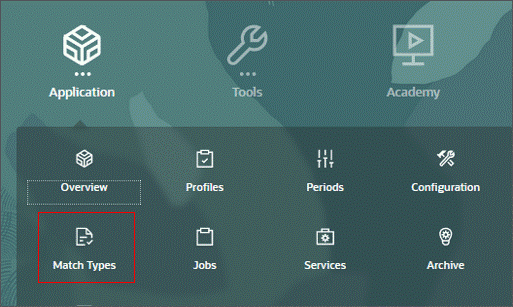
- From the Account Reconciliation home page, click the Application card and then select Match Types.
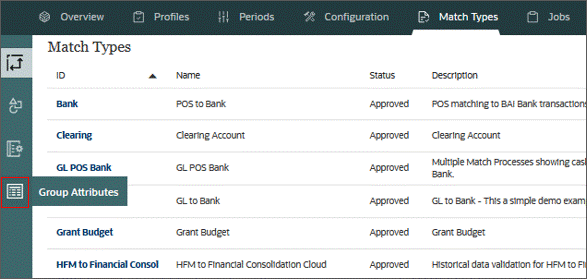
- Click the Group Attributes tab.
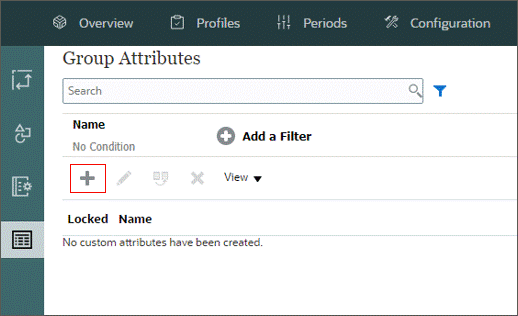
- From the Group Attributes page, click the New icon.
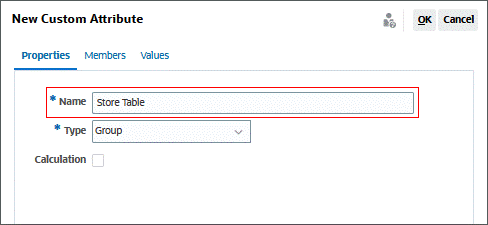
- In the Properties tab, provide a name for the group attribute in the Name field.
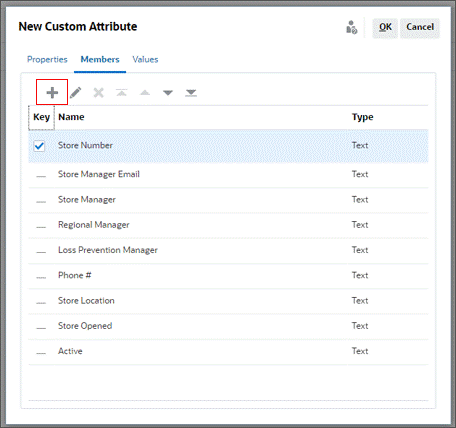
- In the Members tab, click the Add icon to add member details.
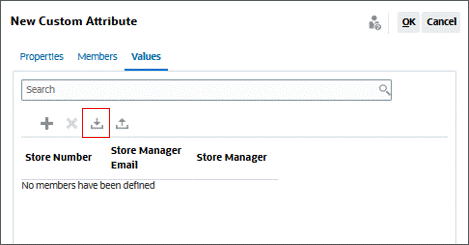
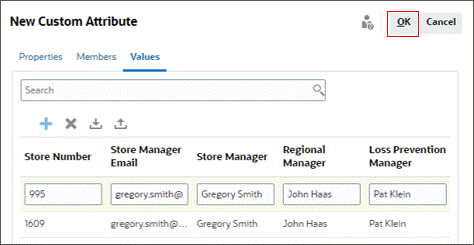
- In the Values tab, use the Import button to import values from the StoreTableMembers.csv file.
- Once the values have been added, click OK.
Assigning a group attribute to a data source
To assign a group attribute to a data source, perform the following steps:
- From the Account Reconciliation home page, click the Application and then select Match Types.
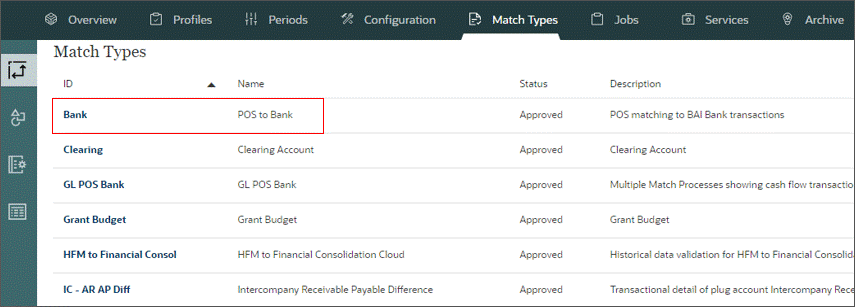
- The Match Types page is displayed. Select the POS to Bank match type.
- From the status drop-down, select Pending and then click Save.
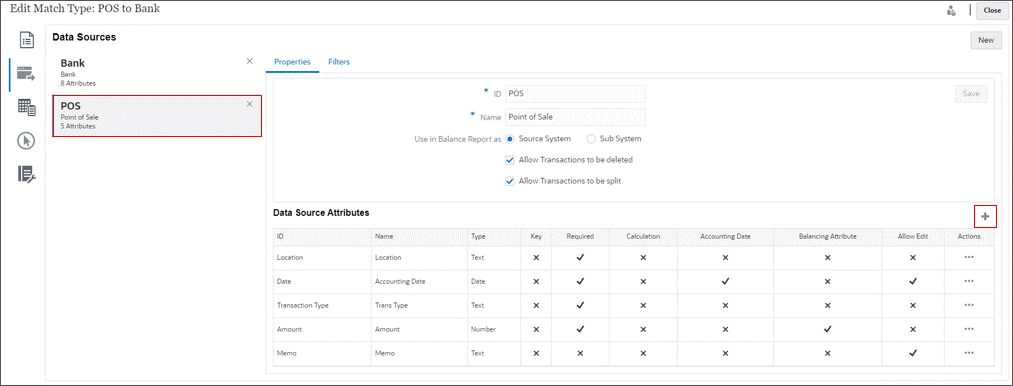
- In the Data Sources tab, select POS, and then click the New Attribute icon.
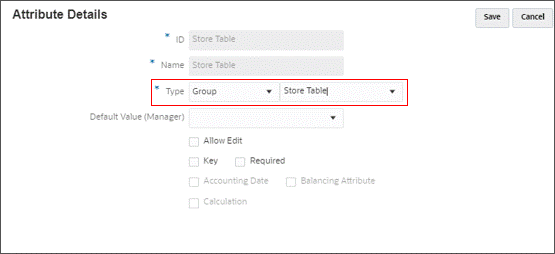
- In the Attribute Details window, select Group from the Type field, and then select the Store Table group attribute. The ID and Name of the attribute defaults to the name of the selected group attribute. Click Save.
- In the Properties tab, change the status from Pending to Approved and click Save.



Importing transactions to a data source with group attributes
You can import transactions to a data source with group attributes by using the following steps:
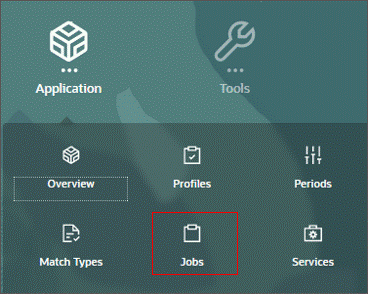
- From the Account Reconciliation home page, click the Application card and then select Jobs.
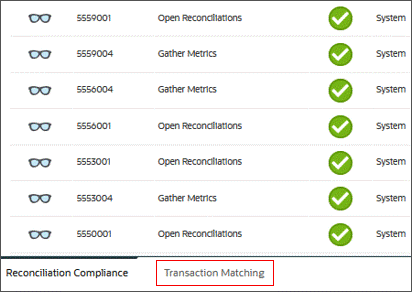
- At the bottom of the page, select the Transaction Matching tab.
- Click the Actions button and then select Import Transactions.
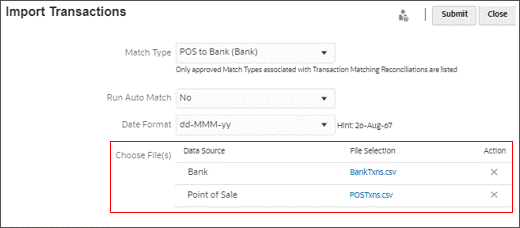
- In the Choose Files section, upload the required files for Bank and Point of Sale. Click Submit to proceed.
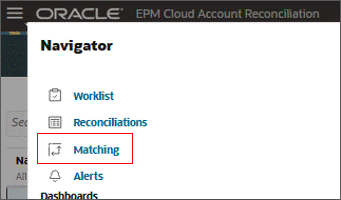
- After the import job is successful, click the Navigator icon (top-left corner) and choose Matching.
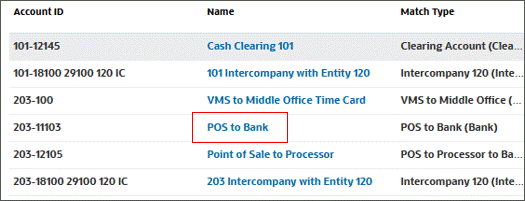
- Open the 203-11103 POS to Bank reconciliation.
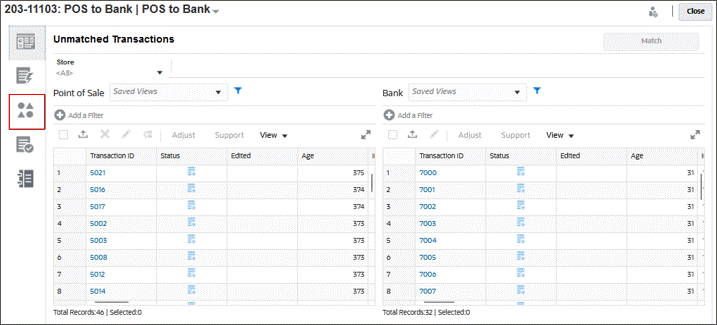
- Select the Unmatched Transactions tab on the Point of Sale data source to review the loaded transactions.

Related Links
Group Attributes for Transaction Matching
G11140-01
July, 2024