Create Subject Area

You can create a subject area as a container and later add facts and dimensions to your new subject area or create a subject area based on an existing one. The subject area enables you to organize all entities and attributes available for reporting.
  1. On the Semantic Model Extensions page, under Customizations Sandbox, hover over an applicable sandbox to view Actions, and then click View Sandbox.
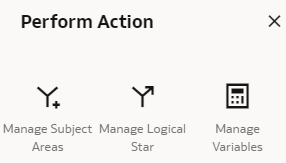
  2. On the selected sandbox Details page, click Perform Action, and then select Manage Subject Areas.

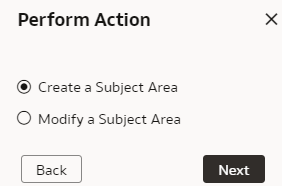
    Perform Action dialog

  3. In Perform Action, select Create a Subject Area, and then click Next.

    Manage Subject Areas option in Perform Action dialog

  4. In step 1 of the wizard, create a subject area using one of the methods:
    • Select Create a Subject Area to create a subject area container, and provide these details:
      1. Enter a name without any leading or trailing white spaces, add a description, and then click Next.
      2. In step 2 of the wizard, click Manage Elements, and then click either Manage New Customizations to select custom elements that you created or Manage Factory Customizations to select factory data elements to rearrange the subject area elements that are delivered by Oracle.
      3. Click Add Subject Area to select and add data elements from multiple subject areas.
      4. In step 3 of the wizard, organize and rename the data elements in your new subject area, and then click Next.
      5. In step 4 of the wizard, review your new subject area and click Finish to create it.
    • Select Create a Subject Area based on an existing one to create a subject area using an existing one in the system, select an existing subject area, name your subject area, and then click Next. Complete steps 2, 3, and 4 of the wizard.