Embed a Registered Web Application into Your Application Page
You can choose to embed a registered web application into your own application as a new subtab or as part of the Summary subtab.
Embed a Web Application as a New Subtab
-
Click the Create Subtab icon from the Pages Overview page or from the details page layout.
-
Select Mashup content.
-
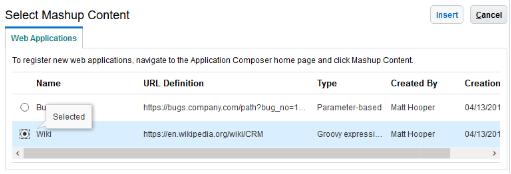
On the Select Mashup Content page, select the web application that you want to embed.
-
Click Insert.
-
On the Create Subtab page, in the Display Label field, enter a name for the new subtab.
-
A default Display Icon appears. You can change the icon by clicking Change Icon.
-
Enter the URL information depending on the type of mashup:
-
For a parameter-based mashup, enter the parameter values in the Add Parameters section. These parameters are appended to the web application's URL as key-value pairs.
-
For a groovy expression mashup, edit the base URL in the Edit Script section.
-
-
Click Next.
-
On the Additional Layouts page, if more than one details page layout exists, click Next to optionally select other details page layouts that will display this subtab.
-
Click Save and Close.
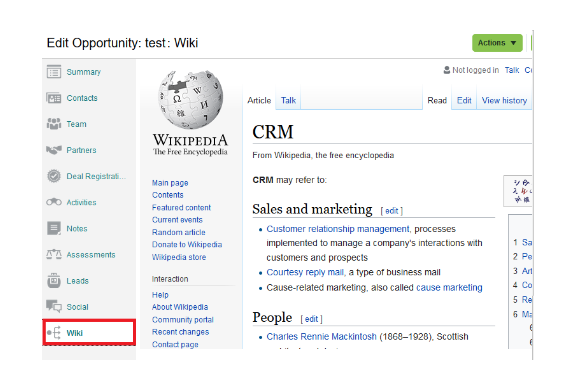
The new subtab with the web application appears as the last subtab on the Edit page.
Here's a screenshot showing a sample Wikipedia article mashup:
Embed a Web Application into the Summary Tab
-
In Application Composer's object navigation tree, expand the object.
-
Click the Pages node.
-
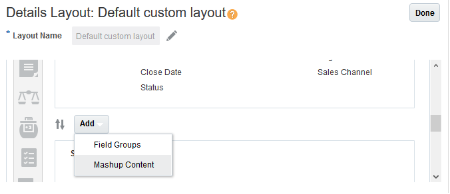
On the Application Pages tab, under Details Page Layouts, duplicate the standard layout to create a new layout to edit, or edit another existing layout.
-
Click Add and select Mashup Content.
-
On the Select Mashup Content page, select the web application that you want to embed.
-
Click Insert.
-
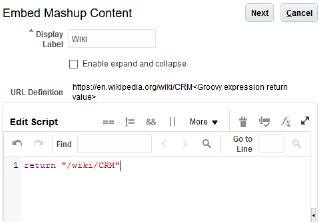
To allow your users to expand and collapse the embedded web application, select Enable expand and collapse.
-
Enter the URL information depending on the type of mashup:
-
For a parameter-based mashup, enter the parameter values in the Add Parameters section. These parameters are appended to the web application's URL as key-value pairs.
-
For a groovy expression mashup, edit the base URL in the Edit Script section. For example: return /wiki/CRM", which opens the Wikipedia's CRM page on your application page.
-
-
Click Next.

-
On the Additional Layouts page, select any other layout that you want to embed the web application into by moving it from the Available Layouts list to the Selected Layouts list.
-
Click Save and Close.
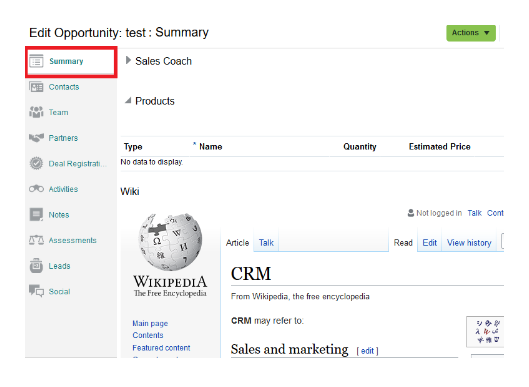
The embedded mashup appears at the end of the Summary subtab.
Here's a screenshot showing a sample Wikipedia article mashup.
Optionally, you can enable your embedded application to call CRM APIs using JSON Web Tokens (JWT) by including window.postMessage() in your mashup content. See Enable Your Embedded Application to Call CRM APIs for detailed information.