Create a New Application Extension
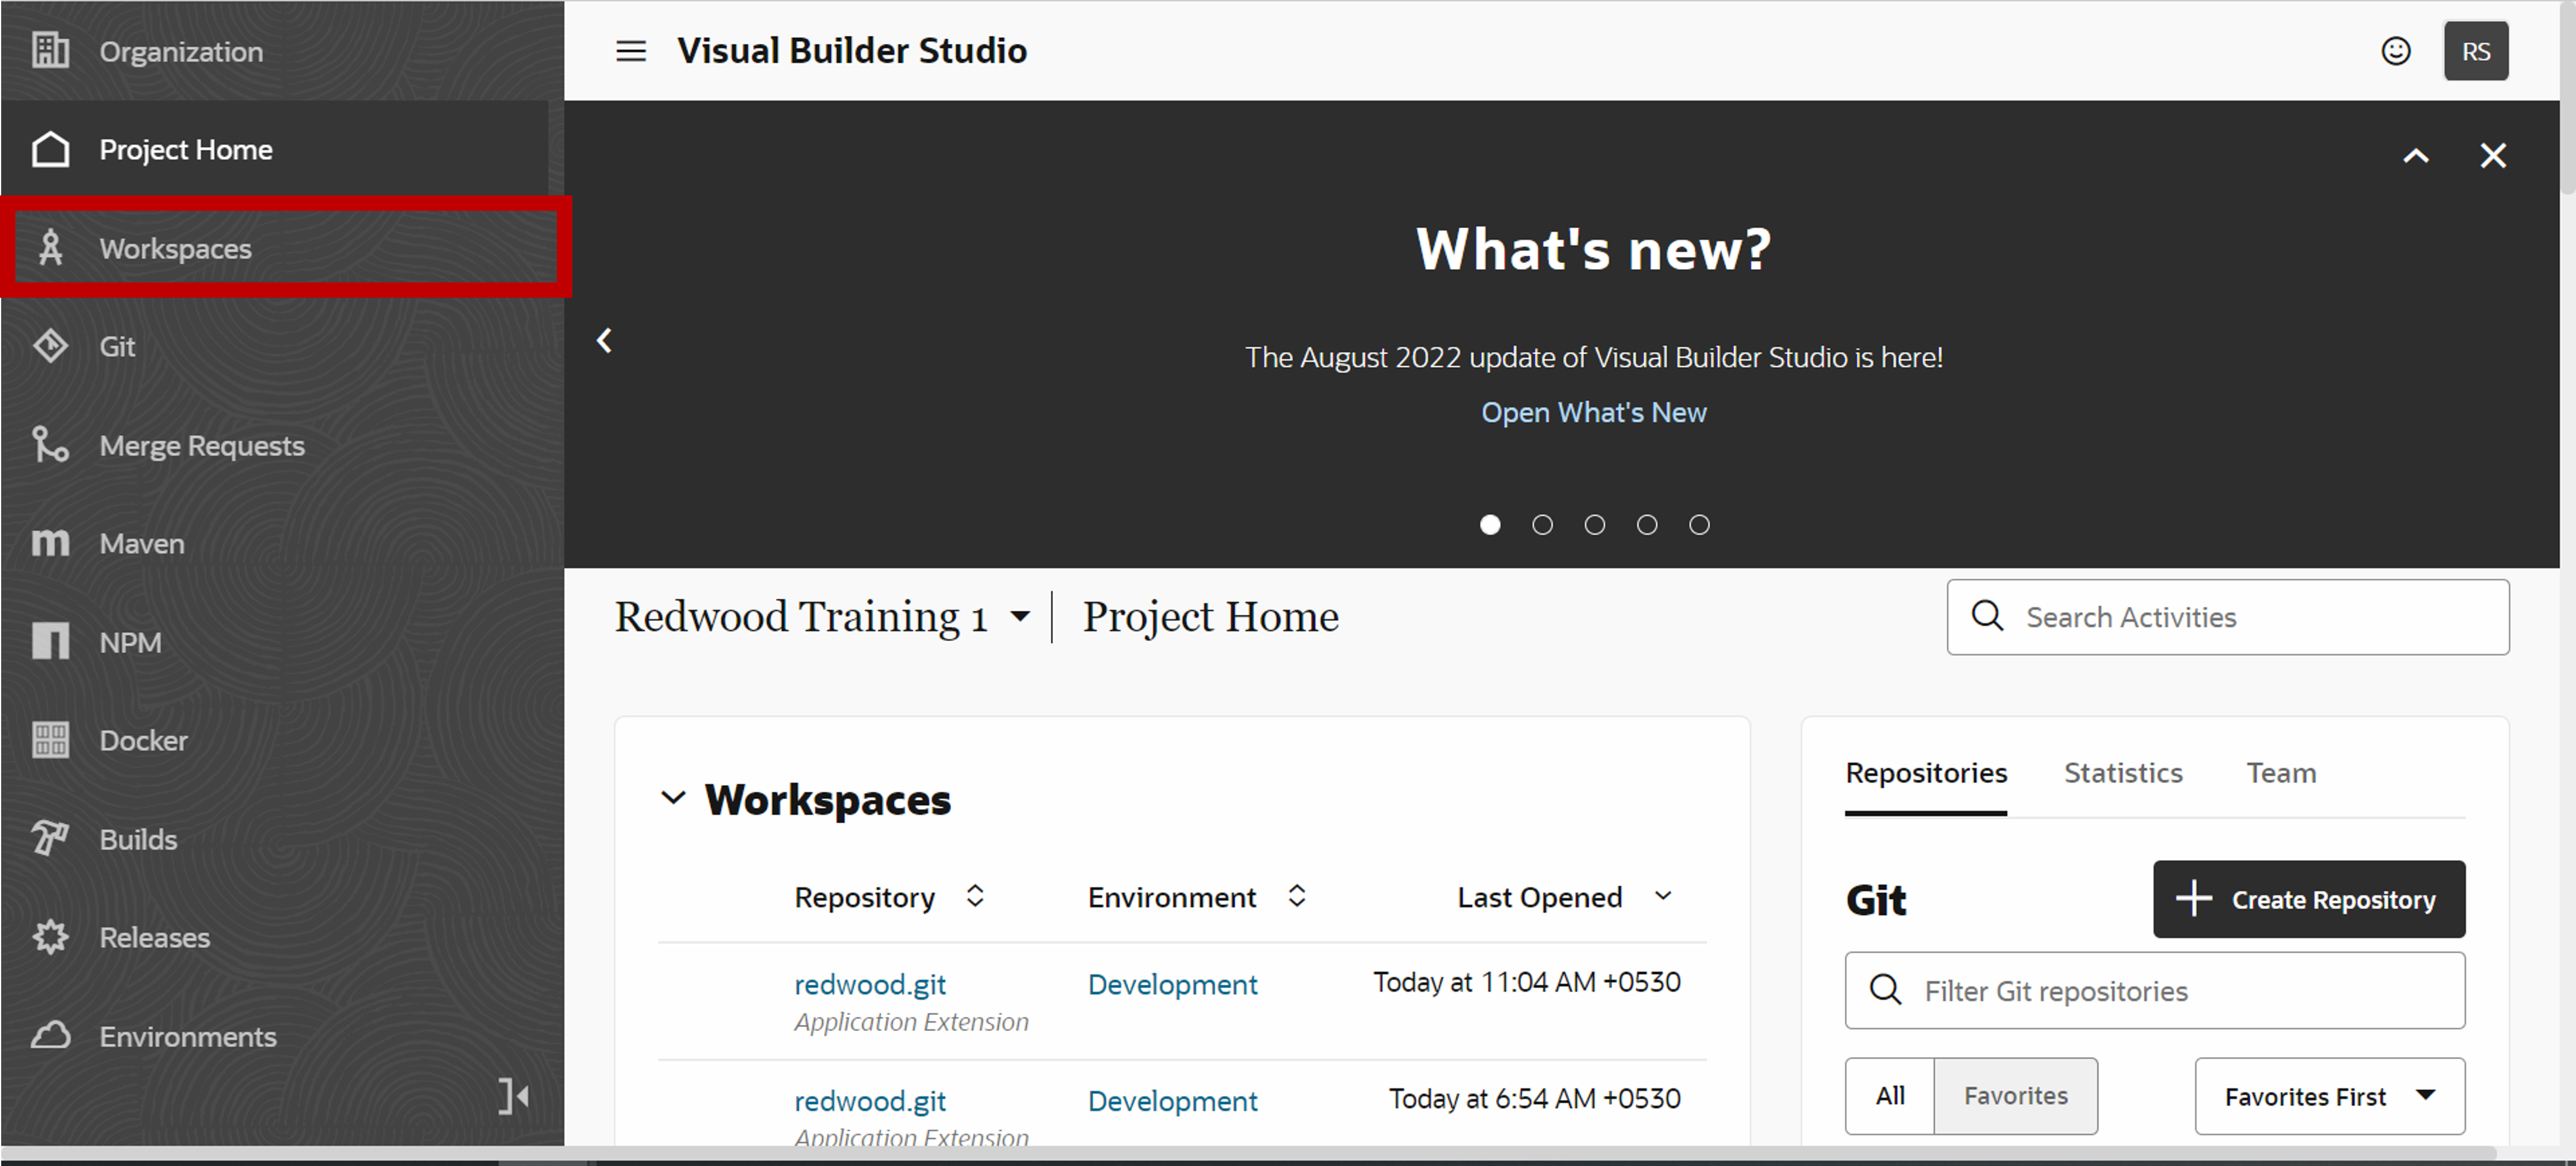
- Open the Navigator in Visual Builder Studio and click Workspaces.
-
On the Workspaces page, click .

The New Application Extension dialog box displays.
-
In the Extension Name field, enter a descriptive name for your workspace using your guid in the format <yourguid>-RedwoodTraining, such as jsmith-RedwoodTraining.
The Extension ID field auto-populates.
- The Workspace Name field should auto-populate, but if not, enter the same descriptive name for your workspace, (e.g. jsmith-RedwoodTraining).
-
From the Development Environment list, select Development.
- Leave the Base Oracle Cloud Application field as None, and leave the Sandbox field as No sandbox selected.
- Under Git Repository, select Create new repository.
- In the Repository Name field, enter the same descriptive name you entered for your workspace, (e.g. jsmith-RedwoodTraining).
- In the Working Branch Name field, enter the same descriptive name you entered for your workspace, (e.g. jsmith-RedwoodTraining).
-
Click Create.

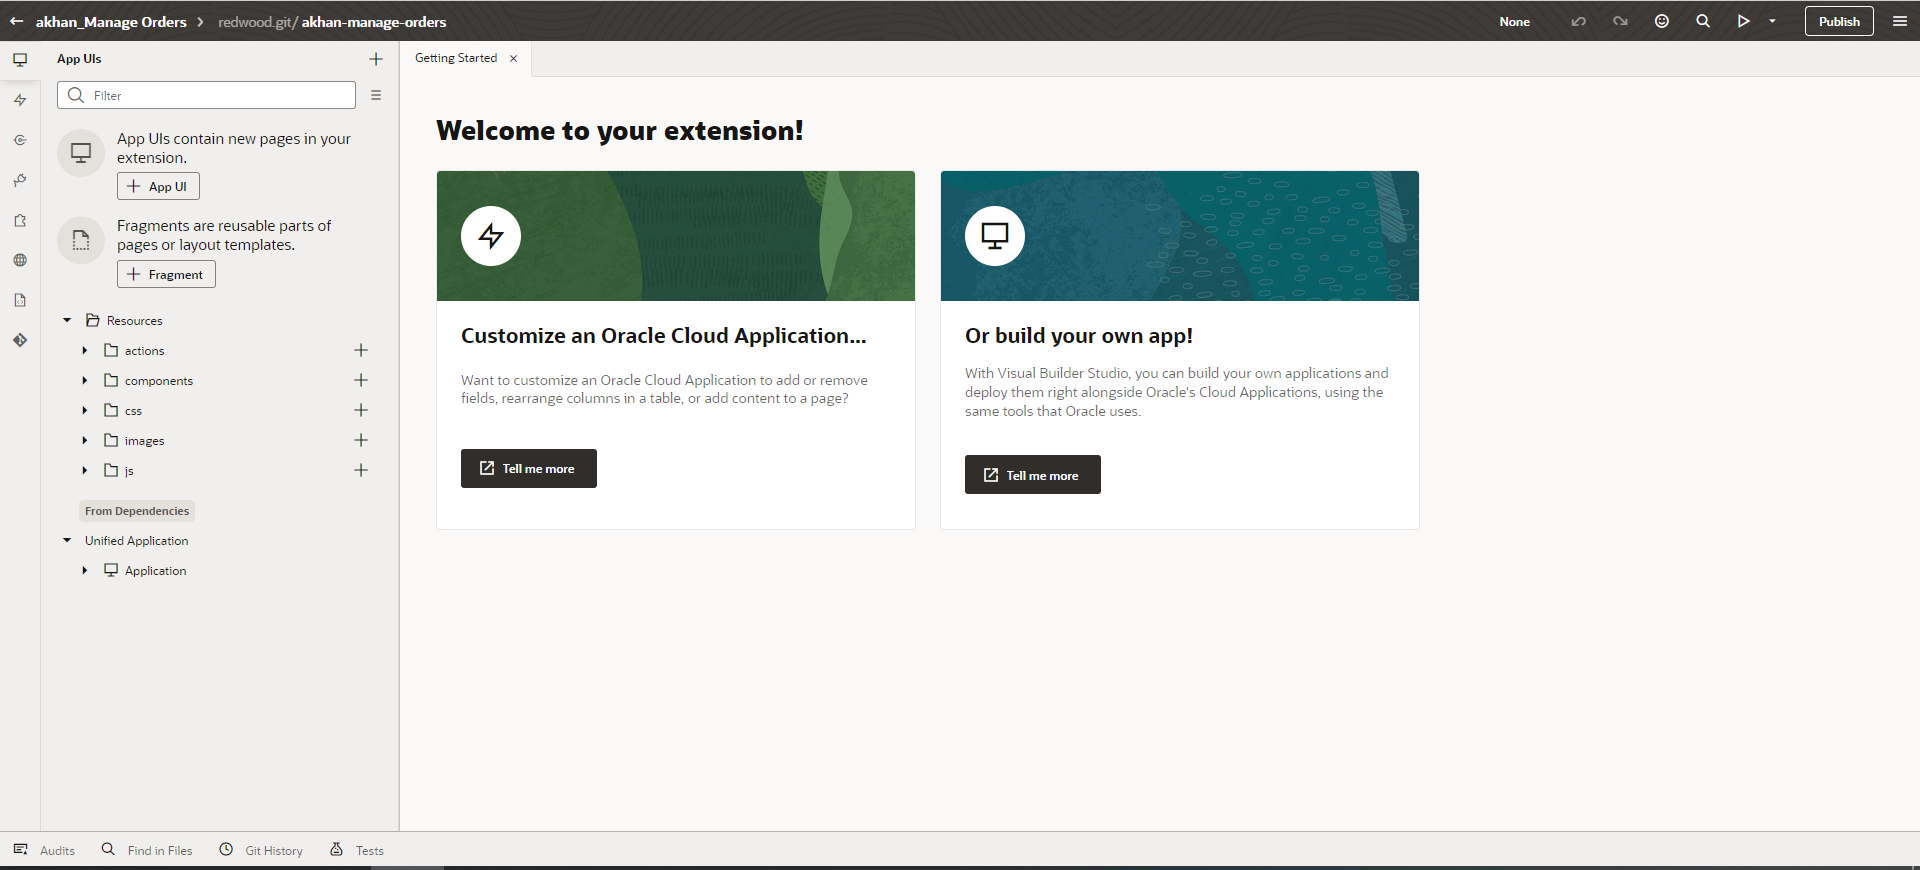
Visual Builder Studio opens your private workspace in the Designer with the Getting Started page. This takes some time, so you may have to wait a while.
When your workspace opens, you may see an info tip that component updates are available. You must dismiss this tip.
- Close the Getting Started tab.