Configure the List Item Template Columns
Add a List View to list the orders and configure the data columns that show the customer
name, order number, and order date.
- Click the manage-orders tab.
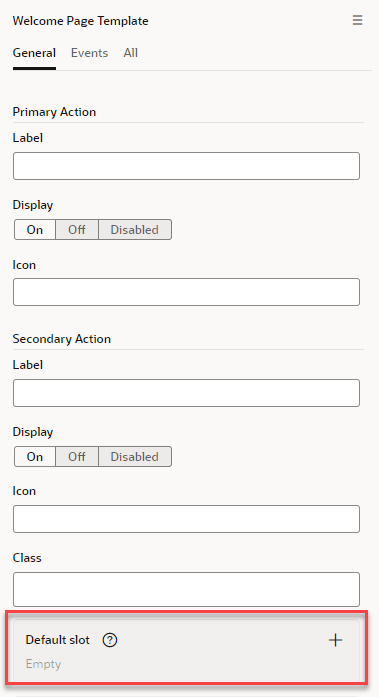
- In the Structure view, click Welcome Page Template if it's not already selected so that its properties are displayed in the Properties pane.
- In the General tab of the Welcome Page Template properties, click the
+ next to the Default
slot.
Clicking the + exposes a window where you can select a component.
- Filter the component selection list and select the List
View component.Your page should now display an unconfigured list view component.

- Select the List View node in the Structure pane to open its properties.
- Click the Quick Start tab in the List View Properties
pane.
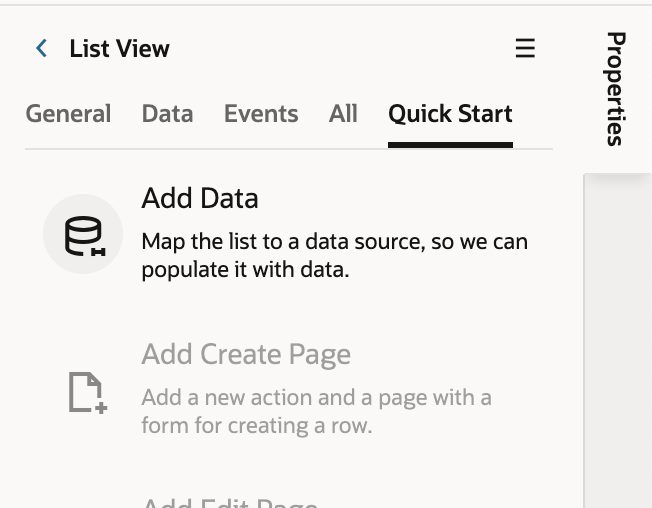
- Click Add Data.
The Add Data window opens at the Locate Data stop.
- Expand fcsmRest to expose a list of available endpoints from this service.
- Select rraOrders and click Next to
progress to the Select Template stop.
.png)
- Select the List Item Template that contains three columns of text and a badge as
shown in the following image.

- Click Next.The Bind Data stop of the Add Data window opens.
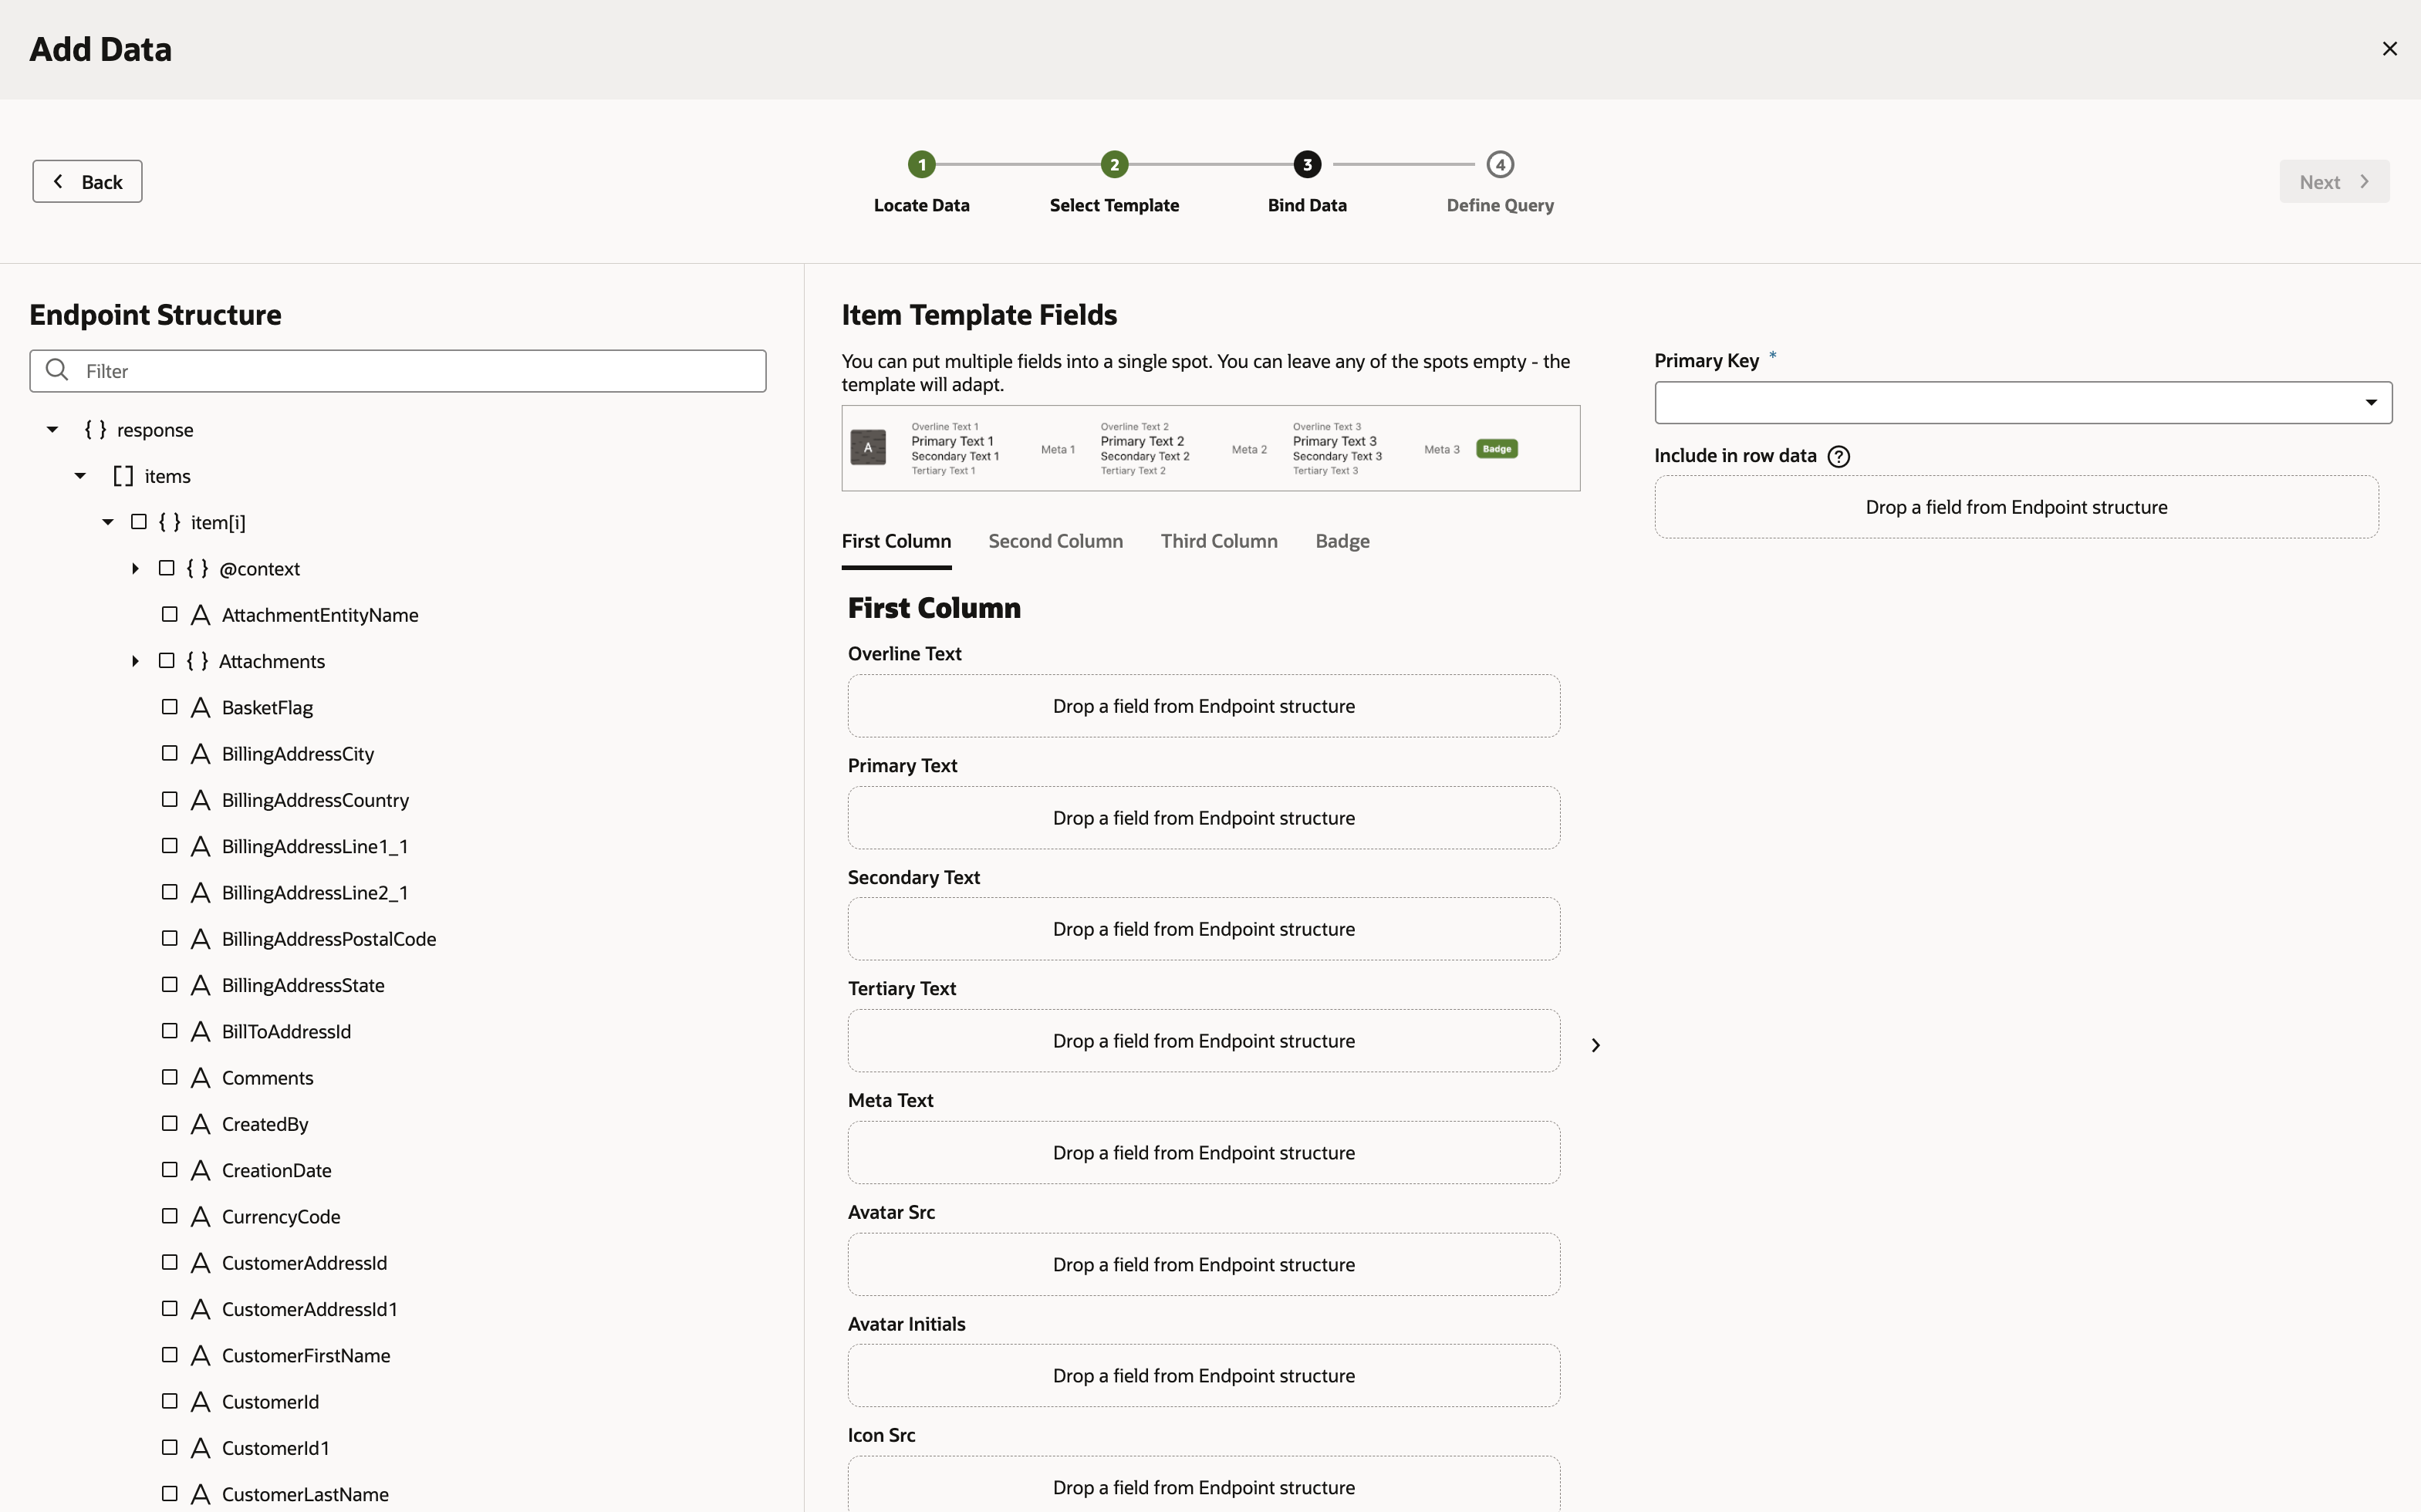
- Select or drag CustomerFirstName and CustomerLastName for the Primary Text field of the First Column tab.
- Click the Second Column tab.
- Select or drag OrderId for the Overline Text field.
- Select or drag OrderDate for the Primary Text field.
- Click the Third Column tab.
- Select or drag TotalAmount for the Meta Text field.
- Click the Badge tab.
- Select or drag OrderStatus for the Text field.
- Leave the Primary Key set to OrderId.
- Click Next.
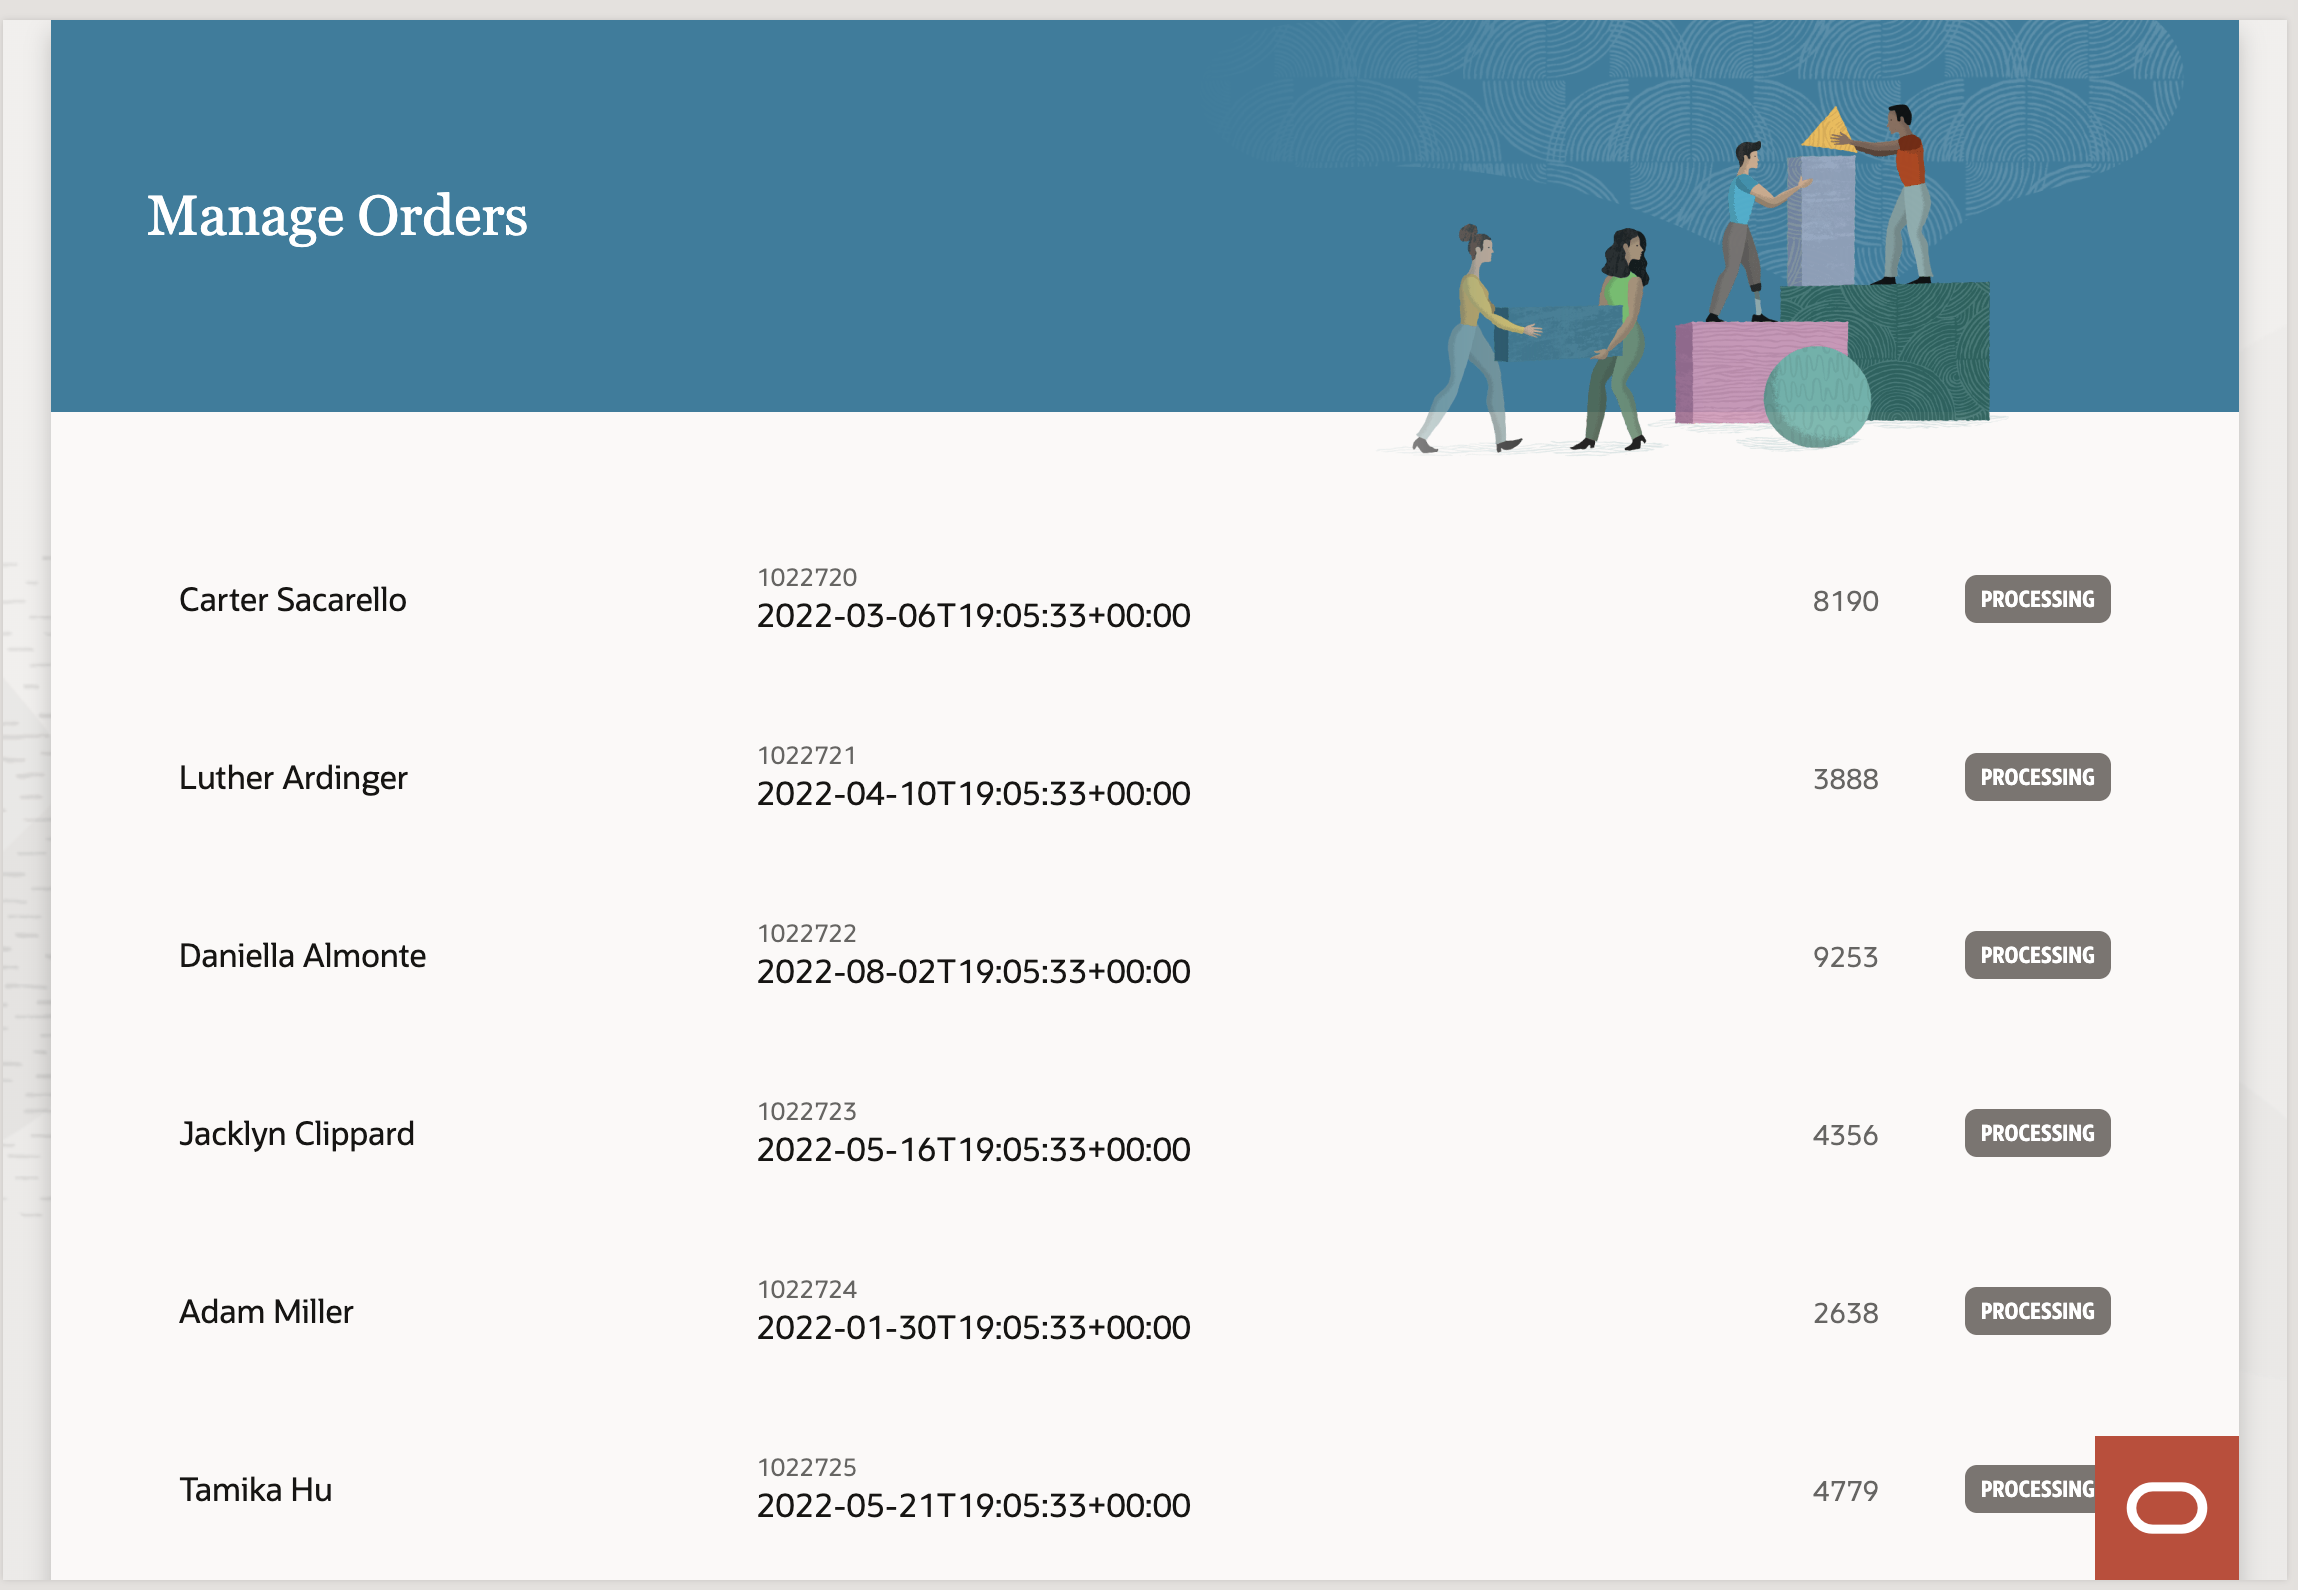
- The final window needs no changes, so click Finish.You should see an order list on your Manage Orders page.