How You Deploy Messages
To make your changes live, you must deploy and then commit your changes to the database.
There are three ways to deploy your messages.
- Click Deploy next to the message on the Home subtab.
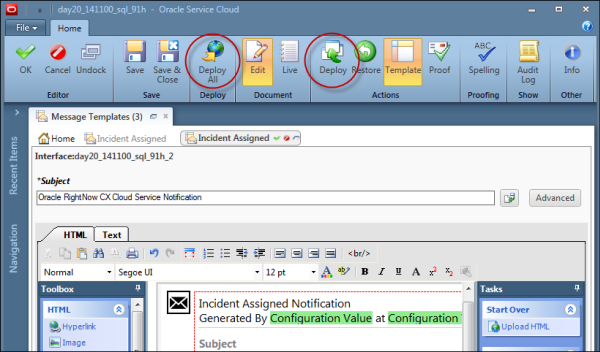
- Click the Deploy button on the message ribbon.
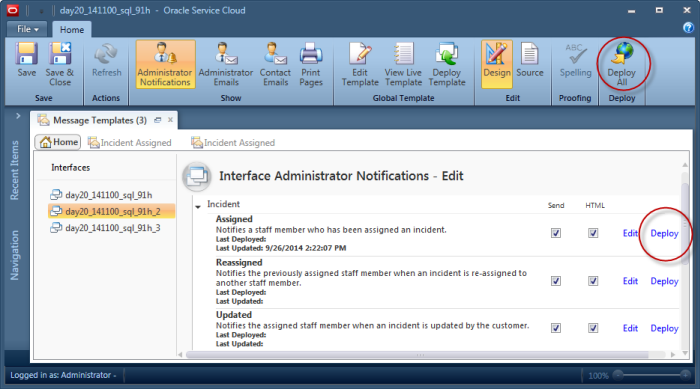
- Click the Deploy All button on the message templates ribbon or the message ribbon.
This image shows the Deploy All button on the message templates ribbon as well as the Deploy link next to the messages on the Home subtab.
This image shows the Deploy All button and the Deploy button on the message ribbon.
The order in which you choose to deploy depends on several things. If you are editing only one message, it’s probably most efficient to click Deploy on the message ribbon as soon as you have finished making your changes.
If you are editing several messages, you can save your changes as you make them by clicking the Save button on the message ribbon. When you are finished with all of your message edits, you can click the Deploy All button, and then click the Save button on the ribbon to commit all of your messages at the same time. Deploying all also applies to the global templates, across all interfaces, for all your messages unless you have chosen to remove it within your individual messages. This method eliminates the need for you to respond to the confirmation message that opens each time you deploy from an individual message.