Creating Next Best Offer models
Complete the following steps to create a Next Best Offer model.
Before you begin
Before creating the data science model, make sure you create the catalog of offers that will be used when the model runs. Learn more about Creating Next best offers.
Create the data science model
You can create the model from the Intelligence workbench page.
To create a data science model:
-
Click the Oracle icon
 in the bottom-right corner to open the navigation menu.
- Select Intelligence workbench.
- Click the Models tab.
- Click Create model.

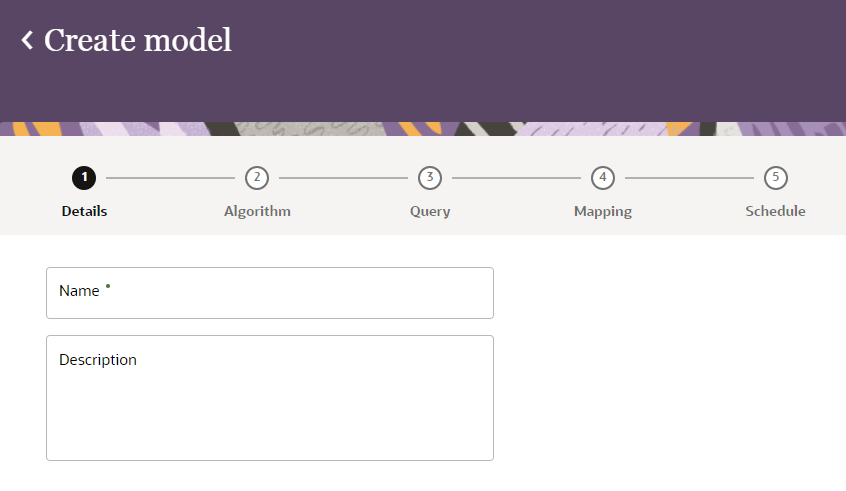
Step 1: Define model details
The details section allows you to define how the model will display in Oracle Unity.
To define the model details:
- Enter the details for the model.
- Name: Enter the model name.
- Description: Optionally, enter a description for the model.
- Confirm the model details and click Algorithm to go to the next section.
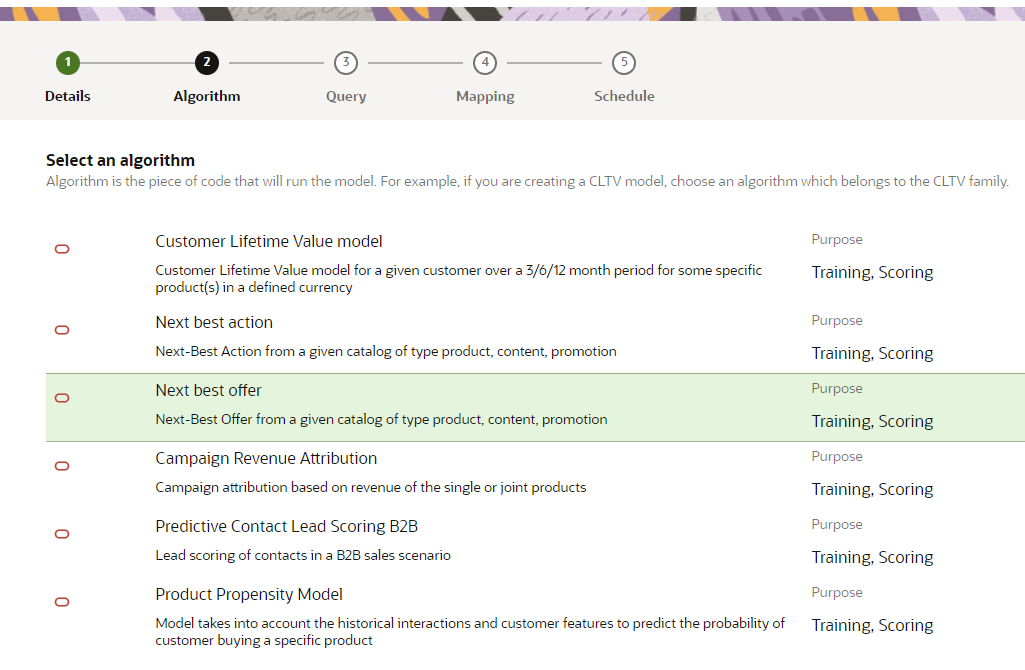
Step 2: Select algorithm
You will need to select the Next best offer algorithm, which defines the type of model you create.
To select the algorithm:
- Click the Next best offer algorithm name to select it.
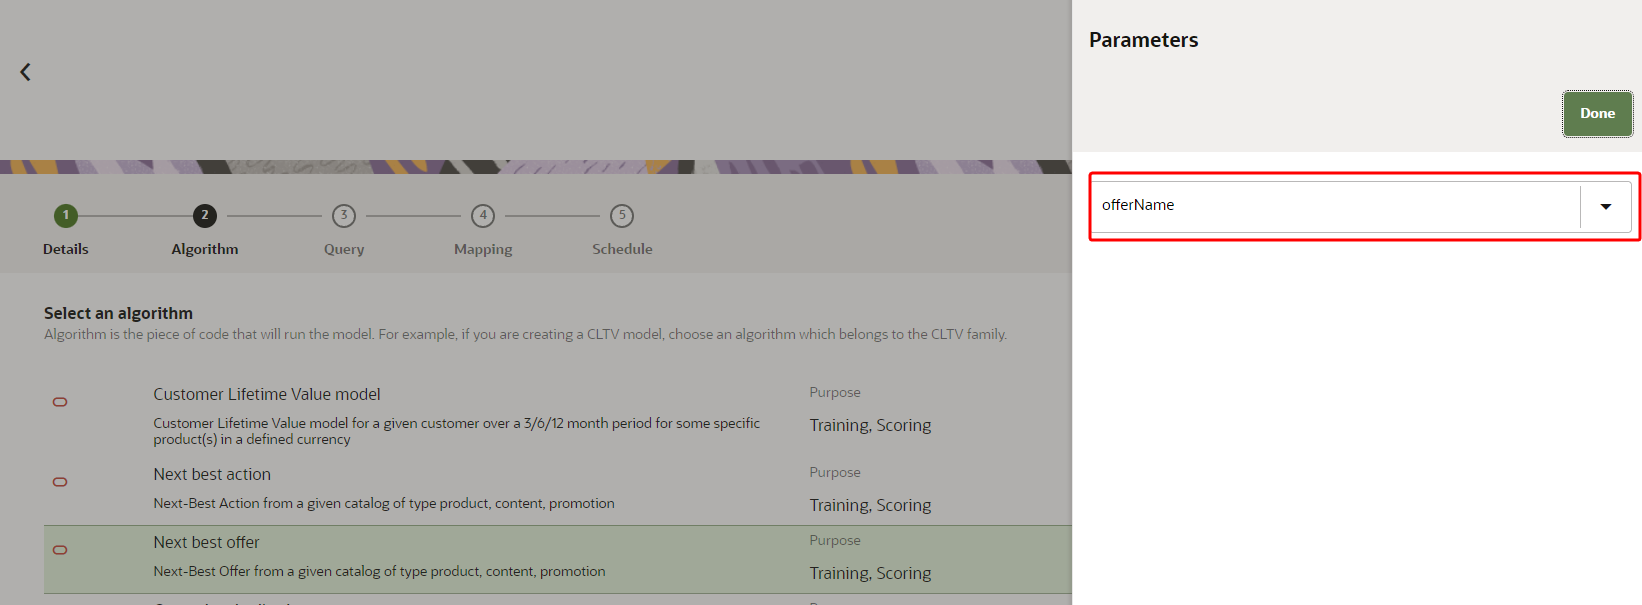
- In the drop-down list for Parameters, select the catalog for the model.
- Confirm the selected algorithm and click Query to go to the next section.
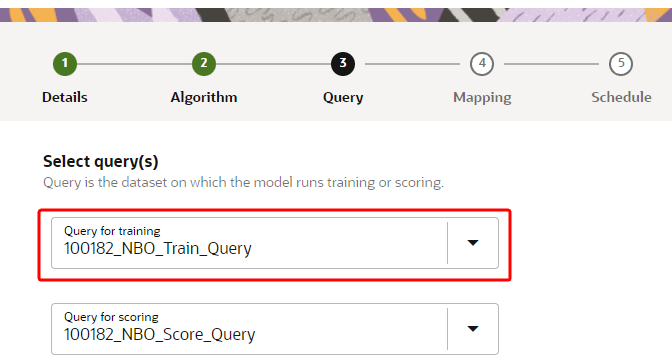
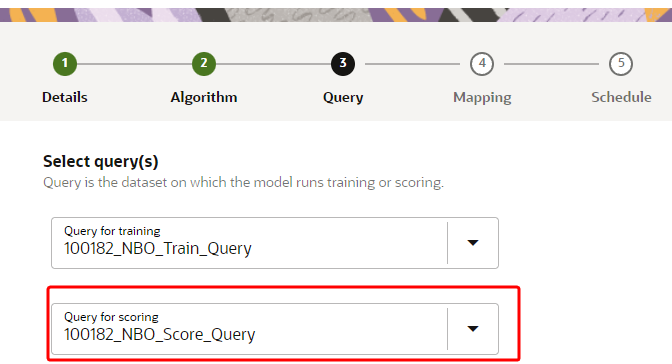
Step 3: Select queries
The queries you select for the model generate a dataset for model training and scoring.
To select queries:
- In the Query for training field, confirm the default query or use the drop-down list to select the query you want to use for model training.
- In the Query for scoring field, confirm the default query or use the drop-down list to select the query you want to use for model scoring.
- Confirm the selected queries and click Mapping to go to the next section.
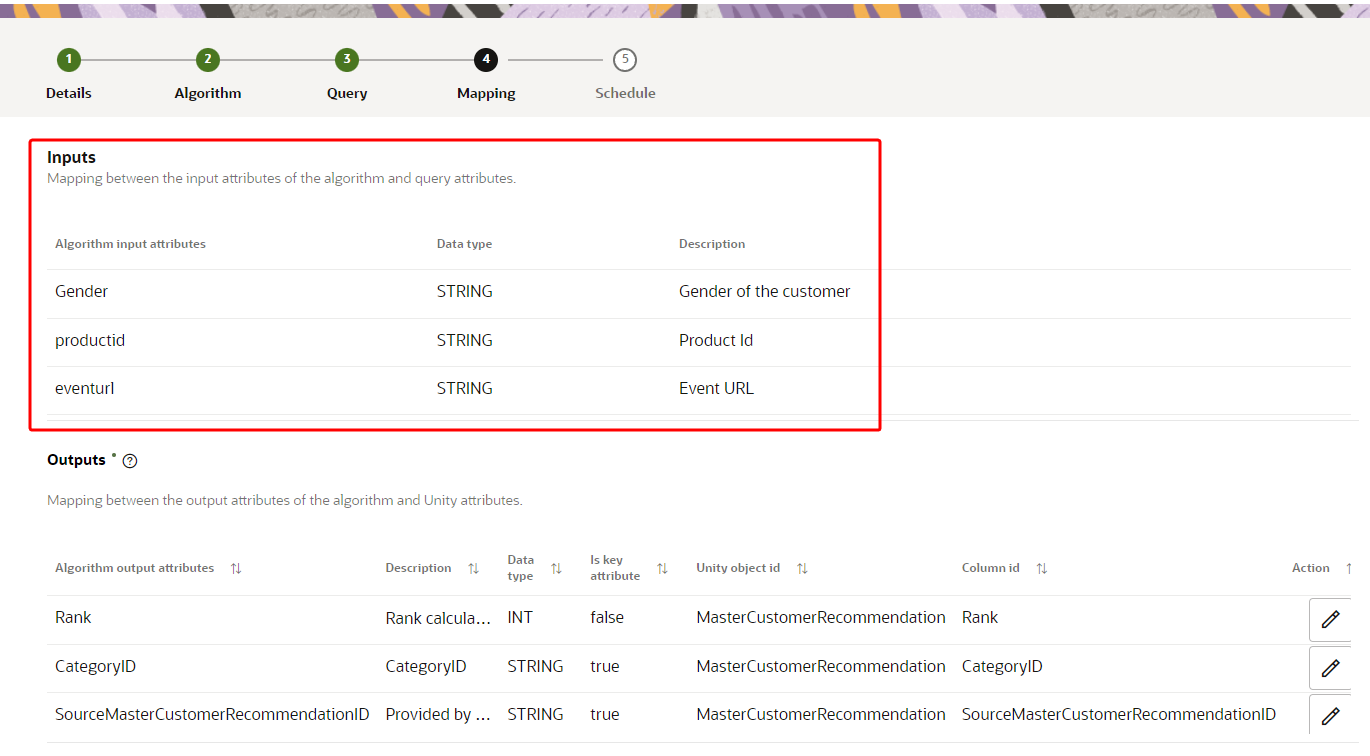
Step 4: Mapping
Based on the selected algorithm, review the mapping for model inputs and outputs to the Unity data model. Make any necessary updates to the default mapping of model outputs.
To configure the mapping:
-
Review the Inputs section and the mapping of Algorithm input attributes. No changes are allowed in this section.
-
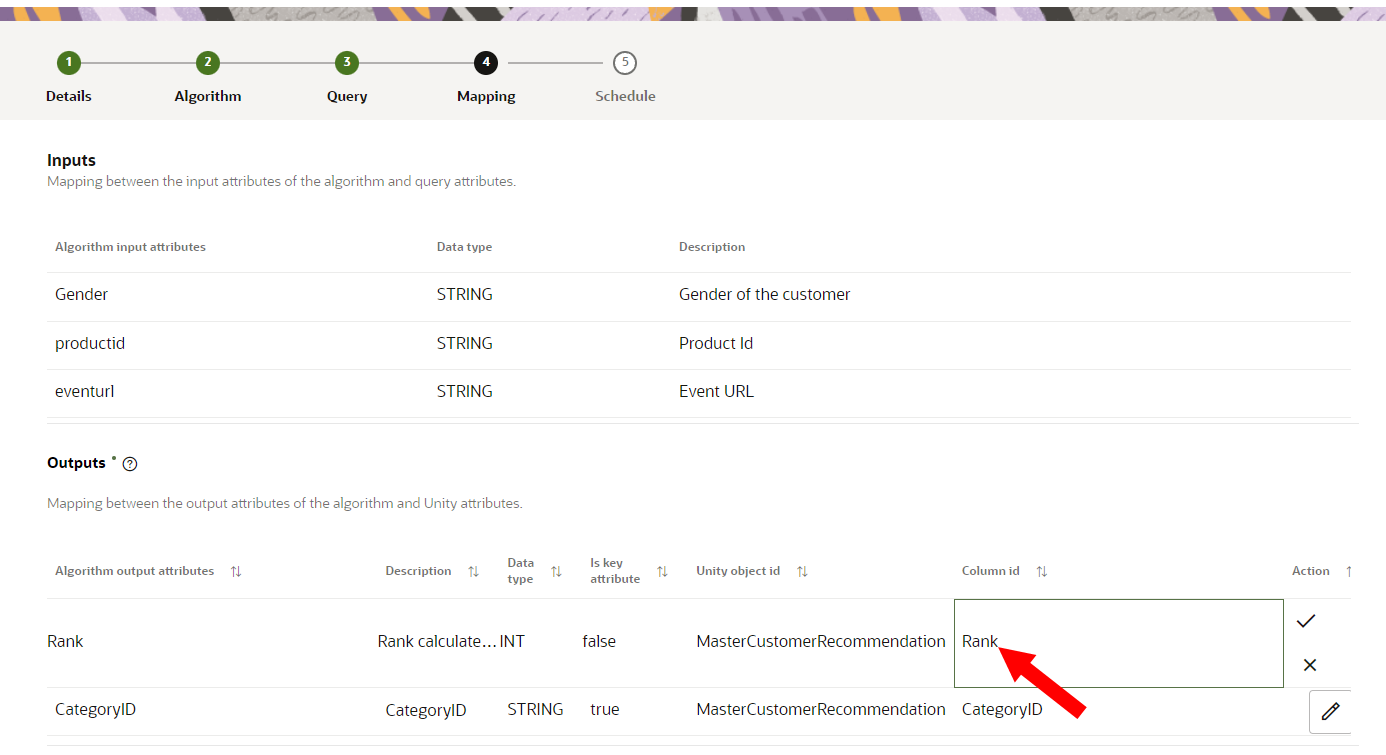
Review and make the necessary updates to the Outputs section. To make an update, click Edit
 in the Action column. When done updating an item, click the checkmark.
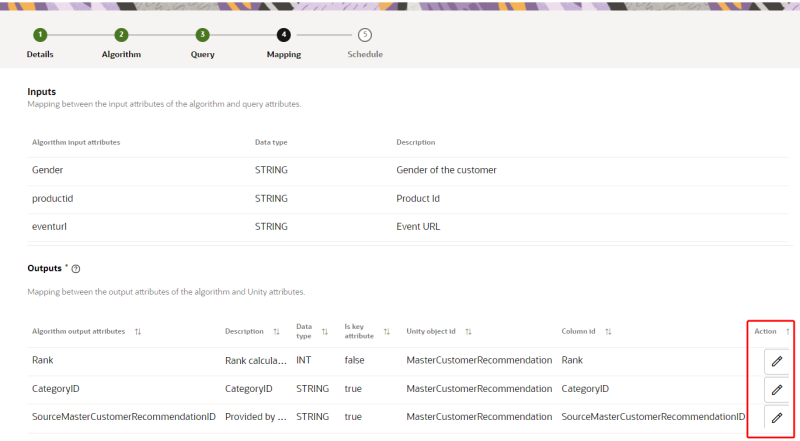
-
In the Unity object id column, click the field and enter the exact name of the data object you want to use as an output.
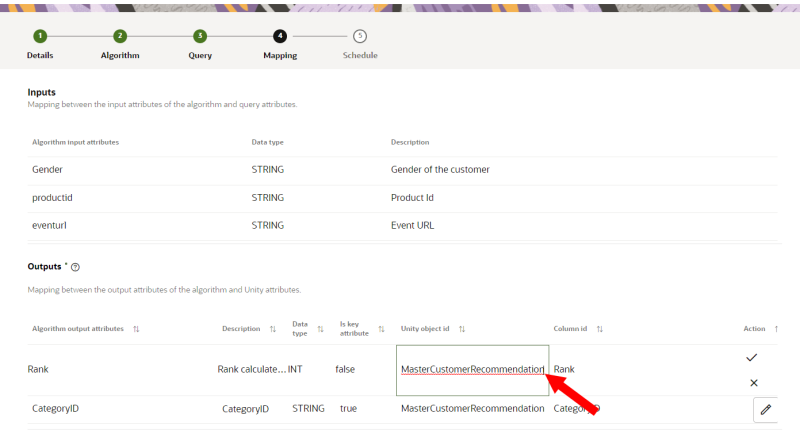
-
In the Column Id column, click the field and enter the exact name of the attribute you want to use as an output.
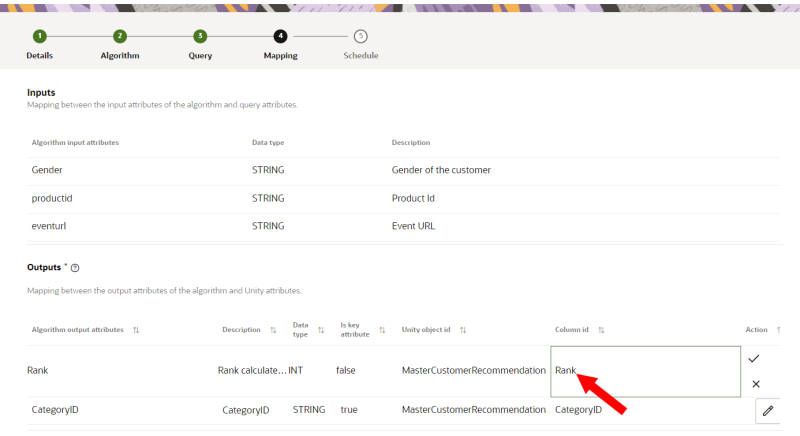
-
-
Review the input and output mapping and click Schedule to go to the next section.


Step 5: Schedule and notify
You will need to configure the schedule and notification settings for the model.
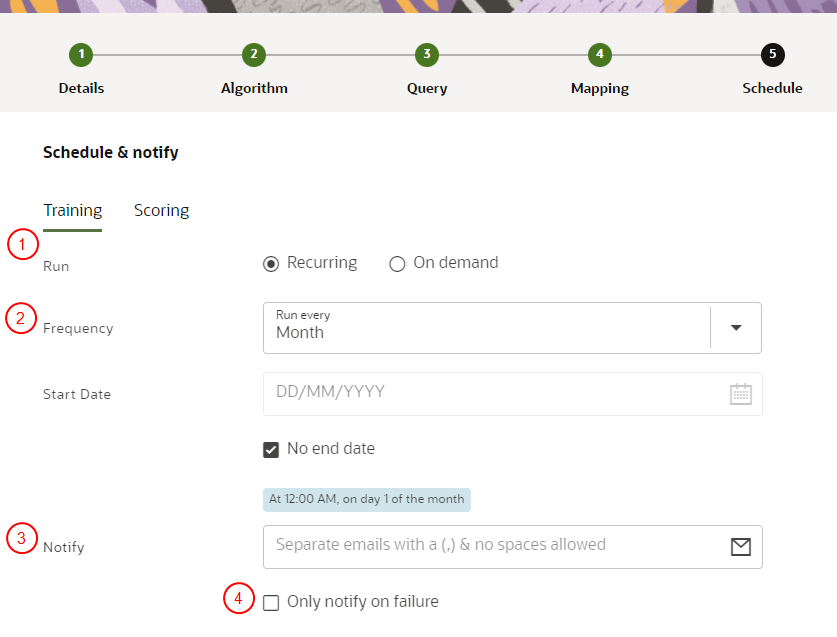
- Configure the schedule for the model:
- Click Recurring to automatically run the model on a regular schedule. If a job for the model is still running while the next one is scheduled to run, the next scheduled run will not start until the current one completes. Two scheduled instances of the same job can't run simultaneously.
- Click On demand to run the model as needed.
- If the job is recurring, select the Frequency, Start time, and Days it will run.
- In the field for Notify, enter the email addresses of people to be notified when the job runs. You can use characters from all languages supported in the language settings. Separate multiple emails with a comma.
- If you only want a notification if the job fails, click the checkbox for Only notify on failure.
When done creating the model, click Save.
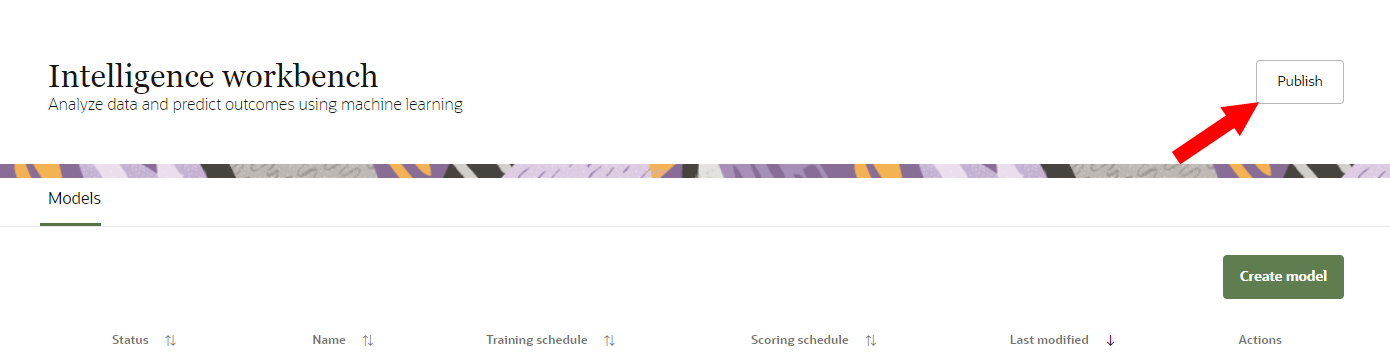
Publish the changes
After saving the model, click Publish from the Intelligence workbench page.
After publishing the changes, Oracle Unity will do the following:
-
Create the required data objects and attributes that will store output values from the model.
-
Create the training and scoring jobs that will need to run to generate output values.
To generate output values, you will need to Run the training and scoring jobs.