Creating a tag
To create a new tag with the tag management system:
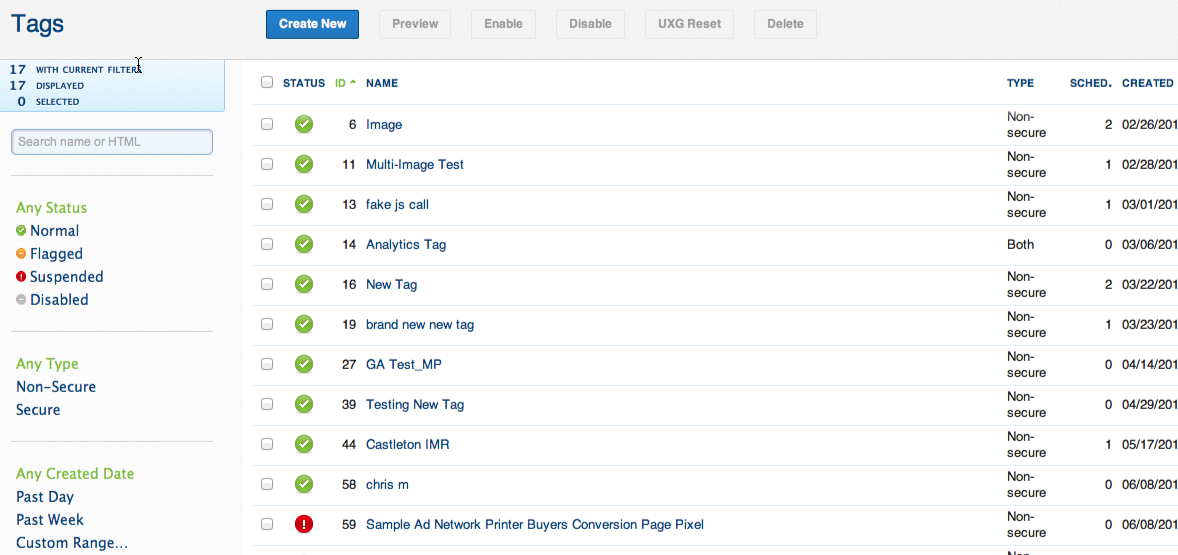
- Select Manage > Tags. The Tags page is displayed.

- Click Create New. The Create New Tag dialog is displayed.
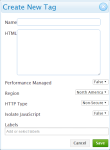
- In the Name box, enter a unique name for the tag.
- In the HTML box, enter the HTML code for the tag.
- Set the Performance Managed option to include (True) or exclude the tag (False) from being monitored and controlled by User Experience Guard.
- If you set Performance Managed to True, select your closest monitoring location from the Region list. The default value is North America.
- In the HTTP Type list, select the HTTP type in which you want the tag to execute:
- Non-Secure: Delivers campaign data to a site via HTTP.
- Secure: Delivers campaign data to a secure site via HTTPS.
- Either: The protocol used to deliver campaign data (HTTP or HTTPS) depends on the destination's domain. Make sure the HTTP type matches the actual tag. If you select the wrong HTTP type, you can create problems with both the delivery of the tag and the user experience in the browser.
- Set the Isolate JavaScript option to true or false.
Warning: Third-party code can be capable of executing malfunctioning and potentially harmful content calls in your JavaScript tags. To keep such content from maliciously altering pages, stealing sensitive information, or causing other harm, set the Isolate JavaScript option to True. This option is only intended for JavaScript tags and may alter standard tags that contain otherwise valid HTML code. This setting will be tracked and appear on the account activity page as "Tag Isolation Setting Changed."
- Set to False to place the tag in the schedule exactly as you typed it in the HTML box.
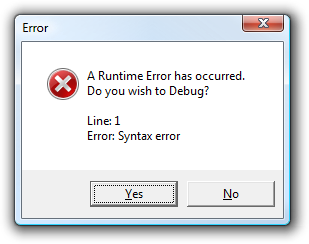
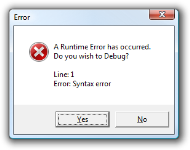
- Set to True to wrap the JavaScript tag in additional code that will catch potential scripting errors, isolate them, and suppress a client-facing warning, similar to this one:
- Click Save. Your new tag is added to the list of tags on the Tags page.