You can leverage your first-party Oracle Data Cloud platform data linked to cookies to retarget your site visitors with Facebook ads. This solution enables you to create custom audiences in Facebook that include your private first-party online data to drive your social media execution efforts across desktop and mobile devices. This solution provides the following benefits:
- Activate first-party online data to retarget your customer base and run direct response campaigns.
- Target your audiences on Facebook with tailored messaging based on their preferences and brand engagement.
- Speak to a highly-engaged mobile audience across devices.
To use Oracle Data Cloud platform data in Facebook:
- Contact My Oracle Support (MOS) to verify that the Social channel is enabled for your partner seat.
- Get your custom audience pixel.
- Install the Facebook app.
- Create your audience.
- Create your campaign.
- Add Oracle Data Cloud platform data to your Facebook custom audiences.
Getting a custom audience pixel
Facebook's custom audience pixel is a unique identifier for your Facebook ads account that you can use in all your campaigns for delivering Oracle Data Cloud user data into your Facebook account.
To find your custom audience pixel:
- Log in to your Facebook account.
- Navigate to the Facebook pixel page in your Ads Manager.
- Select Actions > View Pixel Code. Your pixel ID is listed in the id field within the
<noscript>tag.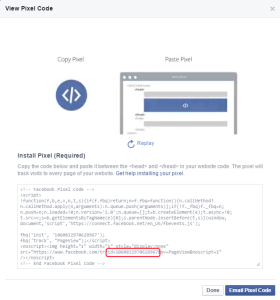
This pixel is a unique identifier for your Facebook ads account that you will use in all your campaigns for delivering user data into your account. Looking up this pixel is a one-time operation.
For more details, refer to the How do I install the Facebook pixel and check that it's working? topic in Facebook's advertiser help.
Install the Facebook app
Use the install an app workflow to configure the Facebook app in the Oracle Data Cloud platform.
To install the Facebook app:
- Log on to partner.bluekai.com and select Apps > Install Apps.
- Click App Catalog.
- Select Facebook - Custom Audience (Pixel).

- In the App Name box, enter Facebook Custom Audience App or another name that identifies this app configuration.
- In the Notification Email box, enter the email addresses of anyone who should be notified about app activity.
-
In the ID box, enter your Facebook custom audience pixel.

- Click Save.


The Facebook - Custom Audience (Pixel) app is now enabled in your partner seat.
Learn more: Installing an app
Creating your audience
Use BlueKai’s audience builder to select the first-party data linked to cookies that you want to retarget on Facebook.
To create an audience:
- In the Oracle Data Cloud platform, click New Audience. The audience builder page is displayed.
- In the Name box, enter a name that makes it easy to identify your audience. The audience name should only contain alphanumeric characters, spaces, and underscores.
- From the taxonomy tree, select your first-party data.
- Click the ID Sources tab.
- To narrow the targeting of your audience to users linked to Oracle Data Cloud cookies, clear the Mobile IDs check box and then select the Mobile Cookie ID check box.
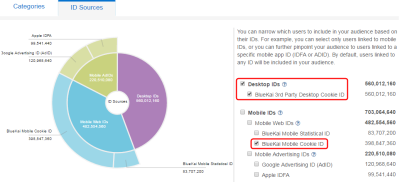
- Click Save.

Learn more: Creating an audience
Creating your campaign
To send you user data to Facebook, create a data campaign to specify:
- The audience to be targeted
- Where to send your audience
- How long to run the campaign
- The campaign budget
To create a campaign:
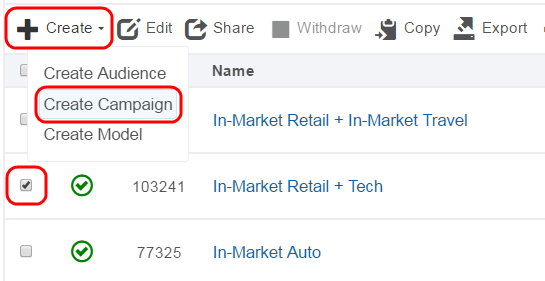
- On the Audiences page, select the check box for the audience that you want to send to Facebook and then select Create > Create Campaign.
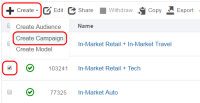
The audience is associated with the campaign and the Create Campaign window is displayed. - In the Campaign Name box, enter a name that makes your campaign easy to identify.
- In the Basic Information section:
- Set the start and end dates. By default , the campaign ends one year after the start date.
- From the Status list, select the Active status.
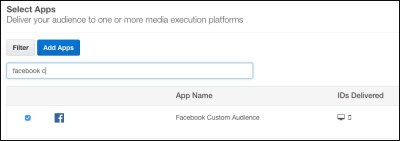
- Click Select Apps, select the Facebook app that you installed, and then click Add Apps.
- Click Save. The Campaigns page displays the new campaign.
- Record the campaign ID from the ID column for use with your Facebook custom audience.

Important: If you are onboarding media data into your DMP, you need to set the Win on Sites option (under Advanced Settings) to Win on Selected Containers(Site IDs), and then select only the containers/site IDs that have been deployed on your website. This ensures that your Facebook custom audience pixel is fired from your websites only. If this setting is not available in your seat, contact your Account Manager to get it enabled. 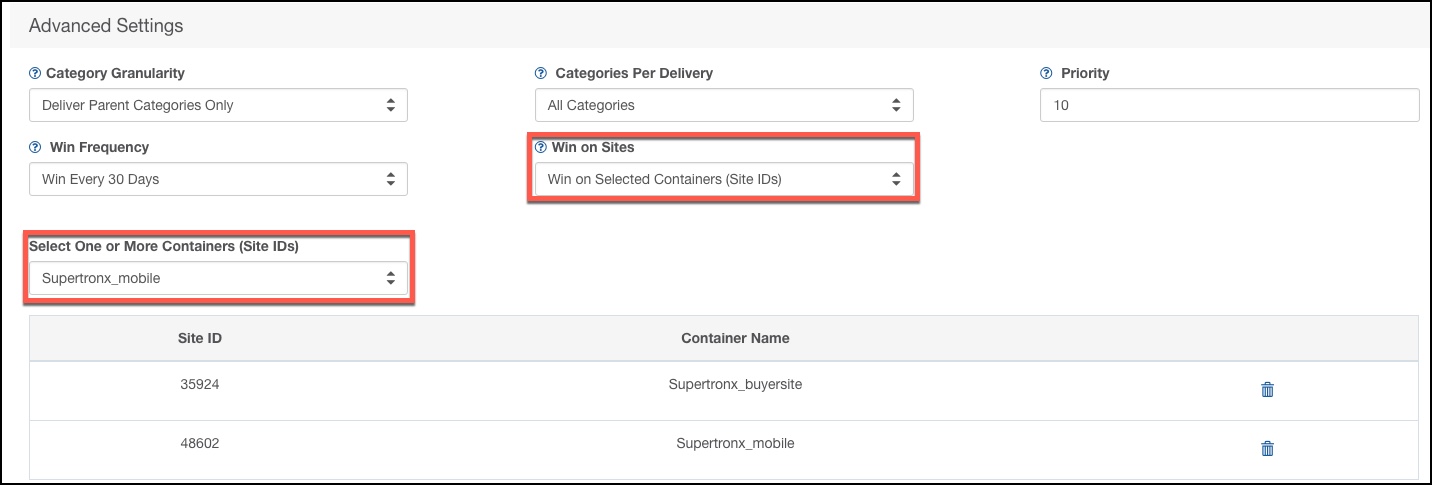
Add Oracle Data Cloud platform data to your custom audiences in Facebook
For details about custom audiences, refer to Facebook's advertiser help.
To add Oracle Data Cloud platform data to your custom audiences in Facebook:
- Log in to Facebook ads manager and go to the Audiences page (https://facebook.com/ads/manager/audiences/manage).
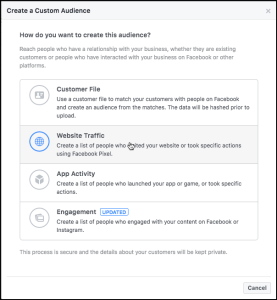
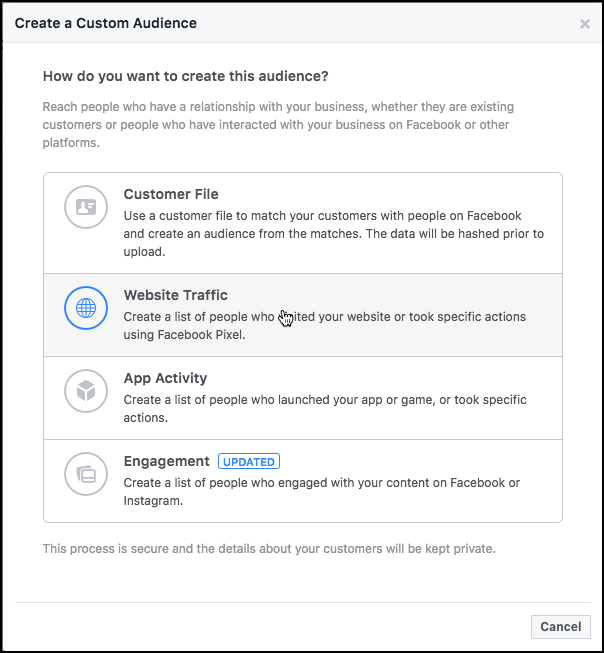
- Click Create Audience > Custom Audience.

- Click Website Traffic.
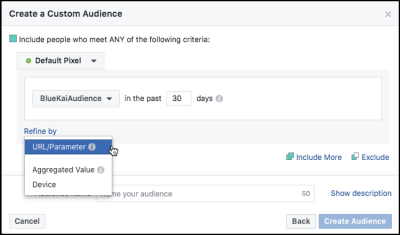
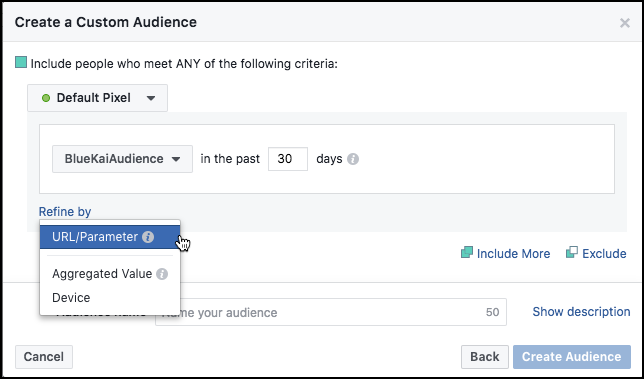
- In the Create a Custom Audience dialog, click All Website Visitors and then click the BlueKaiAudience event under From your Events.
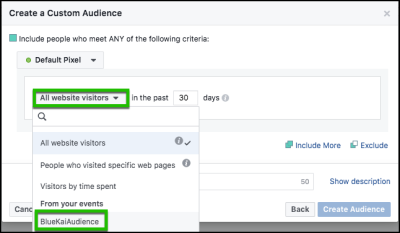
If the BlueKaiAudience event is not displayed, verify that you activated the campaign. - Click Refine By, and then click URL/Parameter,
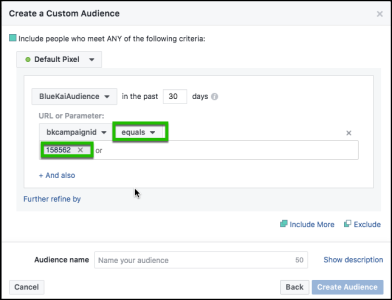
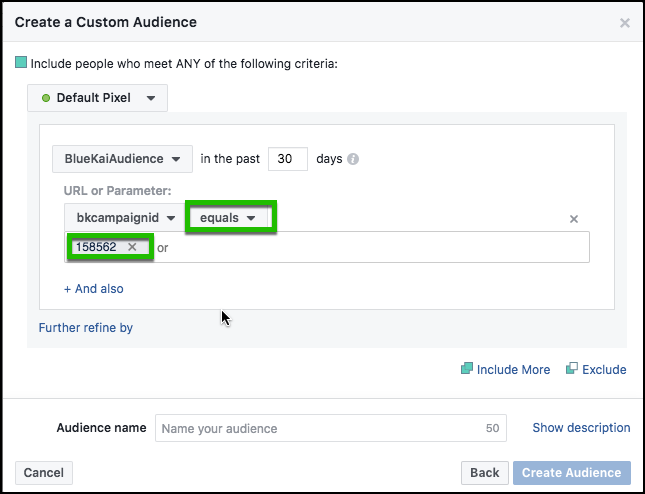
- Click bkcampaignid, enter the campaign ID for the campaign you created, and then change the operator to equals.
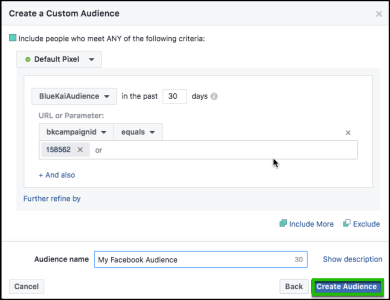
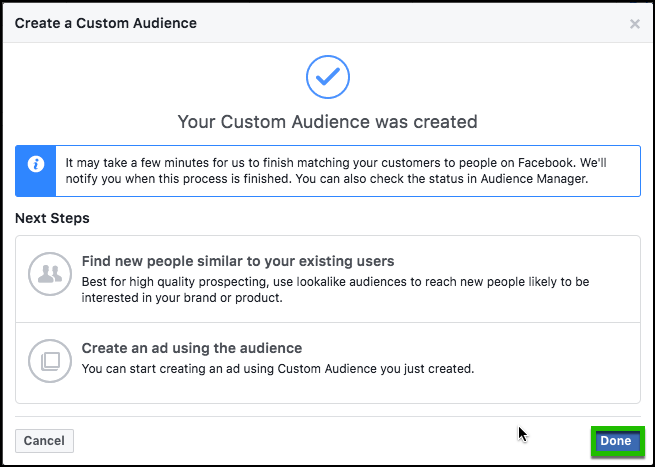
- In the Audience Name box, enter a descriptive name for your audience, and then click Create Audience.
- Click Done.
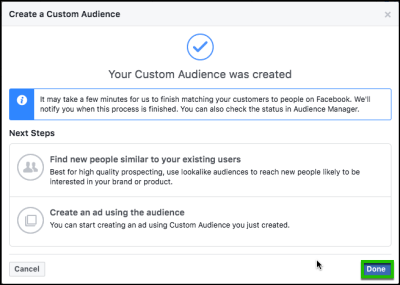
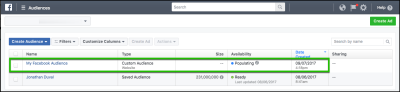
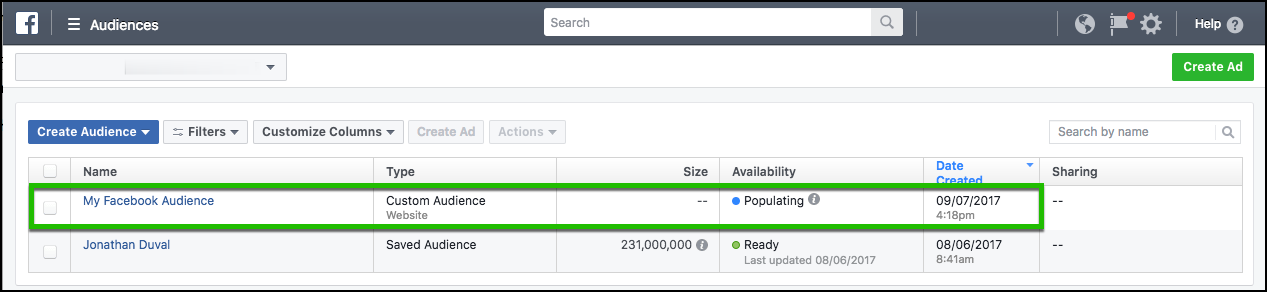
- Your new Facebook custom audience is added to the table.


Tip: You can optionally fire your campaign pixel to help expedite the BlueKaiAudience event to be displayed in Facebook. The pixel has the following syntax:
https://www.facebook.com/tr?ev=BlueKaiAudience&id={FB Pixel ID}&cd[bkcampaignid]={campaignId}
For example: https://www.facebook.com/tr?ev=BlueKaiAudience&id=10151985794810450&cd[bkcampaignid]=158662
The BlueKaiAudience event should be available within an hour after the campaign pixel is fired.

If Facebook displays an "audience too small" warning, this is because the pixel-based solution requires some time to ramp up after the campaign is first activated.


