Connecting to the Oracle Cloud Infrastructure
The following steps assume that you are connecting to an autonomous database instance that has been created. For more information about creating an autonomous database instance, see Getting Started and Provisioning Autonomous Transaction Processing.
To connect to an Oracle Autonomous Database:
-
Sign in from https://cloud.oracle.com.
-
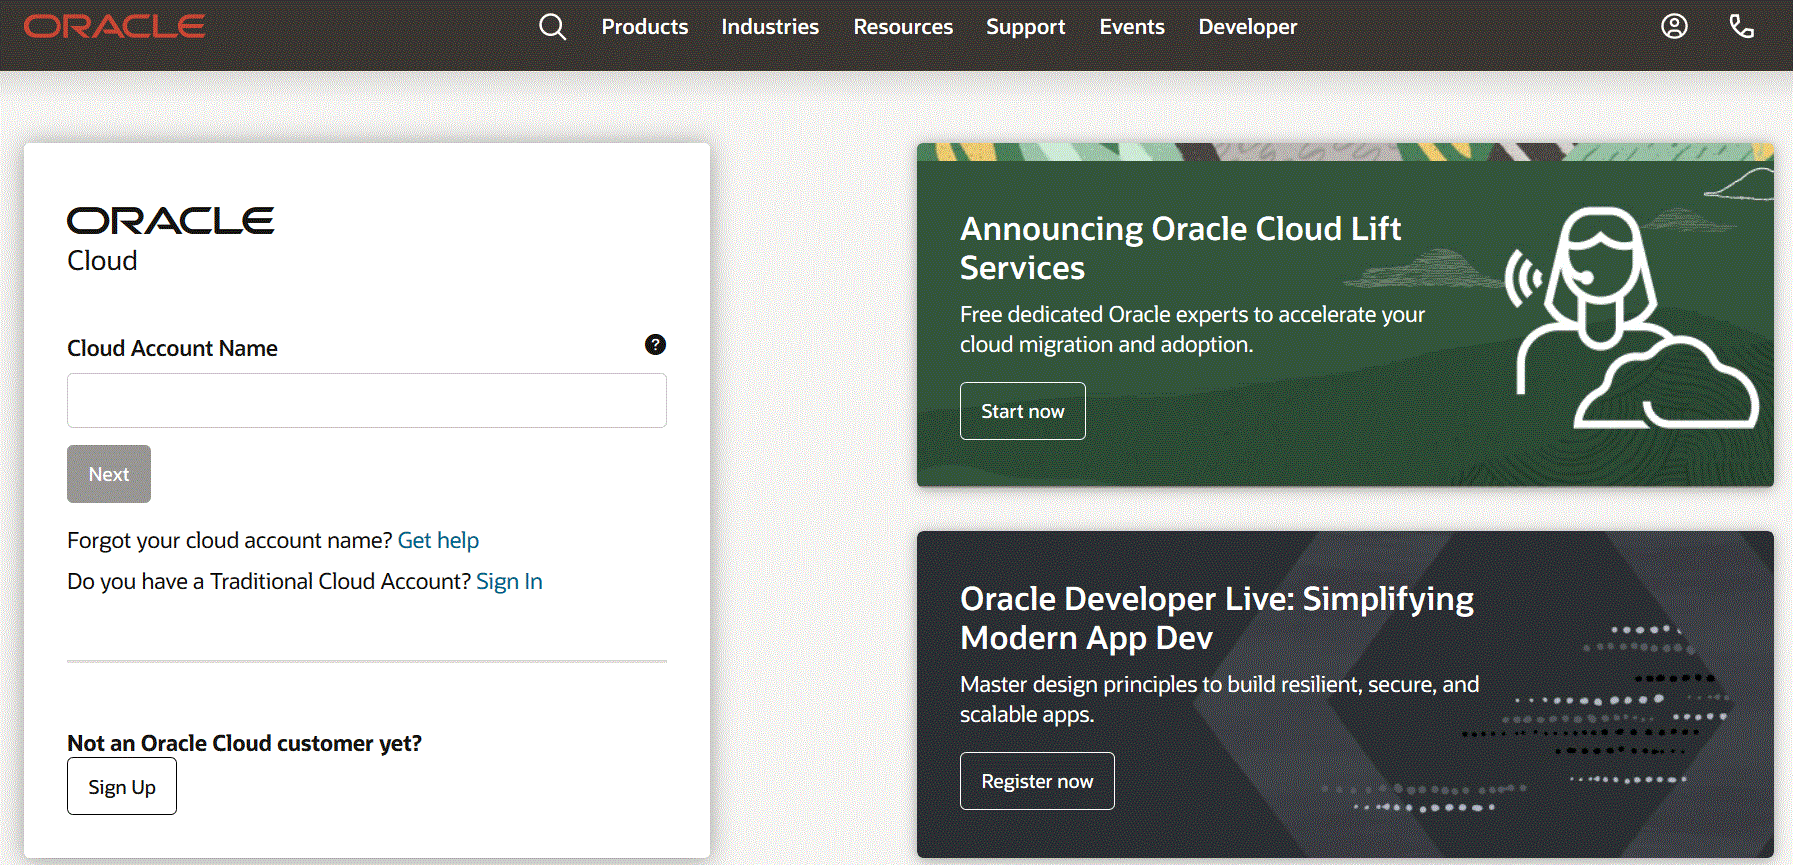
In Cloud Account Name, enter your cloud account name and click Next.
-
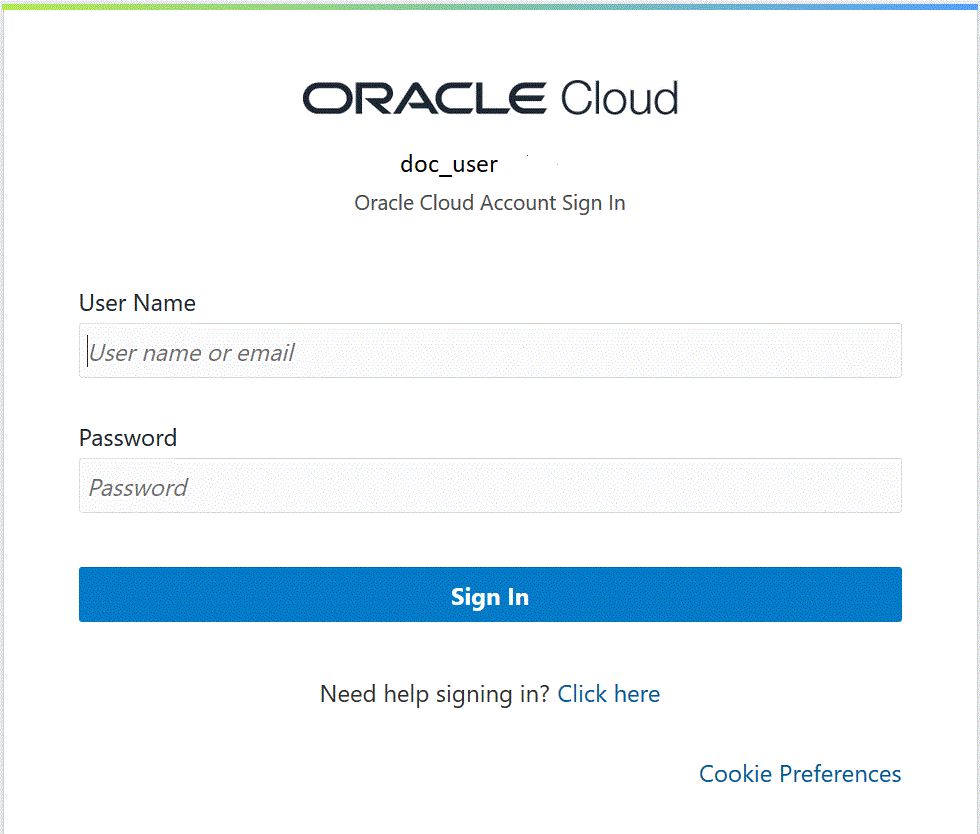
On the Oracle Cloud Account Sign In page, enter your user name in User Name and password in Password and then click Sign In.
-
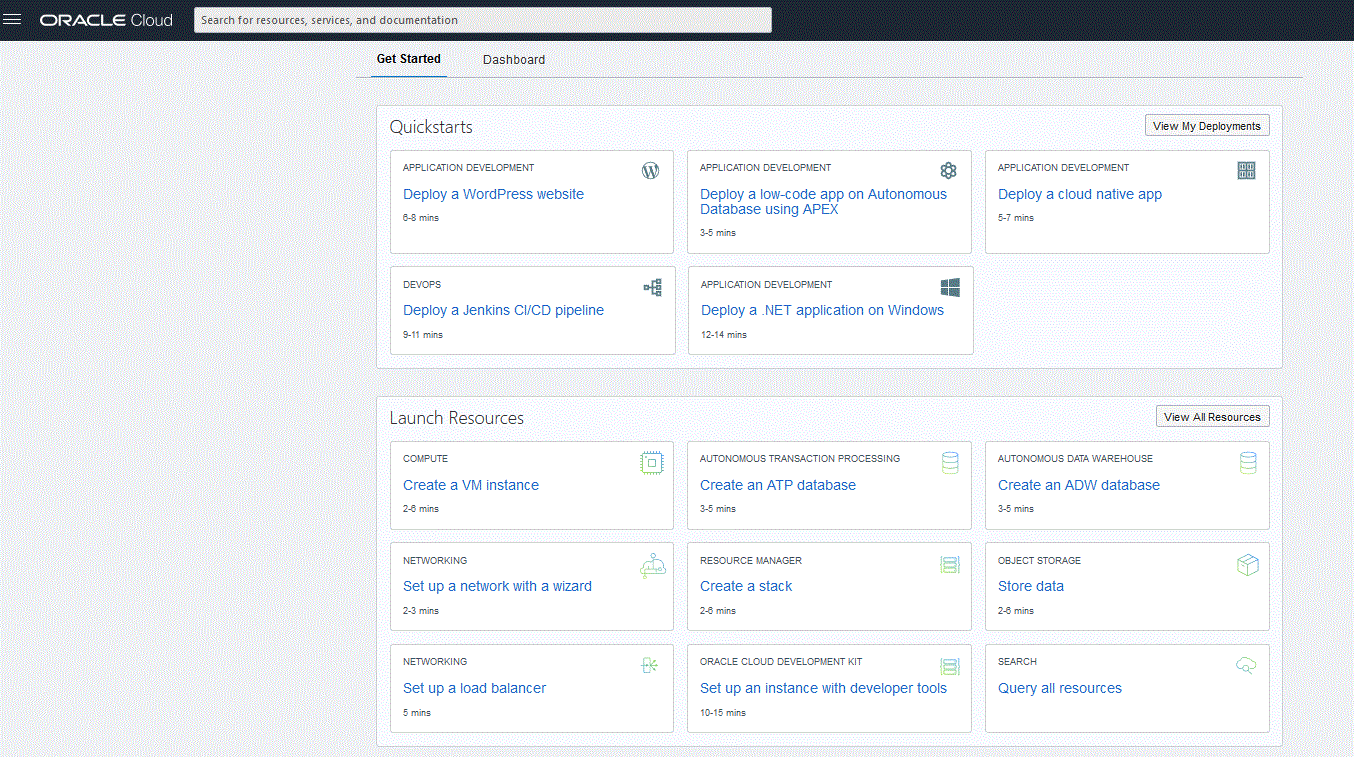
On the Getting Started page, click Navigator (
 ) in the upper left to show the top-level navigation choices.
-
Click Home page, and then under Featured, click Autonomous Database.
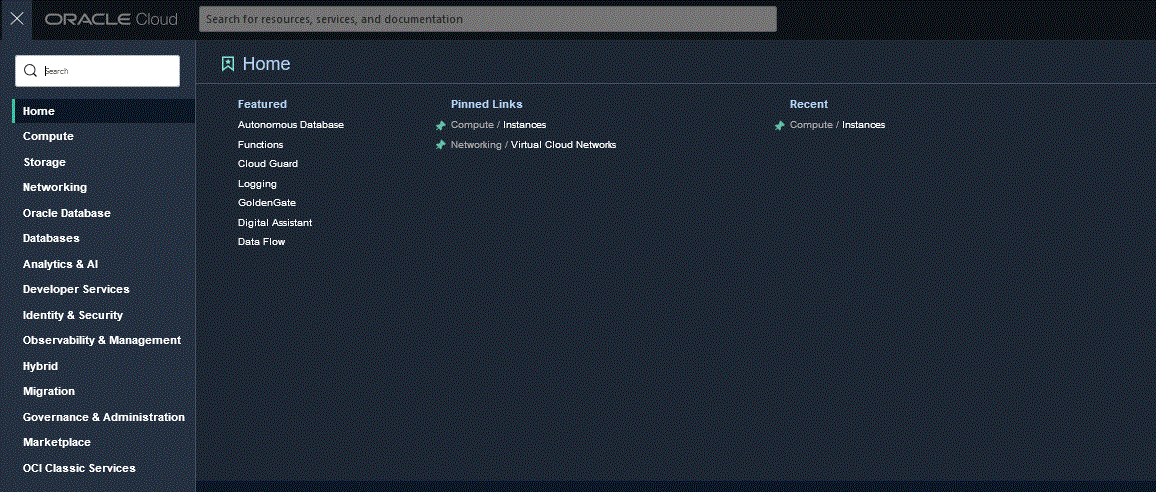
The Autonomous Data page opens showing the list of databases in your current region and compartment.
-
On the Autonomous Database page, under Display Name, select the autonomous database to which to connect.

-
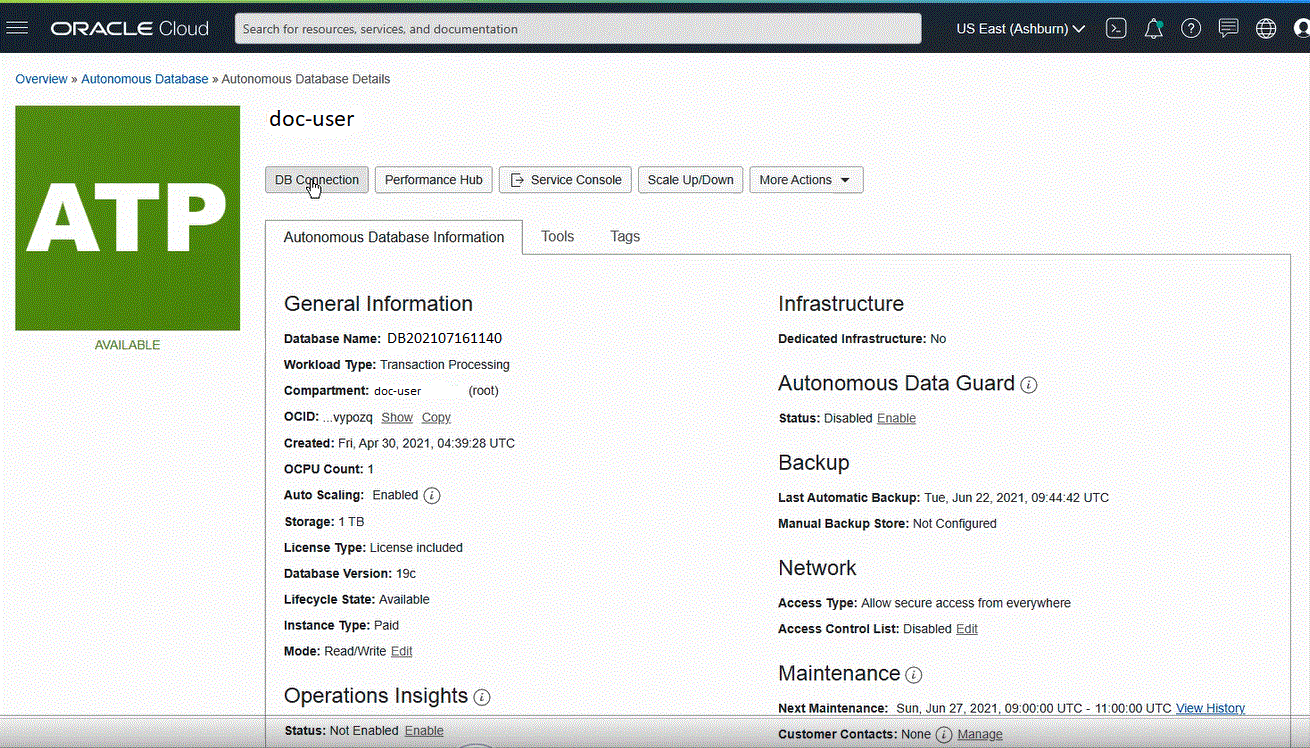
Click DB Connection.
-
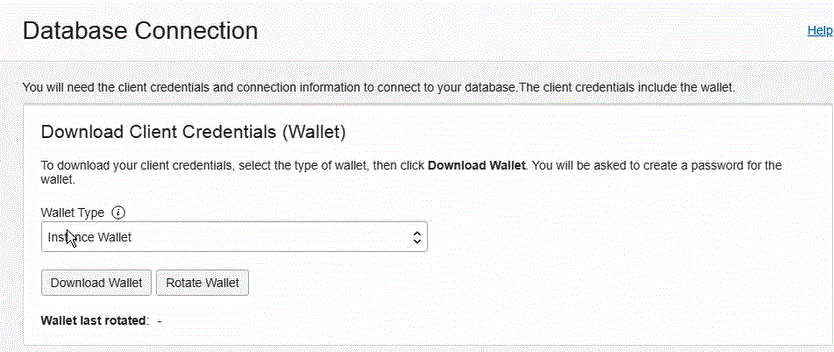
On the Data Connections page, specify the client credentials and connection information to connect to your database by selecting the wallet type.
A wallet is a password-protected container that stores authentication and signing credentials, including private keys, certificates, and trusted certificates, all of which are used by SSL for strong authentication.
Available wallet types:
-
Instance Wallet: Wallet for a single database only; this provides a database-specific wallet.
-
Regional Wallet: Wallet for all Autonomous Databases for a given tenant and region (this includes all service instances that a cloud account owns).
Note:
Oracle recommends you provide a database-specific wallet using Instance Wallet, to end users and for application use whenever possible. Regional wallets should only be used for administrative purposes that require potential access to all Autonomous Databases within a region. -
-
Click Download Wallet.
-
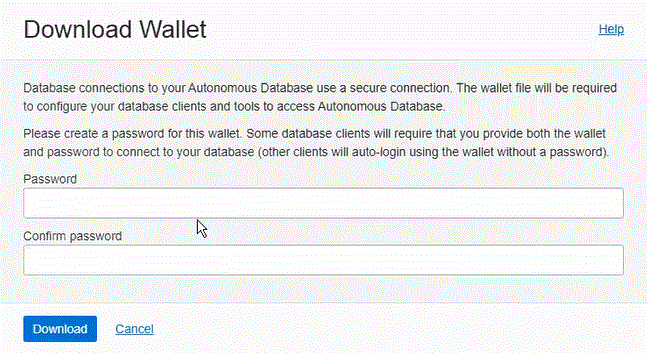
In the Download Wallet dialog, enter a wallet password in the Password field and confirm the password in the Confirm Password field.
You are prompted to provide a password to encrypt the keys inside the wallet. The password must be at least 8 characters long and must include at least 1 letter and either 1 numeric character or 1 special character. This password protects the downloaded Client Credentials wallet.
-
Click Download to save the client security credentials zip file.
By default the filename is:
Wallet_databasename.zip. You can save this file as any filename and to any local folder. -
Click Close.
Note:
To connect to the Oracle Autonomous Database using SQL Developer, see Connect SQL Developer to Autonomous Transaction Processing.