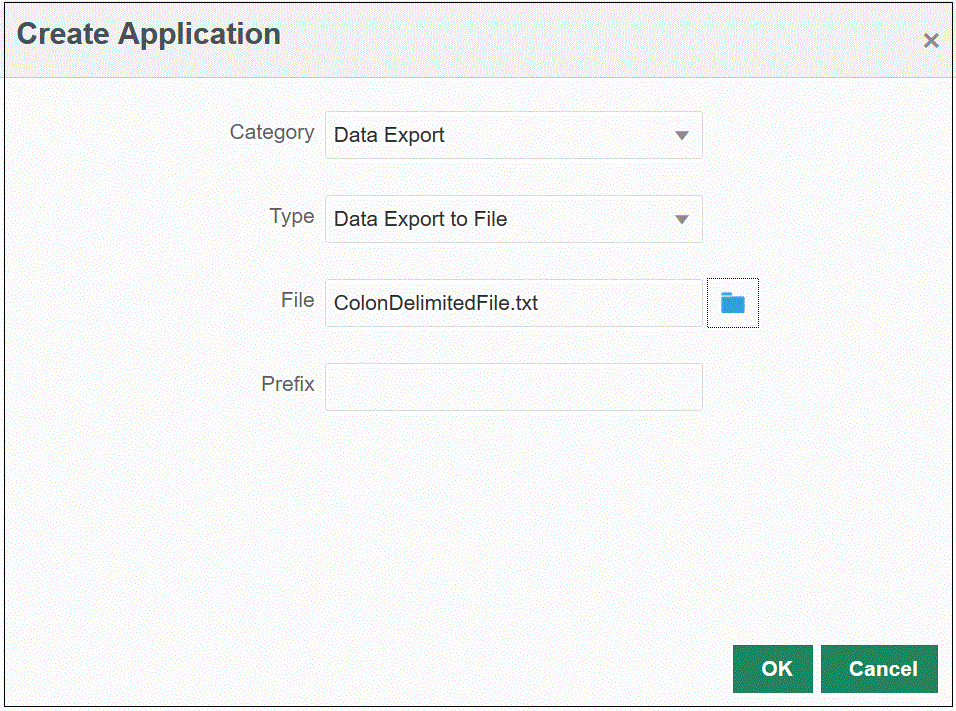
Creating a Data Export File Integration
Data Export to File enables you to export data from an Oracle Fusion Cloud Enterprise Performance Management application to a data file. You can use the data file to load data into an Oracle ERP Cloud application or an external system.
When creating a data export to file application, note the following:
-
When dimensions are created, the order of the column in the data file is used to assign the column order. The first column in file is assigned ACCOUNT data column.
-
It is recommended that you export only a year at a time. If date ranges cross a year boundary, data may be duplicated.
-
The POV category is not validated.
-
Check Rules can be created from a data export file. Check rules cannot be based on target values.
-
Write-back is not applicable from data export files.
-
Only numeric data types are supported. If you need to export text, SmartList, and dates, use an EPM Data File application with the type: "EPM Data File," and the data extract option "Level 0 Data." Use this application as the target when creating your integration.
You can also use the groovy public class DataExporter. For more information, see Class DataExporter.
-
The default Workflow Mode setting is Simple for Data Export to File. When you are exporting data from the Cloud EPM, there is no drill support so the default workflow mode is set to Simple.
If you want to see the data in Workbench for testing purpose set the Workflow Mode to Full. For more information, see Defining Application Detail Options.
-
To add a timestamp, create a new export column in the target application, then create a SQL Like Mapping for the next column and in the script just type
CURRENT_TIMESTAMP.Note this method uses a full time stamp, such as
21-JAN-22
                            04.14.33.677306 PM +00:00
, which is based on the server time and not necessarily the local time.To format the timestamp, use the TO_CHAR syntax. For more information, see TO_CHAR (datetime).
-
Target values are not validated for data export to file applications.
-
When the integration is executed, Data Integration exports the data. Data Integration creates an output data file. The name of the data file is
<Target
                            App Name>_<Process ID>.dat
, and it is written to the<APPL ROOT FOLDER>/outboxdirectory. You can access the data file from the Process Details page from theOUTPUT filecolumn. -
Using the Download File Name field in Data Export Target Application options, you can also specify your own file name when generating a data export output file as part of a data export to file integration definition, for example, PlanExport.csv.
The system creates the output file in the platform
inbox/outboxfolder. Theinbox/outboxfolder is accessible by navigating to the Application card from the Home page, then Overview, and then from the Actions drop-down, selectingInbox/Outbox Explorer.You can also create the file under Data Integration folders by prefixing the folder to the file name, for example inbox/PlanExport.csv or outbox/PlanExport.csv.
Note:
Sub-folders under theinboxare supported, for example, inbox/userx/PlanExport.csv. You cannot create sub-folders under theoutbox.If the Download File Name field is left blank, the output file is created in the outbox folder with the name <Application Name>_<Process ID>.dat.
-
If you have a data export job scheduled on a daily basis and need to have the output file distributed to an individual automatically, use the Download Application Snapshot in REST API for Enterprise Performance Management Cloud to download a particular file, provide the path to that file as the value of
applicationSnapshotName. For example, to download a Data Integration file calleds112.csvin the inbox, refer to the file as"inbox/s112.csv"as the path parameter.
To create a Data Export File integration definition:
