Populating Detail Mappings
Use the Populate Detailed Mappings feature to populate all members for all dimensions in the source that do not exist in the target. You can also use this feature to populate a detail.
To populate detail mappings for all dimensions in the source that do not exist in the target:
-
From the Data Maps home page, click the name of the data map.
-
From the Detail page, select the dimension to which to populate detailed mappings and then click Map.

-
From the Edit Mapping page, click
 , and then Populate Detailed Mappings.
-
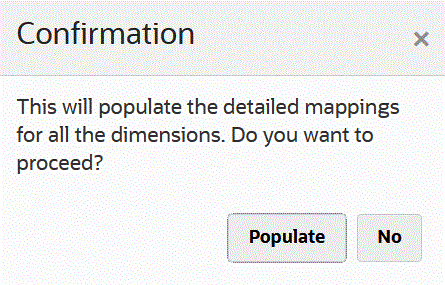
On the Confirmation page, click Populate.

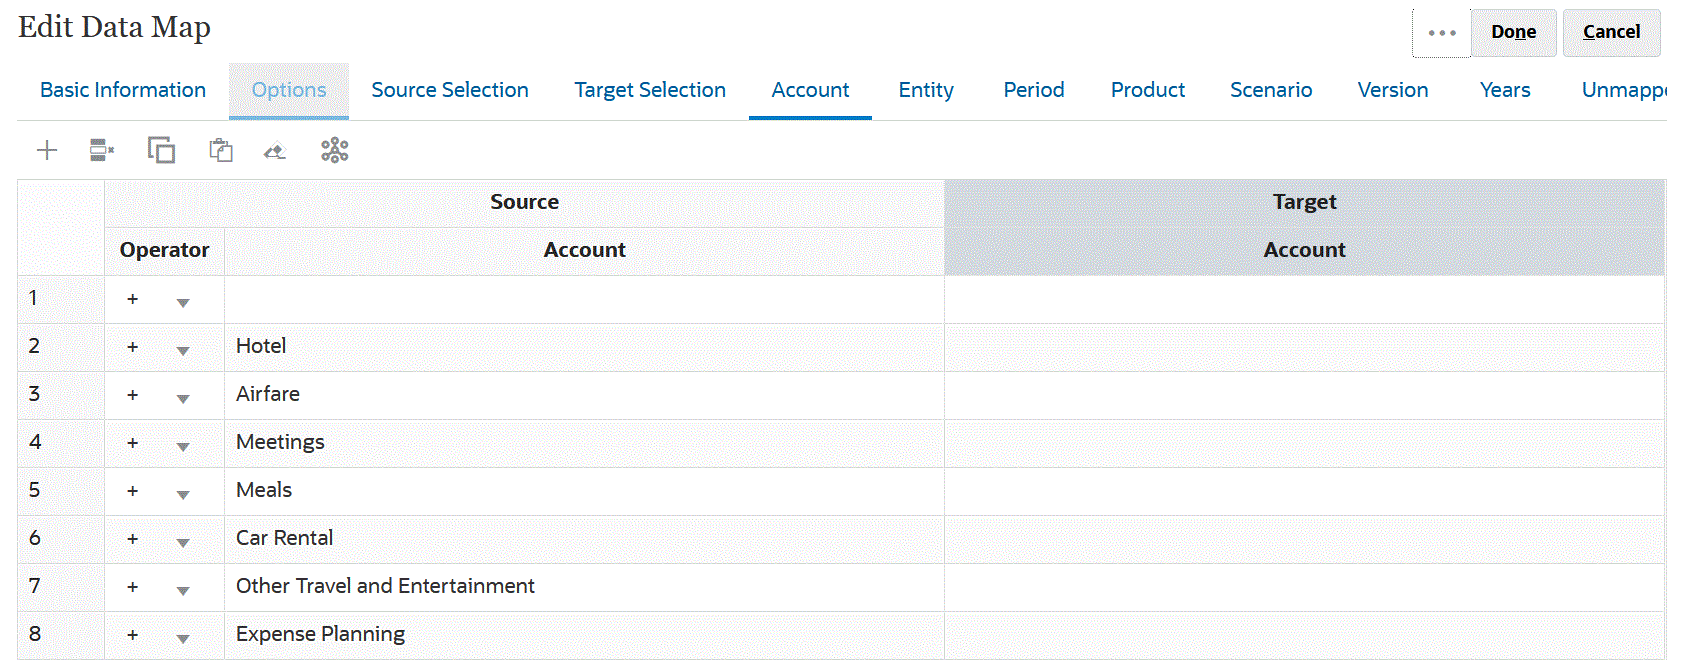
All dimensions are populated for the Source as shown below:

To populate a detail mapping for a single dimension:
-
From the Data Maps home page, select the name of the data map to which to edit for the detailed mappings.
-
From the Detail page, click the selected members to edit and then click Map.

-
From the Select Members page, select the member(s) to use for the data map and click OK.
-
If you have existing mappings and you want to keep these, on the Warning page, select No.
If you want to remove all mappings for this dimension, click Yes.
- From the Detail page, click Mapped for the dimension to edit the mapping.
-
From the Edit Mapping page, click
 and then click Done.