Import Member Mappings

You can import either a current dimension or all member mappings from a selected CSV and TXT file format, and then you can create mappings. Import member mappings support merge or replace modes, along with validate or no validate options for target members.

To import member mappings:
  1. From the Data Integration home page, click Image shows Select icon. to the right of the file-based integration, and then select Map Members.
  2. Click Edit.
  3. From the Dimension drop-down, select the dimension to which to edit or add member mappings.
  4. From the Actions drop-down, and then Import, select Current Dimension.
    To import all dimensions, select All Dimensions.
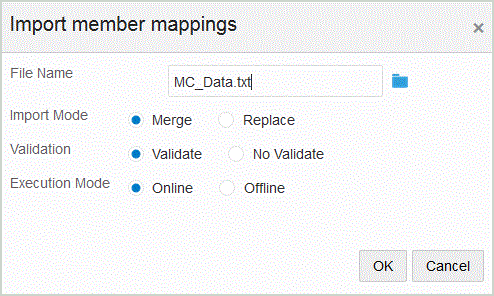
  5. From Import member mappings, and then File Name, specify the name of the file from which to import the member mapping.

    Image shows the Import member mappings page.

  6. From Import Mode, select the import mode:
    • Merge—Update existing maps. Existing maps are identified based on Source value, Processing Order and Integration Name if specified. If the map does not exist, then a new map is created.

    • Replace—Delete the existing maps and create new maps from the file.

  7. From Validate, select to validate the member mappings.

    Validate ensures that all data in the imported General Ledger has a corresponding mapping.

  8. In Execution Mode, select the mode for executing the import:
    • Online—Processes the import immediately.

    • Offline—Runs the import in the background.

  9. Click OK.