Data Synchronization Process Description
At a high level here are steps to synchronize data in order to move data to a single Oracle Fusion Cloud Enterprise Performance Management business process:
-
To move data to reporting cubes in the same Cloud EPM business process:
-
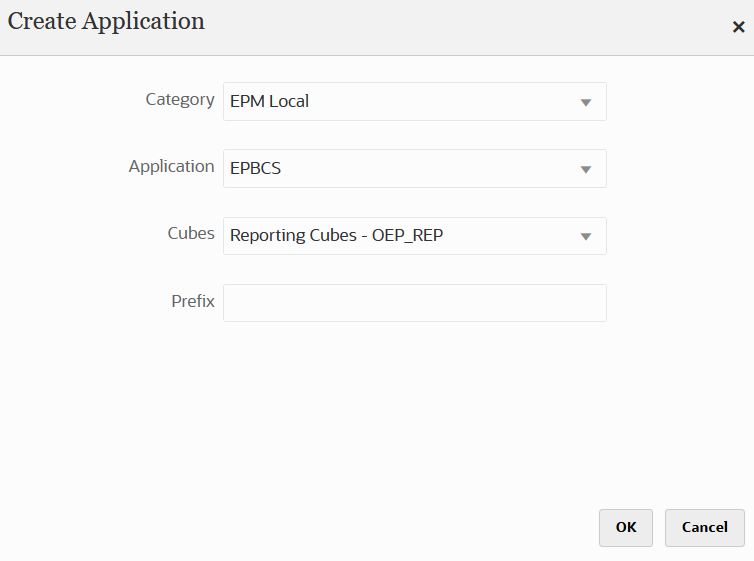
From the Applications page, add an EPM Local application, and select the reporting cube.
-
Click OK to register the application.

For more information, see Registering Applications.
-
-
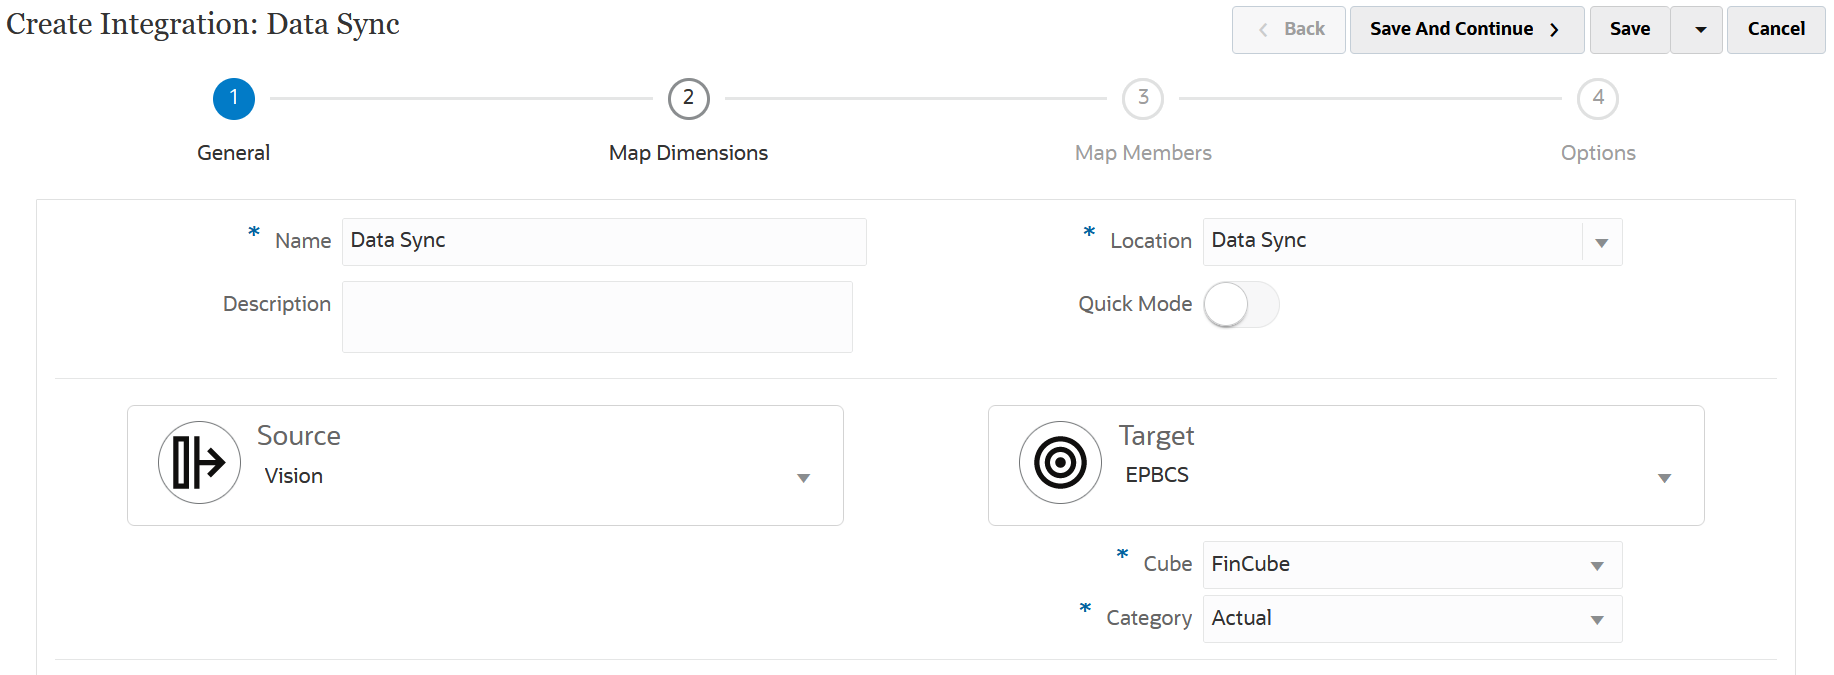
On the General page, create the integration between the source and the target applications to be synchronized.
When synchronizing data to an ASO or BSO application and the target is an input cube, from Cube, select the target input cube.

For more information, see Creating Direct Integrations.
-
On the Map Dimension page, map the dimensions between the source and target.
You map the dimensions that comprise each source and target so that the synchronization can recognize all relevant elements.
If the source and target members are the same, define a target expression and select copySource() as the expression. For more information, see Copy Source Value.
Additionally, you can define any other expressions for transforming the data.
For more information about source expressions, see Using Source Expressions.
For more information about target expressions, see Using Target Expressions.
If you want to load periodic data to Financial Consolidation and Close, you should map the FCCS_Periodic member to the View dimension. This is possible using the constant source expression with FCCS_Periodic as the value as shown below:


For more information about mapping dimensions, see Mapping Dimensions.
-
On the Map Members page, map members for each dimension to use target system members based on existing source values from the source.
For more information, see Mapping Members.
-
On the Options page, define any integration parameters such as source filters, and general and target options.
For more information about general options, see Defining Direct Integration Options.
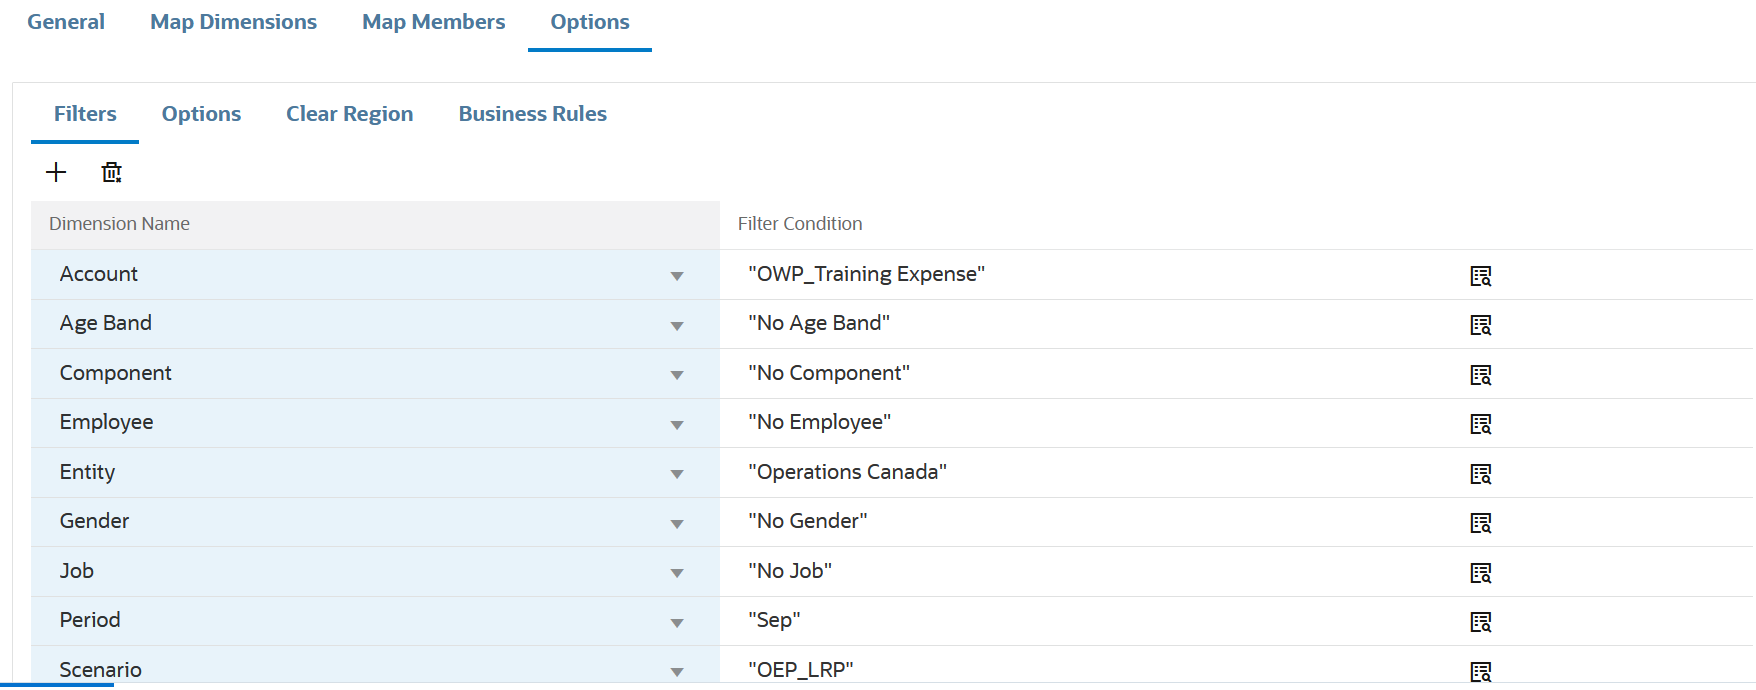
From the Filters tab, select a dimension, and then enter filter criteria for it. For example, you can specify the subset of budget data to extract from your Planning source and load it to the target. For more information, see Defining Planning Filters.

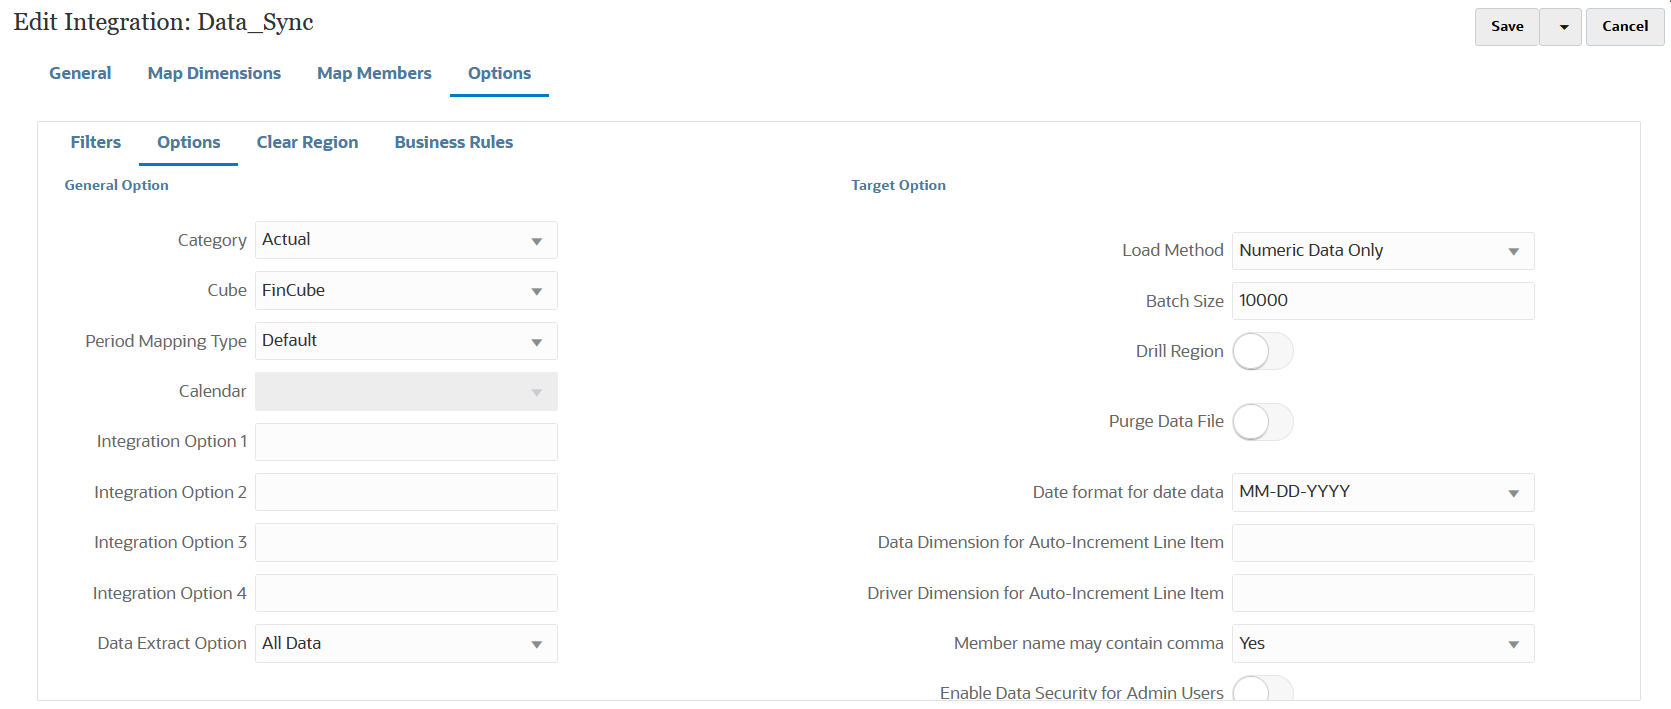
From the Options tab, then under General Option, select the source cube, period mapping type (default or explicit), and the Data Extract option.

For more information about Data Extract Options, see Step 7 Data Extract Option in Defining Direct Integration Options.
Under Target Option, select any options to manage how data is loaded to the target such as how you load data including load methods, date formats, batch, and purge options
For more information about target options, see Defining Target Options.
-
From the Run Integration page, run the integration to execute the synchronization of the source and target.
For more information, see Running an Integration.