Use Case: Managing POVs for Multiple Users
In this use case, we will complete the following steps:
In the Explore Repository:
-
Set preferences for the user POV for two users
-
Log on as each user and select an entity for each POV
In Financial Reporting Web Studio:
-
Export and save the user POV file and confirm that the selected members are listed below the user name
-
Delete the user POV and view the confirmation message
-
Import the exported XML file and view the confirmation message that the POVs have been imported
In the Explore Repository, log on as each user and check the user POVs.
Set Preferences for the User POV
To set preferences for the user point of view:
-
Open Explore, and select File. and then Preferences.
-
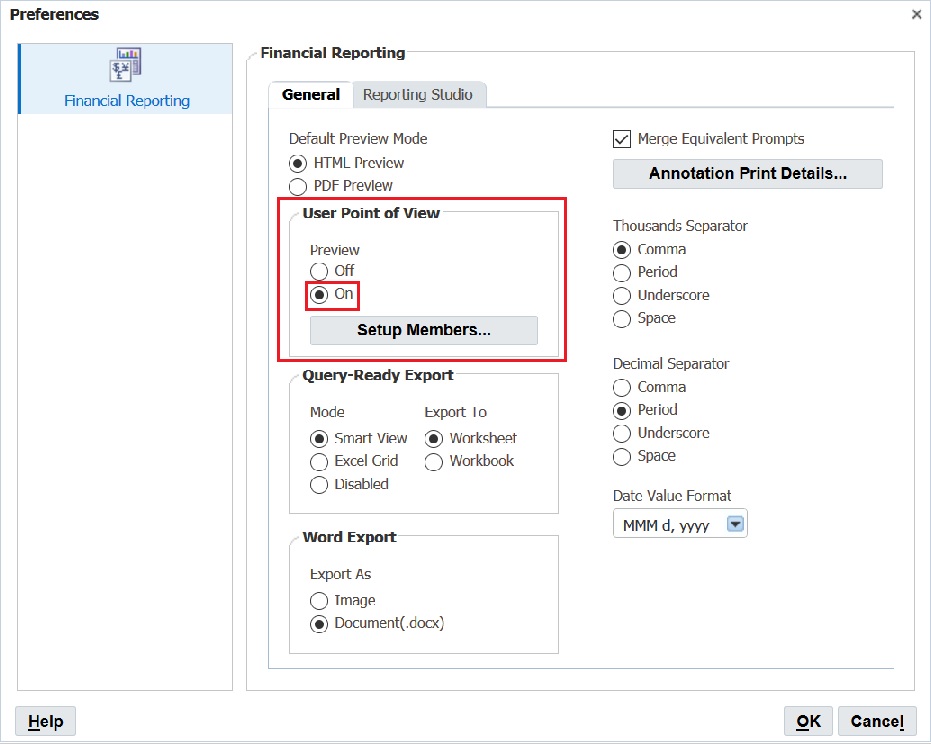
In the Financial Reporting General tab, set the User Point of View to On, and then click OK.
Select an Entity for Each User POV
To select an entity for a user POV:
-
In Explore, open a report containing a user point of view.
-
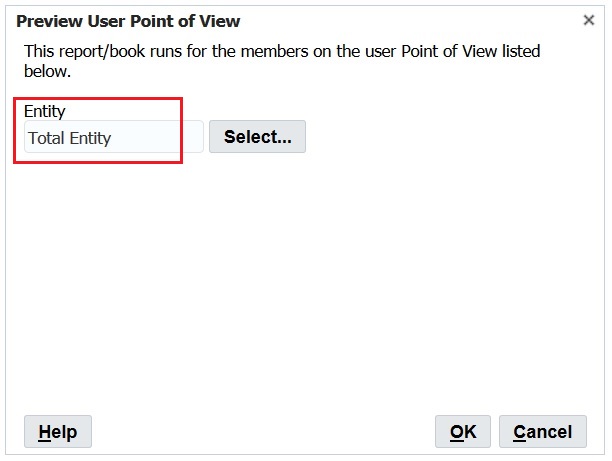
In the Preview User Point of View dialog box, select an entity, and then click OK.
In this example, we selected Total Entity.
-
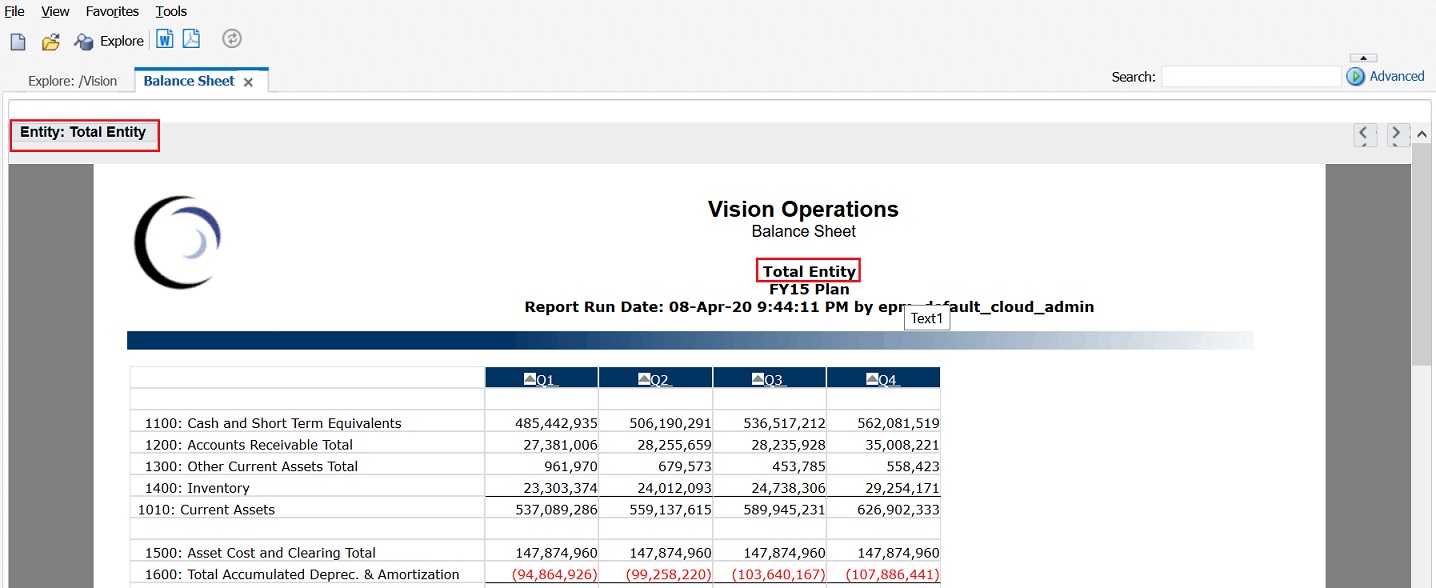
Preview report and confirm that the entity you selected is on the POV.
In this example, Total Entity is on the POV.
-
Close Explore and log off.
-
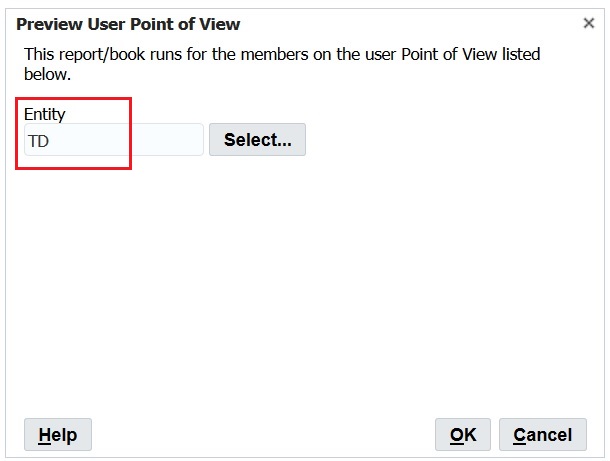
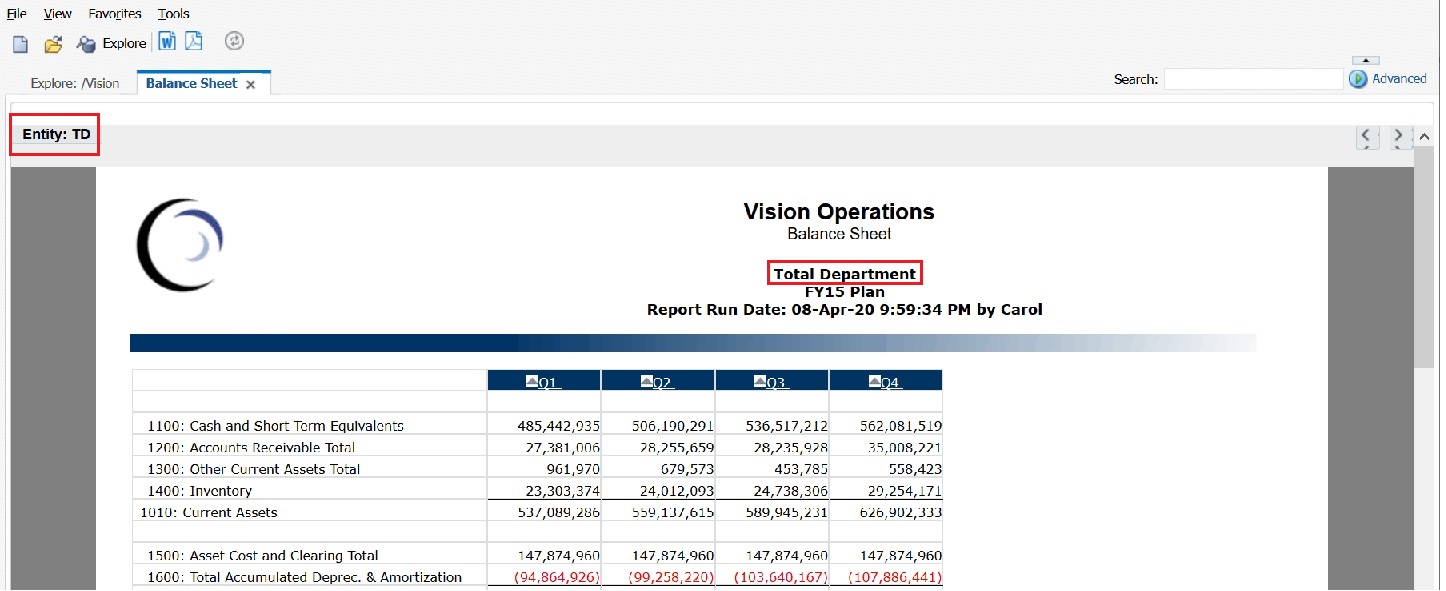
Log on again as the second user, set the User Point of View to On, and repeat steps 1-3 but select a different entity as the POV.
In this example, we will select TD as the entity.
-
Close Explore and log off.
Export the User POVs from Financial Reporting to an XML File
To export the user POVs to an XML file:
-
Open Financial Reporting Web Studio, and select File, then Manage, and then User Point of View.
-
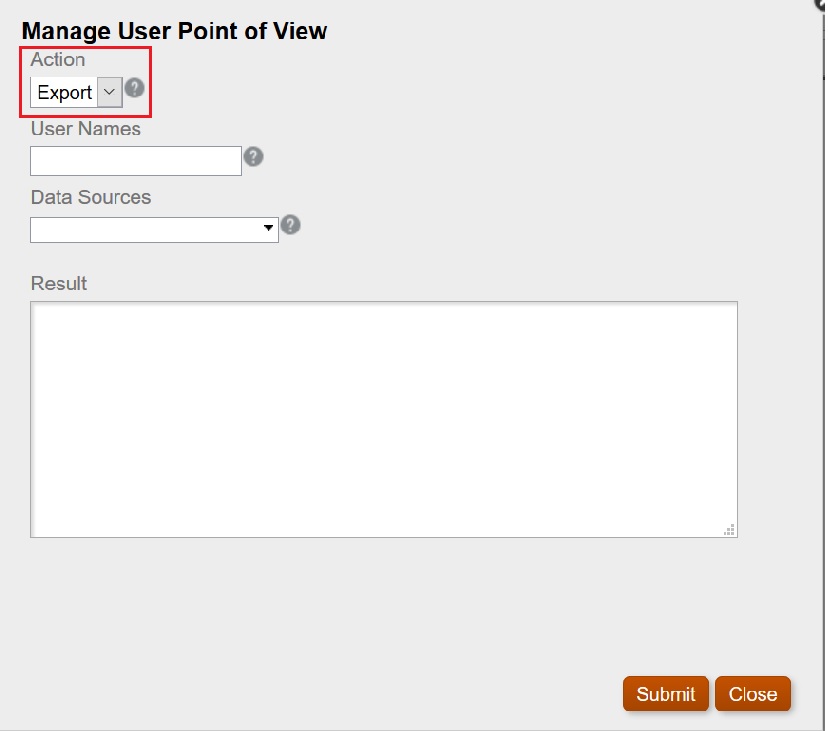
In the Manage User Point of View dialog box, select Action, and then Export.
-
Select Submit.
-
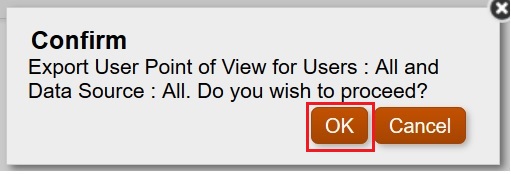
Click OK in the Confirm dialog box to proceed.
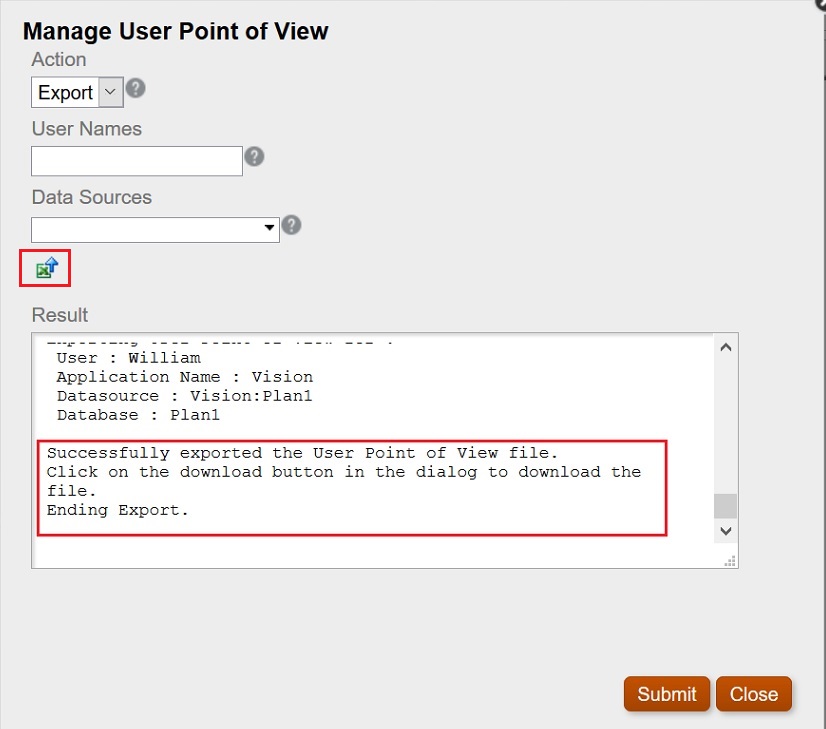
The status of the export in displayed in the Results section of the Manage User Point of View dialog box. Scroll to the bottom to ensure that the export was successful.
-
Click
 (Download POV icon).
-
Select Save File to save the
ManageUserPOVExport.xmlfile, and then click OK.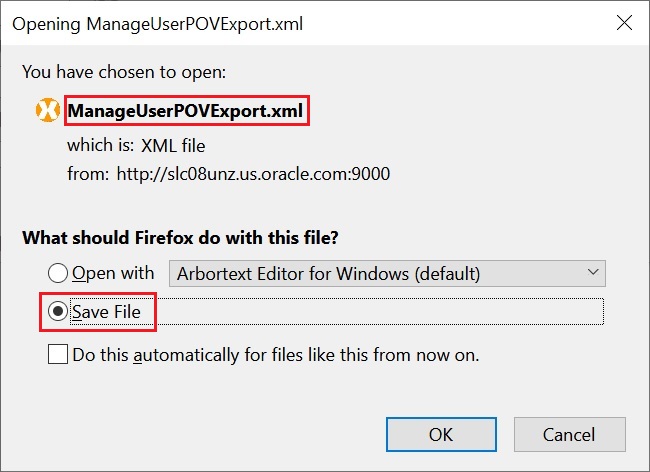
-
Select a location to save the file, and then click Save.
-
Open the
ManageUserPOVExport.xmlfile you just saved, and view the user POVs.
Note:
At this point, you could modify the user POVs in the XML file before importing them back in to Financial Reporting.
Delete the User POVs
To delete the user POVs,
-
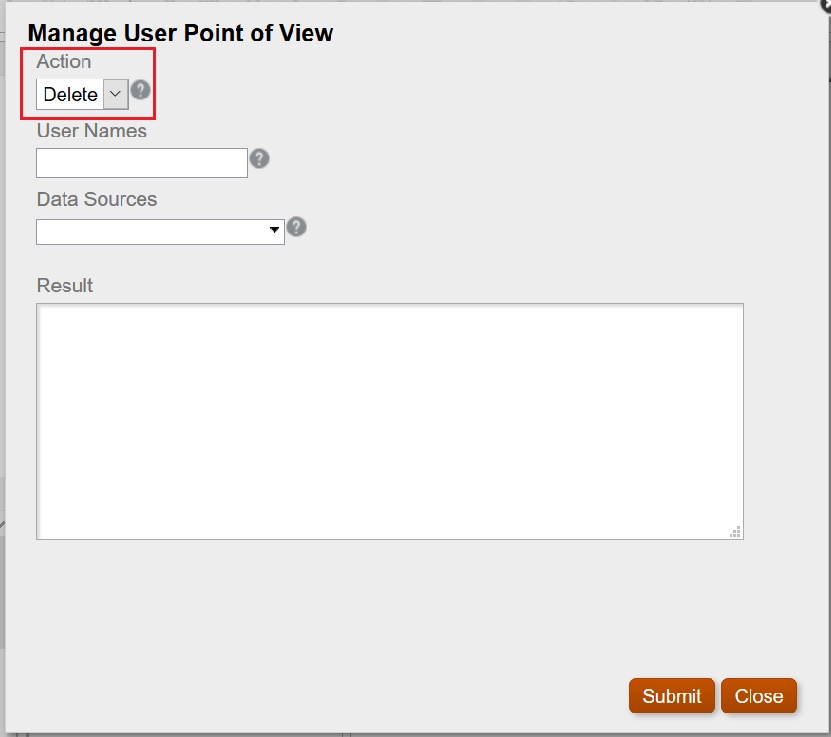
In the Manage User Point of View dialog box, select Action, and then Delete.
-
Select Submit.
-
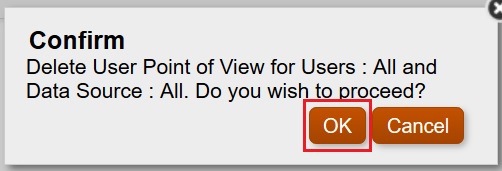
Click OK in the Confirm dialog box to proceed.
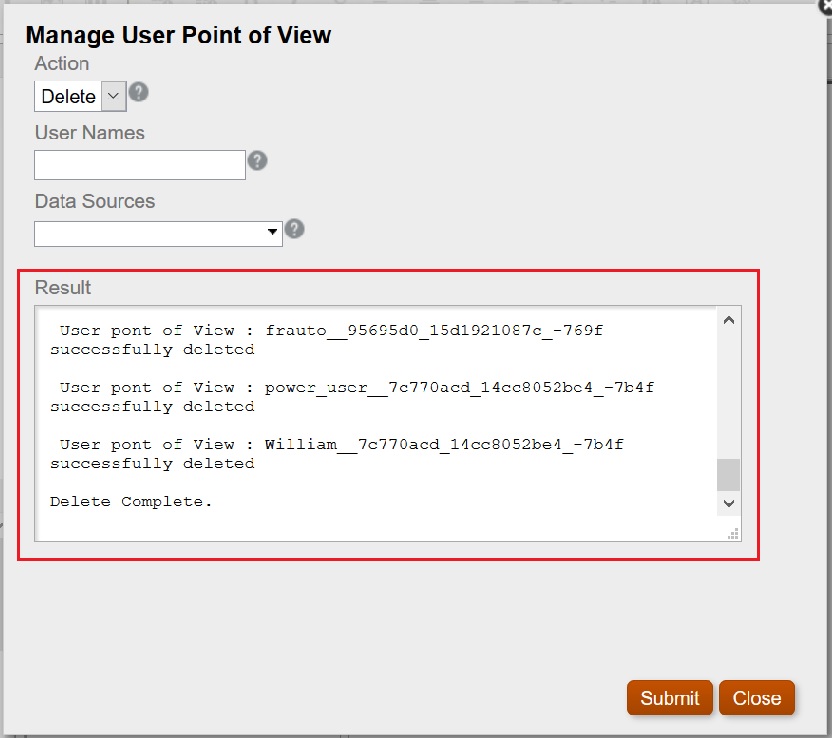
The results should show the successful deletion of the POVs.
-
Click Close to close the dialog box.
-
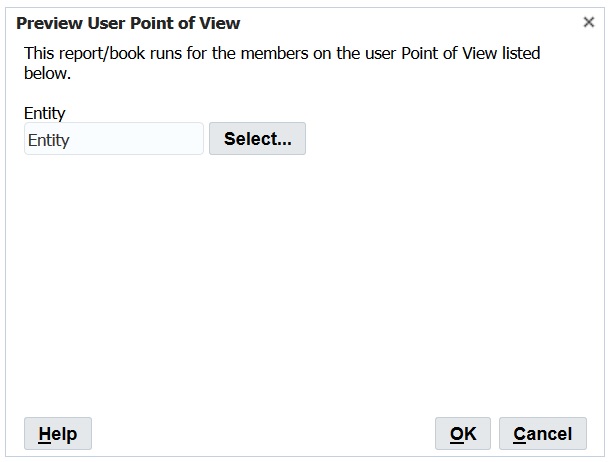
Return to the Explore Repository, open the report containing the point of view, and verify that there is no POV selected for Entity.
The Preview User Point of View dialog box should look as follows:
Import the Exported XML File back into Financial Reporting and Confirm the POVs
To import the exported XML file and confirm the POVs:
-
In Financial Reporting Web Studio, select File, then Manage, and then User Point of View.
-
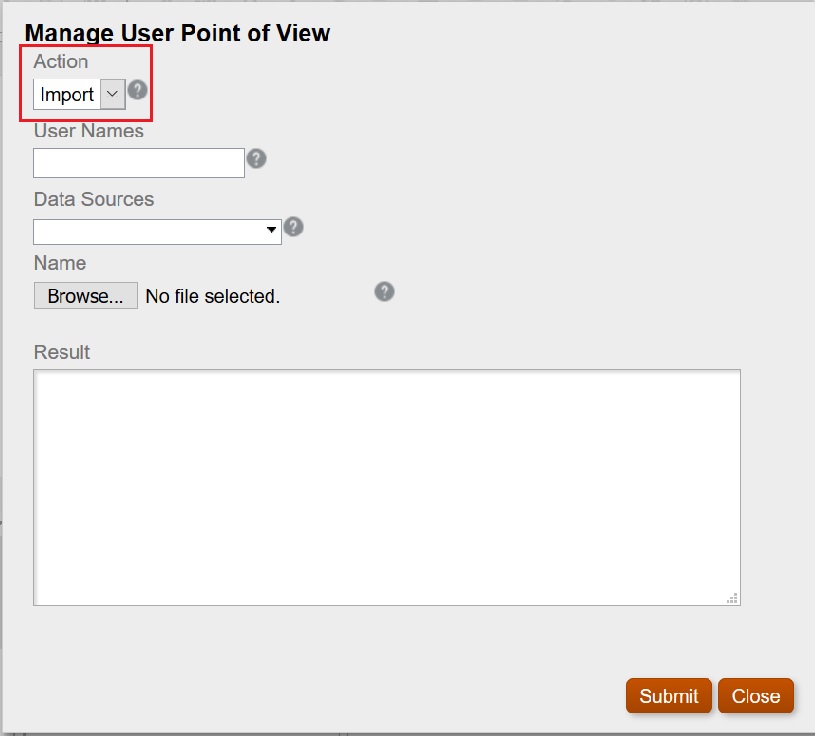
In the Manage User Point of View dialog box, select Action, and then Import, and confirm that the Result section is emptied of content.
-
Click Browse, then open the
ManageUserExportPOV.xmlfile that was exported earlier, and then click Submit.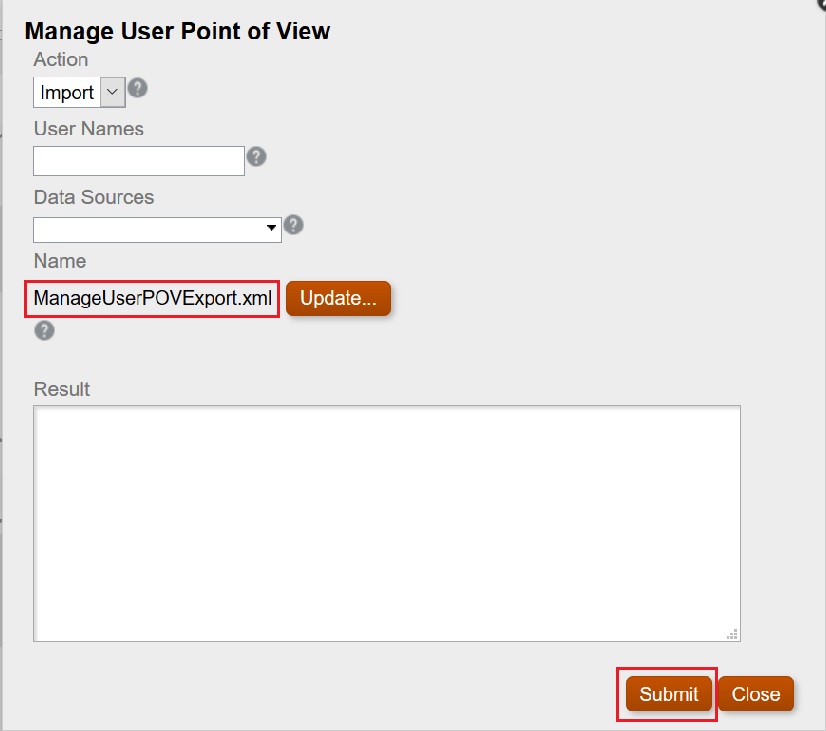
-
Click OK in the Confirm dialog box to proceed with the import.

-
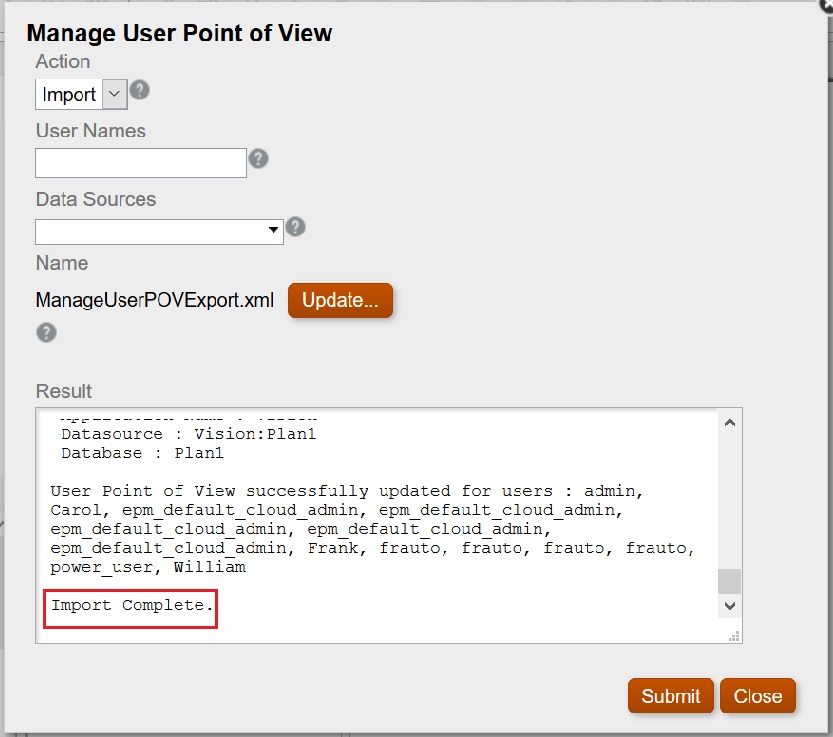
Verify that the import was successful,, and then click Close to close the dialog box.
Log on As Each User and Verify the POVs
To log on as each user and verity the POVs:
-
In Explore, open the report.
-
In the Preview User Point of View dialog box, verify that the POV is displayed.
In our example, we defined POVs for Total Entity and TD.

