Creating an Application
To get started, create a Sales Planning application.
-
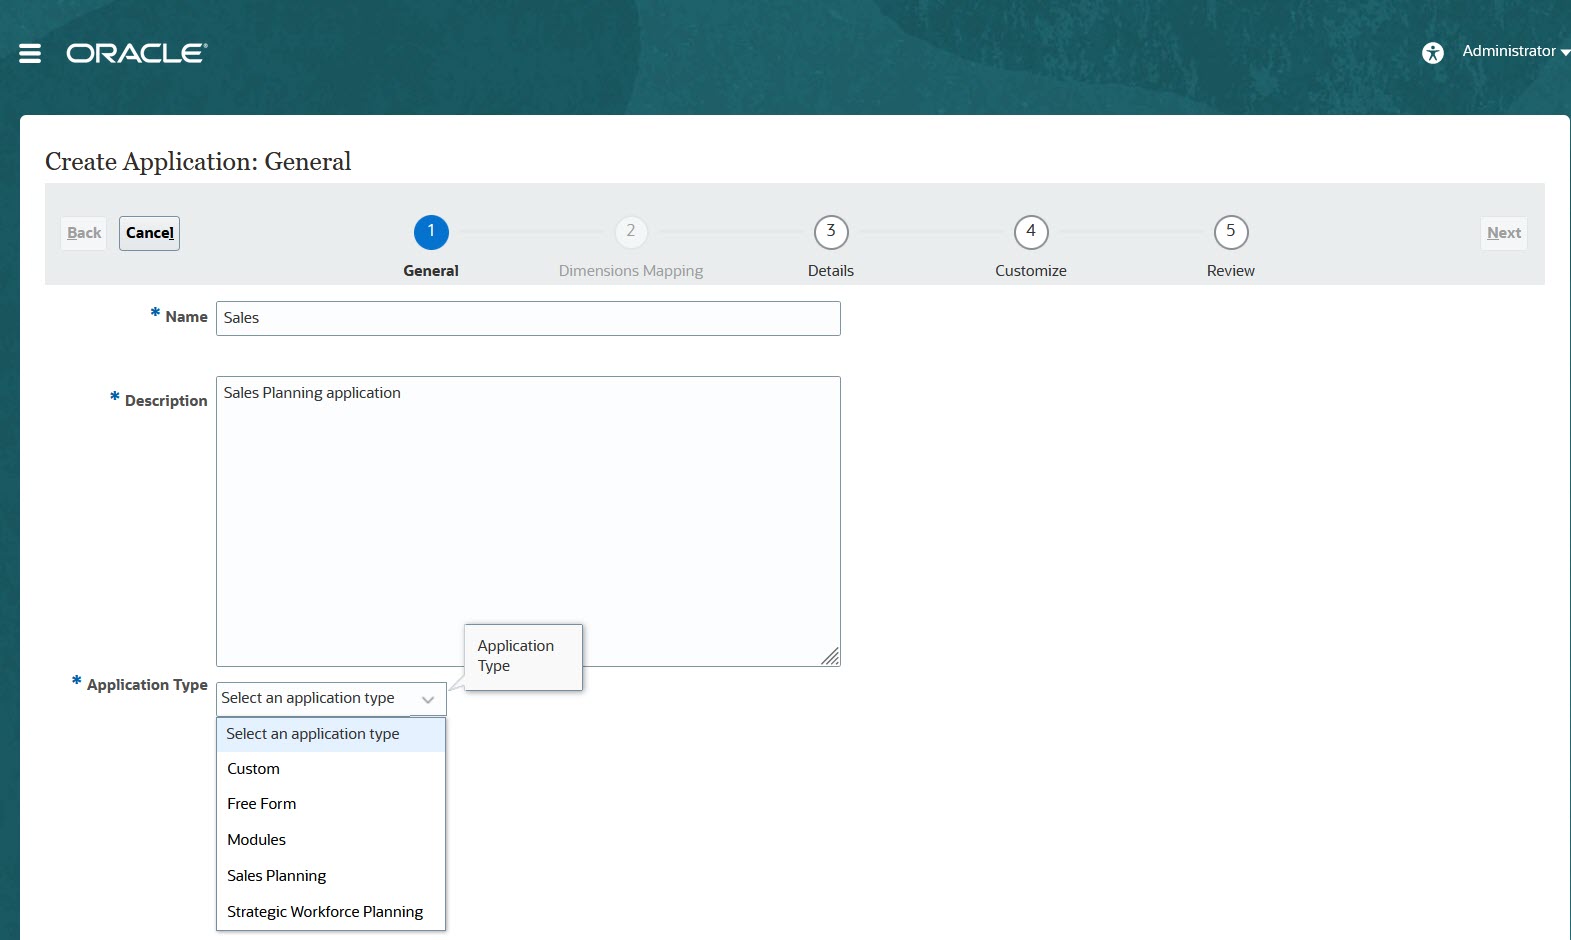
On the landing page, click SELECT under Planning to view available options for creating a Planning application. Under Create a new application, click START. Enter an application name and description, and for Application Type, select Sales Planning, and then click Next.

If you are using the legacy Oracle Sales Planning Cloud SKU, log in and select Start under Sales. Enter an application name and description and then click Next.
- Specify this information.
-
Start and End year—Years to include in the application. Make sure to include the year that contains the historic actuals required for planning and analysis. For example, for an application beginning in 2019, select 2018 as the start year so that the latest actuals are available for setting targets using year over year growth percentage, and for reporting purposes.
-
First Month of Fiscal Year—Month in which your fiscal year begins.
-
Weekly Distribution—Sets the monthly distribution pattern, based on the number of fiscal weeks in a month.
This selection determines how data in summary time periods spreads within the base time period. When users enter data into summary time periods, such as quarters, the value is distributed over base time periods in the summary time period.
If you select a weekly distribution pattern other than Even, the application treats quarterly values as if they were divided into 13 weeks and distributes weeks according to the selected pattern. For example, if you select 5-4-4, the first month in a quarter has five weeks, and the last two months in the quarter have four weeks.
- Task Flow Type—Choose a
Task Flow Type for the
application:
-
Task List—Task lists are a classic feature which guides users through the planning process by listing tasks, instructions, and end dates.
For more information about task lists, see Administering Task Lists in Administering Planning.
-
EPM Task Manager—This is the default option for new applications. EPM Task Manager provides centralized monitoring of all tasks and provides a visible, automated, repeatable system of record for running a application.
For more information about EPM Task Manager, see Administering Tasks with Task Manager in Administering Planning.
Note:
There is no migration from existing Task Lists to the EPM Task Manager. If you want to continue using classic Task Lists, select the Task List option during application creation.
-
-
Main Currency—For a multicurrency application, this is the default reporting currency and the currency against which exchange rates are loaded.
-
Multicurrency—Multicurrency support is provided by the Currency dimension, and enables reporting in different currencies.
-
Name of Reporting Cube—Sales Planning delivers a reporting cube called SALESREP. You can configure the dimensionality of the cube for your reporting requirements.
-
- Click Next, review your selections, and then click Create.
- Click Configure to enable and configure the application. See:
Videos
| Your Goal | Watch This Video |
|---|---|
|
Learn about creating an application for Quota Planning. |
|
|
Learn about creating an application for Advanced Sales Forecasting. |
|