Mobile Worker Landing Page
The Mobile Worker Landing page provides useful information such as the activity details, route, inventory, and so on.
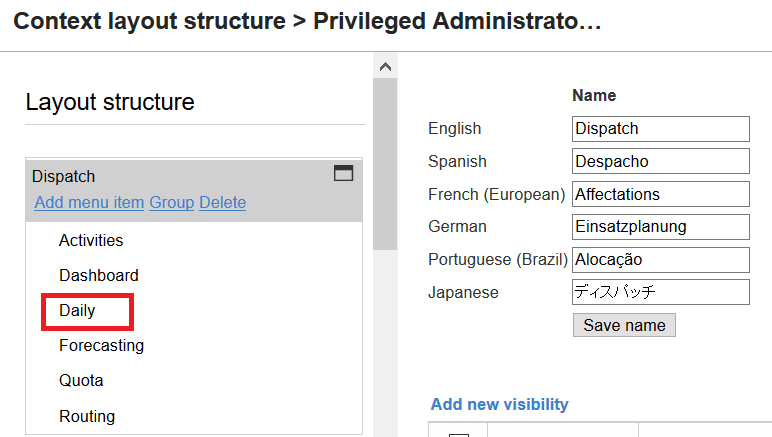
Your administrator configures the Mobile Worker Landing page using the ‘Mobile Worker Landing Page’ parameter. Depending on the configuration, you see either the Activity List view or the My Route option.
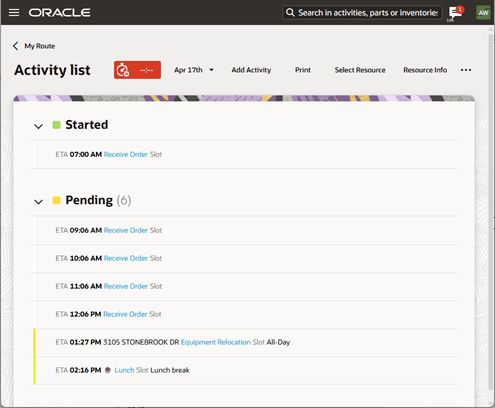
Activity List
When your Administrator has configured the Activity List option, you see the list view upon logging in.
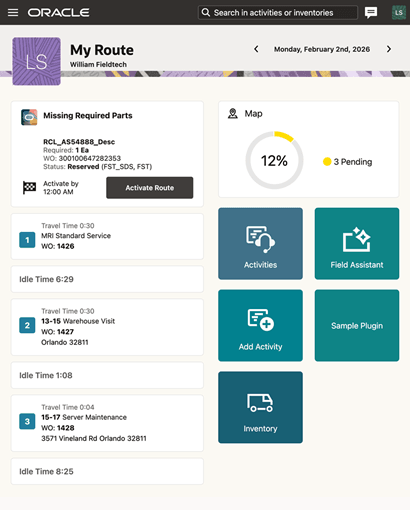
My Route
When the My Route option is configured, you see your route details. Activities on this page display status labels that indicate the current stage of each activity, helping you quickly understand the progress.
- Pending appears as Next Activity
- En route appears as On My Way
- Started appears as In Progress
- Activity location is approximate
- Missing required inventory
These alerts appear directly on the activity to support faster decision making.
Activities are displayed in sequential order. Activities that are not ordered are identified with a clock icon.
-
Resource Info
-
Activate/Deactivate/Reactivate Route
-
Current/Next Activity
- Idle Time
-
My Route
-
My Team
-
Activities
The order of Assign To Team, Inventory, Add activity, Options, and Plug-in tiles depends on the buttons configured for Activity List.
Missing Required Parts Section
The My Route page displays a Missing Required Parts section at the top of the page to help you prepare for the day. This section appears when required parts for one or more activities in the route are unavailable. It remains visible until the route is activated. For more information, see Start of Day Pre-brief.
The Calendar Panel
- On-call — The phone icon appears if you have an On-call shift on the selected date.
- Workload — A dot appears if you have at least one activity for the specific date. This does not apply for mass repeating activities.
- Non-working day — The date appears gray.
The navigation menu contains items based on the page configuration.
Offline mode
- Tiles available only in the online mode turn gray and can’t be selected. You can’t click the Resource Info option, but the color remains the same.
- The ‘>’ arrow near the team holder name is hidden.
- An Offline warning appears in the header.