Working with Infolets

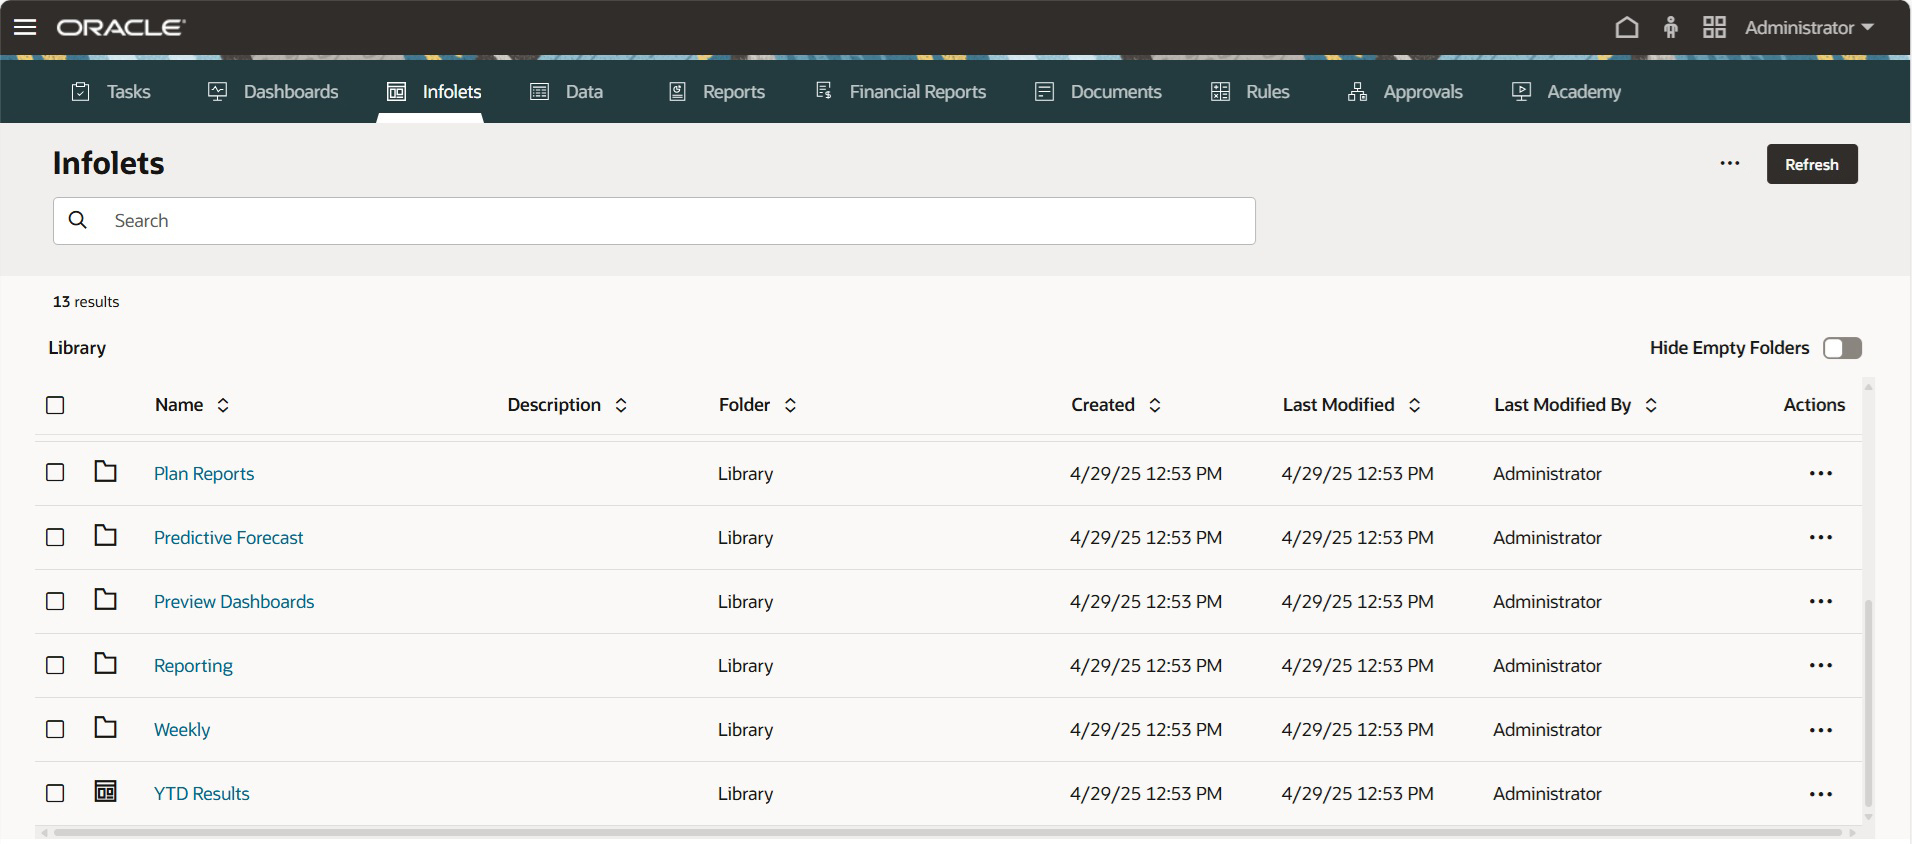
Once you've created an infolets page, it is displayed in the infolets listing on the Infolets card.

The listing page for infolets supports folders. Folders enable you to assign permissions to all infolets within a folder rather than assigning permissions to each individual infolet. The infolets listing page uses the same folder hierarchy as dashboards and data entry forms and all artifacts and folders reside under a root folder called Library.

Note:

Only administrators can add files (for example, dashboards, infolets, forms, reports, and so on) to the Library root folder.

To view and work with infolets:

  1. From the Home page, click Infolets.
  2. To work with infolets, perform an action:
    • On the listing page for infolets, you can toggle between viewing infolets by a flat view or a tree view: Search toggle icons

      Then you can search for infolets using Search Search icon. The flat view displays only the artifacts that meet the search criteria, not the folders that contain them. The tree (or hierarchical) view displays artifacts in the context of the folders that contain them.

      To search on another keyword, clear the search criteria by clicking X in the Search box.

    • To refresh the infolets listing, click Refresh.

    • To create infolets, click Create. See Creating Infolets.

    • To perform the following actions on infolet pages, click the Actions icon next to the infolet page, and then select:

      • Create Folder: Creates a folder in the listing

      • Edit: Opens the infolet page in the Infolets Designer

      • Rename: Renames the infolet page

      • Copy As: Duplicates an infolet page

      • Delete: Deletes the infolet page from the listing

      • Move To: Moves an infolet page to another folder

      • Default or Unmark: Default marks an infolet page as default and makes it accessible directly from the Home page by clicking the second infolet dot that is displayed beneath the global header on the Home page. Only one infolet page can be marked as default, and a "(Default)" prefix displays before the name of that infolet in the listing. Unmark removes the default designation from the infolet page.

        Note:

        You can no longer mark a dashboard page as default. Only an infolet page can be marked as default.

      • Assign Permission: Enables you to assign Read, Write, and None access permissions to infolet pages and folders for individual users or groups