Introduction
This 20-minute hands-on tutorial shows you how to specify a different scenario from which to source the Closing Balance data in the first period of each year.
Background
When you consolidate data for the first period of a year, opening balances are copied from the last period closing balances of the prior year for the same scenario. Opening Balance Override rules enable you to specify a different source scenario from which to copy the prior year closing balances. In this tutorial, you create a rule to copy the first period opening balances for the Budget scenario from the prior year closing balances of the Actual scenario.
For entities that require translation, translated values are copied from the Parent Currency member of the prior year closing balances in the source scenario. If Ownership Management is enabled, the change in ownership percentage for the first period is calculated as the difference between the first period ownership percentage in the current scenario and the last period ownership percentage for the prior year in the source scenario. Opening balances for periods other than the first period are not affected by opening balance override rules.
Prerequisites
An EPM Cloud Service instance allows you to deploy and use one of the supported business processes. To deploy another business process, you must request another EPM Enterprise Cloud Service instance or remove the current business process.
- Have Service Administrator access to EPM Enterprise Cloud Service. The instance should not have a business process created.
- Upload and import this snapshot into your instance.
For more information on uploading and importing migration snapshots, refer to the Administering Migration for Oracle Enterprise Performance Management Cloud documentation.
Defining the Opening Balance Carry Forward Rule
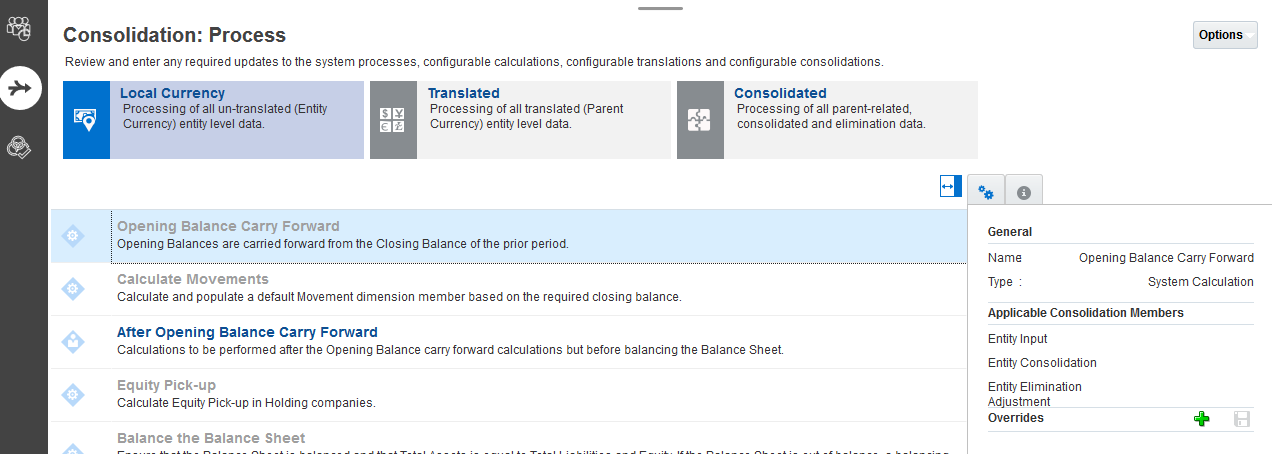
- From the Home Page, click Application, then Consolidation.
- Select the Consolidation:Process vertical tab. Then select the Opening Balance Carry Forward row on the Local Currency tab.
- Click
 (Add) to add an Override rule.
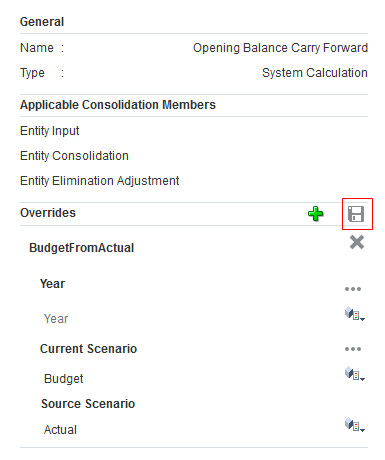
 - Enter the following information:
- In the OverrideName field, enter BudgetFromActual.
- In the Year field, do not select a year. The override will apply to all years.
- In the Current Scenario field, enter Budget.
- In the Source Scenario field, enter Actual.
- Click Save.
- Review the system message that the rule was deployed successfully and click OK.

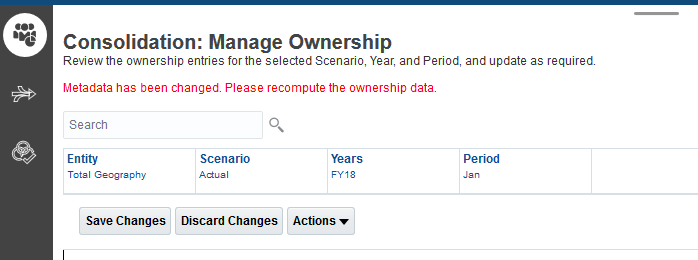
Managing Ownership
In this section, you recompute ownership.
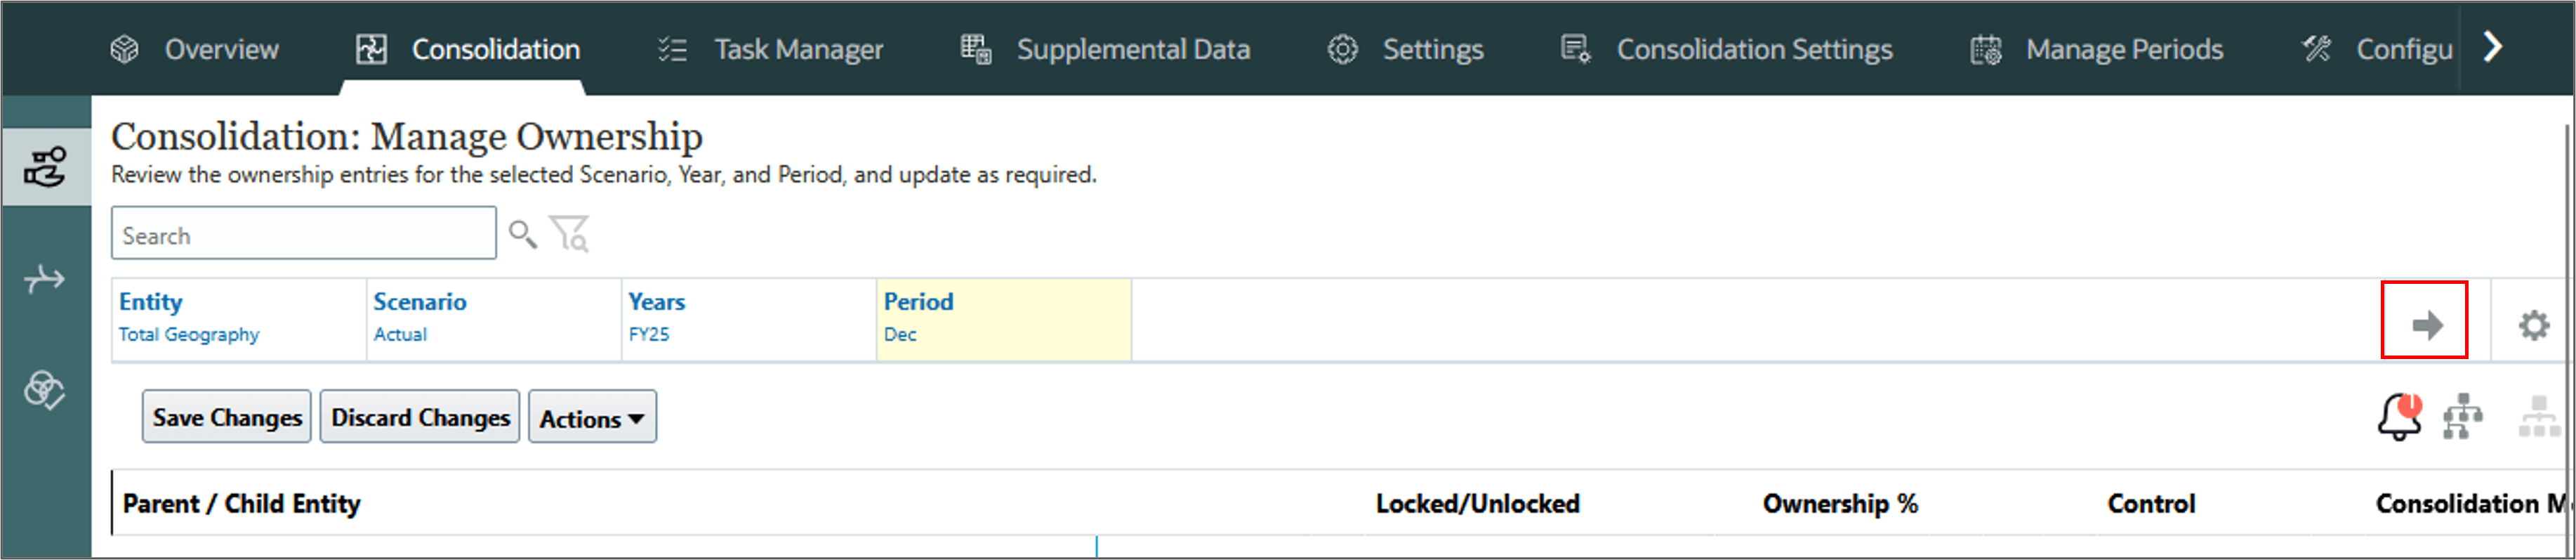
- Click the Manage Ownership tab.
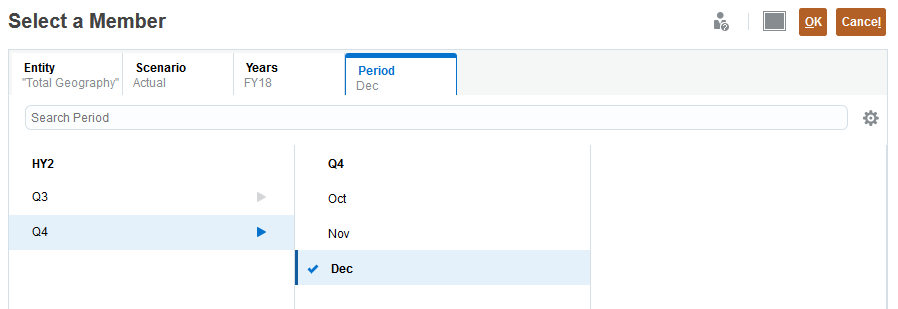
- In the Point of View (POV), click Period. Use the Member Selector to select Dec and click OK.
- Click
 (Go).
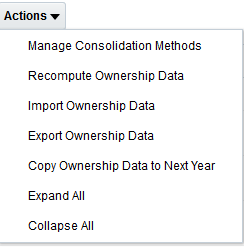
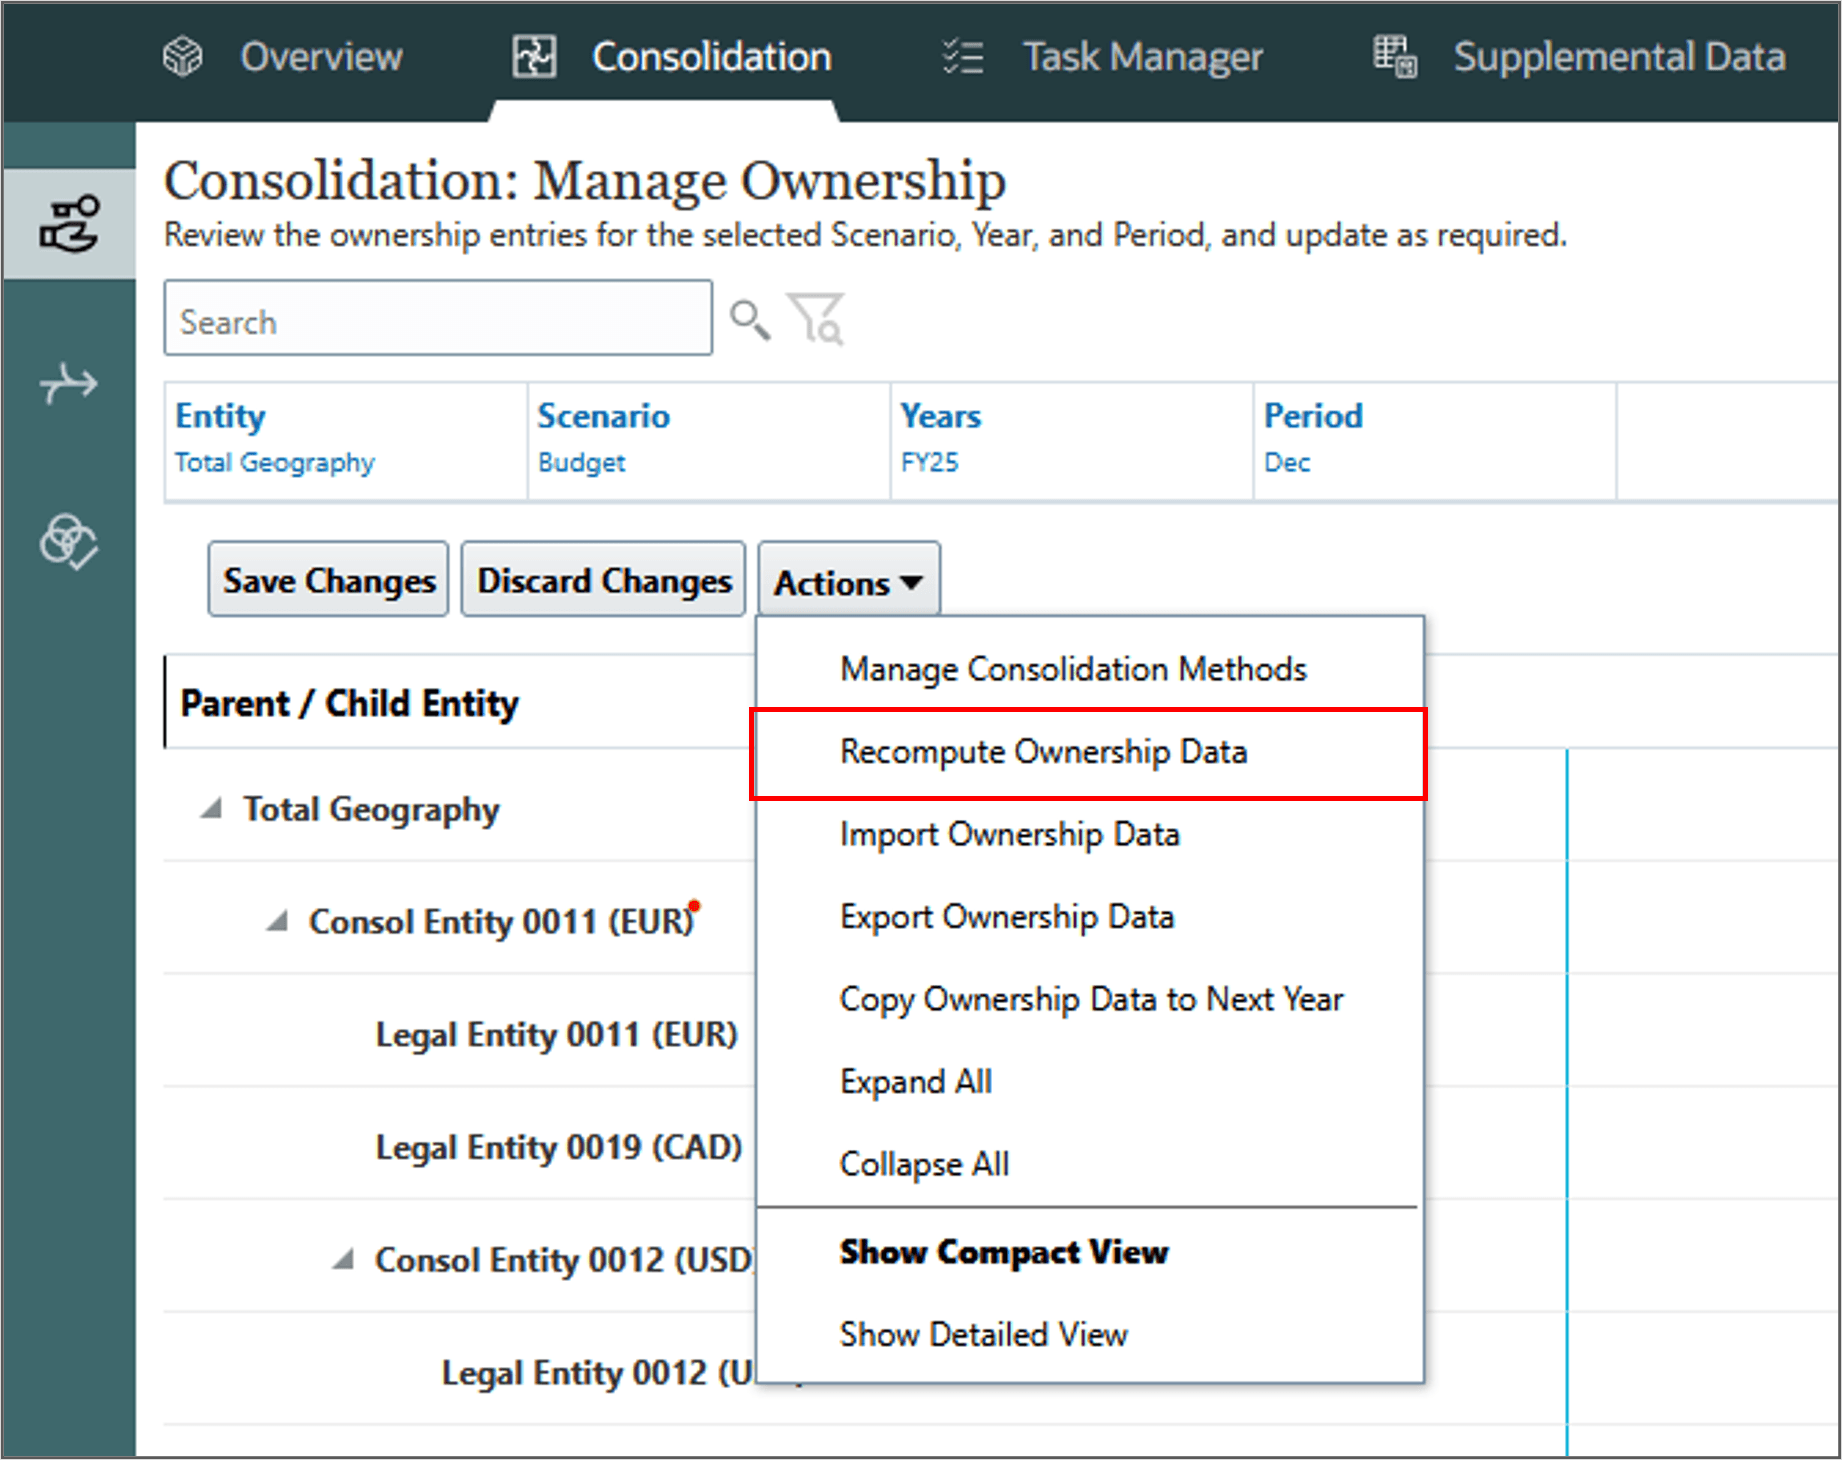
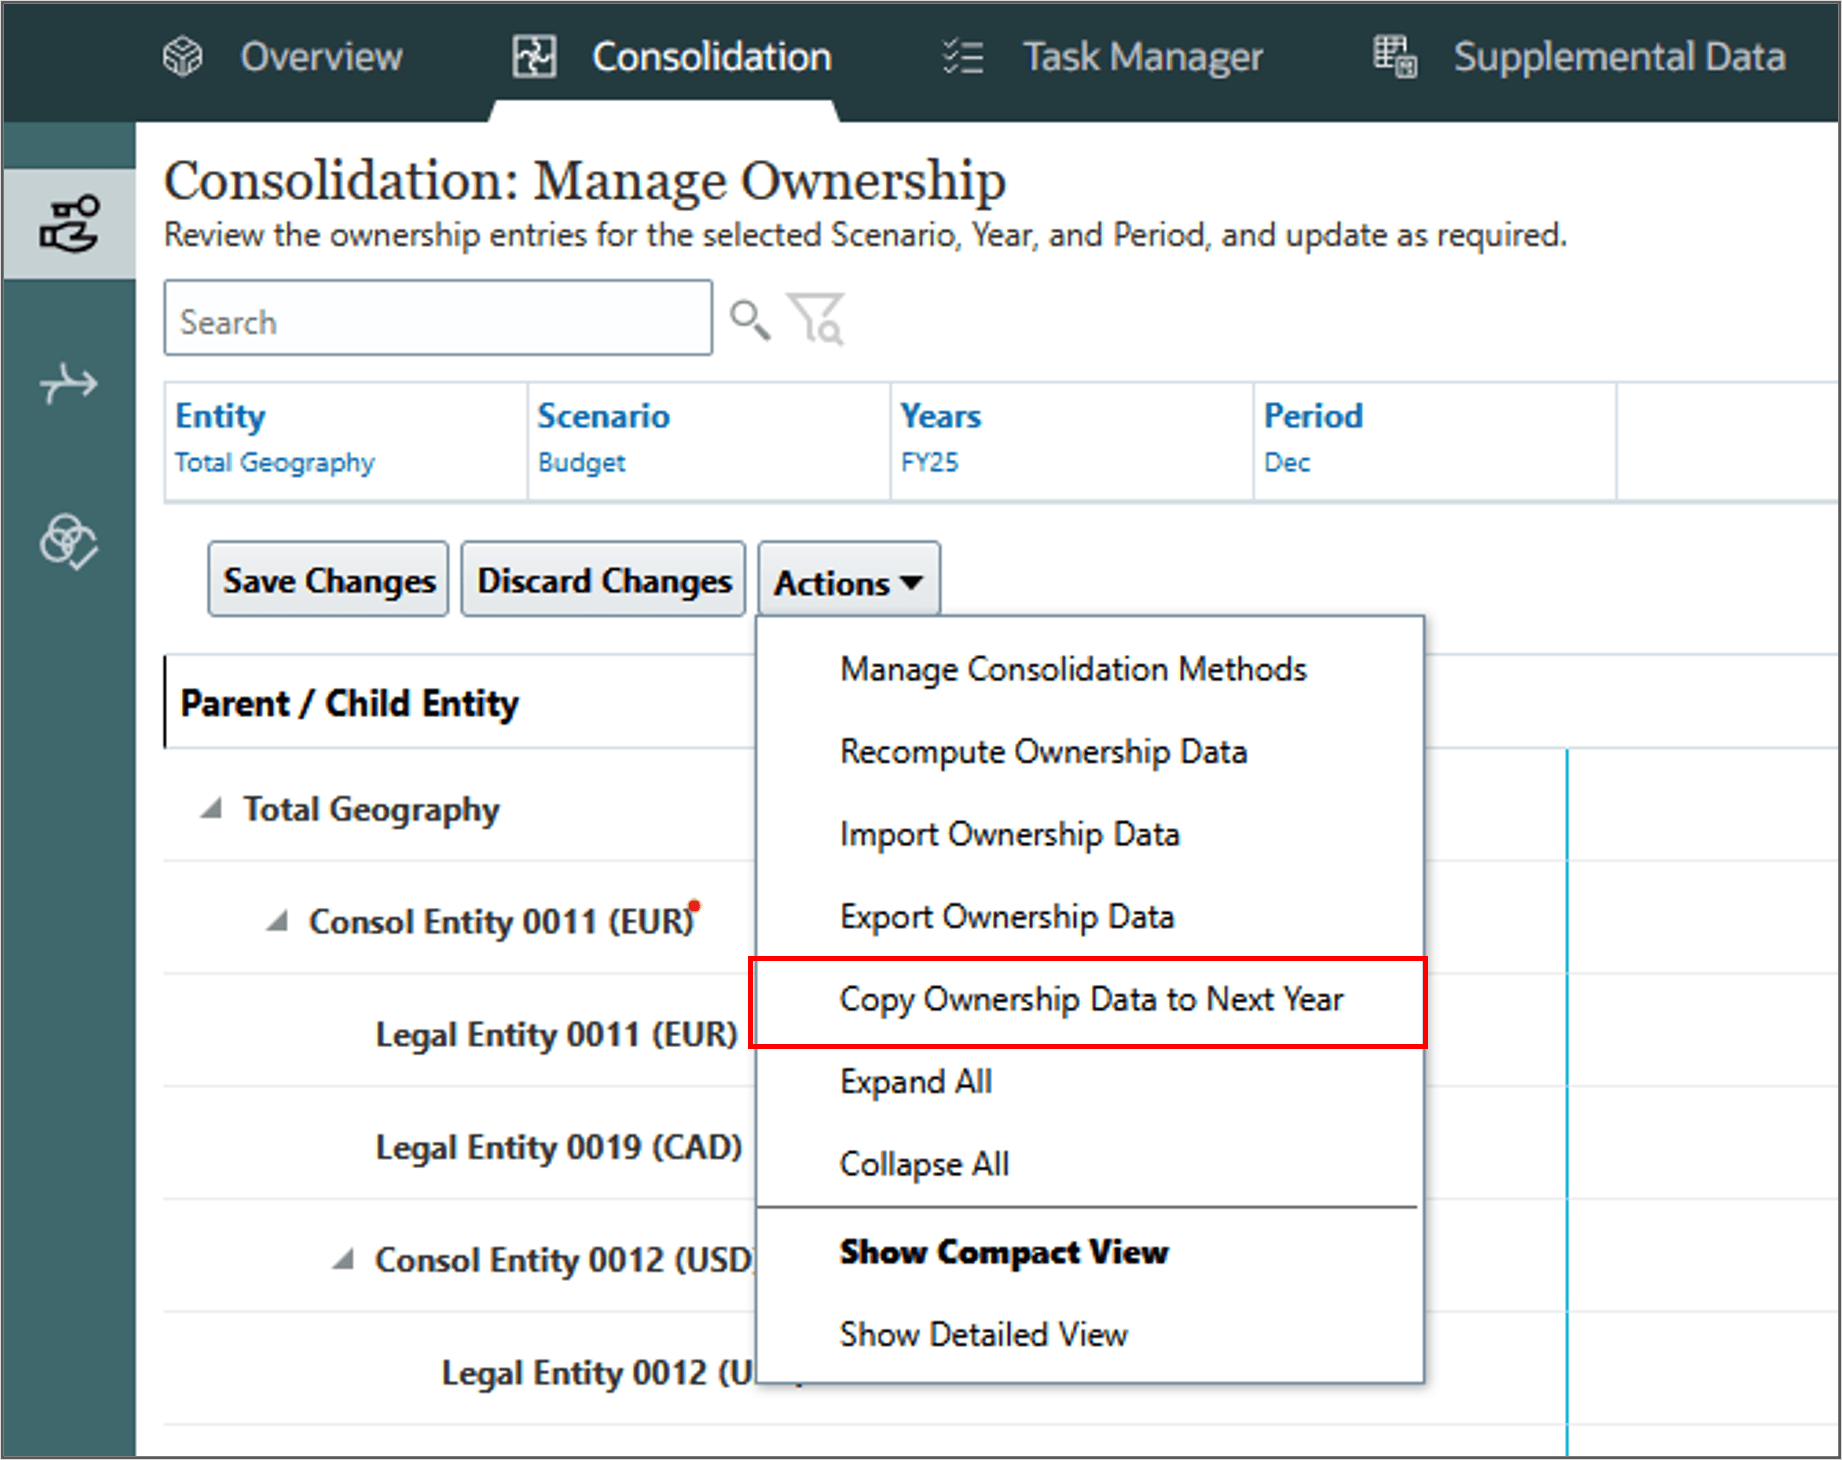
(Go). - Click the Actions drop-down and select Recompute Ownership Data.
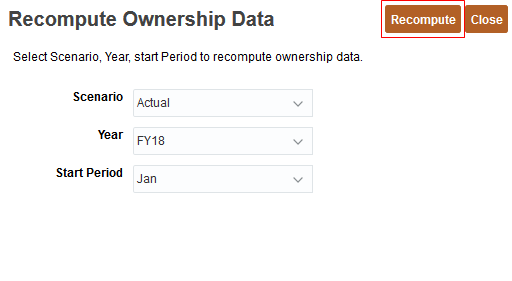
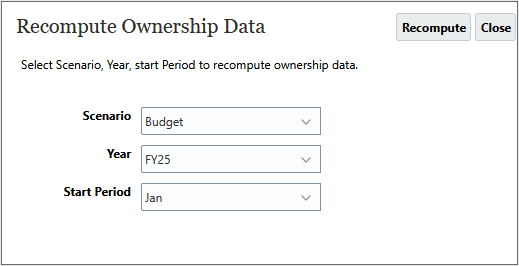
- Recompute from January, so select the POV as Actual, FY25, Jan, and click Recompute. Then click OK.
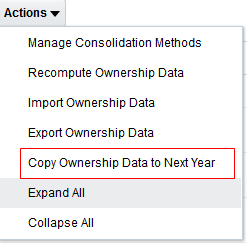
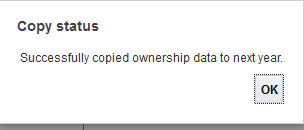
- Click the Actions drop-down and select Copy Ownership Data to Next Year.
- View the system message and click OK.
- In the POV, click Scenario. Use the Member Selector to select Budget and click OK. Then click Go .
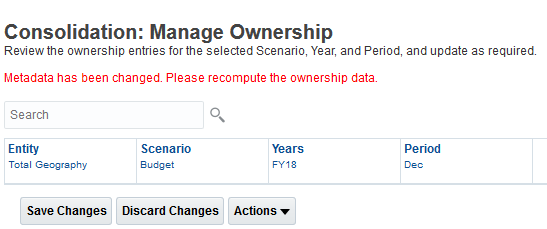
- Click the Actions drop-down and select Recompute Ownership Data.
- Repeat Step 4 by selecting the POV as Budget, FY25, Jan, and click Recompute. Then click OK.
- Click the Actions drop-down and select Copy Ownership Data to Next Year.
- Click
 (Home).
Consolidating and Translating the Data
The last step is to consolidate and translate the data. Then review the data to verify that the rule worked correctly.
- From the Home Page, navigate to Data, then Reference_Application.
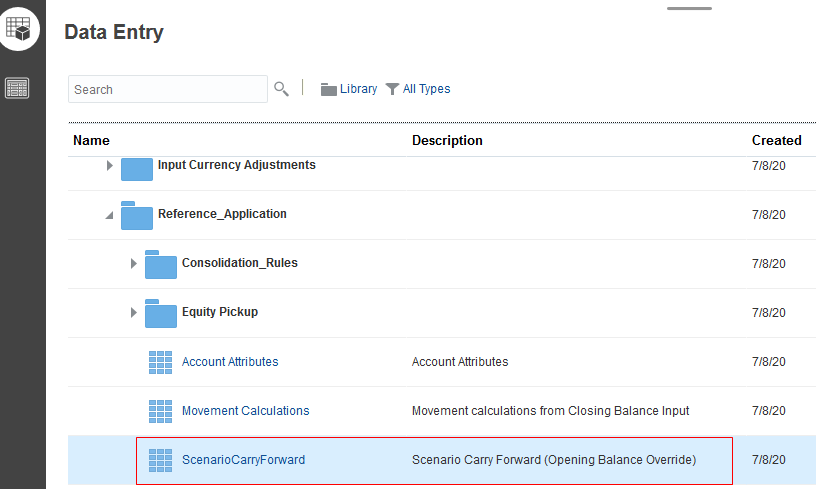
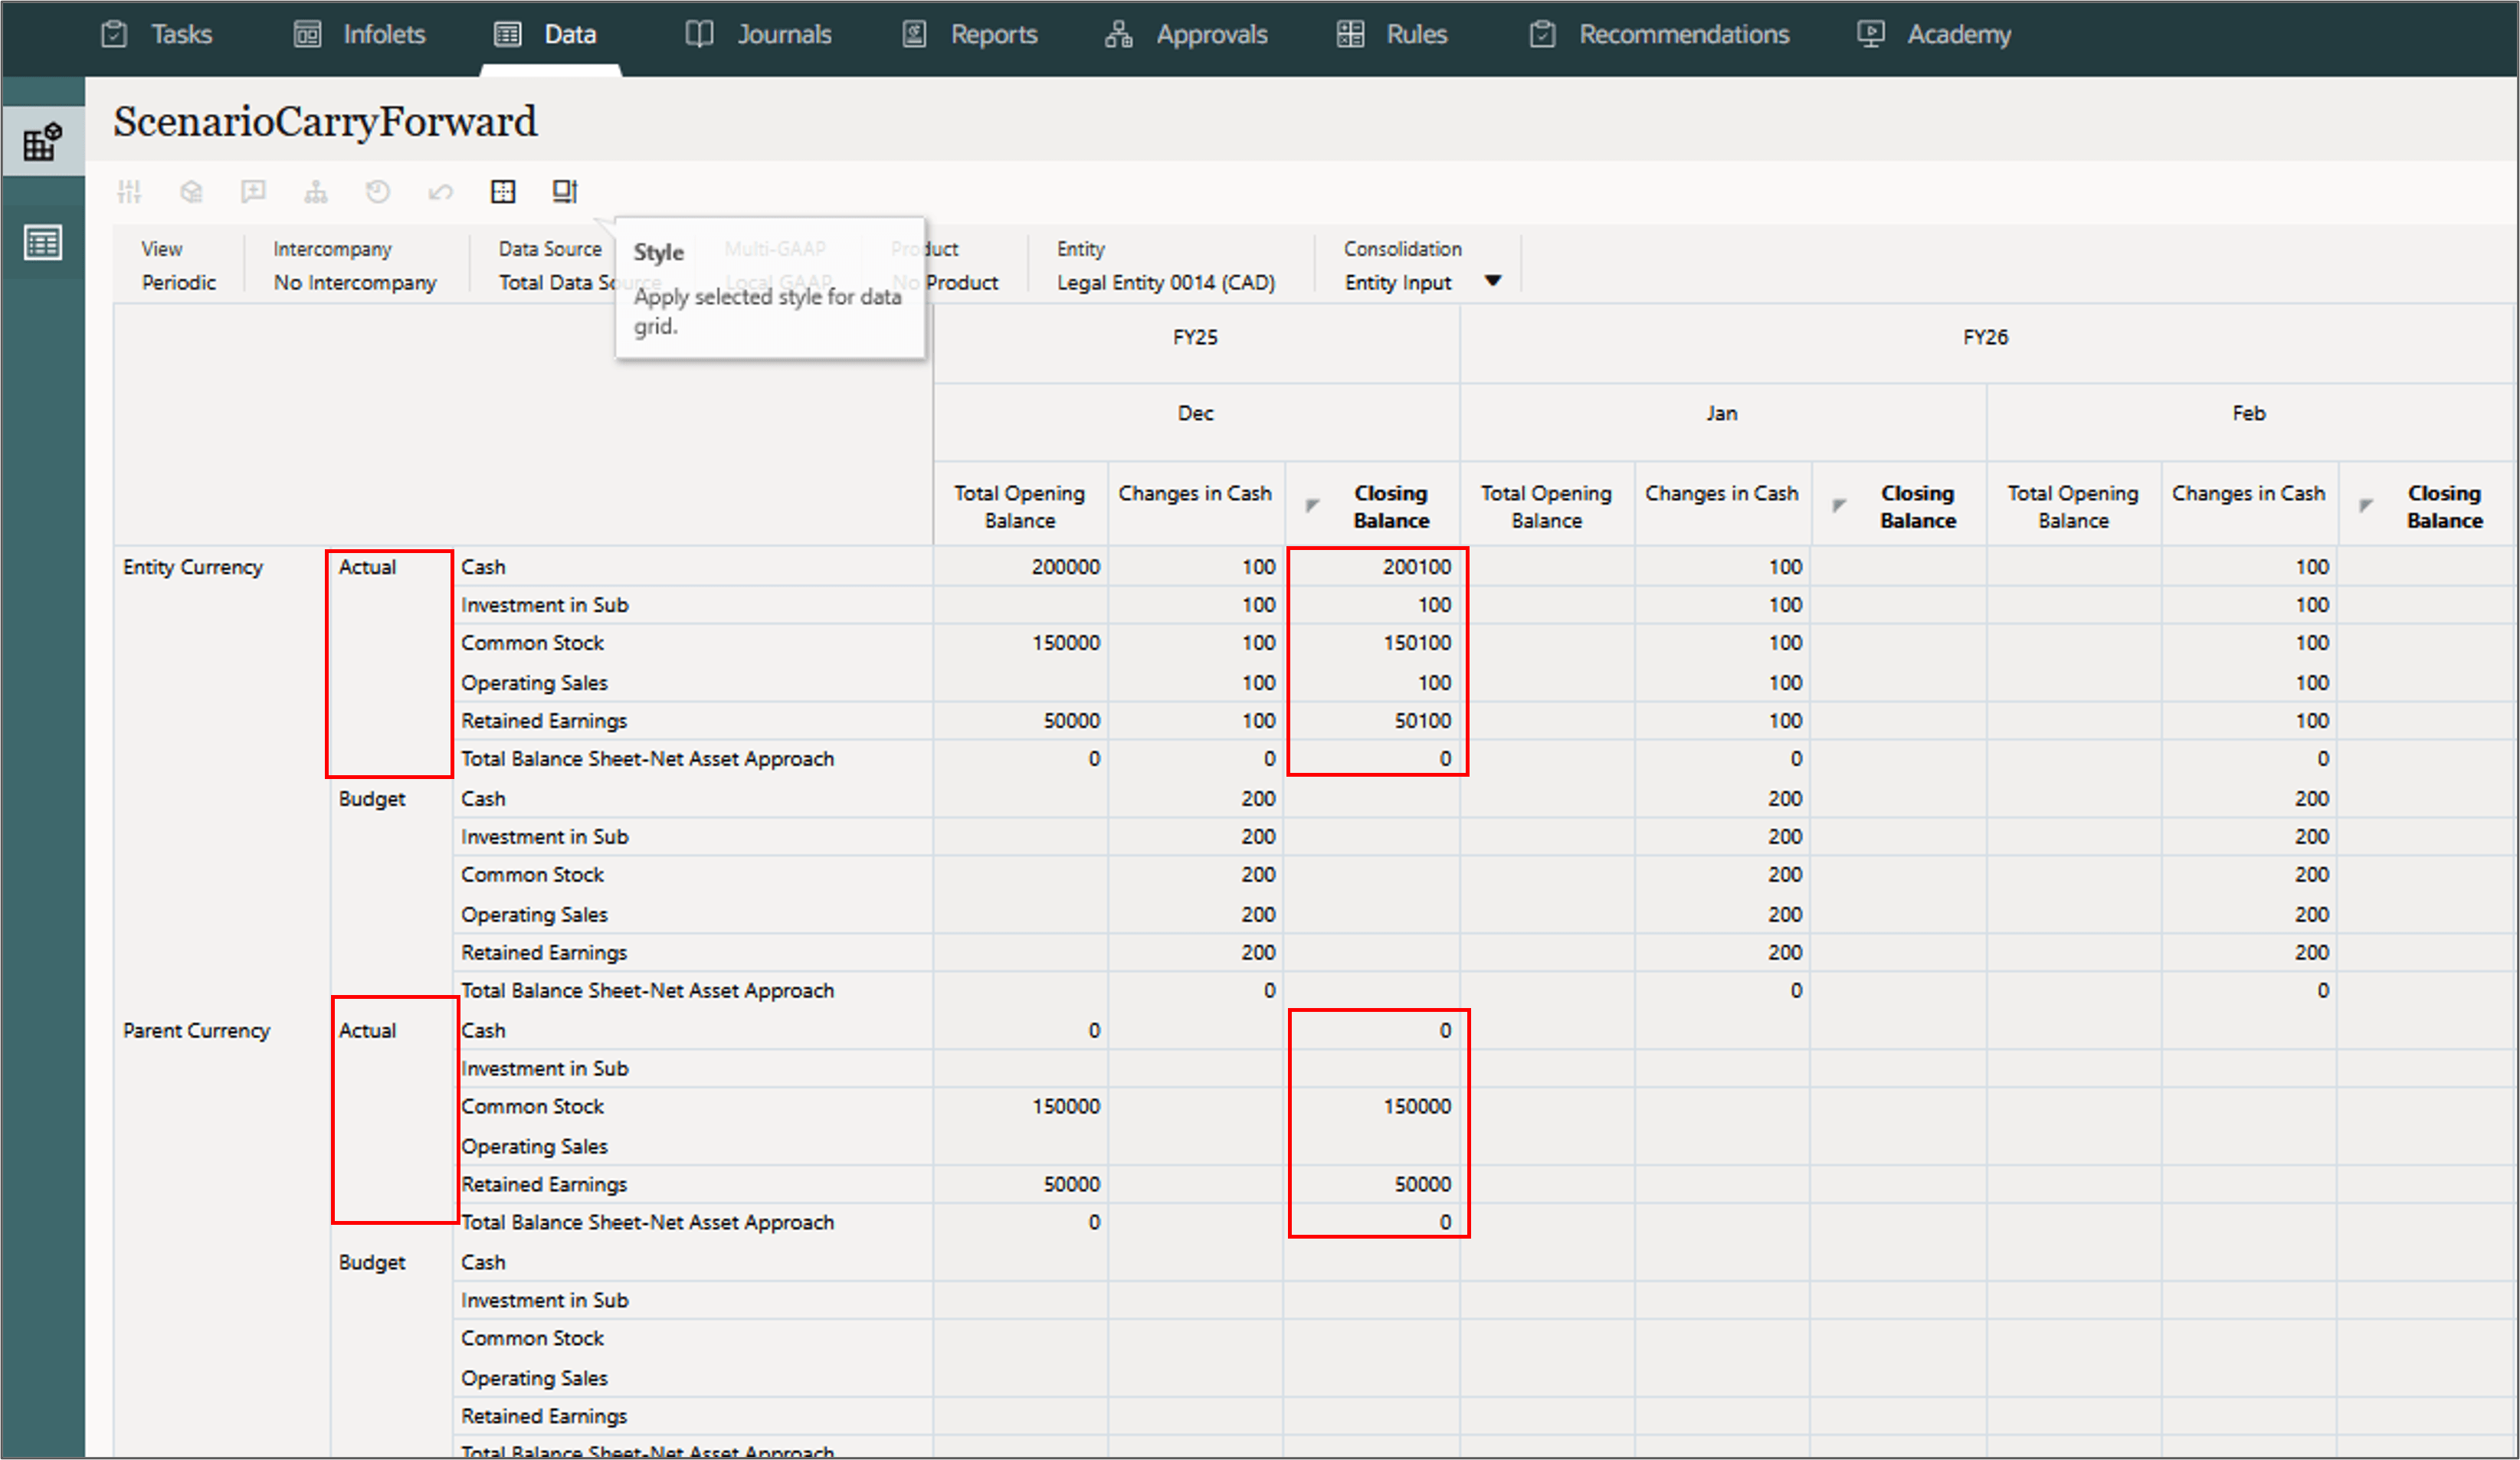
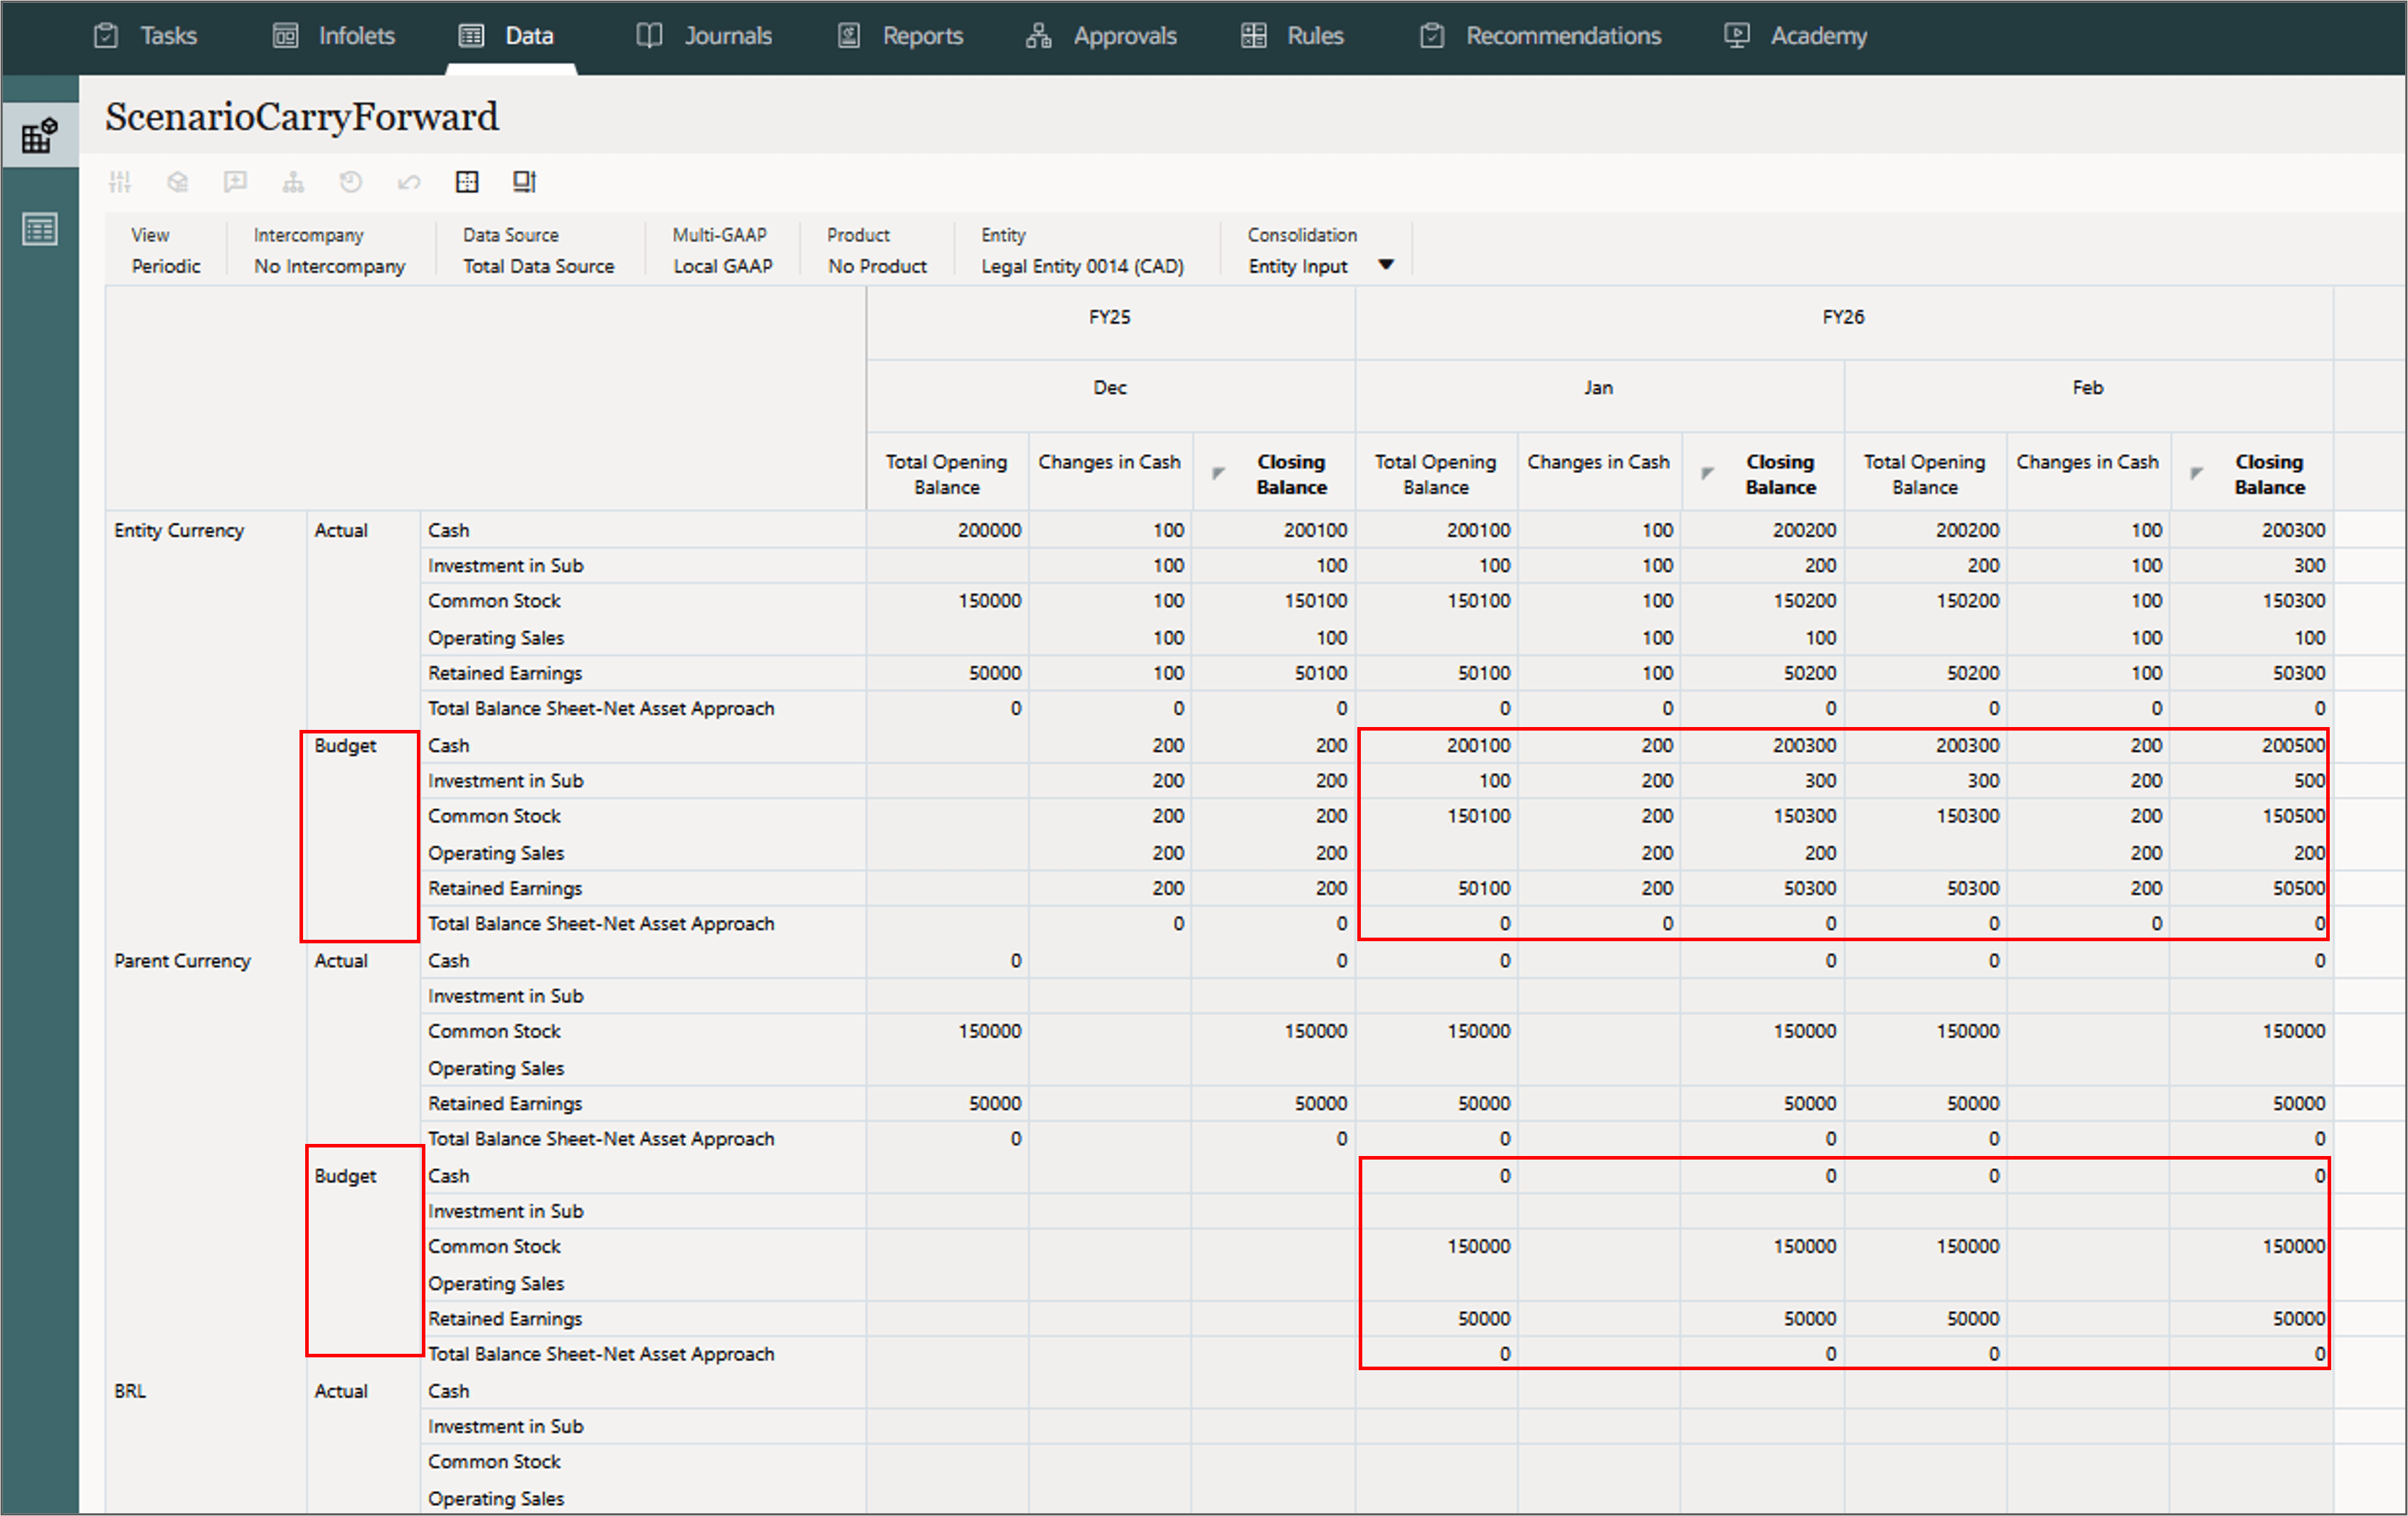
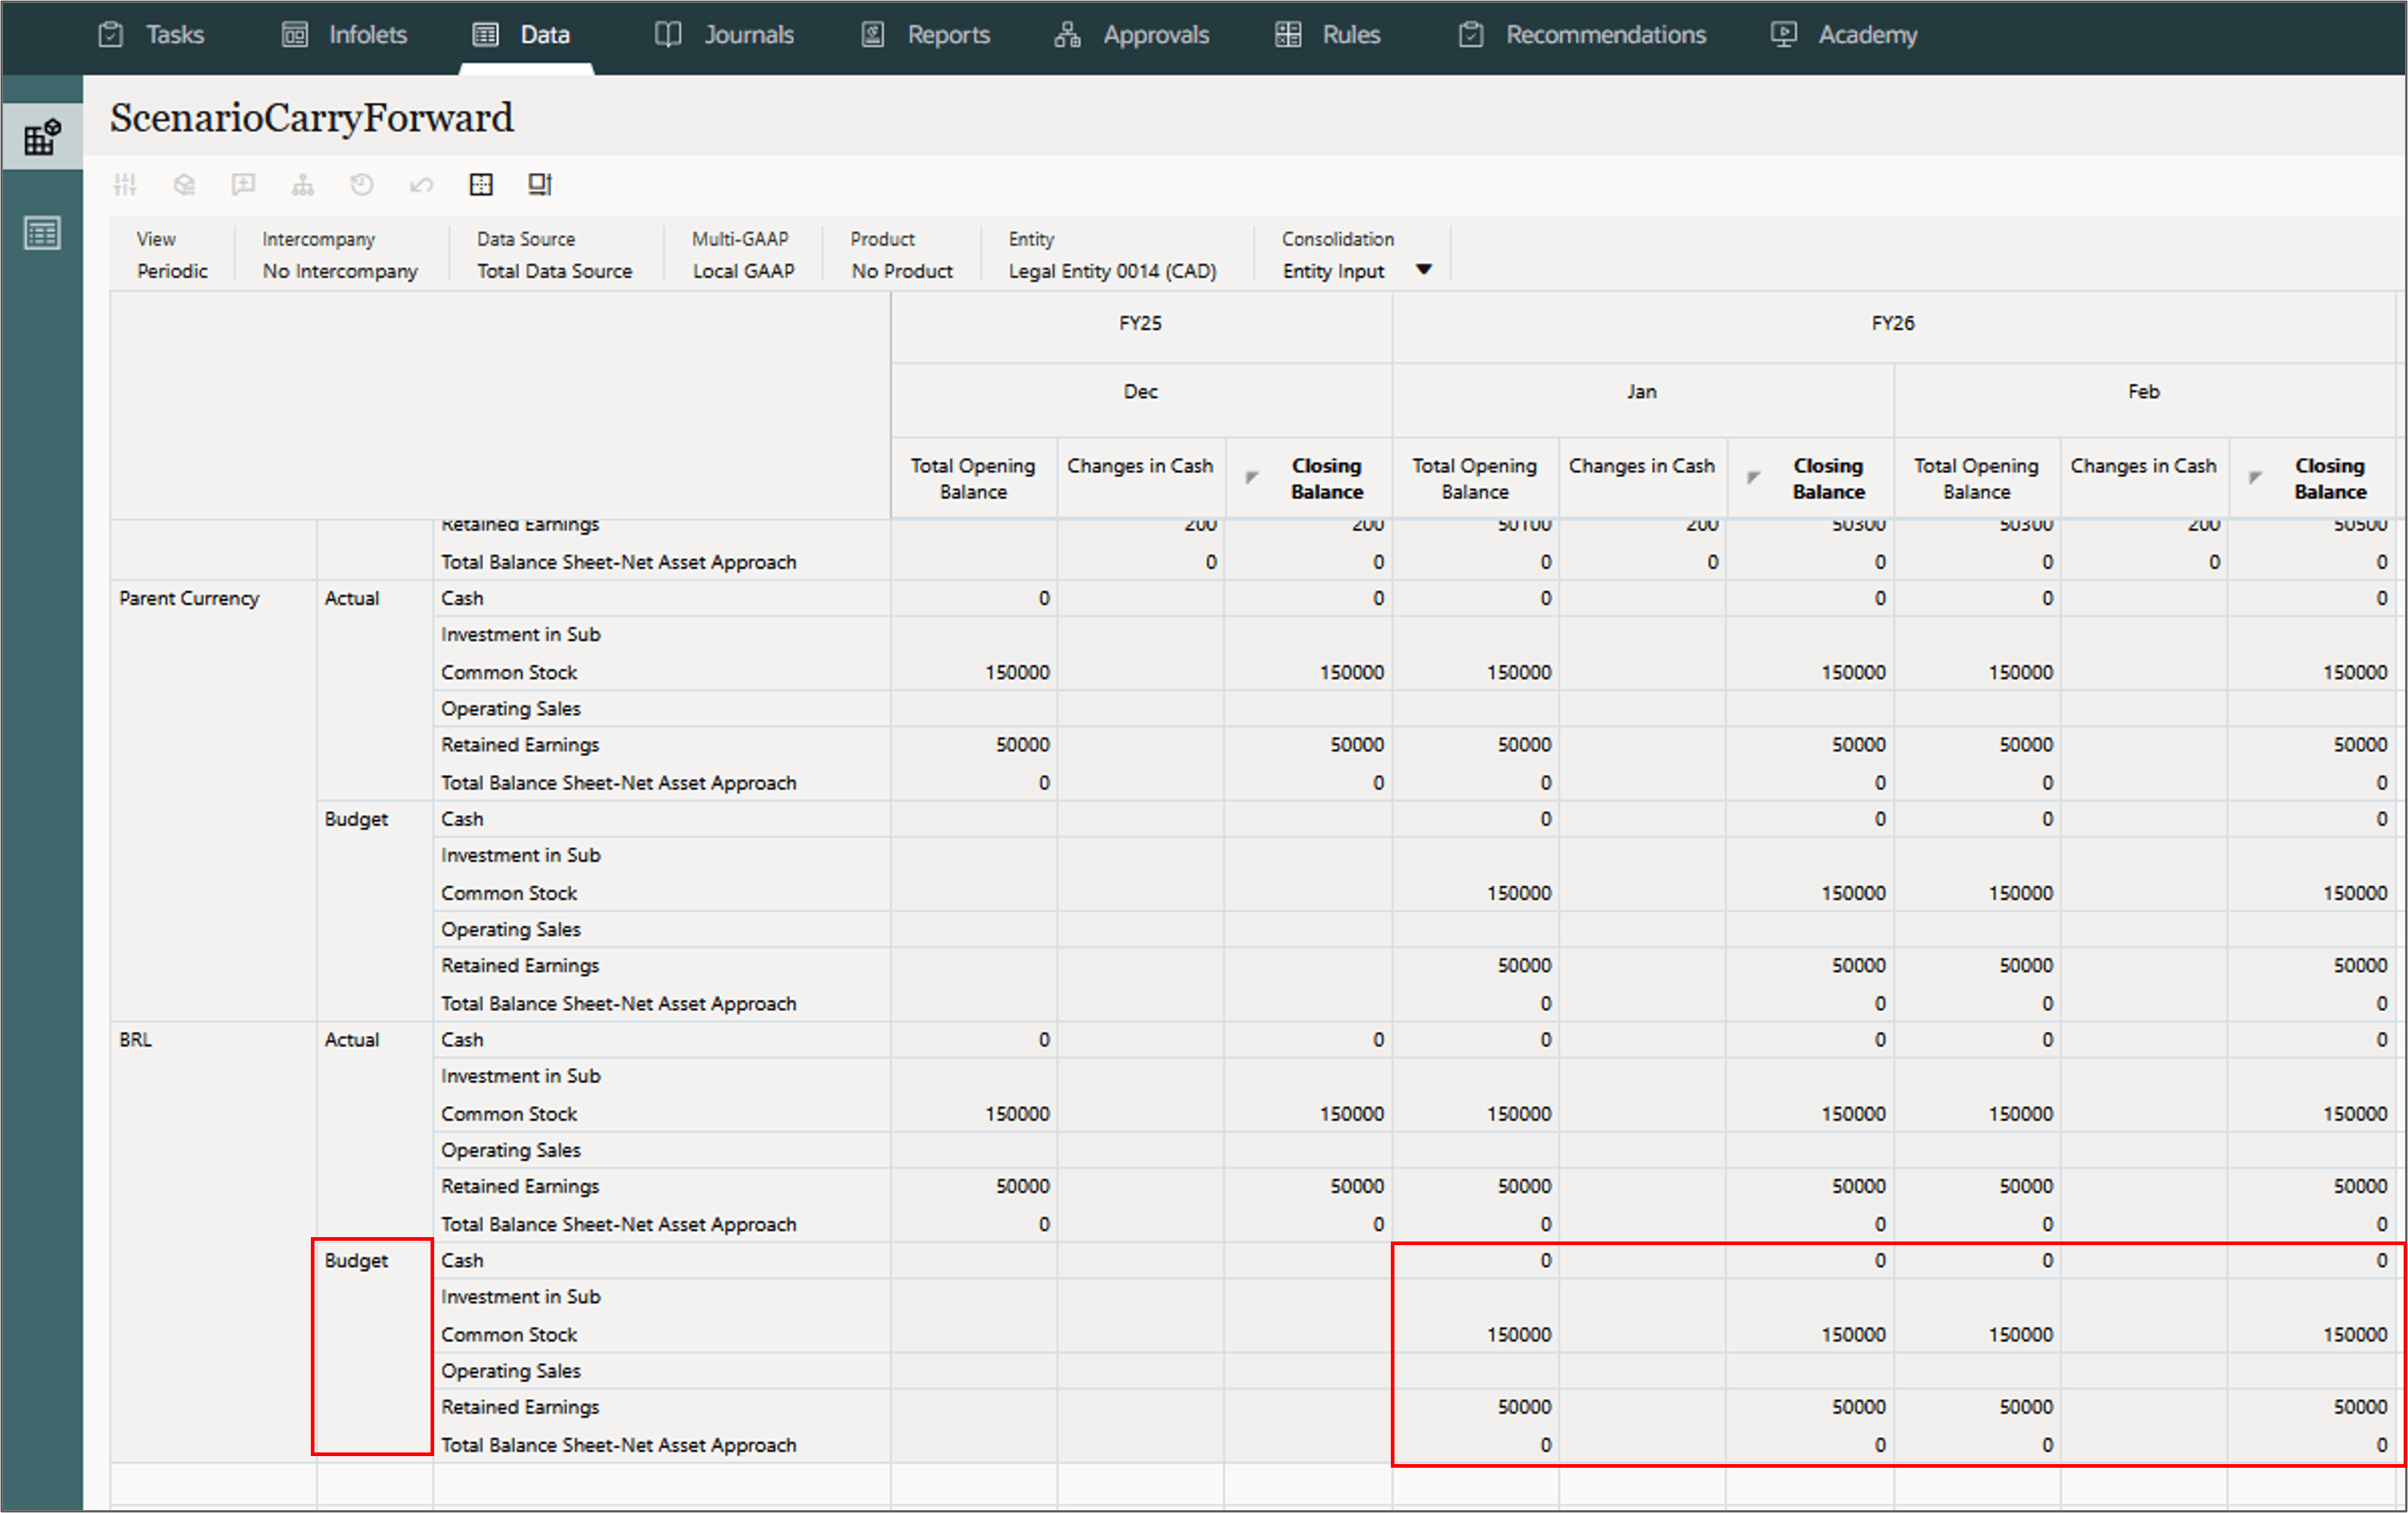
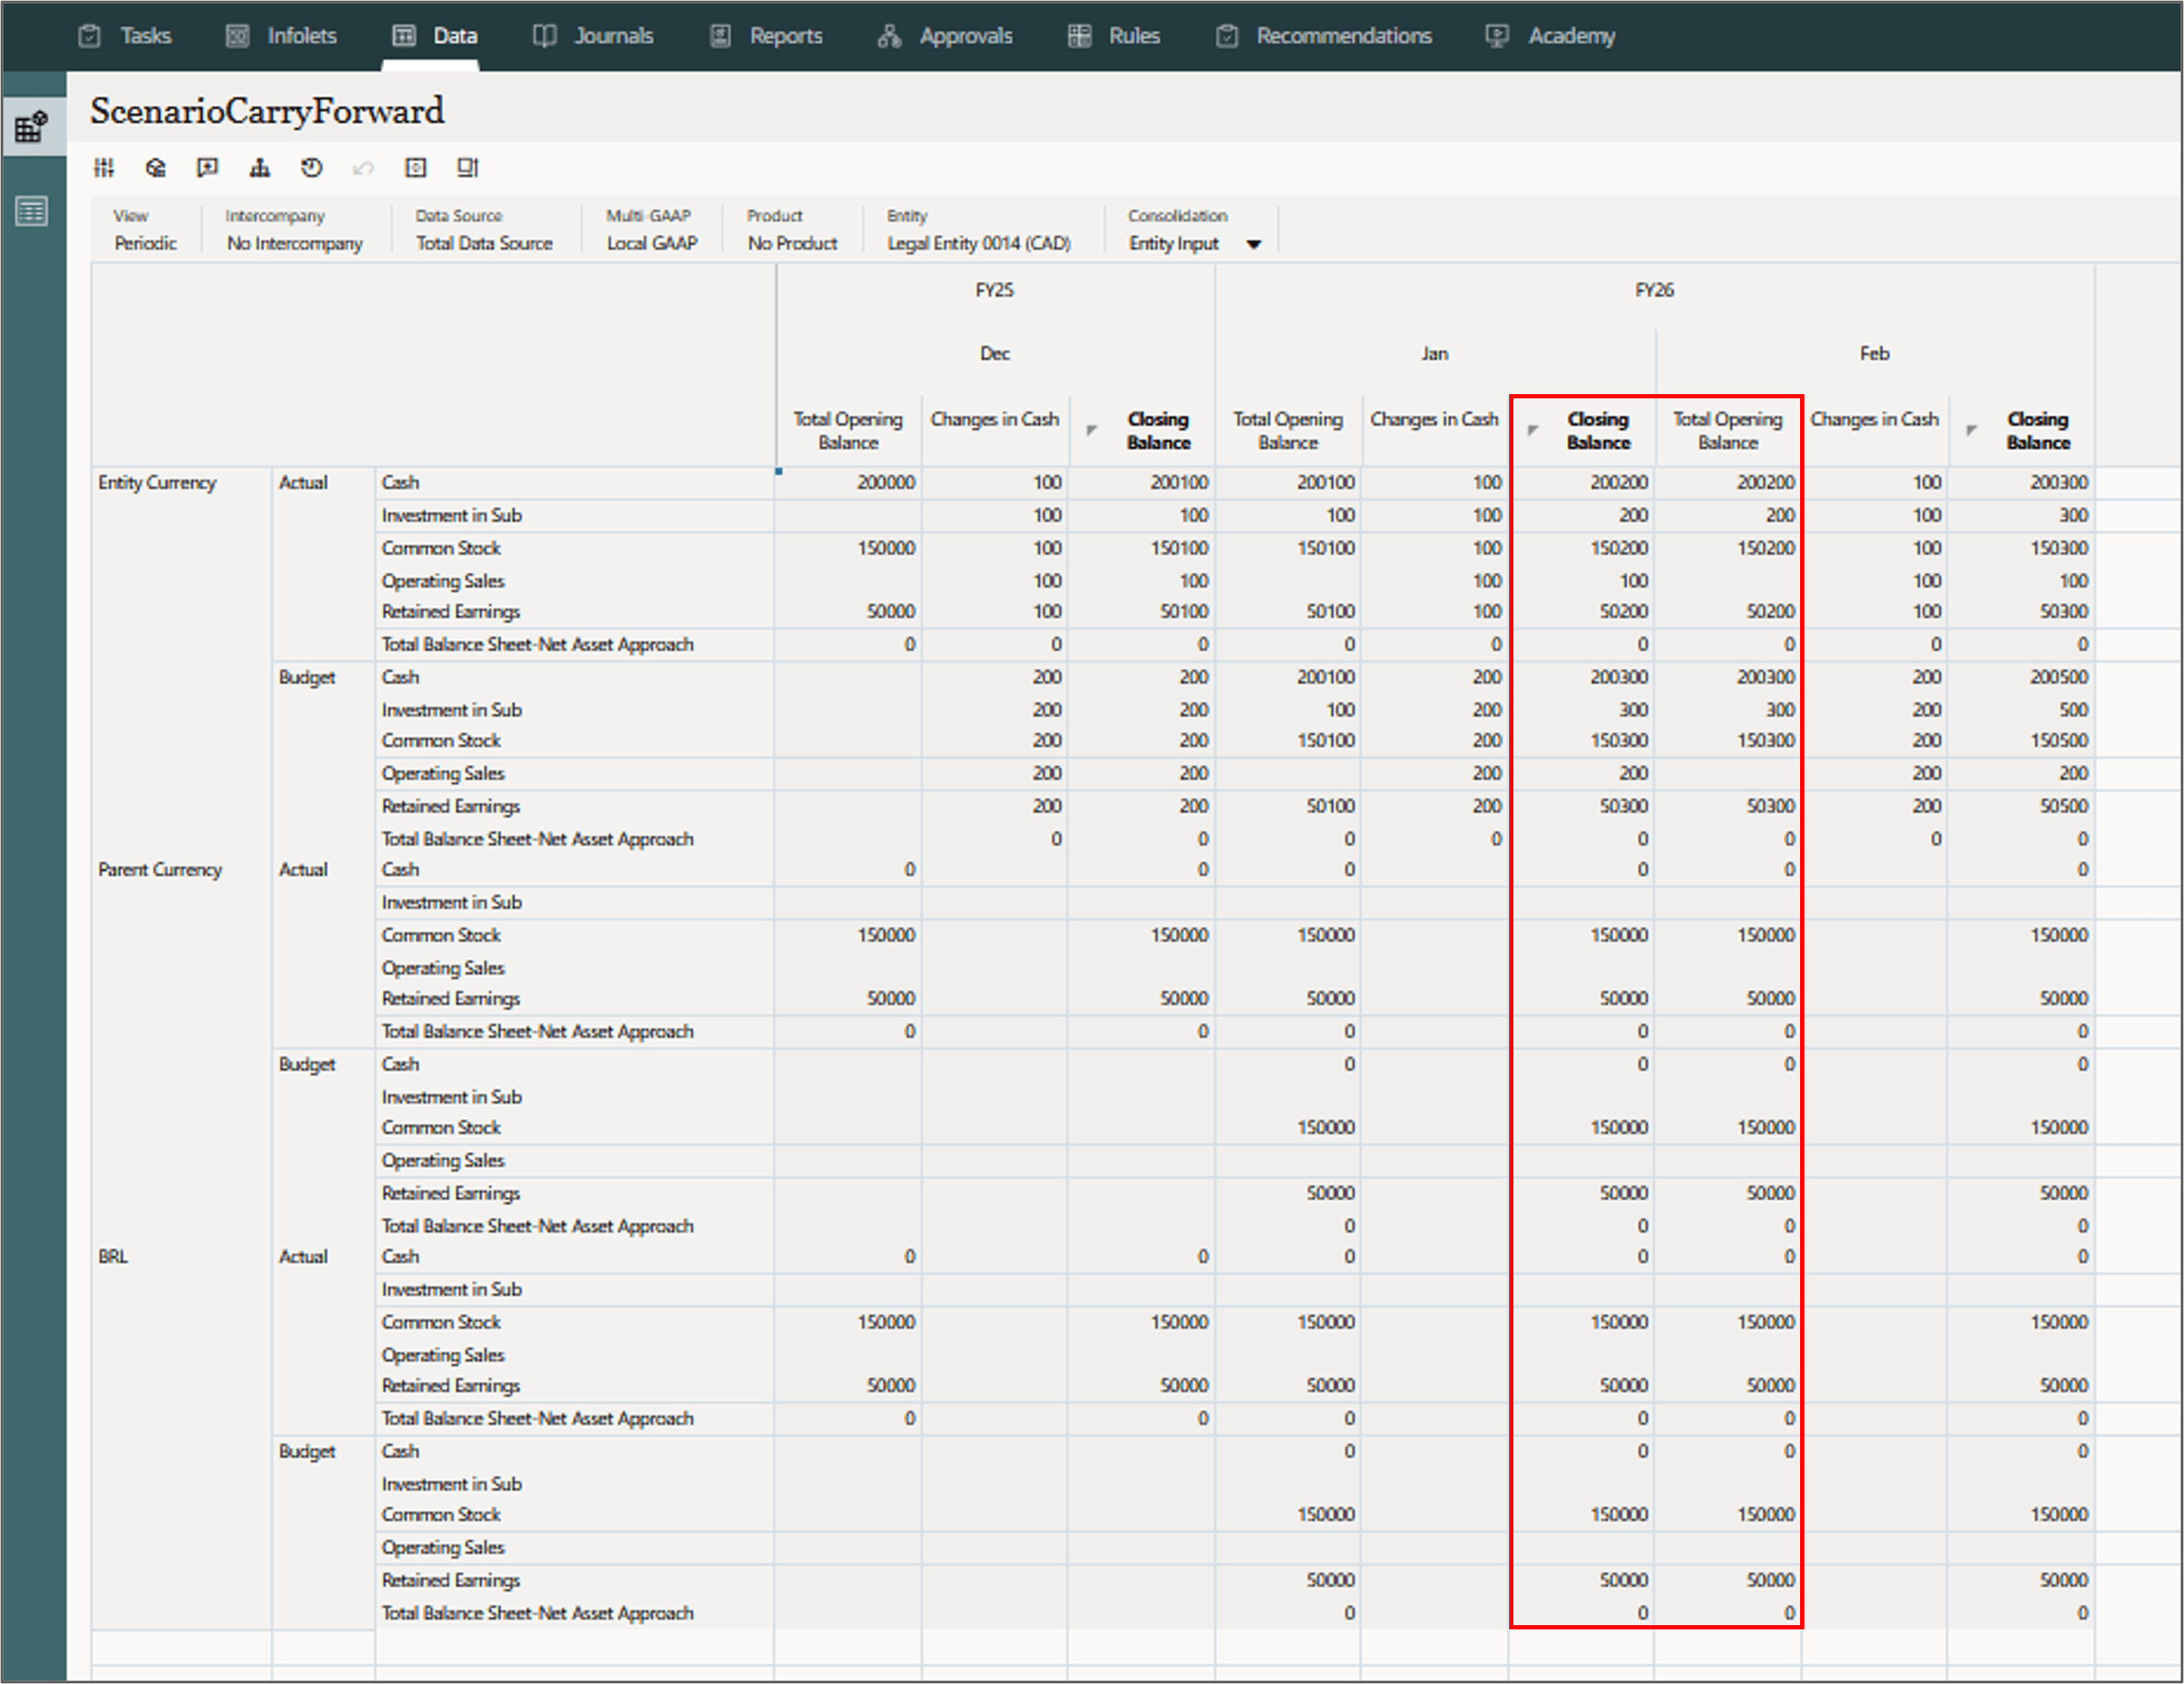
- Scroll down until you see the ScenarioCarryForward data form. Click to open.
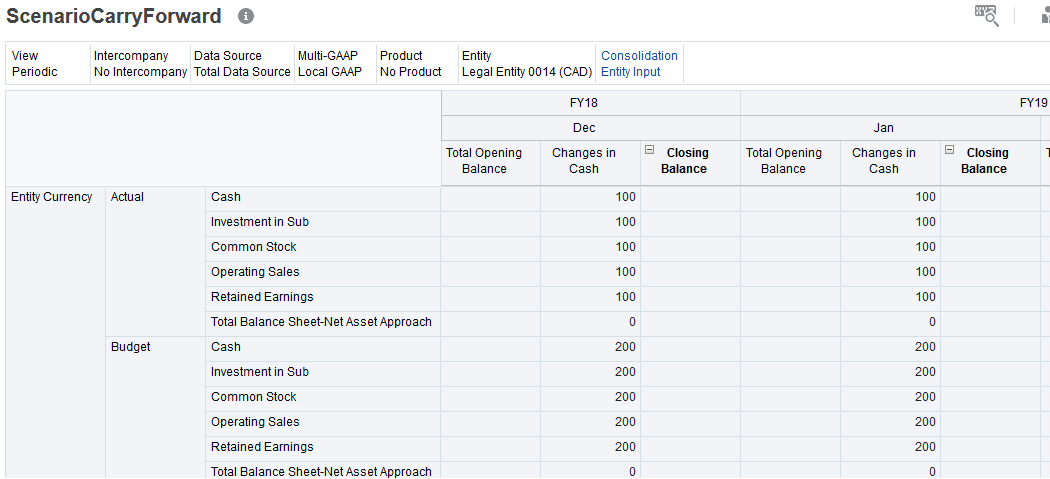
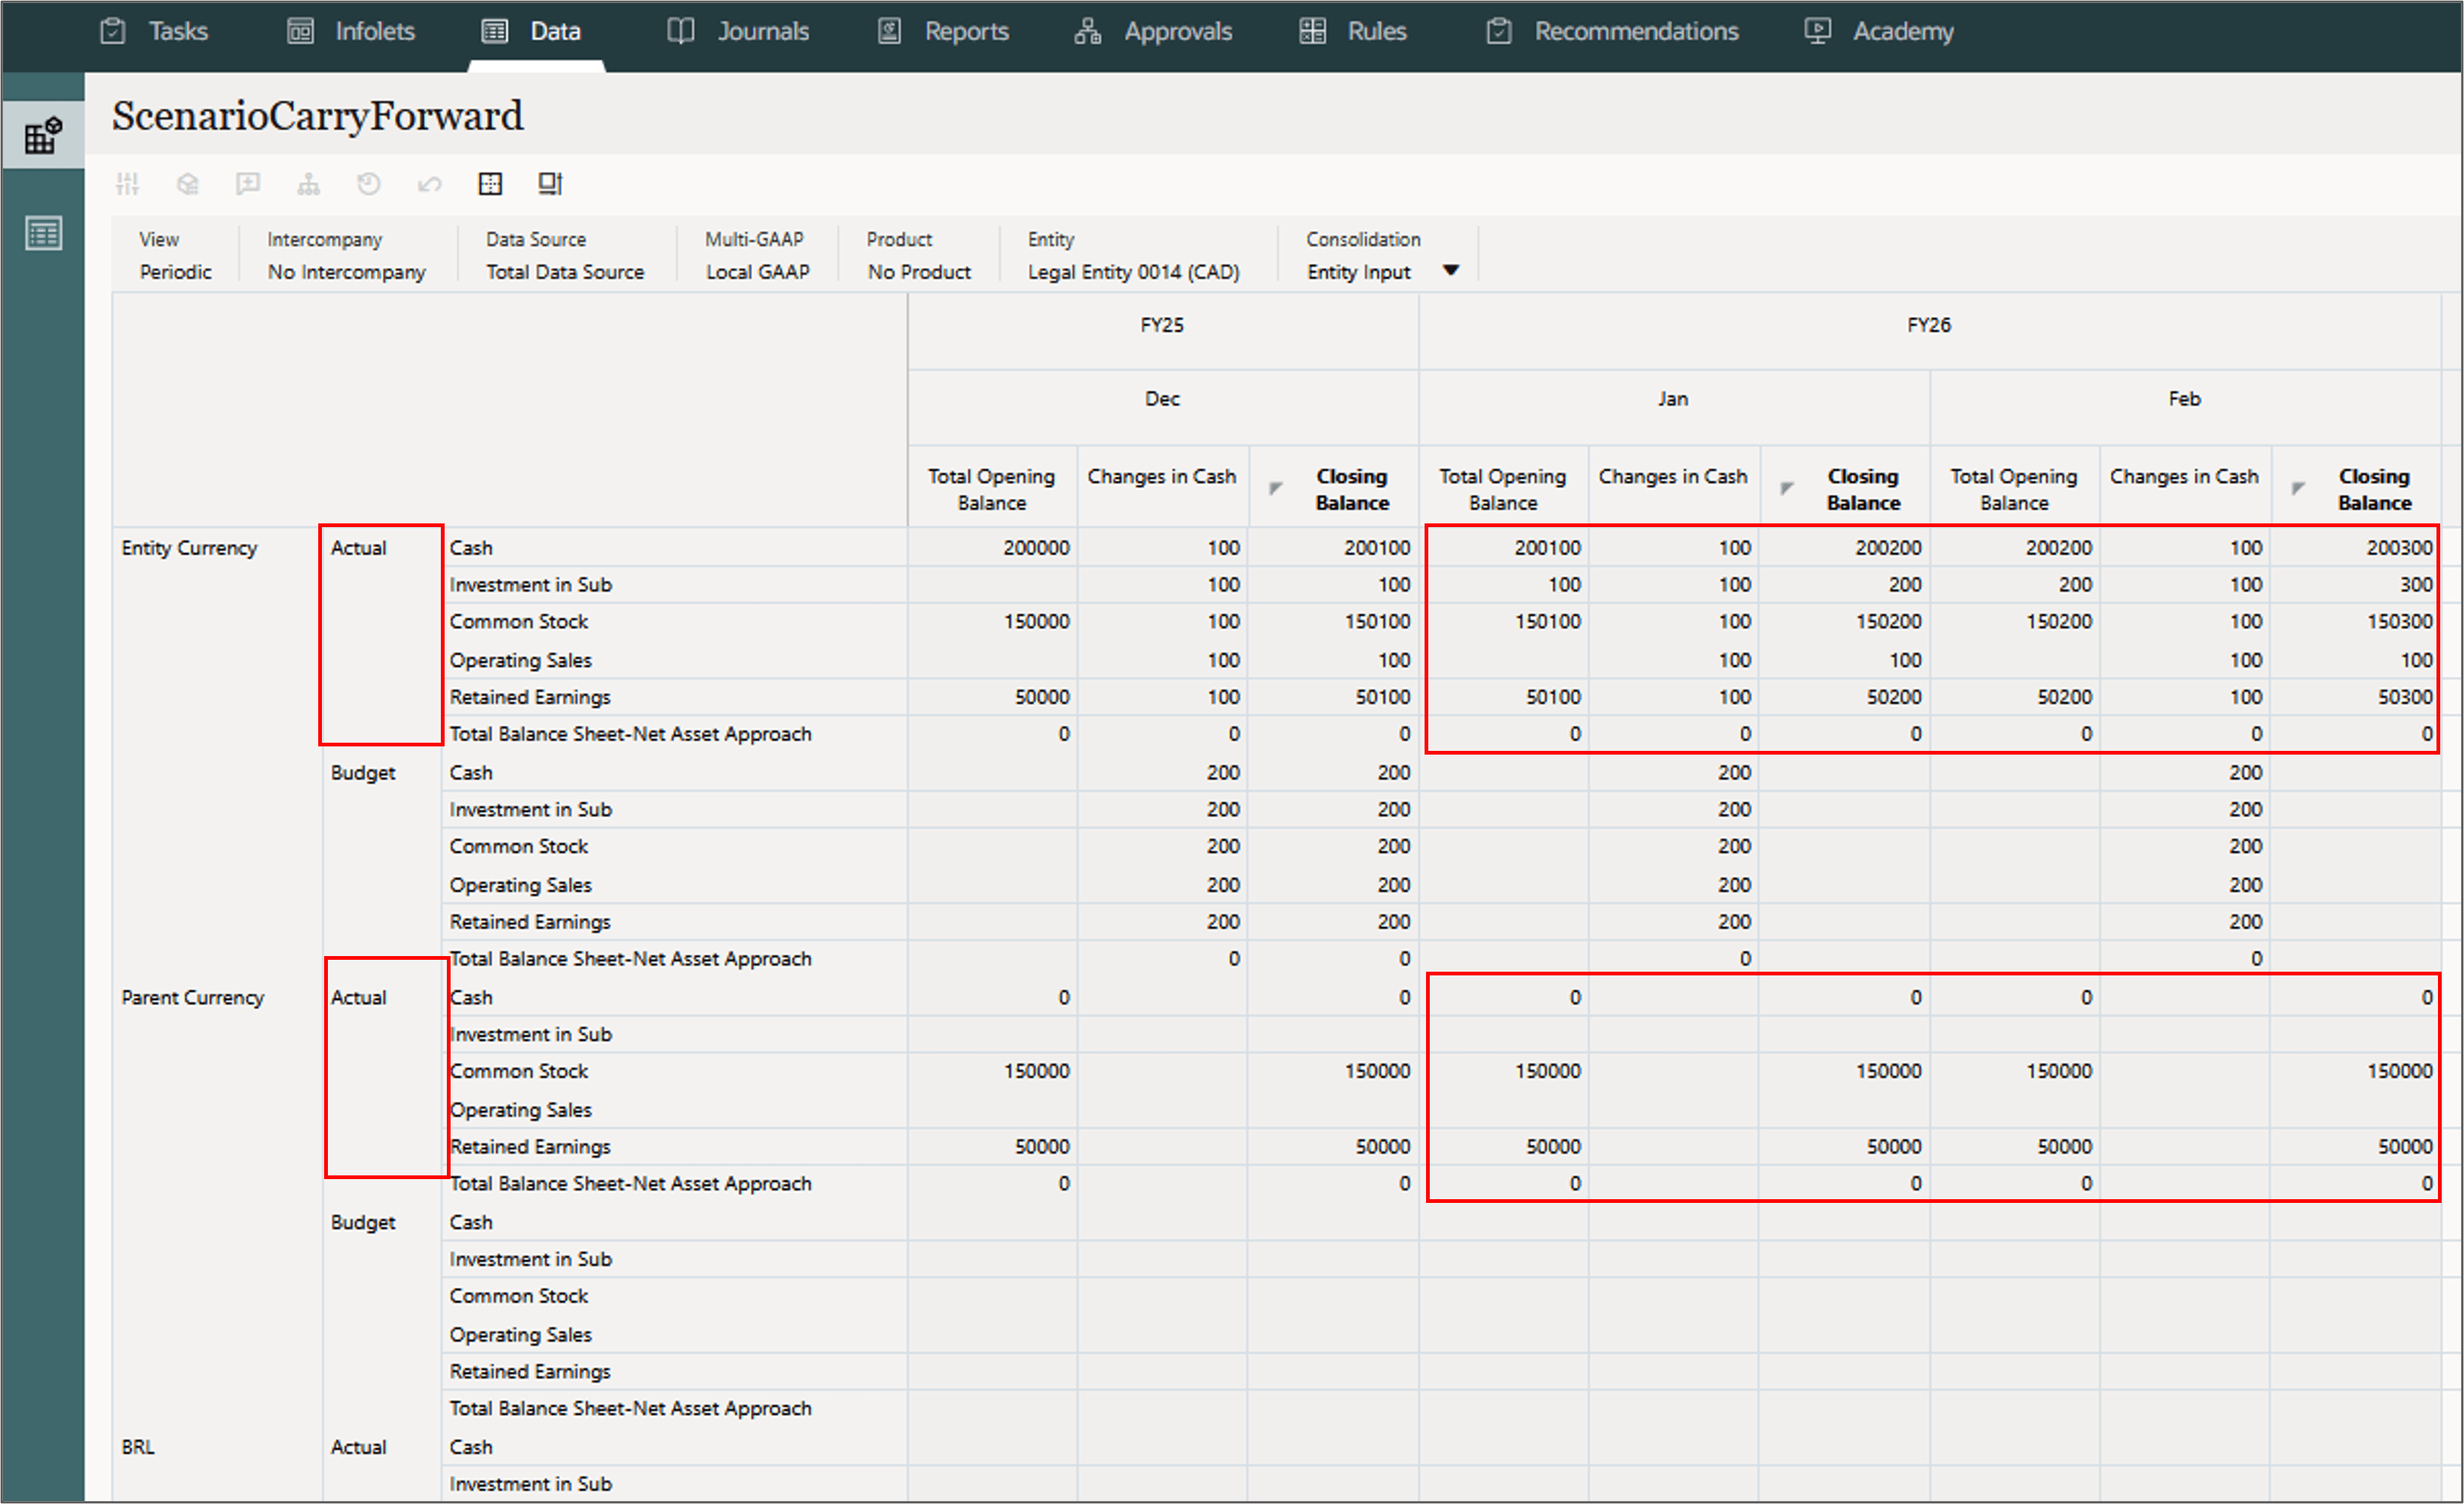
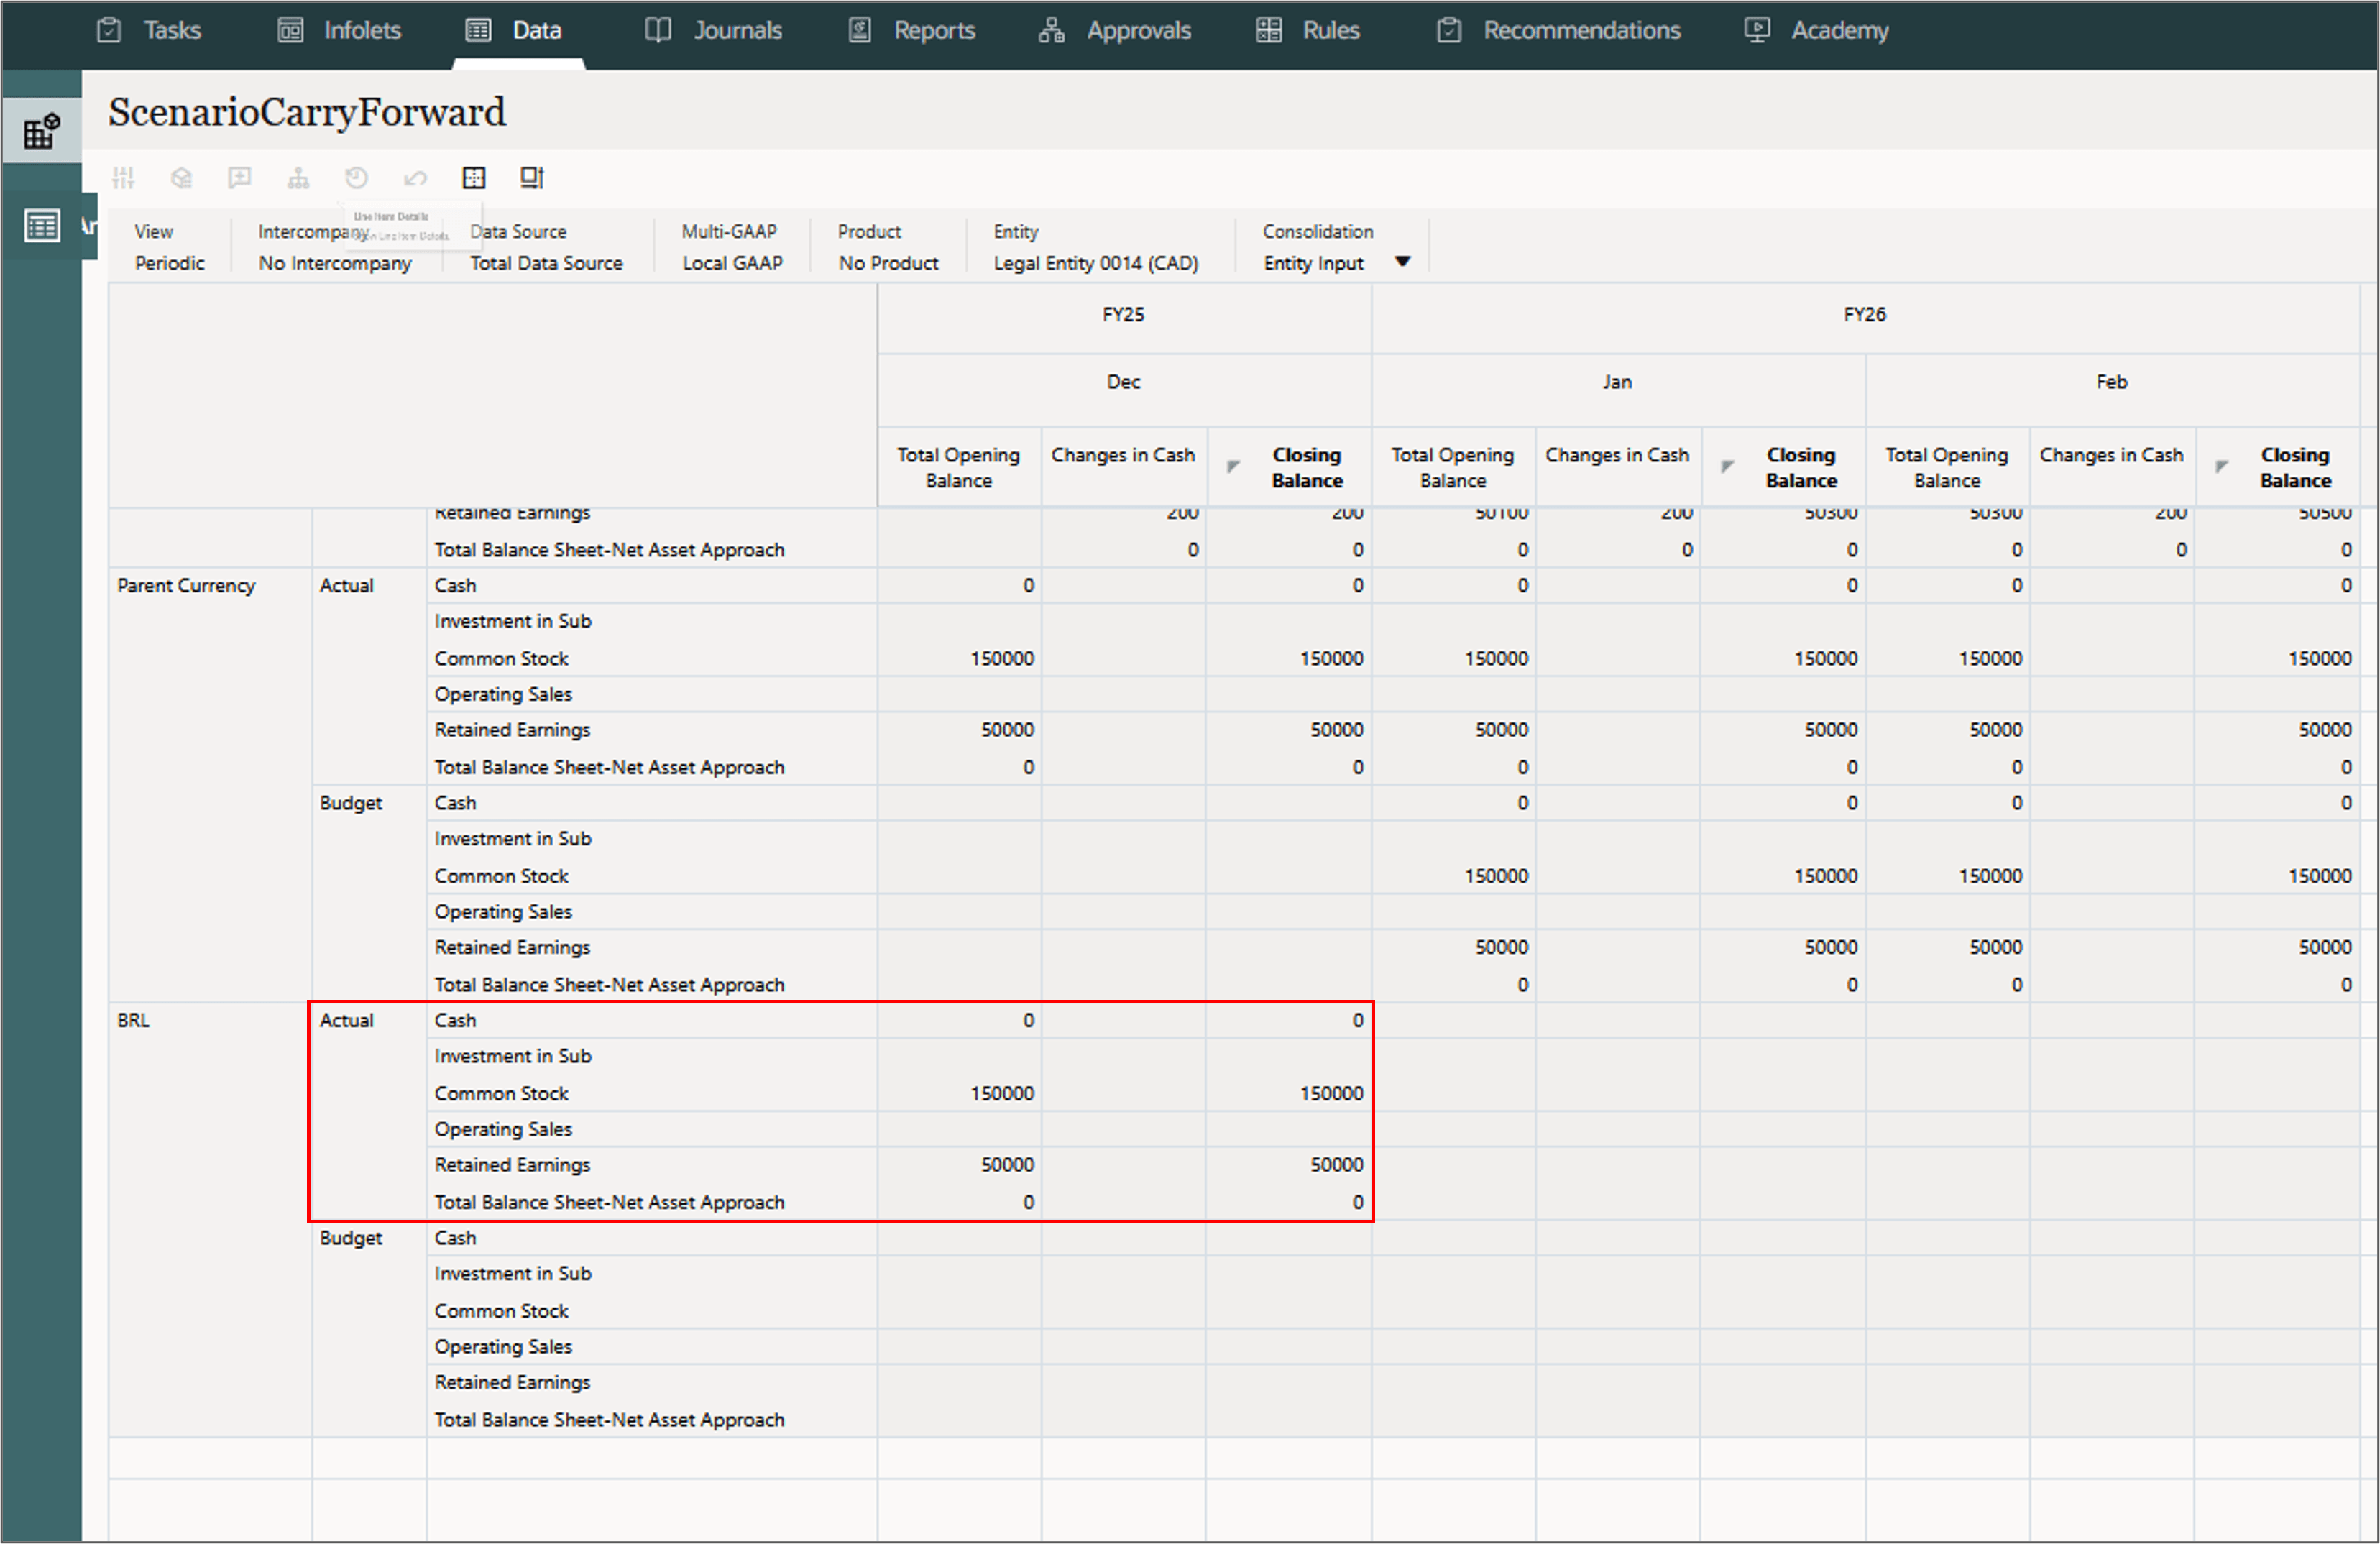
- In the POV, use the Consolidation drop-down list to change the member to Entity Input. The form data should look like the following:
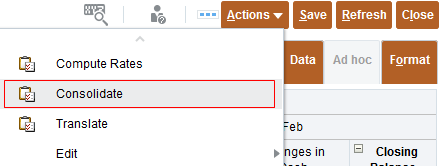
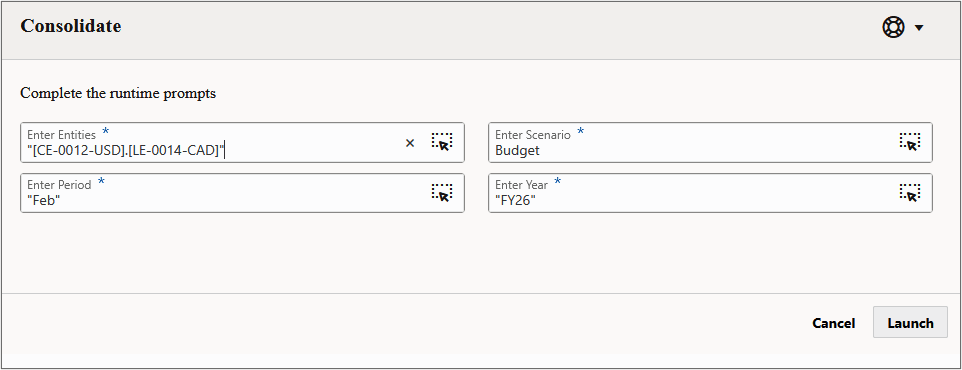
- To Consolidate, right-click any cell, and then select Consolidate.
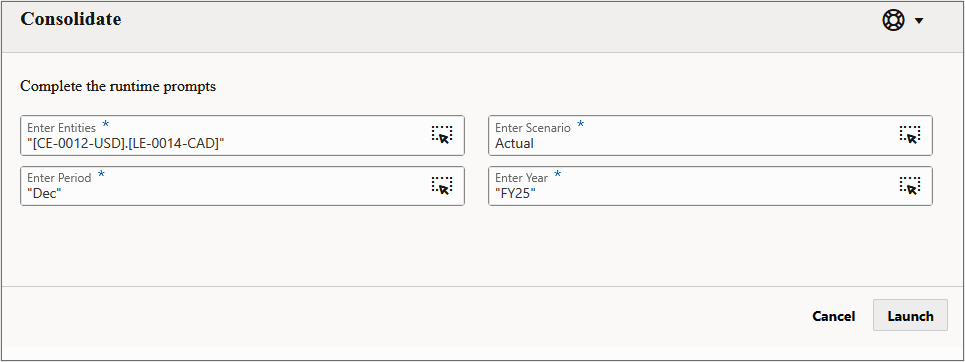
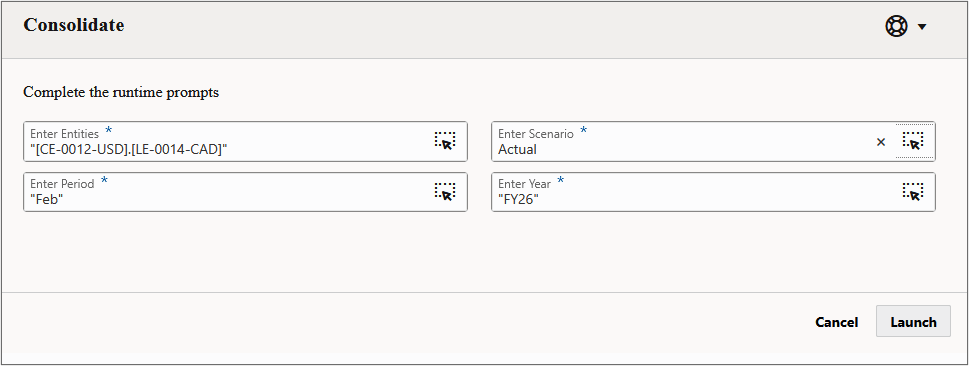
- Enter and verify the following member selections and click Launch:
[CE-0012-USD].[LE-0014-CAD] -> Actual -> FY25 -> Dec
- Click OK.
- Closing Balances are calculated for the Actual Scenarios for Entity Currency and Parent Currency for Dec FY25.
- Repeat consolidations with the following prompts:
- Actual -> FY26 -> Feb.
- Opening and Closing Balances are calculated for the Actual Scenarios for Entity Currency and Parent Currency through Feb FY26.
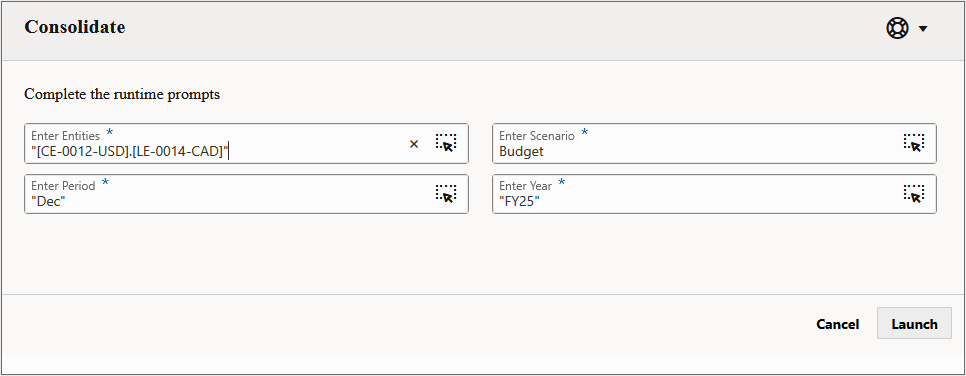
- Budget -> FY25 -> Dec.
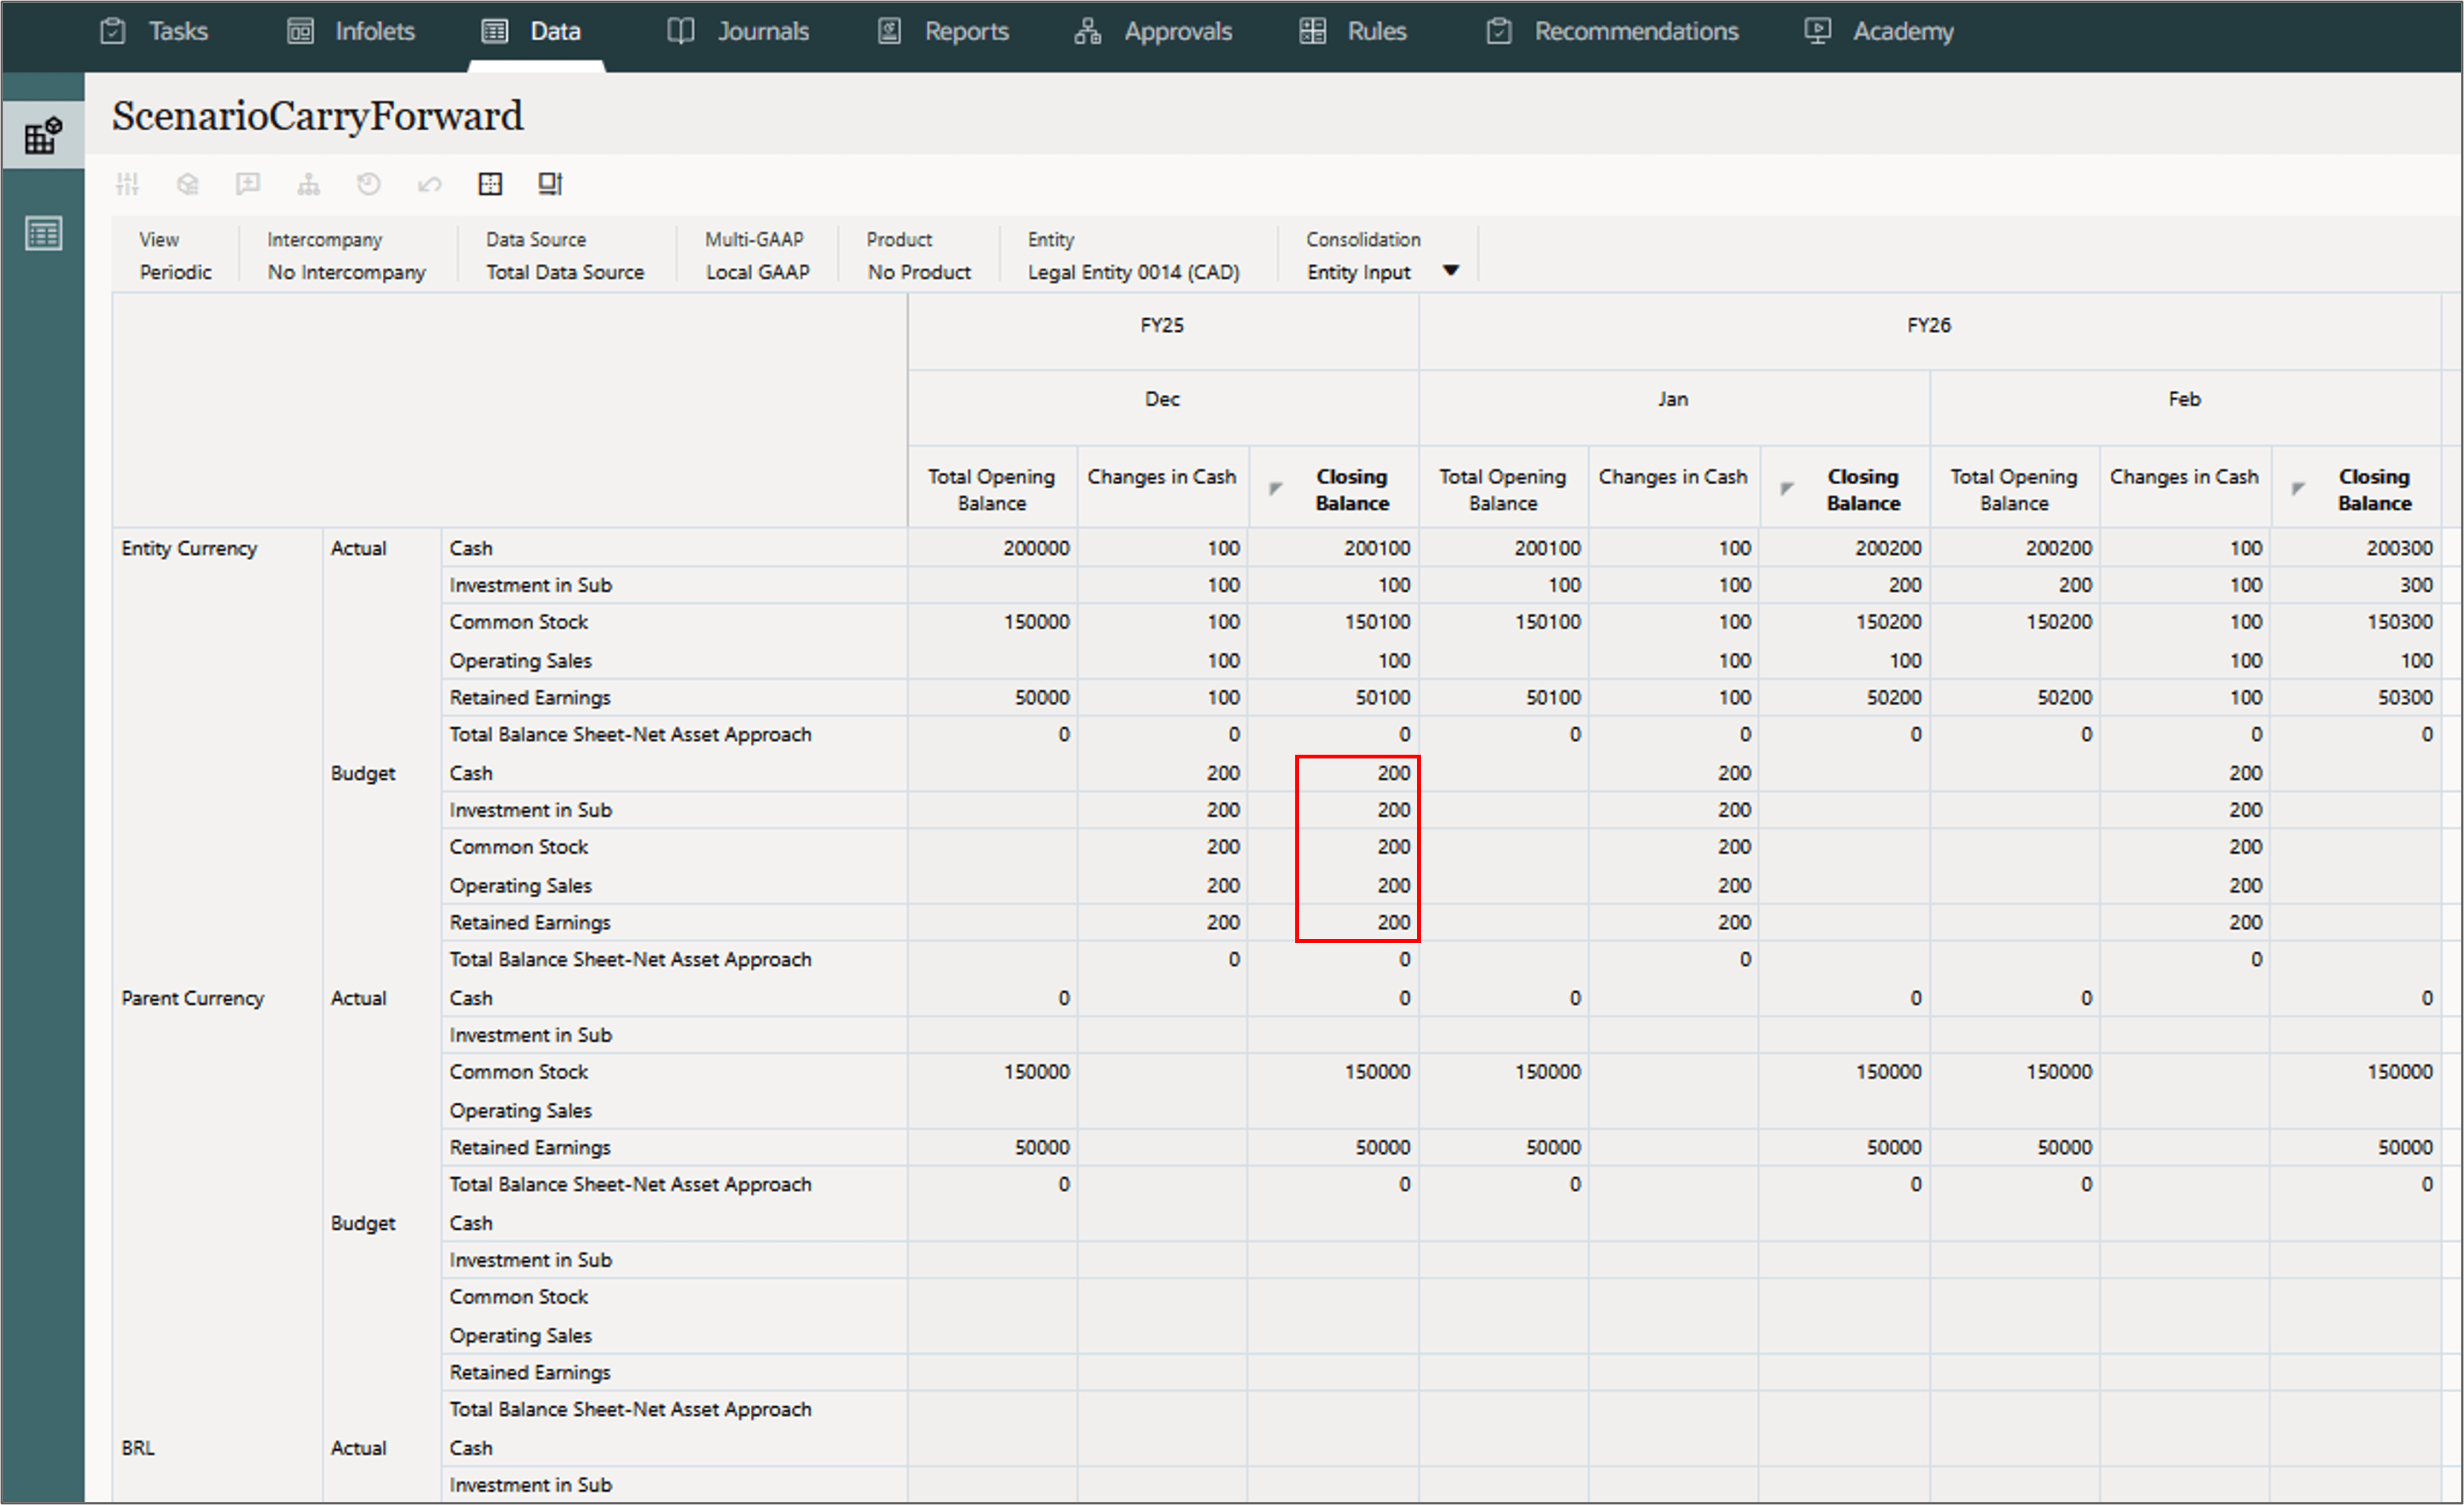
- Closing Balance is calculated for the Budget Scenario for Entity Currency for Dec FY25.
- Budget -> FY26 -> Feb.
- Opening and Closing Balances are calculated for the Budget Scenarios for Entity Currency and Parent Currency through Feb FY26.
Translating the data
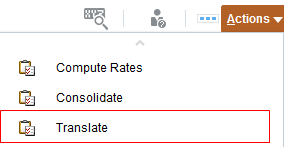
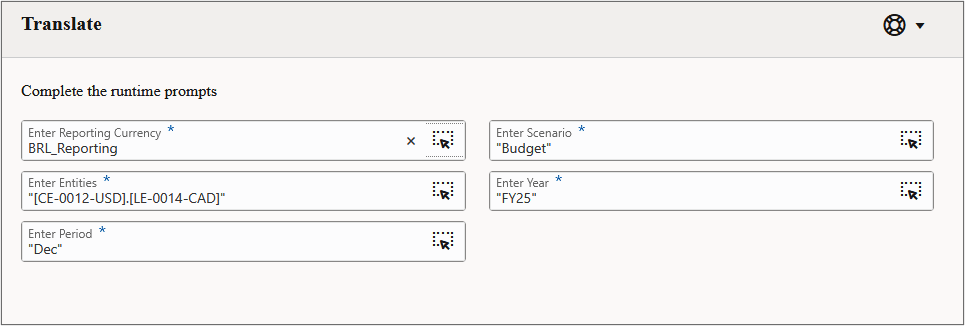
- To Translate, right-click any cell, and then select Translate.
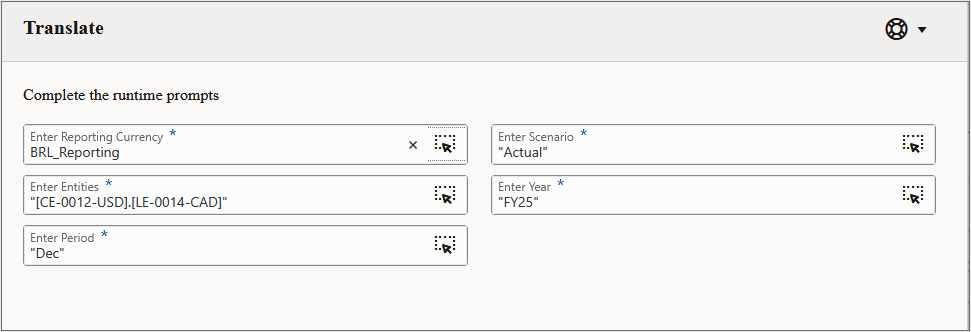
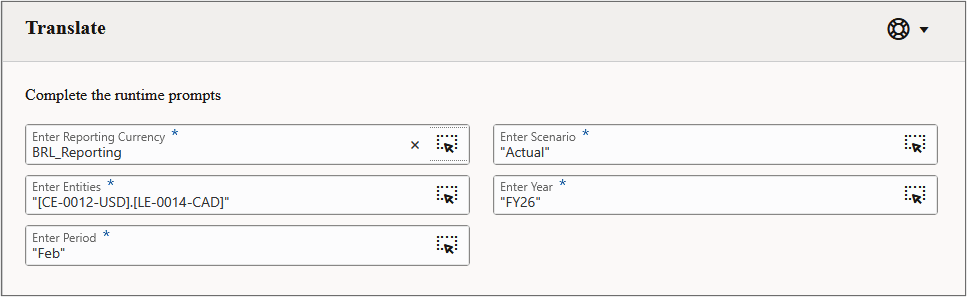
- Enter the following selections and click Launch:
- Enter Reporting Currency = BRL_Reporting
- Entity = [CE-0012-USD].[LE-0014-CAD]
- Period = Dec
- Scenario = Actual
- Year = FY25
- The translation status changes to OK upon completion.
- Opening and Closing Balances are calculated for the Actual Scenario for the BRL translation for Dec FY25
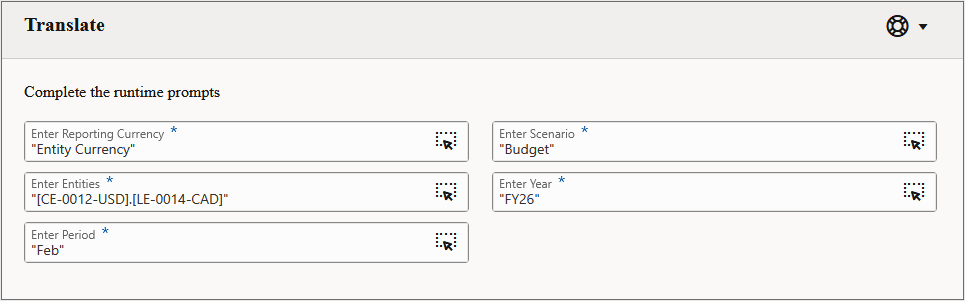
- Repeat translations with the following POVs:
- BRL_Reporting -> Actual -> FY26 -> Feb.
- Opening and Closing Balances are calculated for the Actual Scenario for the BRL translation through Feb FY26
- BRL_Reporting -> Budget -> FY25 -> Dec.
- BRL_Reporting -> Budget -> FY26 -> Feb.
- Opening and Closing Balances are calculated for the Budget Scenario for the BRL translation through Feb FY26.
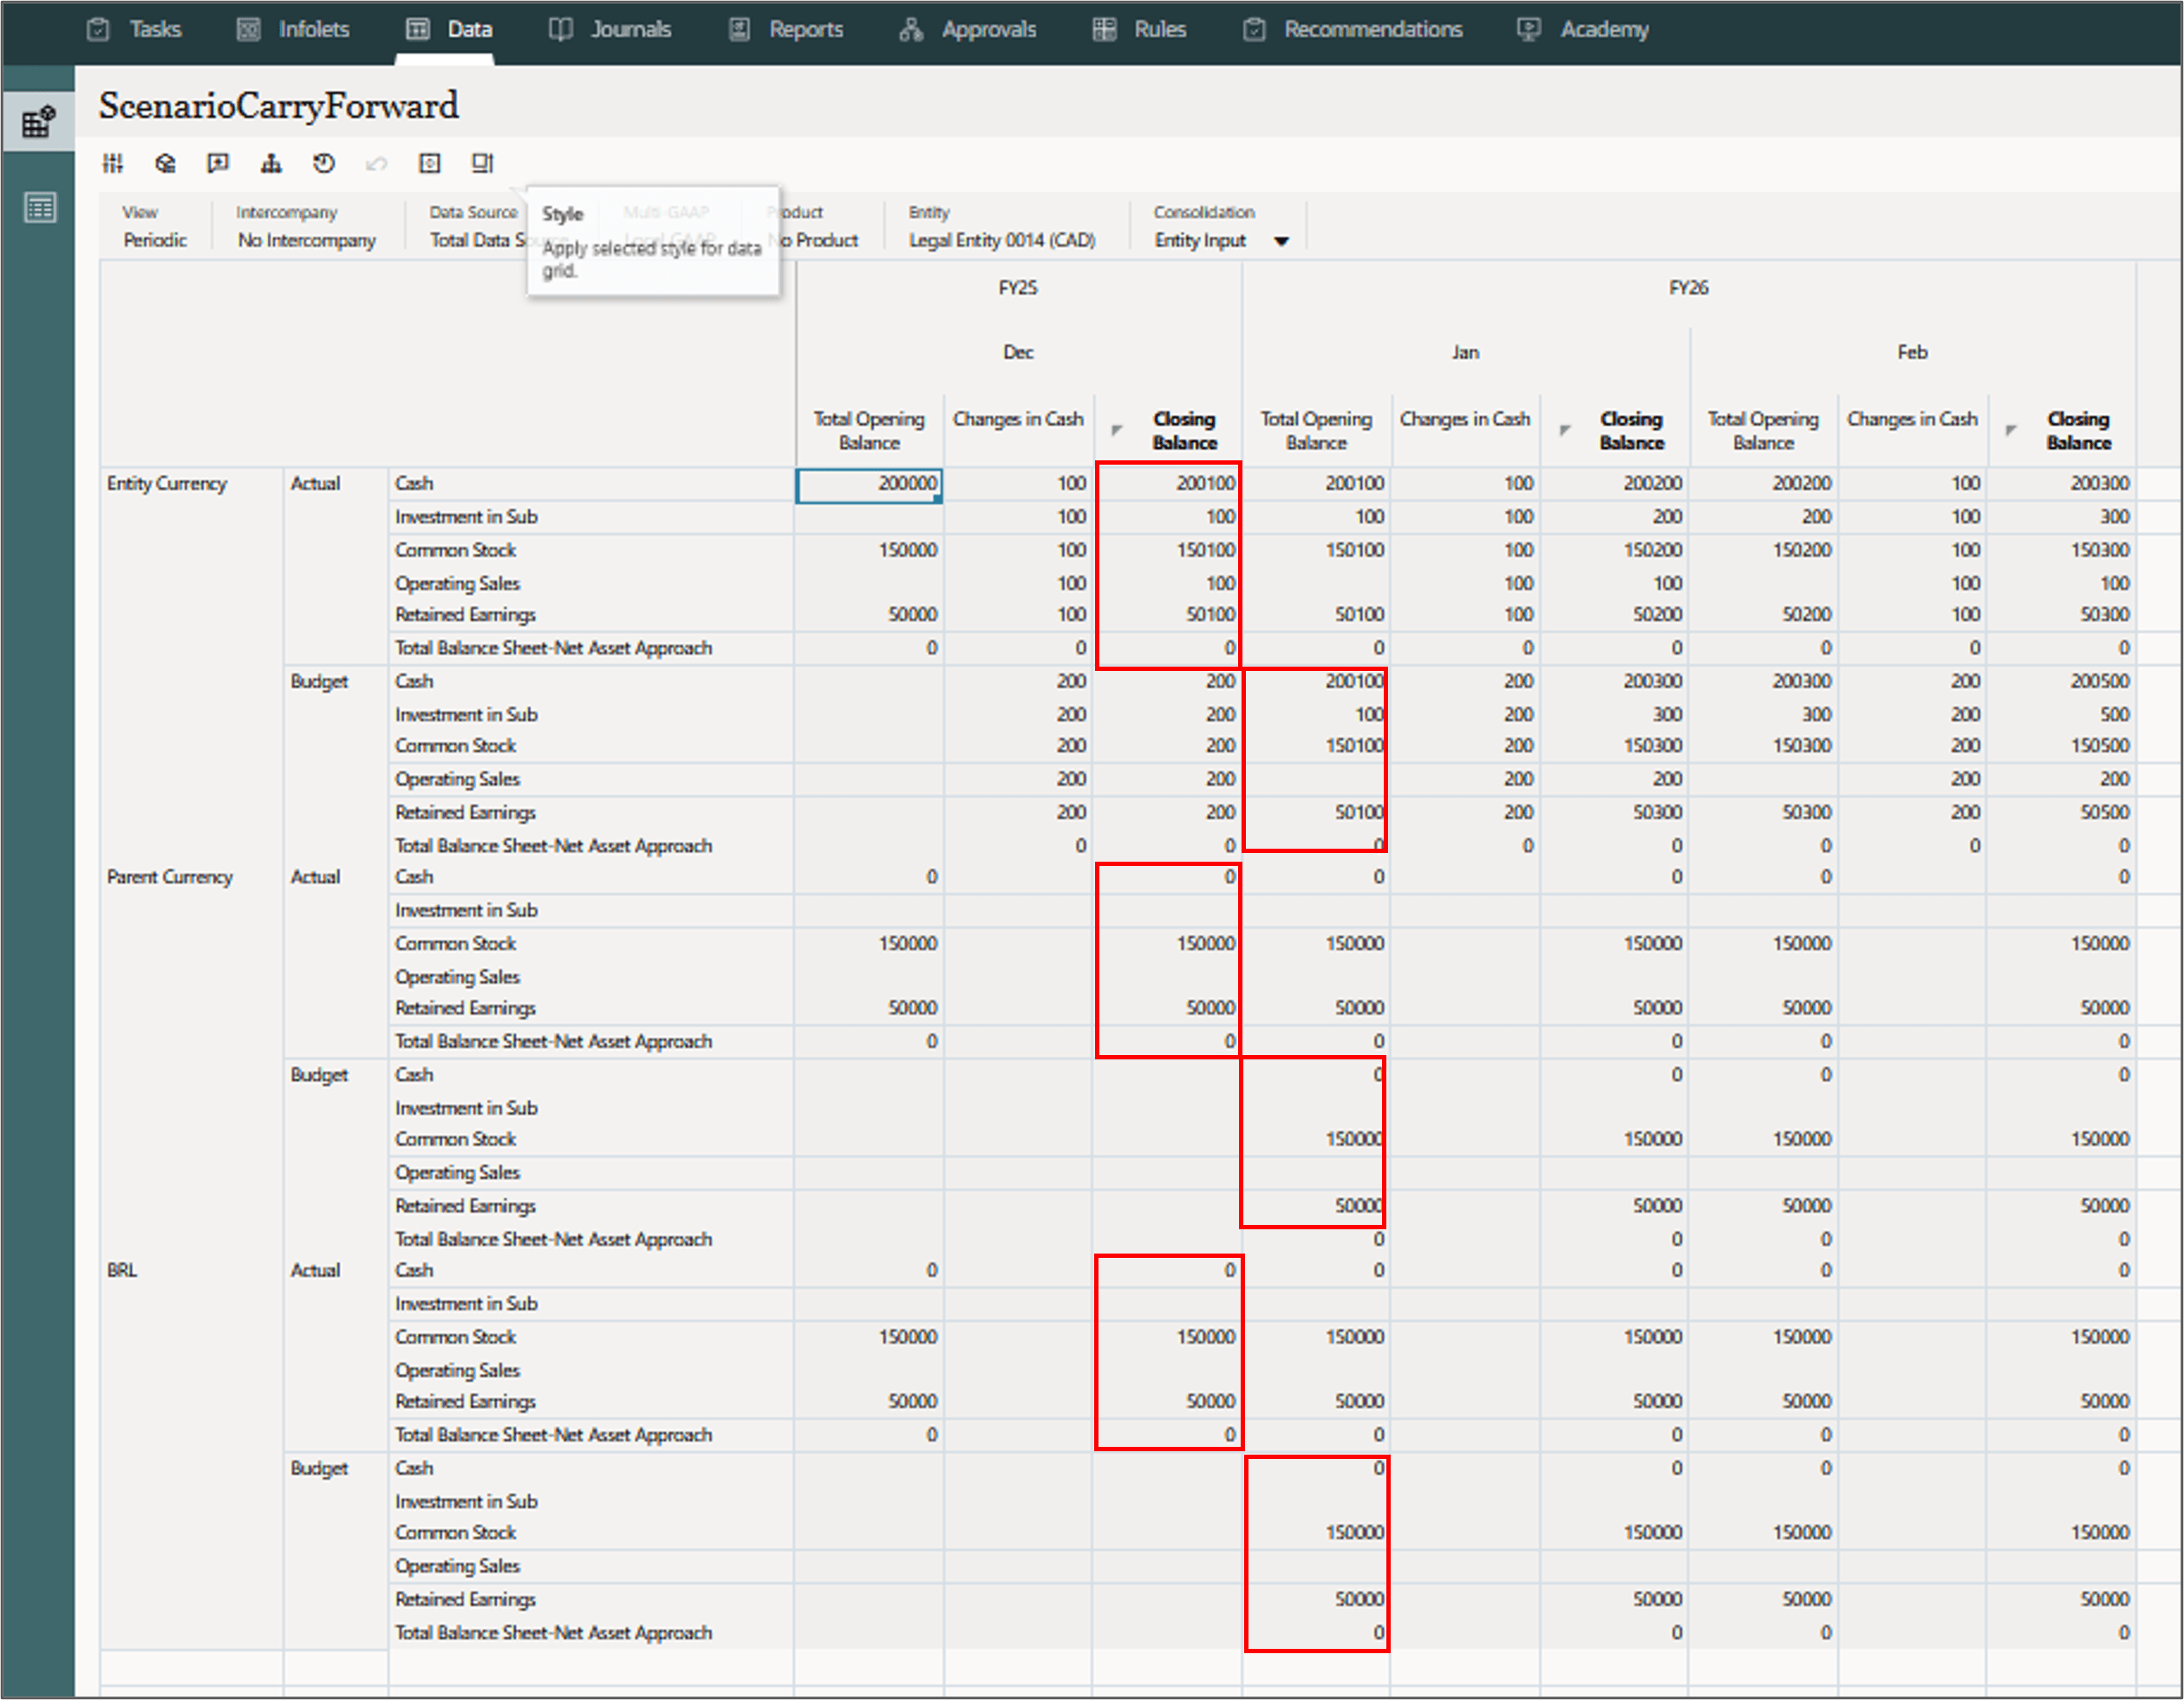
- Review the results for Entity Currency, Parent Currency and BRL reporting currency.
- The Scenario Carry Forward rule is not applied to subsequent periods in FY26, so the Feb FY26 Budget Opening Balance is equal to the Jan FY26 Budget Closing Balance.
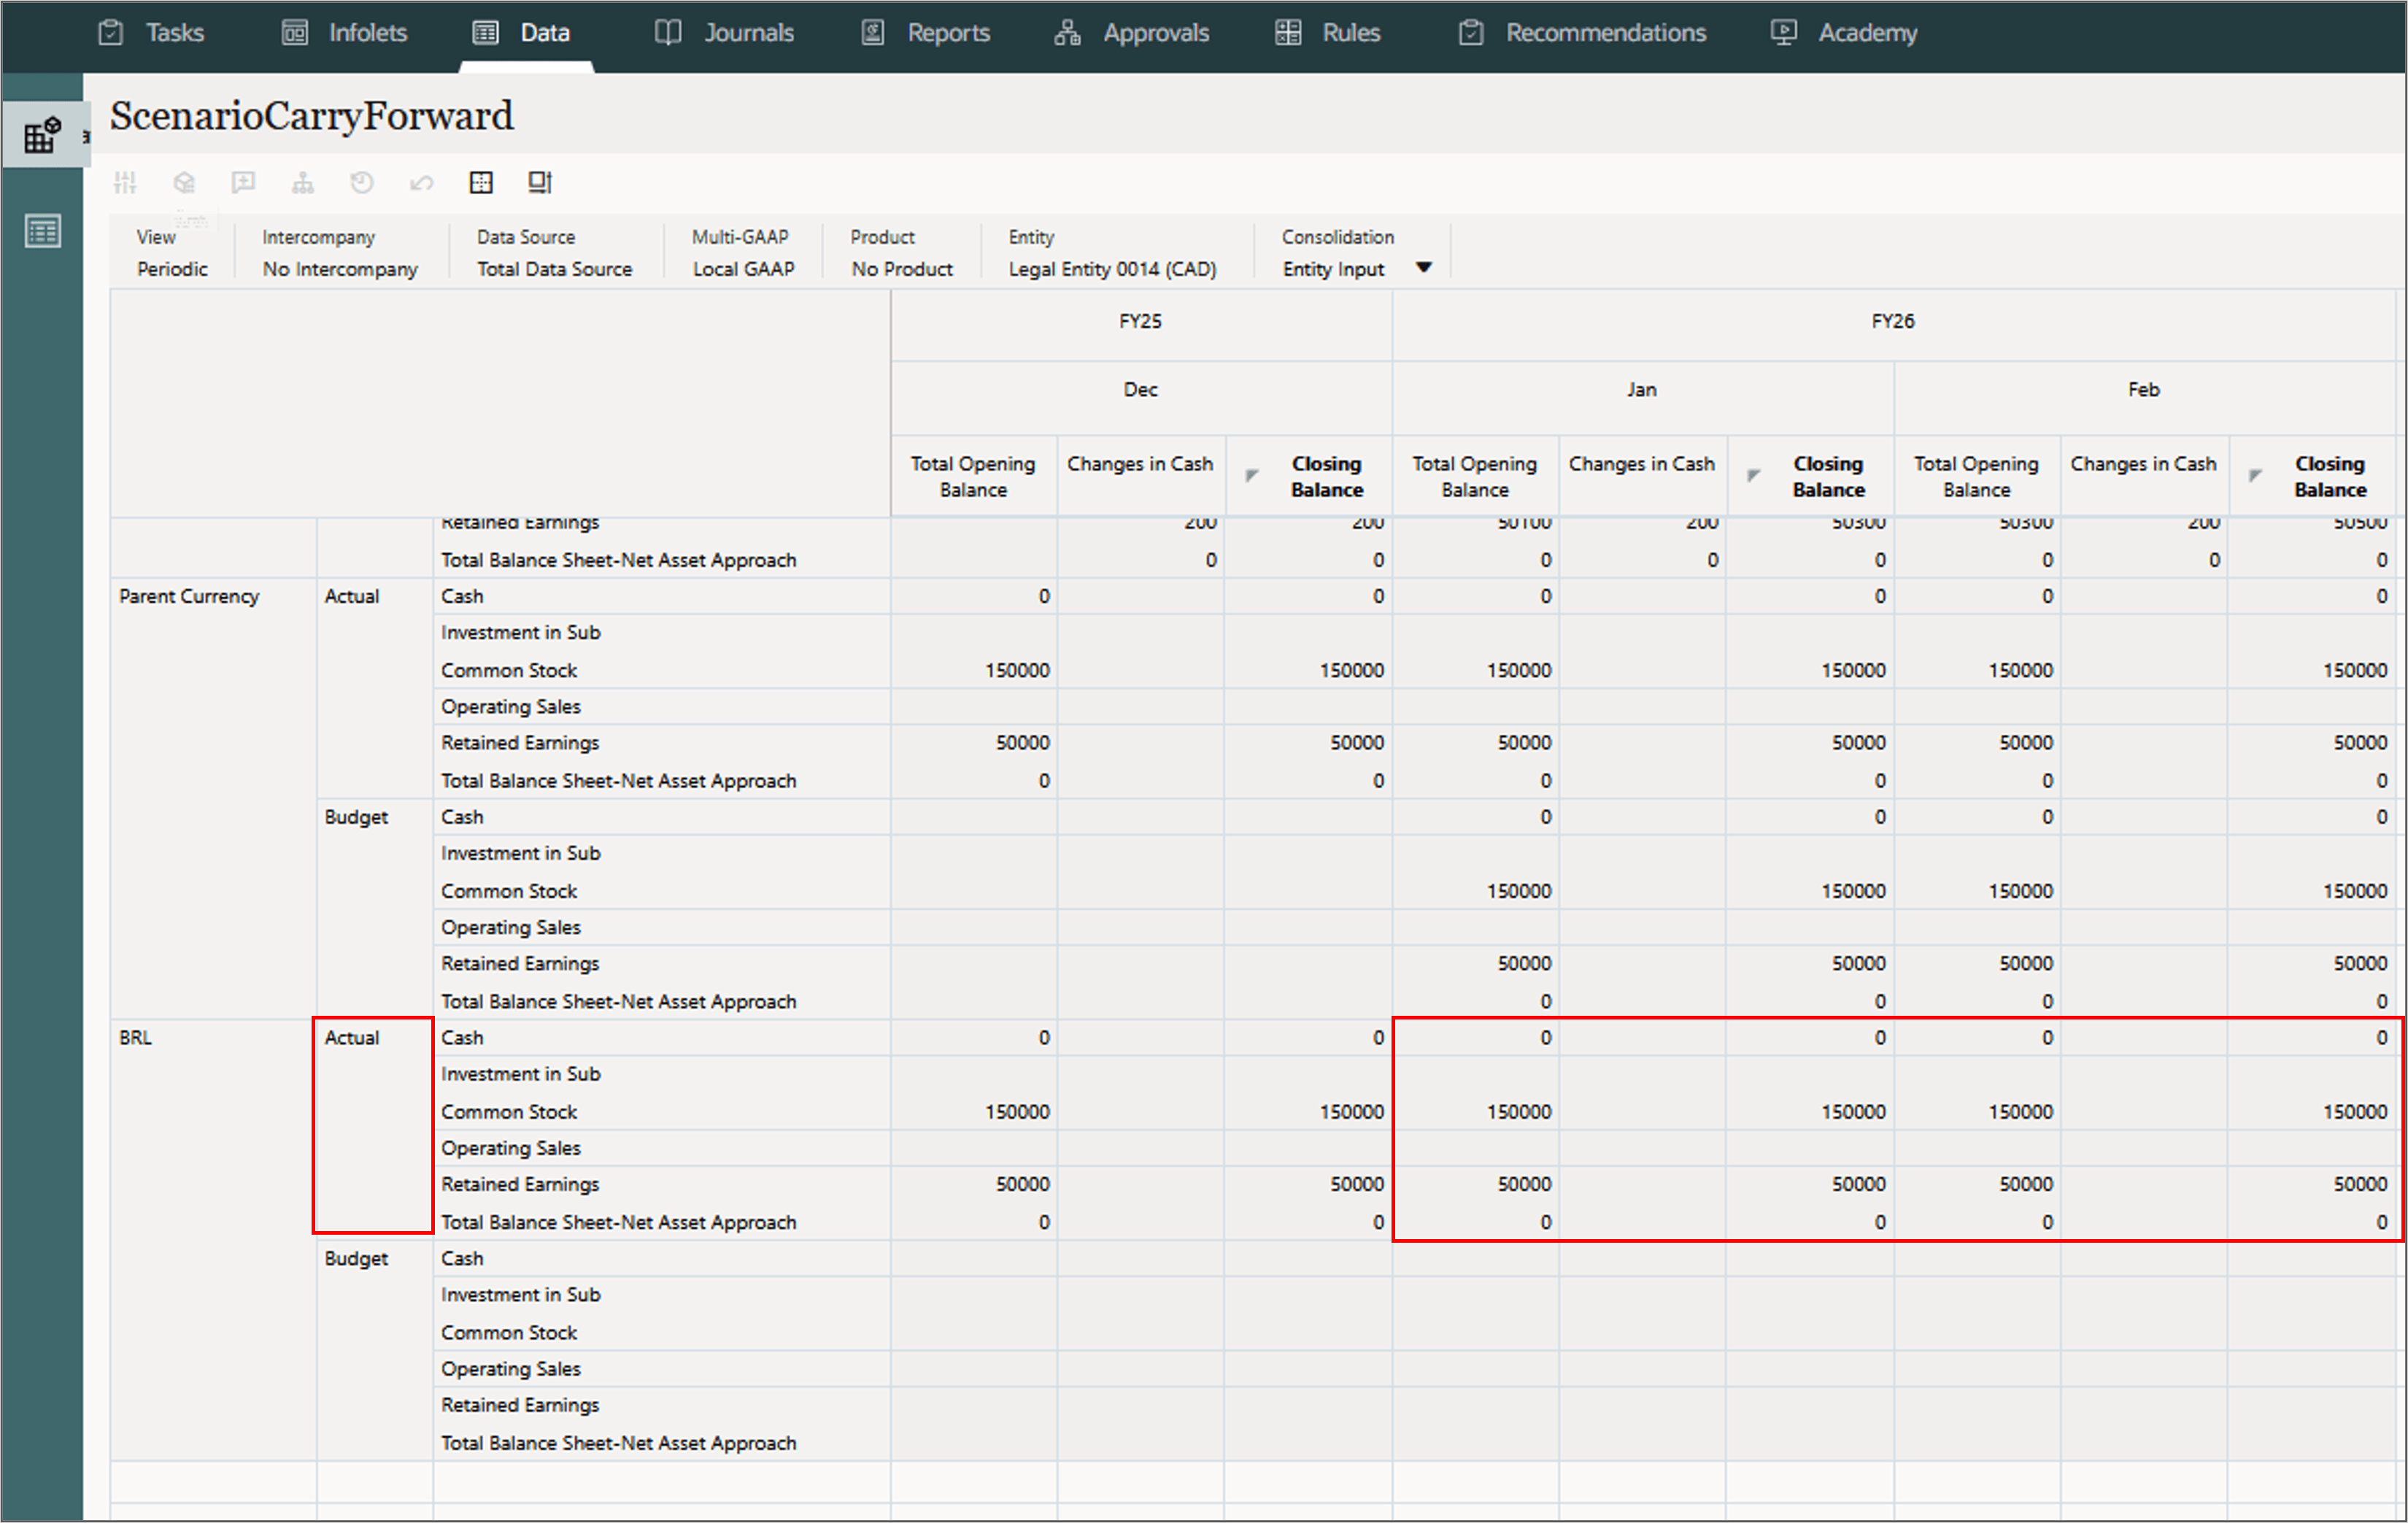
The Scenario Carry Forward rule is applied to the first period in FY26, so the Jan FY26 Budget Opening Balance is equal to the Dec FY25 Actual Closing Balance.
Related Links
Carrying Forward Opening Balances with Scenario Override
F47854-03
March, 2026