Before you Begin
This 30-minute hands-on tutorial shows you how to modify attributes for seeded accounts in Financial Consolidation and Close. This enables you to load negative values as normal balances for selected account types. The sections build on each other and should be completed sequentially.
Background
Dimensions are seeded with system-defined members to support the built-in system calculations. Seeded dimension members have the prefix FCCS underscore (FCCS_). You cannot rename or delete seeded members. For most dimensions, you can modify only the Parent Member and Alias attributes for seeded members. In the Account dimension, however, you can modify in addition the Account Type, Consolidation Operator, Variance Reporting, and Exchange Rate Type attributes.
The Financial Consolidation and Close seeded account hierarchy expect that normal balance data for all account types is represented by positive values. For Asset and Expense accounts, positive values represent a debit balance and negative values a credit balance. For Revenue, Liability, and Equity Accounts, positive values represent a credit balance and negative numbers a debit balance. Your source data, however, may represent the normal balance for expenses, liability, or equity accounts as negative values. Because the seeded account members in the system-defined balance sheet hierarchy are configured to expect the normal balance to be a positive number, you must modify the Account Type and Consolidation Operator properties for the seeded account members if you plan to load source data that includes accounts with negative numbers for normal balance.
What Do You Need?
An EPM Cloud Service instance allows you to deploy and use one of the supported business processes. To deploy another business process, you must request another EPM Enterprise Cloud Service instance or remove the current business process.
- Have Service Administrator access to EPM Enterprise Cloud Service. The instance should not have a business process created.
- Upload and import this snapshot into your Financial Consolidation and Close instance.
- Upload and import this additional snapshot into your Financial Consolidation and Close instance to add the data form and Movement member used in this tutorial.
Note:
For more information on uploading and importing migration snapshots, refer to the Administering Migration for Oracle Enterprise Performance Management Cloud documentation. - Save this compressed file locally and extract the (csv) data files. You will be importing data and metadata using the extracted files.
Reviewing the balance sheet hierarchy
In this section, you load data and review the default balance sheet hierarchy in a form.
Loading data
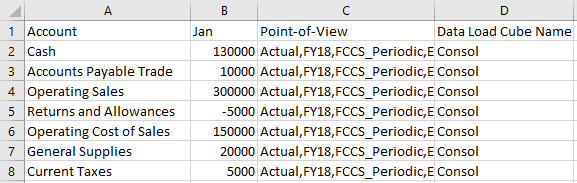
- Using a text editor or spreadsheet program, browse to the folder where you extracted the data files and open DataLoad1.csv.
- Review the contents of the DataLoad1.csv file.
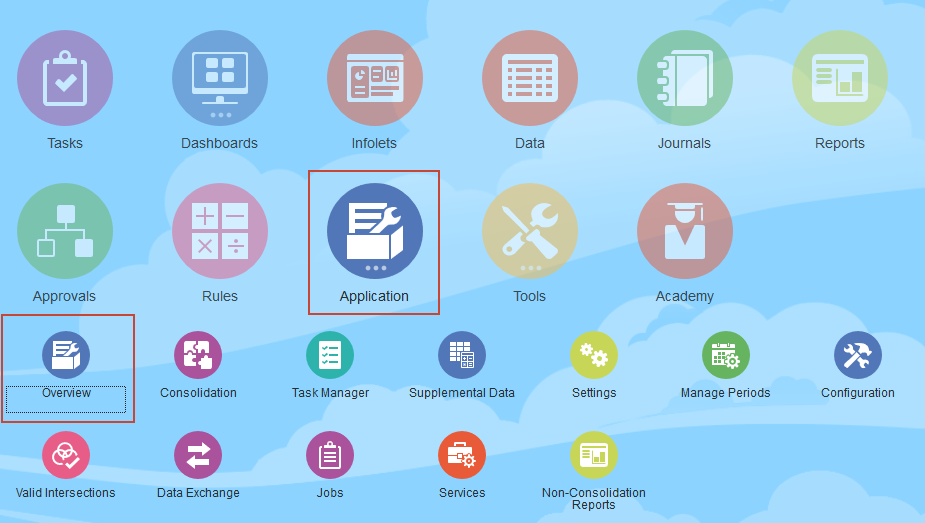
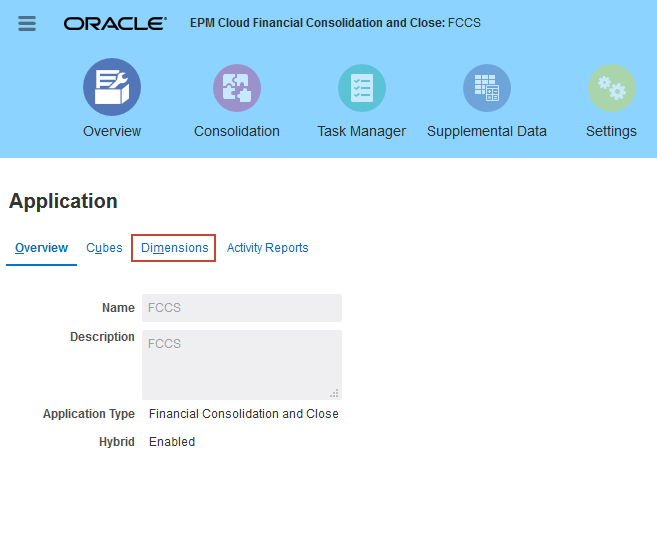
- On the Financial Consolidation and Close home page, click Application, then Overview.
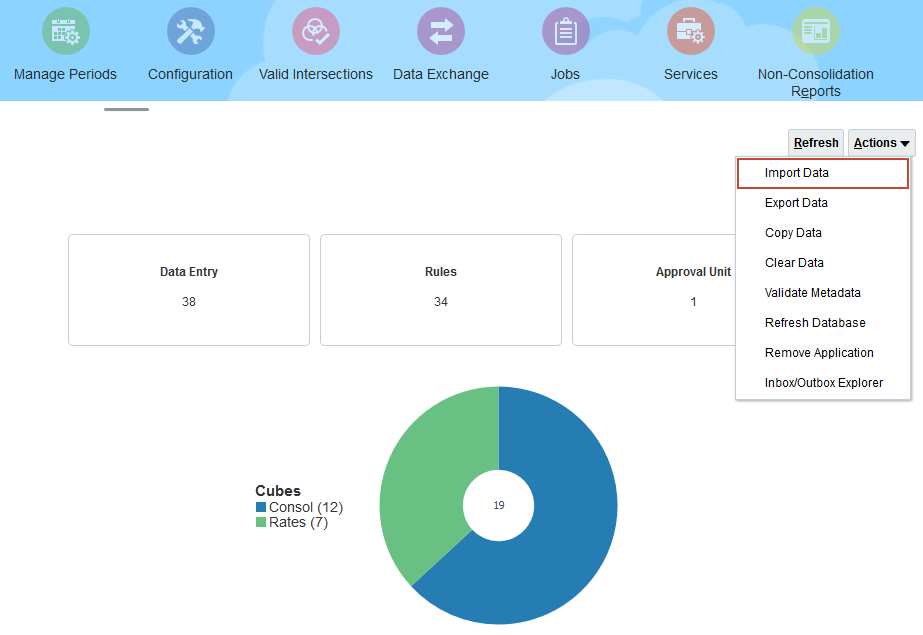
- On the Application page, click Actions, and select Import Data.
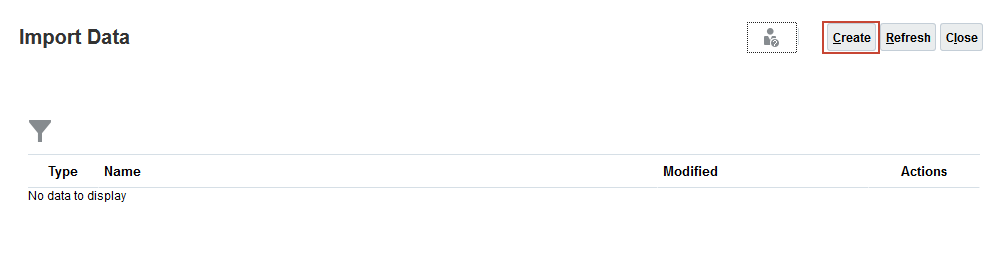
- In Import Data dialog, click Create.
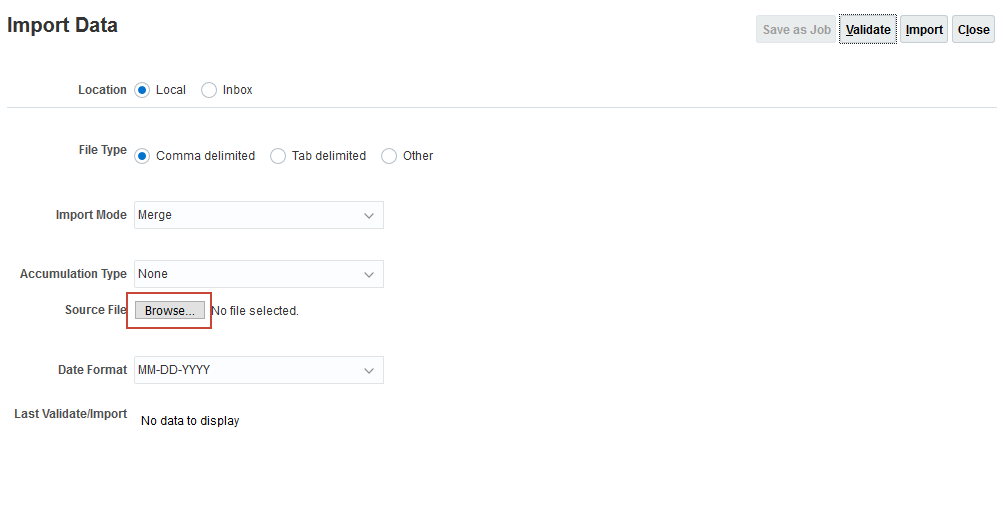
- Keep all the default selections, and click Browse to select a file.
Note:
Depending on your browser, the button label may display Choose File or Browse. - Locate and select DataLoad1.csv, and click Open.
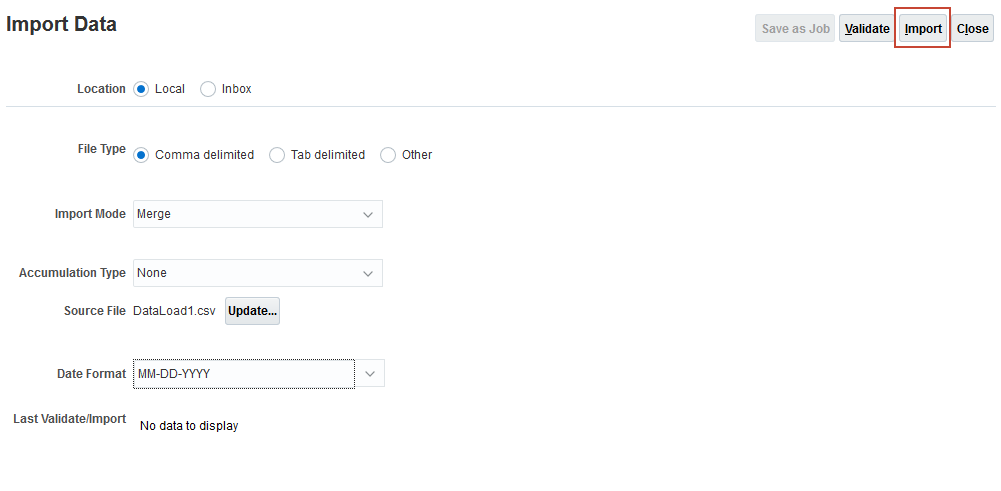
- Click Import.
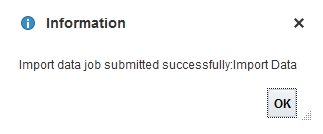
- At the information dialog, click OK.
Tip:
The data files provided in this tutorial have been validated against the loaded business process. For newly created or modified data files, Oracle recommends that you validate the files before running the import process. - Click Close twice.
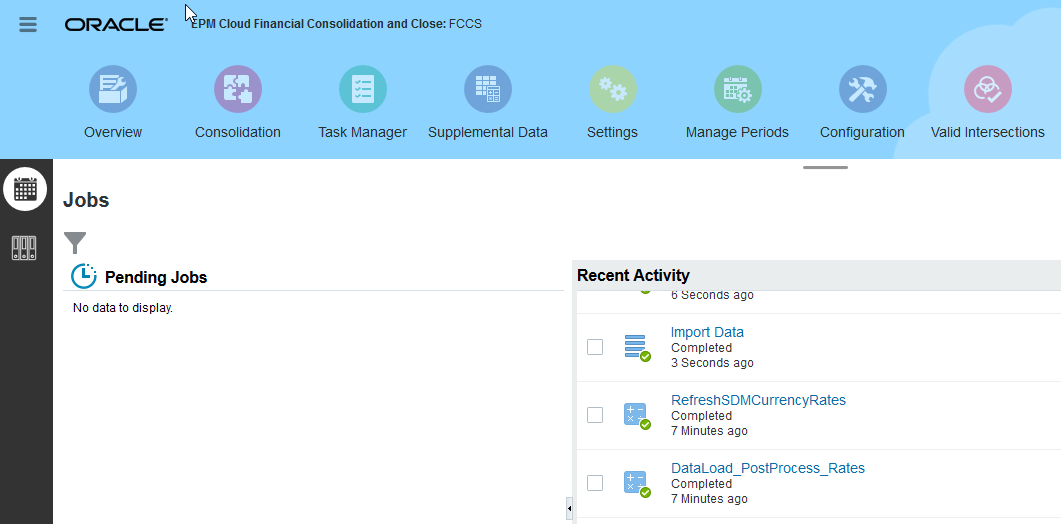
- Click Jobs.
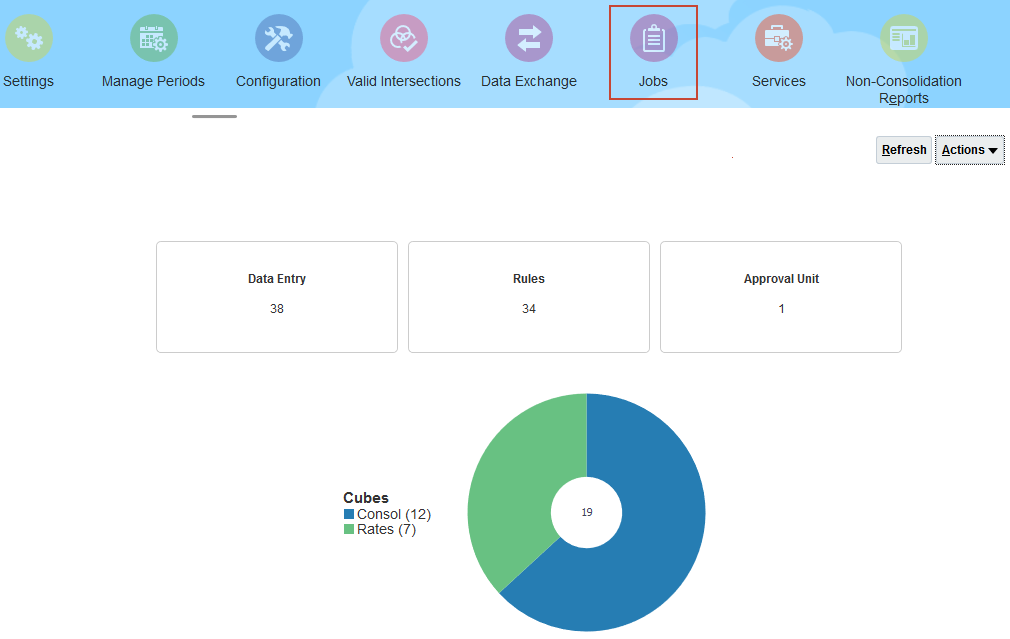
- Verify that the job completed successfully.
- Click
 (Home).
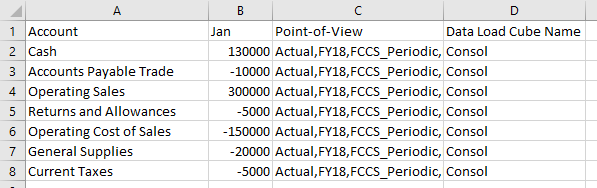
The file contains account balances for January. Normal balances are represented as positive numbers for all account types. Returns and Allowances is a Revenue account with Credit as the normal balance type, so the negative value for this account represents a Debit.
Viewing balance sheet data
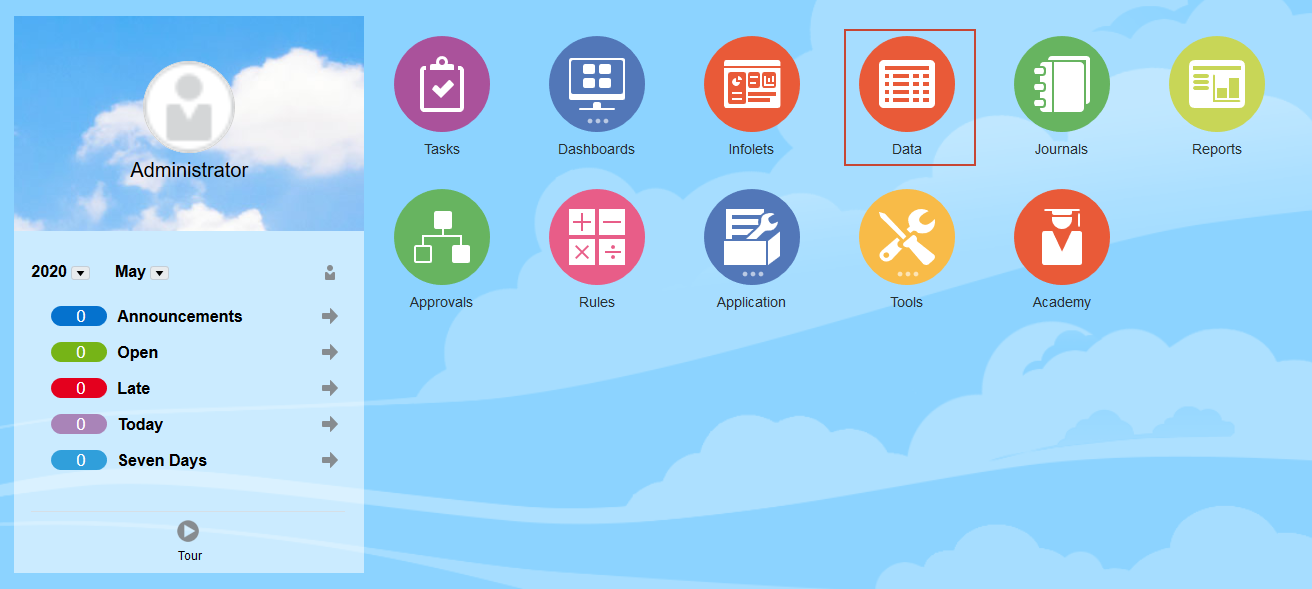
- From the Home page, click Data.
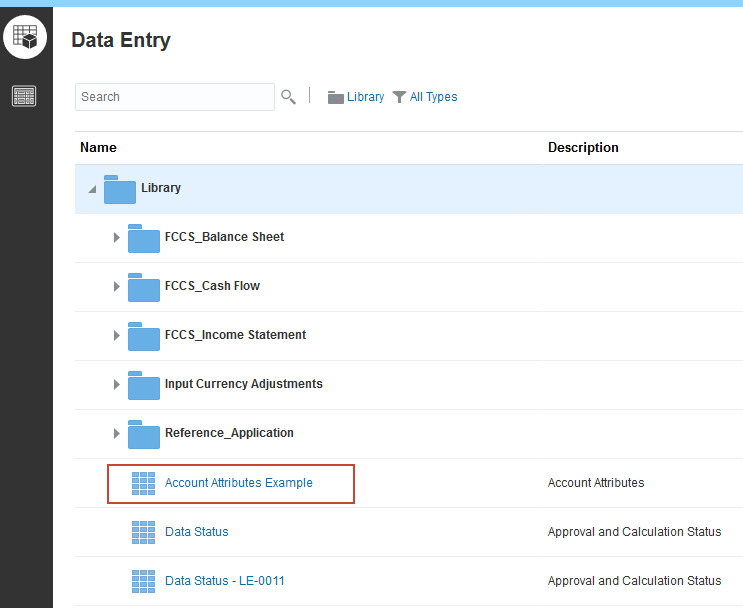
- In the form list, select Account Attributes Example.
- Review the data in the form.
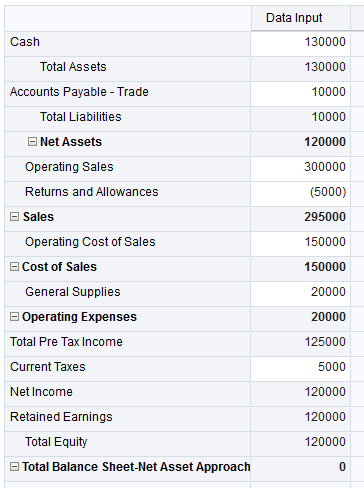
Normal balances for all account types are positive numbers. For child accounts that aggregate to a parent with an opposite normal balance type, the consolidation operator is set to Subtraction in the account metadata. For example, Total Liabilities has a normal balance of Credit and its parent Net Assets a normal balance of Debit, so the consolidation operator for Total Liabilities is set to subtraction.
- Click Close to close the Form.
- Click (Home).
Updating seeded account attributes
Updating account types
If you plan to load negative values as the normal balance for liability and equity accounts, you must change the account type for liability and equity accounts accounts to Asset. If you plan to load negative values as the normal balance for expense accounts, you must change to account type for expense accounts to Revenue.
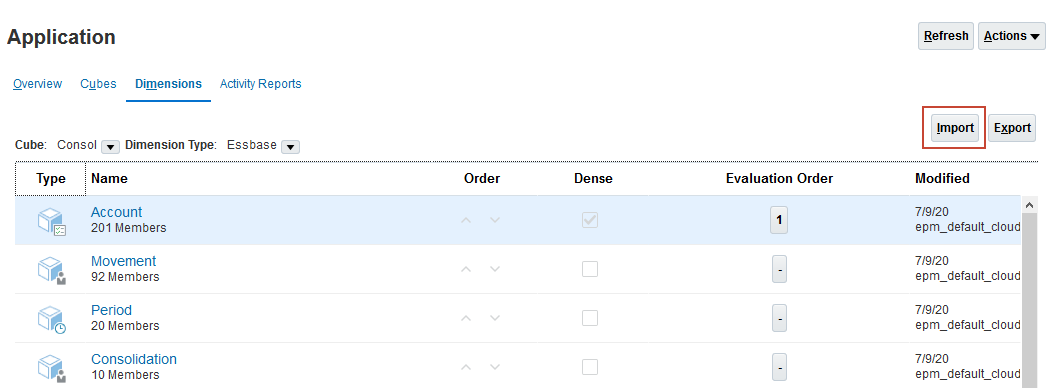
- On the Financial Consolidation and Close home page, click Application, then Overview.
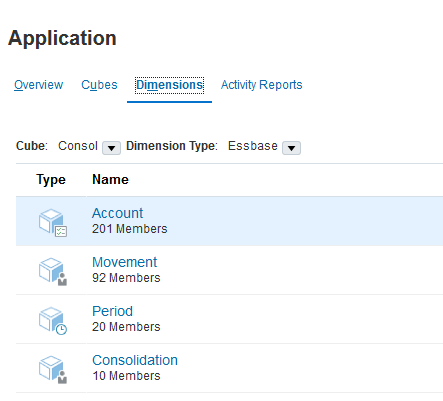
- Click Dimensions.
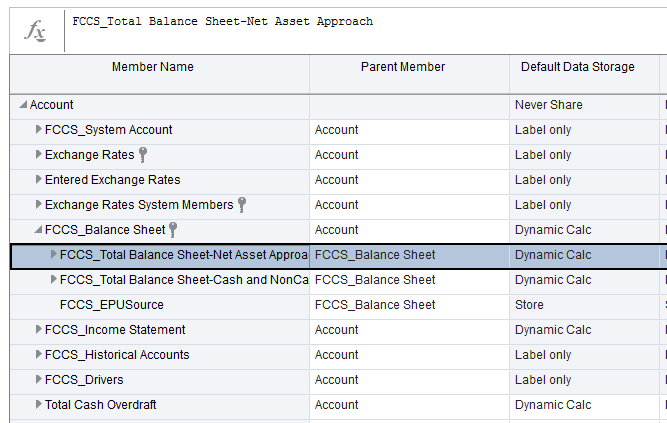
- In the list of dimensions, click Account.
- Expand the FCCS_Balance sheet member, and then select FCCS_Total Balance Sheet - Net Asset Approach.
- In the toolbar, click
 (Zoom in all levels).
 - Click the Member Name column heading to select the Member Name column, and then click
 (Freeze) to freeze the member names column.
 - Scroll down the rows until the FCCS_Total Liabilities member is visible, and then scroll the columns until the Account Type column is visible.
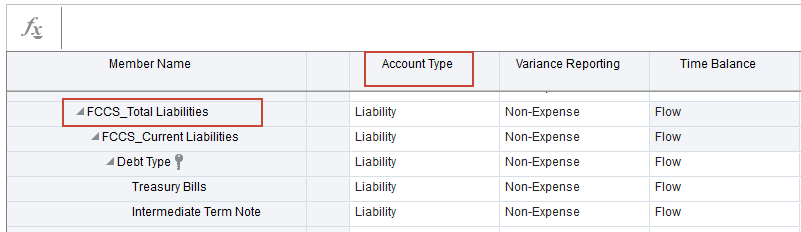
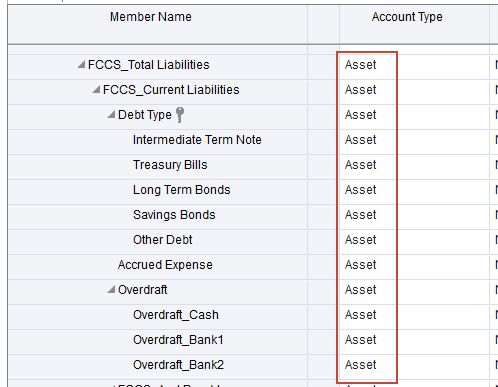
- In the Account Type list for the FCCS_Total Liabilities row, select Asset.
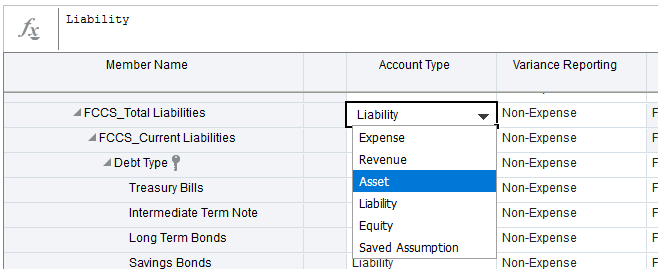
- Scroll down the list of accounts and make the following changes to the seeded account members (prefix FCCS_):
- Change seeded accounts with the Account Type Liability or Equity to the account type Asset.
- Change seeded accounts of account type Expense to the account type Revenue. (Verify that the Variance Reporting attribute for the account automatically updates to Non-Expense. If it does not, change Variance Reporting to Non-Expense.)
Note:
When you change the account type for a seeded account to Asset, Liability, or Equity, the Time Balance property automatically changes to Balance. When you save your changes, the system changes the Time Balance property back to Flow, which is the required setting for seeded balance sheet accounts.Note:
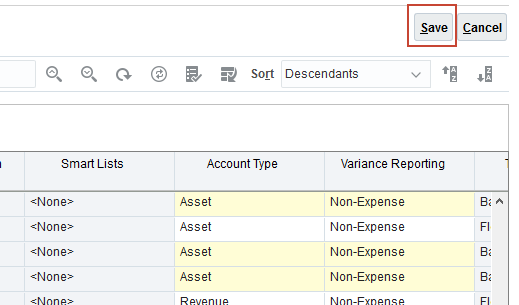
You need to update account types for the descendants of FCCS_Total Balance Sheet-Net Asset Approach only. You do not need to update the members in the FCCS_Total Balance Sheet-Cash and NonCash hierarchy or for FCCS_EPUSource. - When you are finished updating the seeded member account types, click Save.
Updating consolidation operators
When a child is aggregated to a parent with a normal balance of the same type (for example Credit to Credit) the system expects Addition for the consolidation operator. If a child aggregates to an parent with a normal balance of a different type (for example, Debit to Credit), the system expects Subtraction for the consolidation operator. The system metadata validation shows an error if the expected consolidation operator is not used. In this part of the tutorial you update the consolidation operator for seeded accounts for which you modified the account type where needed.
- Scroll up the rows until the FCCS_Total Liabilities member is visible, and then scroll the columns until the Consol Consol op column is visible.
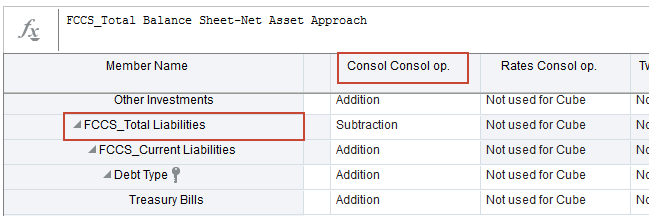
- In the consolidation operator list, change the operator from Subtraction to Addition.

Because the normal balance for Total Liabilities will be negative values, an operator of Addition will reduce the balance of its parent, Net Assets.
- Scroll down the list of accounts and change the consolidation operator for the accounts in the table.:
Account Change Consol Operator To FCCS_Total Equity Addition FCCS_Owners Income Subtraction FCCS_Minority Interest Income Addition FCCS_Discontinued Operations Tax Addition FCCS_Cost of Sales Addition FCCS_Operating Expenses Addition FCCS_Provision for Income Tax Addition FCCS_Dividends Declared Addition FCCS_Total Other Comprehensive Income Subtraction - When you are finished updating consolidation operators for the seeded members, click Save.
- Click Cancel to return to the Overview page.
Loading metadata for non-seeded accounts
The file AccountMetadataLoad.csv includes metadata for all of the non-seeded accounts. It sets the account type for all non-seeded expense accounts to Revenue and all non-seeded liability and equity accounts to Asset, It updates the consolidation operators for the accounts where needed.
- Click Import.
- Click Create.
- In the Account row, click Browse, navigate to the location where you unzipped the data files, and select the file AccountMetadataLoad.csv.
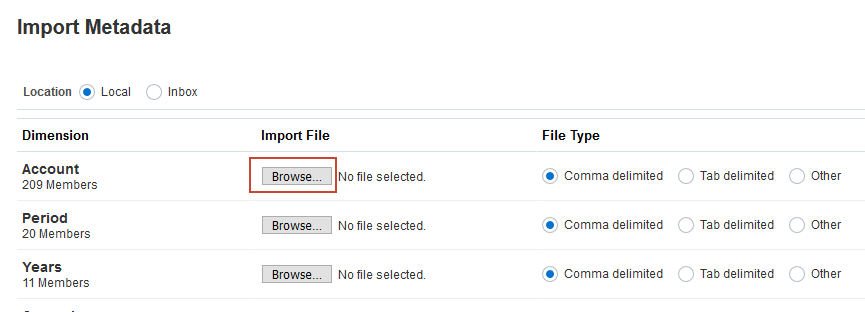
- Click Import.

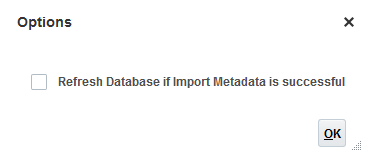
- At the Options dialog box, click OK (do not select to refresh the database).
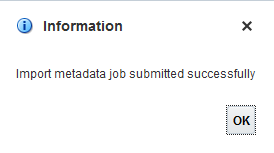
- At the information prompt, click OK.
The metadata files provided in this tutorial have been validated against the loaded business process. For newly created or modified metadata files, Oracle recommends that you validate the files before running the import process.
- Click Close twice to return to the Overview page.
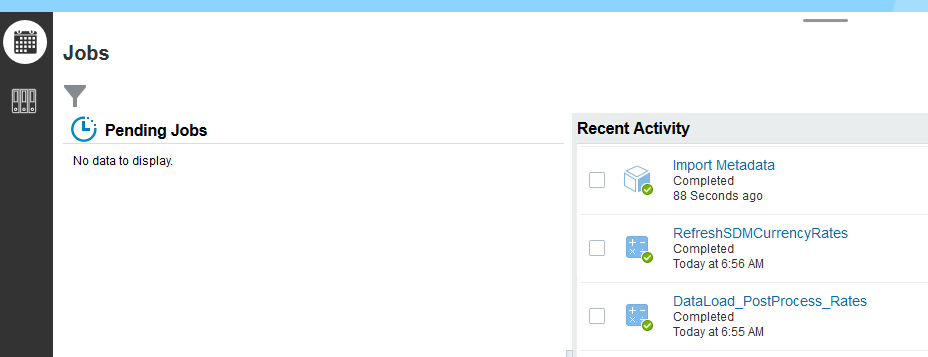
- Click Jobs.
- Verify that the import completed successfully.
- Click Overview, and then Dimensions.
- In the list of dimensions, click Account.
- Expand the FCCS_Balance sheet member, and then select FCCS_Total Balance Sheet - Net Asset Approach.
- In the toolbar, click (Zoom in all levels).
- Click the Member Name column heading to select the Member Name column, and then click (Freeze) to freeze the member names column.
- Scroll the rows until the FCCS_Total Liabilities member is visible, and then scroll the columns until the Account Type column is visible.
All seeded and non-seeded liability and equity accounts should now be set to the Asset account type. All seeded and non-seeded expense accounts should now be set to the Revenue account type.
- To verify your work, continue scrolling down the entire list of accounts under Total Balance Sheet Traditional-Net Asset Approach. Change any accounts that still have Liability or Equity for Account Type to Asset. Change any accounts that still have Expense for Account type to Revenue.
- When you are finished verifying the account types, click Save.
- Click Cancel to return to the Overview page.
Validating metadata and refreshing the database
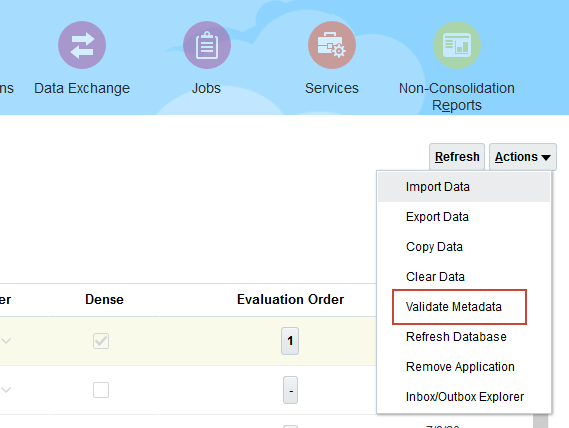
- In the Actions menu, select Validate Metadata.
- Click Run.
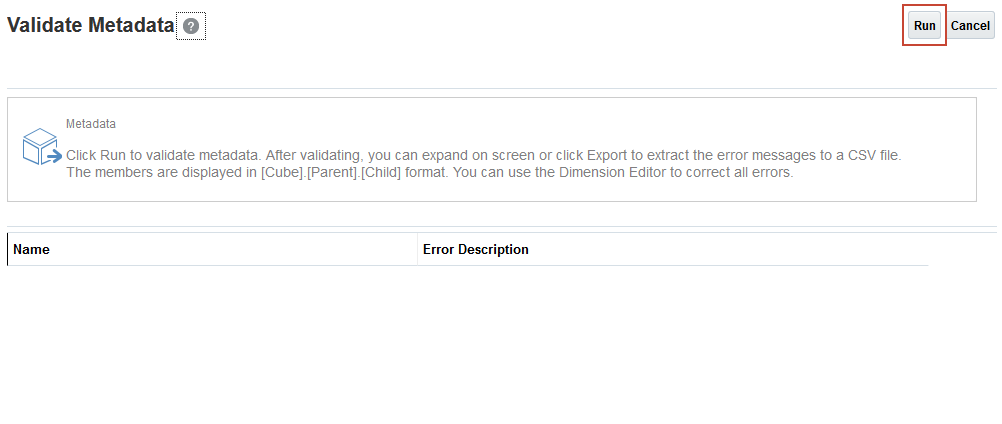
- If any errors are reported open the Account dimension in the dimension editor and correct the errors, and then run metadata validation again to verify the fix. Repeat until no errors are reported
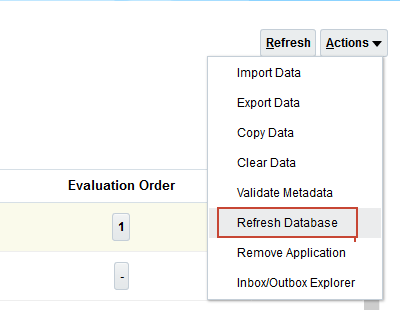
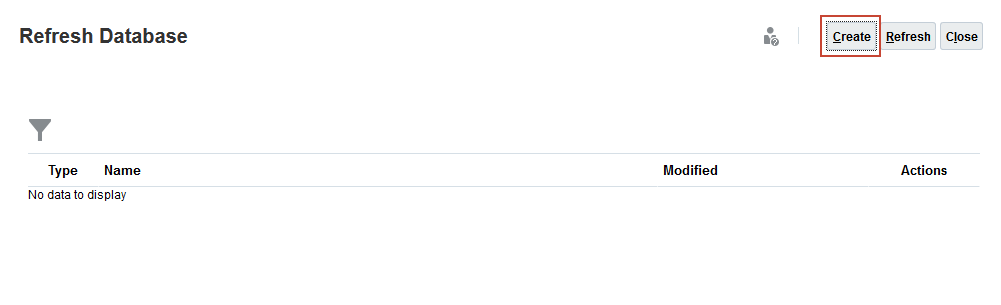
- From the Overview page, select Refresh Database from the Actions menu.
- Click Create.
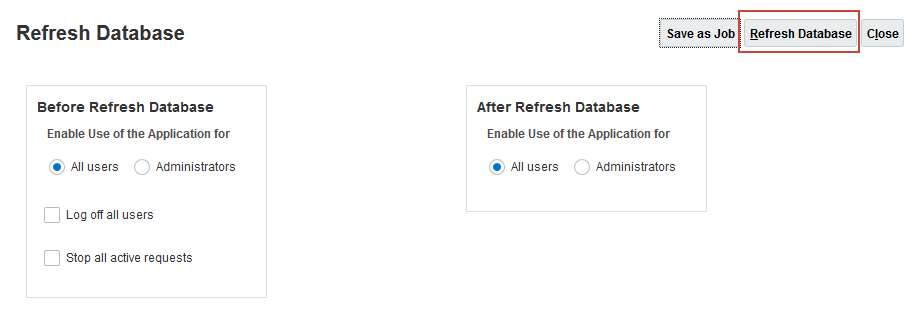
- In the Refresh Database dialog box, click Refresh Database.
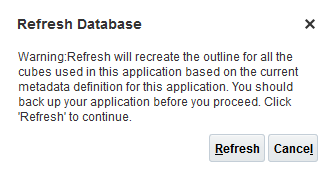
- At the warning prompt, click Refresh.
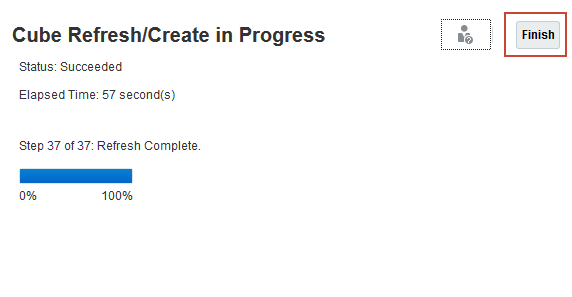
- When the status displays as Succeeded and the percent complete is 100%, click Finish.
- Click Close twice.
Reviewing the updated balance sheet hierarchy
In this section, you load data that includes negative values as the normal balance for liability, equity, and expense accounts, and then review the modified balance sheet hierarchy in a form.
Loading data with negatives values
- Using a text editor or spreadsheet program,, browse to the folder where you extracted the data files and open DataLoad2.csv.
- Review the contents of the DataLoad2.csv file.
- On the Financial Consolidation and Close home page, click Application, then Overview.
- On the Application page, click Actions, and select Import Data.
- In the Import Data dialog, click Create.
- Click Browse and browse to the location where you unzipped the compress files. Select DataLoad2.csv.
Note:
Depending on your browser, the button label may display Choose File or Browse. - Click Import.
- At the information dialog, click OK.
The data files provided in this tutorial have been validated against the loaded business process. For newly created or modified data files, Oracle recommends that you validate the files before running the import process.
- Click Close twice.
- Click Jobs.
- On the Jobs page, verify that the job completed successfully.
- Click (Home).
In this file, normal balances for liability, equity, and expense accounts are represented as negative numbers. Normal balances for all other account types are represented as positive numbers.
Viewing the updated balance sheet
- From the Home page, click Data.
- In the form list, select Account Attributes Example.
- Review the data in the form.
Normal balances for liability, equity, and expense accounts are negative numbers.. For child accounts that have negative numbers as normal balance, the consolidation operator is set to addition. This decreases the parent during aggregation. In the example, adding Total Liabilities to Net Assets reduces Net Assets by 10,000.

- Click Close to close the Form.
Learn More
Modifying Seeded Account Attributes in Financial Consolidation and Close
F48342-01
October 2021
Copyright © 2021, Oracle and/or its affiliates.
This 30-minute hands-on tutorial shows you how to modify attributes for seeded accounts in Financial Consolidation and Close.
This software and related documentation are provided under a license agreement containing restrictions on use and disclosure and are protected by intellectual property laws. Except as expressly permitted in your license agreement or allowed by law, you may not use, copy, reproduce, translate, broadcast, modify, license, transmit, distribute, exhibit, perform, publish, or display any part, in any form, or by any means. Reverse engineering, disassembly, or decompilation of this software, unless required by law for interoperability, is prohibited.
If this is software or related documentation that is delivered to the U.S. Government or anyone licensing it on behalf of the U.S. Government, then the following notice is applicable:
U.S. GOVERNMENT END USERS: Oracle programs (including any operating system, integrated software, any programs embedded, installed or activated on delivered hardware, and modifications of such programs) and Oracle computer documentation or other Oracle data delivered to or accessed by U.S. Government end users are "commercial computer software" or "commercial computer software documentation" pursuant to the applicable Federal Acquisition Regulation and agency-specific supplemental regulations. As such, the use, reproduction, duplication, release, display, disclosure, modification, preparation of derivative works, and/or adaptation of i) Oracle programs (including any operating system, integrated software, any programs embedded, installed or activated on delivered hardware, and modifications of such programs), ii) Oracle computer documentation and/or iii) other Oracle data, is subject to the rights and limitations specified in the license contained in the applicable contract. The terms governing the U.S. Government's use of Oracle cloud services are defined by the applicable contract for such services. No other rights are granted to the U.S. Government.
This software or hardware is developed for general use in a variety of information management applications. It is not developed or intended for use in any inherently dangerous applications, including applications that may create a risk of personal injury. If you use this software or hardware in dangerous applications, then you shall be responsible to take all appropriate fail-safe, backup, redundancy, and other measures to ensure its safe use. Oracle Corporation and its affiliates disclaim any liability for any damages caused by use of this software or hardware in dangerous applications.
Oracle and Java are registered trademarks of Oracle and/or its affiliates. Other names may be trademarks of their respective owners.
Intel and Intel Inside are trademarks or registered trademarks of Intel Corporation. All SPARC trademarks are used under license and are trademarks or registered trademarks of SPARC International, Inc. AMD, Epyc, and the AMD logo are trademarks or registered trademarks of Advanced Micro Devices. UNIX is a registered trademark of The Open Group.
This software or hardware and documentation may provide access to or information about content, products, and services from third parties. Oracle Corporation and its affiliates are not responsible for and expressly disclaim all warranties of any kind with respect to third-party content, products, and services unless otherwise set forth in an applicable agreement between you and Oracle. Oracle Corporation and its affiliates will not be responsible for any loss, costs, or damages incurred due to your access to or use of third-party content, products, or services, except as set forth in an applicable agreement between you and Oracle.