Create Custom AI Agents from Scratch
Here's an example of how to build a conversational HR benefits administrator agent. Employees can ask this agent questions related to medical, vision, dental, retirement, and stock plans.
- Go to .
-
From the Tools tab, add the required tools.
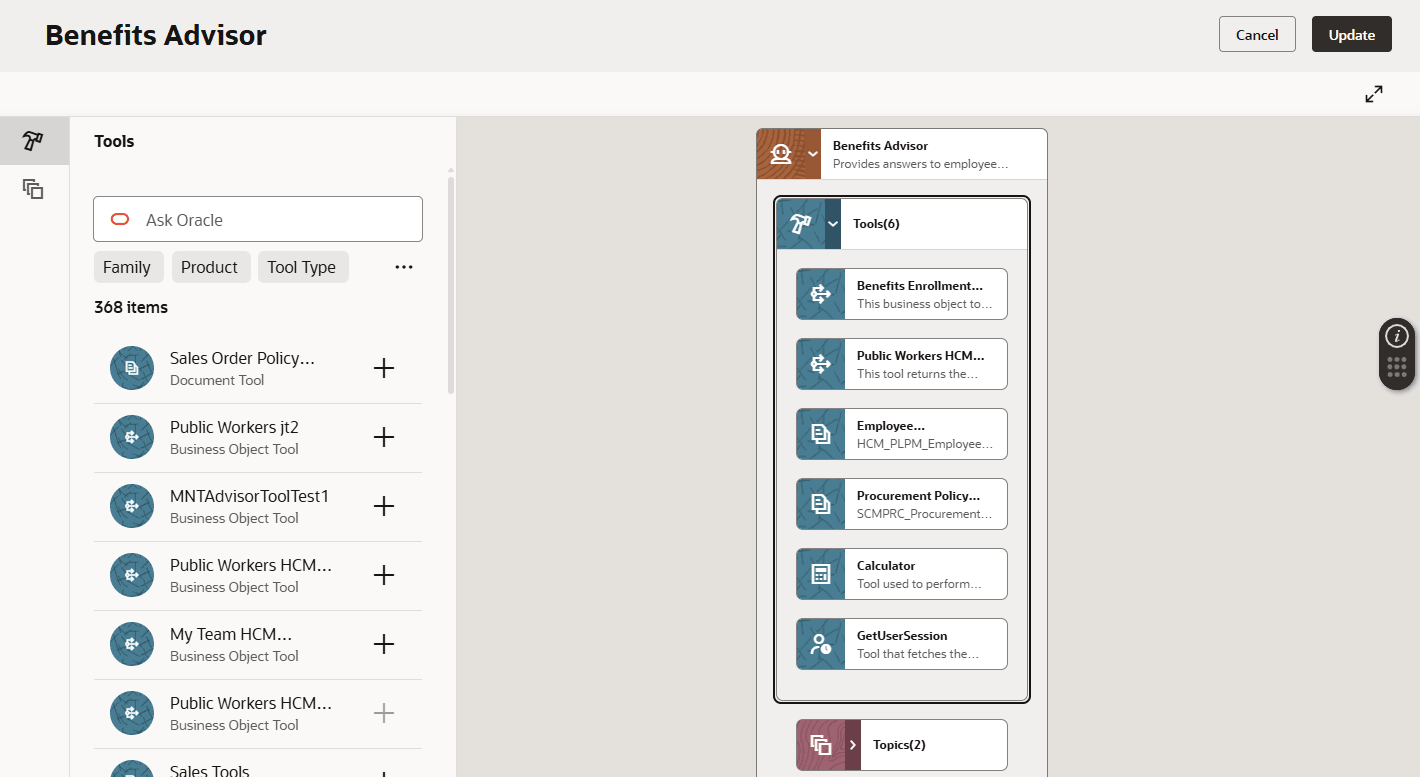
For the HR benefits administrator agent, these are some of the tools needed.- Document tools, with the organization's health and financial
benefits documents.Note: Before you add any document tools to an agent, make sure you’ve done these things:
-
Set the status of the document tool as Ready to Publish.
-
Run the Process Agent Documents scheduled process from the Scheduled Processes work area.
-
After the scheduled process completes, set the status of the document tool as Published.
-
- Business object tools, to fetch the employee enrollments data.
- Calculator tool, to check balance amounts and percentages.
- Document tools, with the organization's health and financial
benefits documents.
-
From the Topics tab, add the required topics. Make sure you include instructions about these key areas.
- What the topic is about
- Tools to use with the topic
- Examples of possible questions
- Any guidelines and guardrails
-
From the Agents tab, add an agent.
-
In Maximum Interactions field, specify the number of times the agent can interact with the topics and tools assigned to it.
-
Add the prompt for the agent, and select any additional expressions from Insert functions or variables.
-
- Assign the required tools and topics to the agent, and create it.
From the Agent Teams tab, create an agent team, and add the agent to it.
- If needed, use the Debug icon (
 ) to test the agent team. For any required fine-tuning,
you can edit the agent team using the Agent Team Settings
icon (
) to test the agent team. For any required fine-tuning,
you can edit the agent team using the Agent Team Settings
icon ( ).
). - Publish your workflow.
Users can view the published agentic workflows from the AI Agents page. To open this page, add agent-explore to the end of the URL for AI Agent Studio. For example, https://example.com/myApp/redwood/human-resources/ai-studio/agent-explore.