Introduction
Use HCM Spreadsheet Data Loader (HSDL) to provide bulk-data loading capabilities for your business users and your inbound integrations. You can configure spreadsheet templates for your specific use cases and assign access to those templates to just the roles that require them.
There are two steps to granting your business and integration users access to run HCM Spreadsheet Data Loader:
- Create a role to run HSDL. This can grant access to either:
- The Run Spreadsheet Data Loader user interface and ability to load data using HSDL for your business users (Task One).
- The dataLoadDataSets REST API for inbound integrations (Task Two).
- Assign access to the templates the role can use (Task Three).
For example, your HR Specialist can be assigned access to preconfigured templates for maintaining Grades, Jobs, and Locations along with custom templates you've created for performing promotions and terminations, using spreadsheets generated within the application. Your recruiting inbound integration user can be granted access to a New Hire template to be used with the REST API.
This tutorial explains how to create and configure the roles required to use HCM Spreadsheet Data Loader.
Tip:
This tutorial assumes you've enabled Redwood. Access the Release 25C version of this tutorial for the navigation and screenshots if this isn't the case.Objectives
In this tutorial you will:
- Learn how to grant your business users access to run HCM Spreadsheet Data Loader.
- Grant access to the REST API for initiating HCM Spreadsheet Data Loader.
- Configure role data-set access to HSDL templates.
- Configure the ongoing template maintenance role for your HSDL templates.
Prerequisites
To complete this tutorial, you will need:
- Access to the Security Console.
- Template Designer or Template Admin access to configure role access to HSDL templates.
Tip:
Refer to the Configure Access to Design and Maintain HCM Spreadsheet Data Loader (HSDL) Templates tutorial for the steps on how to define these roles.Task 1: Grant Business User Access to HCM Spreadsheet Data Loader
This task explains how to update an existing custom role to grant access to load data using HSDL and access the Run Spreadsheet Data Loader task.
Tip:
Some preconfigured roles already include HSDL access. Review your role configuration before adding privileges or role hierarchies.- Log in to the application with a user that has Security Console access.
- Navigate to Tools > Security Console.
- Search for and select your custom role to grant spreadsheet data-loading access.
- Click the Actions menu and click Edit.
- If your role doesn't already have access to the Data Exchange work area, you can grant it with this Function Security Policy:
- Add these role hierarchies, as required:
- Save your changes.
| Policy Name | Policy Code | Grants Access To |
|---|---|---|
| Manage Data Exchange Work Area | HRC_MANAGE_DATA_EXCHANGE_PRIV | Data Exchange work area |
| Role Name | Role Code | Grants Access To |
|---|---|---|
| Access HCM Spreadsheet Data Loader Templates | ORA_HRC_ACCESS_HSDL_TEMPLATES | Run Spreadsheet Data Loader task |
| Load Data using HCM Spreadsheet Data Loader | ORA_HRC_LOAD_DATA_USING_HSDL | Load data using HSDL spreadsheets |
Users with this role are able to access the Run Spreadsheet Data Loader task in the Data Exchange work area.
This role now needs to be assigned to the templates they can use for bulk-data loading. See Task 3.
Task 2: Grant Access to the REST API
For external users defined for inbound integrations, such as for use by a recruiting integration, grant access to the dataLoadDataSets REST resource.
- Log into the application with Security Console access.
- Navigate to Tools > Security Console and click Create Role.
- Specify a Role Name and provide a unique role code.
- Add these Role Hierarchies:
- Save your changes.
Tip:
The business objects that a role can use are granted directly to this job role. Consider naming the role for its integration, such as HSDL Recruiting.| Role Name | Role Code | Grants Access To |
|---|---|---|
| Use REST Service - Data Load Data Sets | ORA_HRC_REST_SERVICE_ACCESS_DATA_LOAD_DATA_SETS | The dataLoadDataSets REST API for initiating HDL and HSDL and monitoring data set status. |
| Upload data for Human Capital Management file based import | HCM_DATALOADER_IMPORT_RWD | The hcm/dataloader/import directory on the Oracle WebCenter Content server. |
You can now configure the templates this role can upload data with.
Task 3: Grant Access to HSDL Templates
In this step you'll assign the roles that can use a HSDL template, and the data set actions they can perform.
Tip:
It's assumed that the template design is complete and has been tested. You must activate a template before users can use it. After activation, some edits are restricted.Assign a Role's Data Set Access
- Log into the application with a user that has access to the template you need to assign roles to.
- Navigate to Data Exchange > Spreadsheet Templates.
- Search for the template to grant access to and click the template name.
- Confirm that roles can be assigned to this template by reviewing that the Assign Roles To Template value is Enabled under Data Security.
- For custom templates, navigate to the Configure access step of the guided process flow.
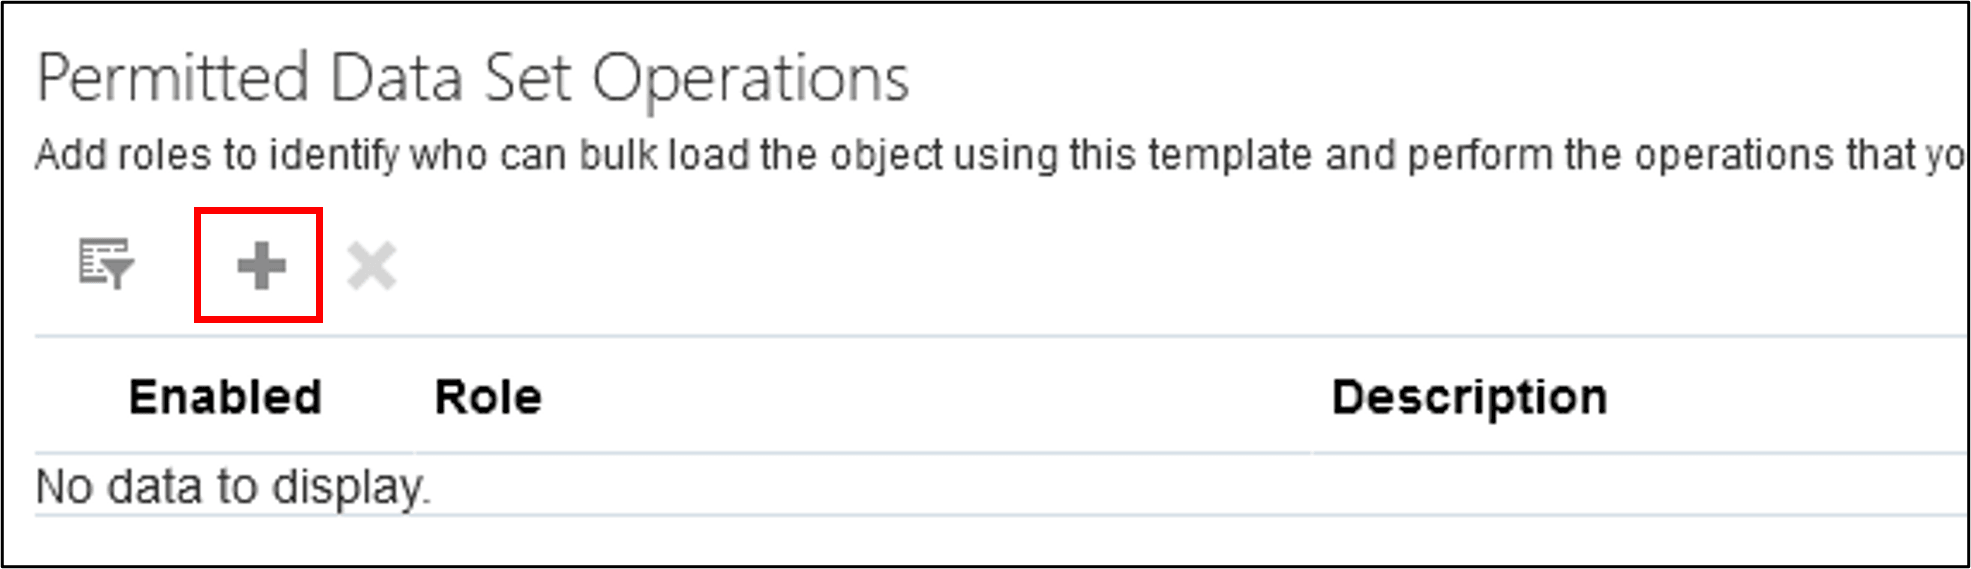
- Click Add above the Data set operations table.
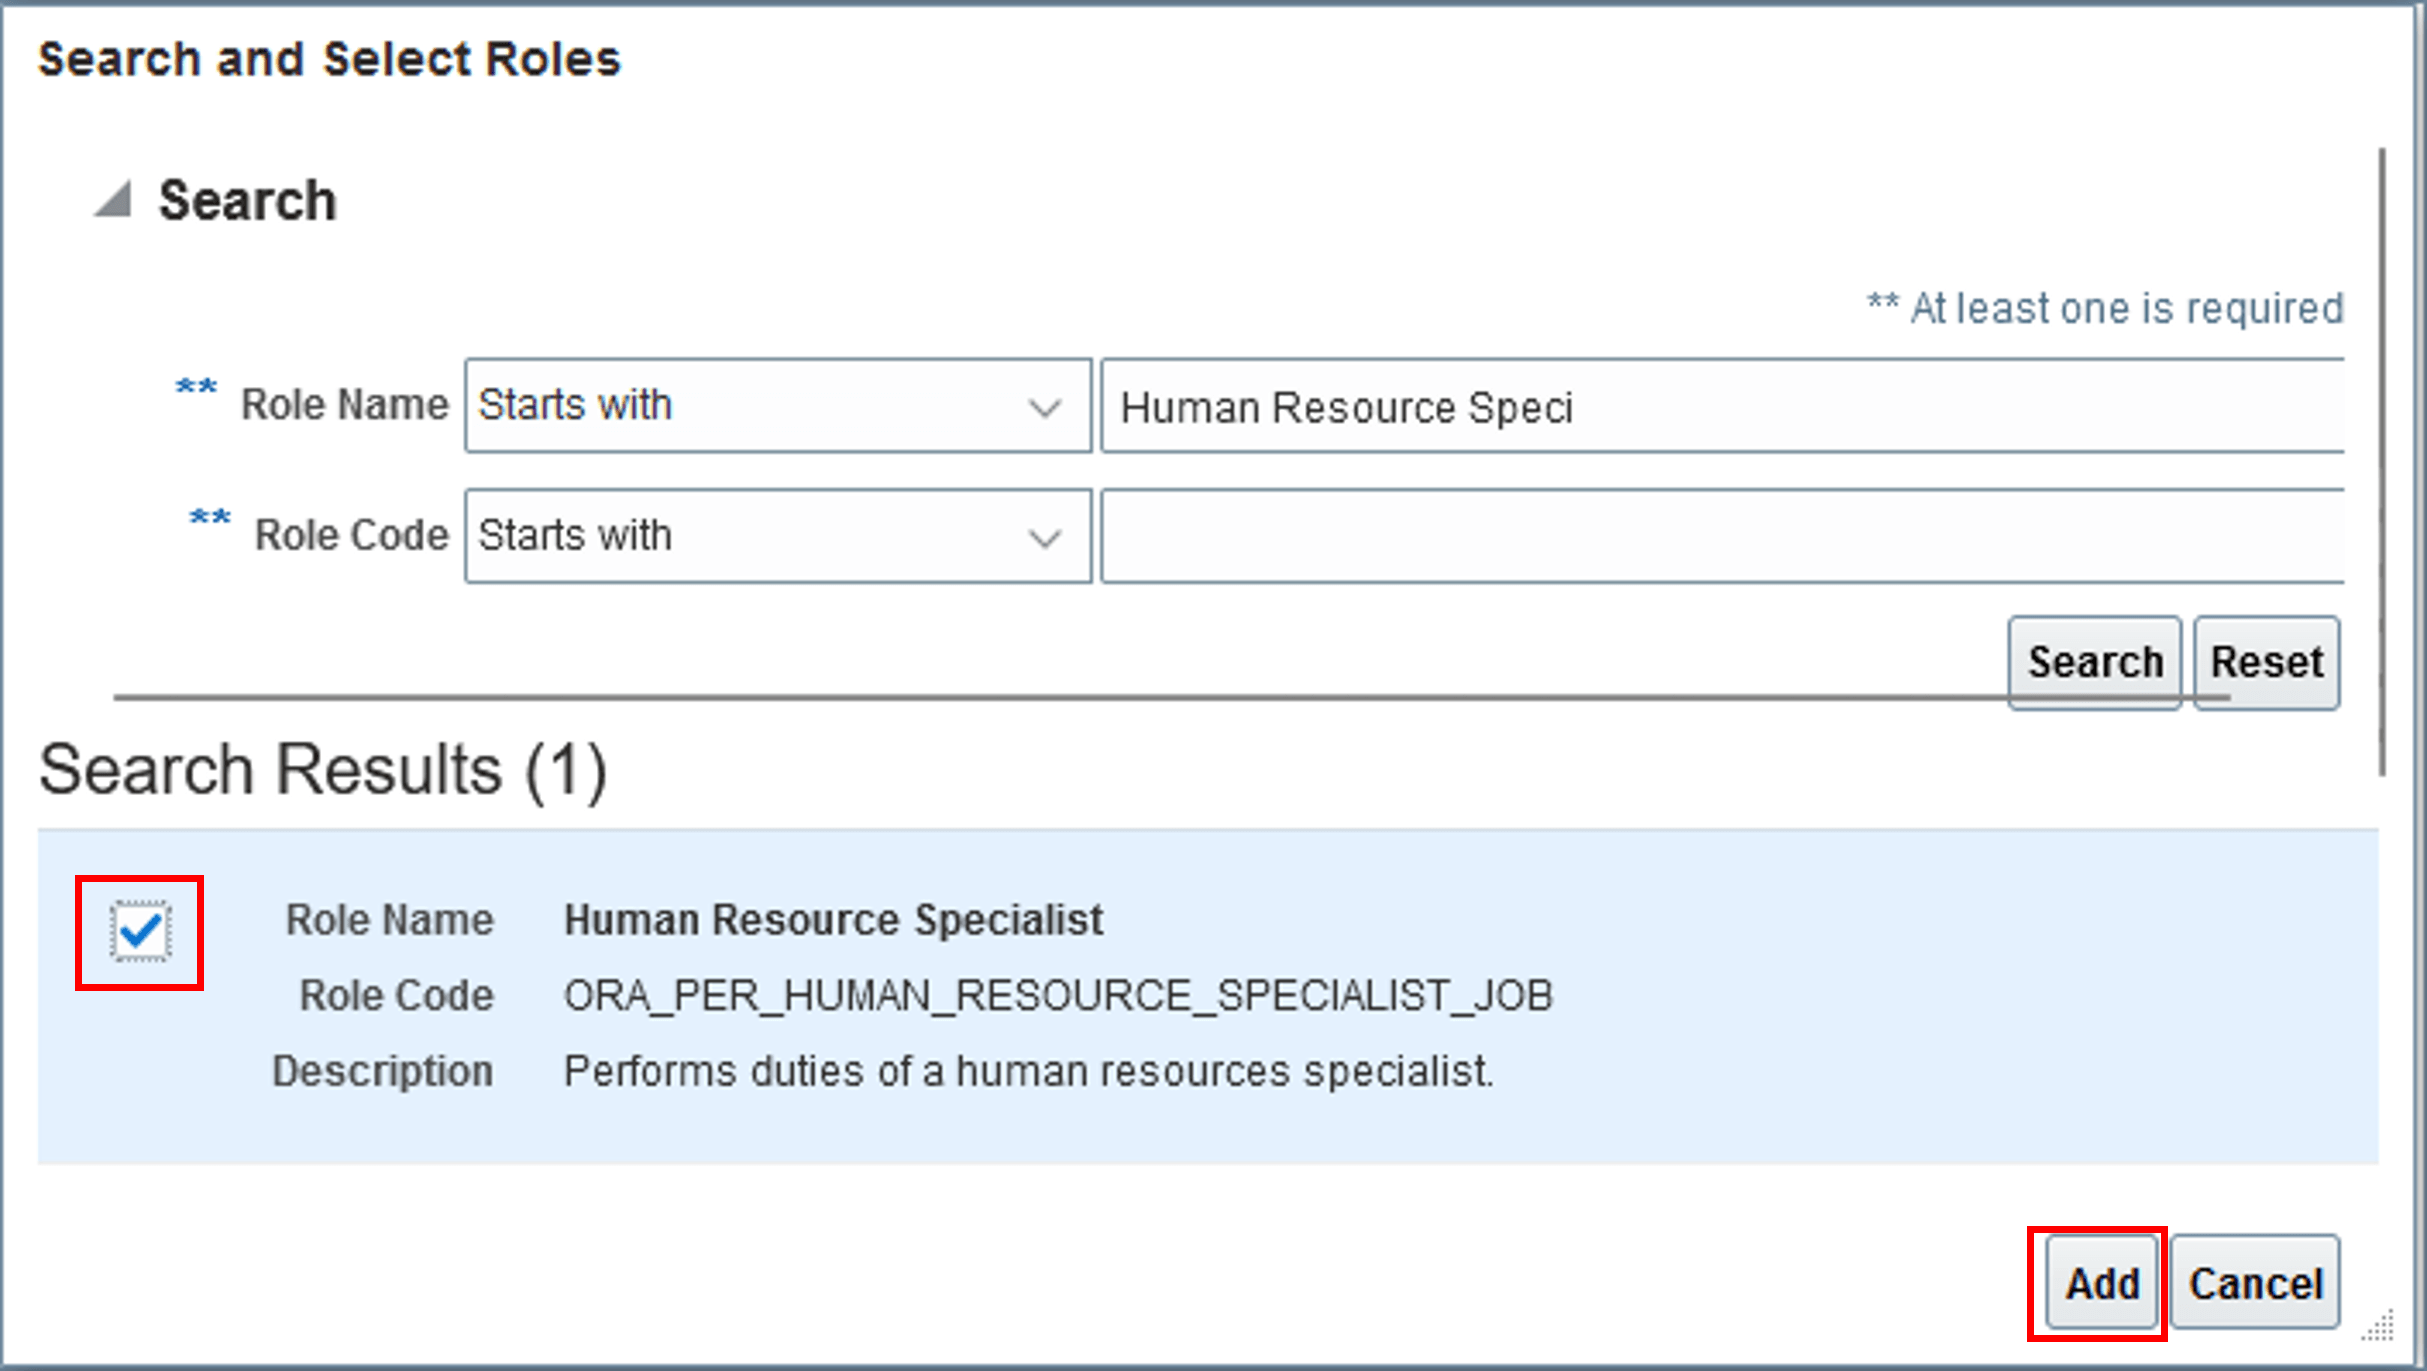
- Search for the role to assign template access to, such as Human Resource Specialist.
- Select the role to add and click Add.
- Alter the data set access as required.
- Save your changes.
Tip:
If you've created or imported the template, you will continue to have access to it to assign roles until it's made active. You then only have access if your role is configured to maintain the template. If the template is active and your template designer role doesn't have maintenance access, you'll need template administrator access. Task 5: Grant Spreadsheet Template Administrator Access in the Configure Access to Design and Maintain HCM Spreadsheet Data Loader (HSDL) Templates explains how to create this role.Note:
For preconfigured templates you'll be navigated directly to the Assign Spreadsheet Template Role Access page. For custom templates you'll start the guided process flow for creating and maintaining templates.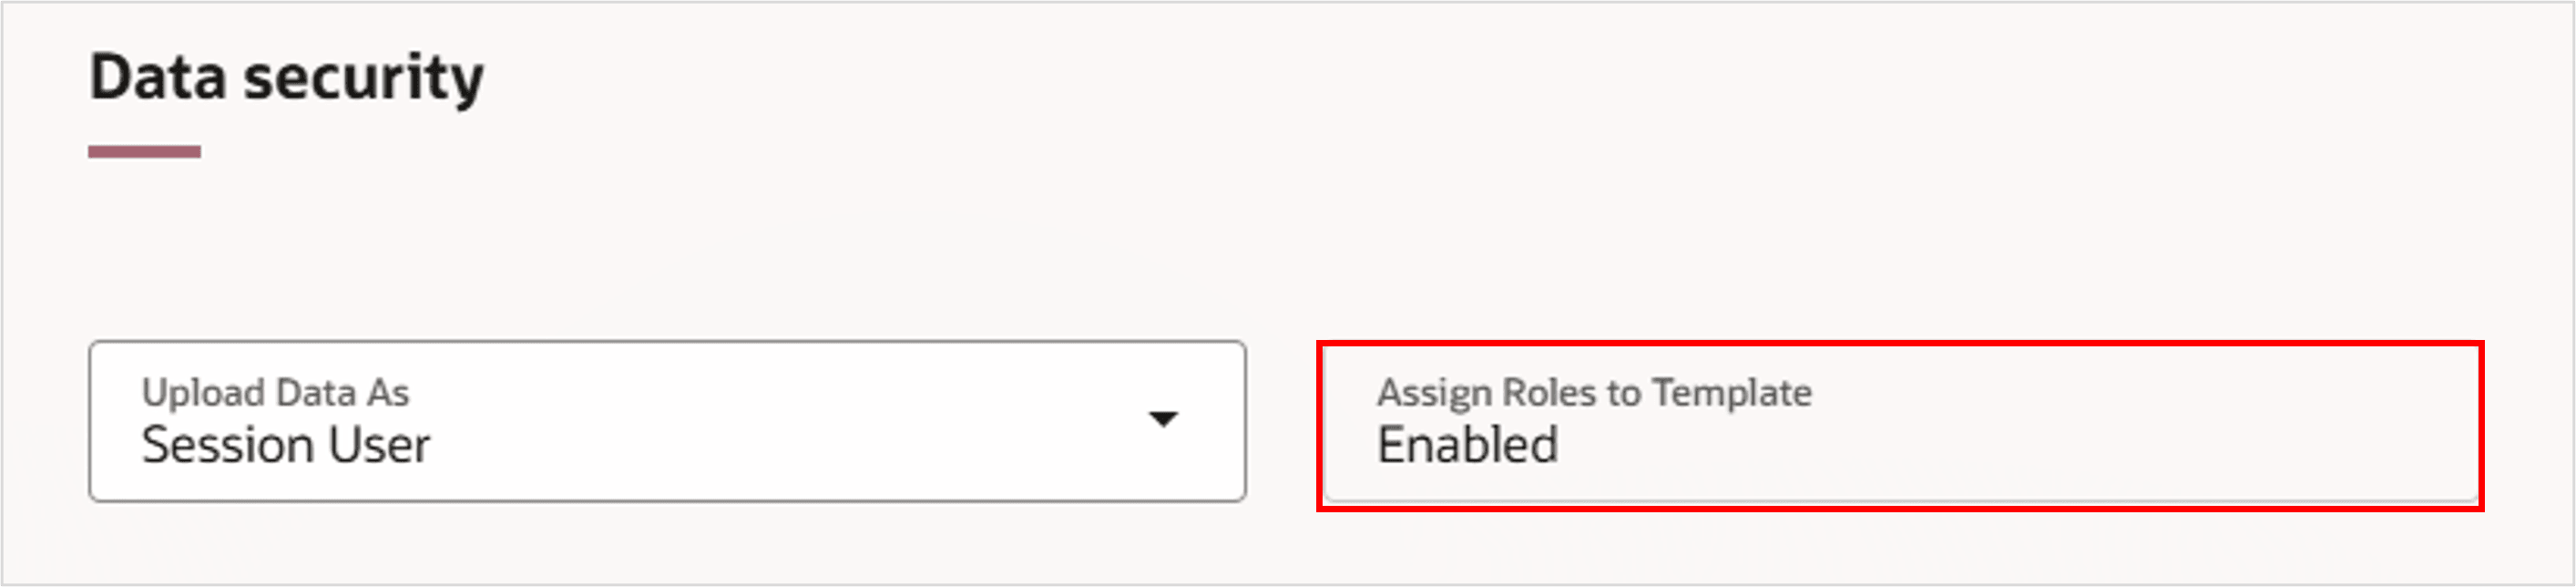
By default, the role will be assigned access to create, save, and upload data sets.

| Operation | Description |
|---|---|
| Create | Data sets can be created. |
| Save | Data set data can be saved to the staging tables. |
| Upload | Data sets can be uploaded, and valid rows saved to the application. |
| Roll Back | Data sets can be rolled back, deleting data that was successfully loaded and not subsequently updated. Roll back is only available for a few business objects. |
| View All | All existing data sets for the template can be downloaded and reviewed, not just those created by the user. |
Tip:
You may have a template that you need a role to be able to create and save data to the staging tables but not have access to upload that data, and a second role that can't create new data sets but can review data sets created by other users and upload them. This can achieve a form of approval.Assigning Maintenance Access
Once the template is active you can only maintain it if your role is configured to maintain the template, or you have a template administrator role.
These steps describe how to assign template maintenance.
- Navigate to the Role Access tab of the HSDL template:
- For custom templates, click on the template name and click the Configure access step in the guided process.
- For preconfigured templates clicking the template name takes you directly to the Assign Spreadsheet Template Role Access page.
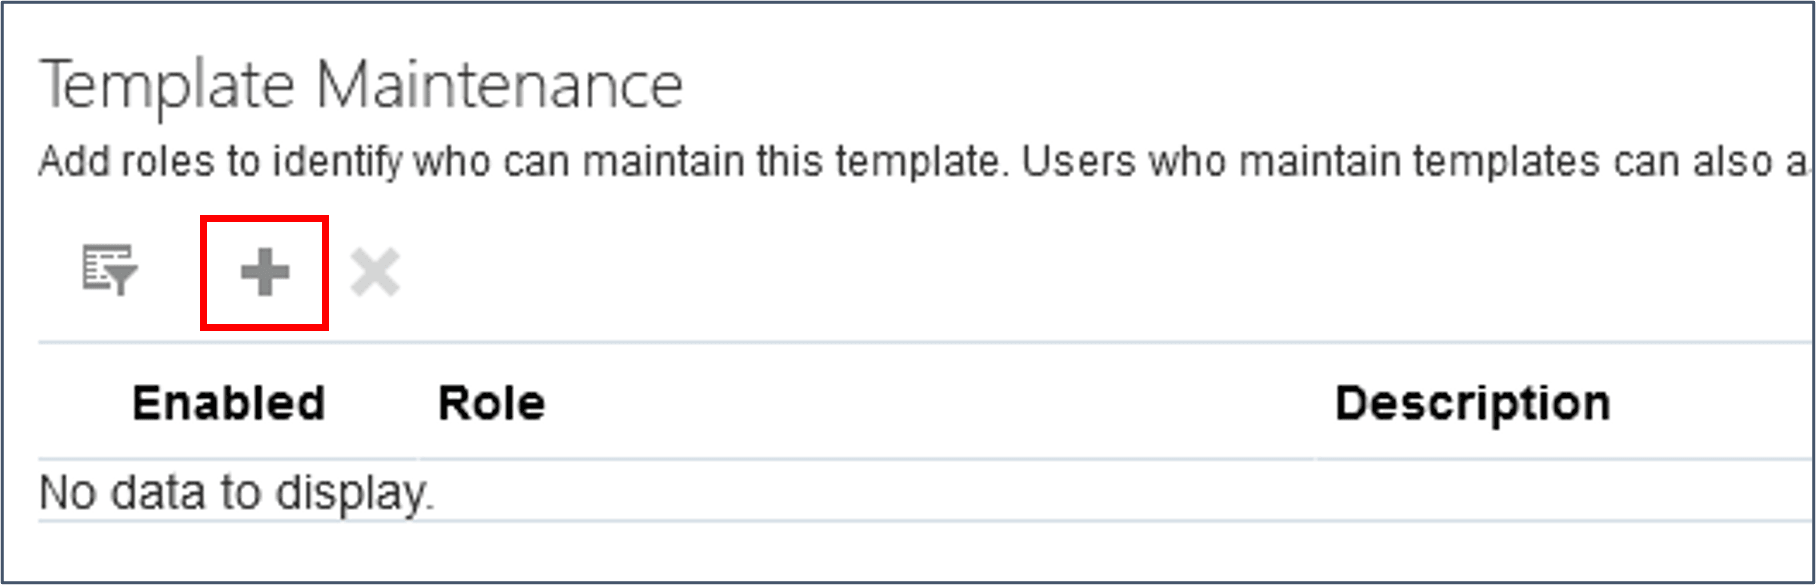
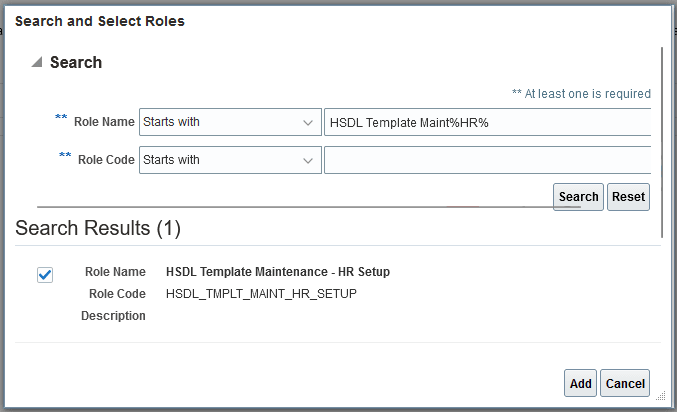
- Click Add on the Template Administration table.
- Search for and select the template designer or maintenance role, such as HSDL Template Maintenance. Click Add.
Activating Templates
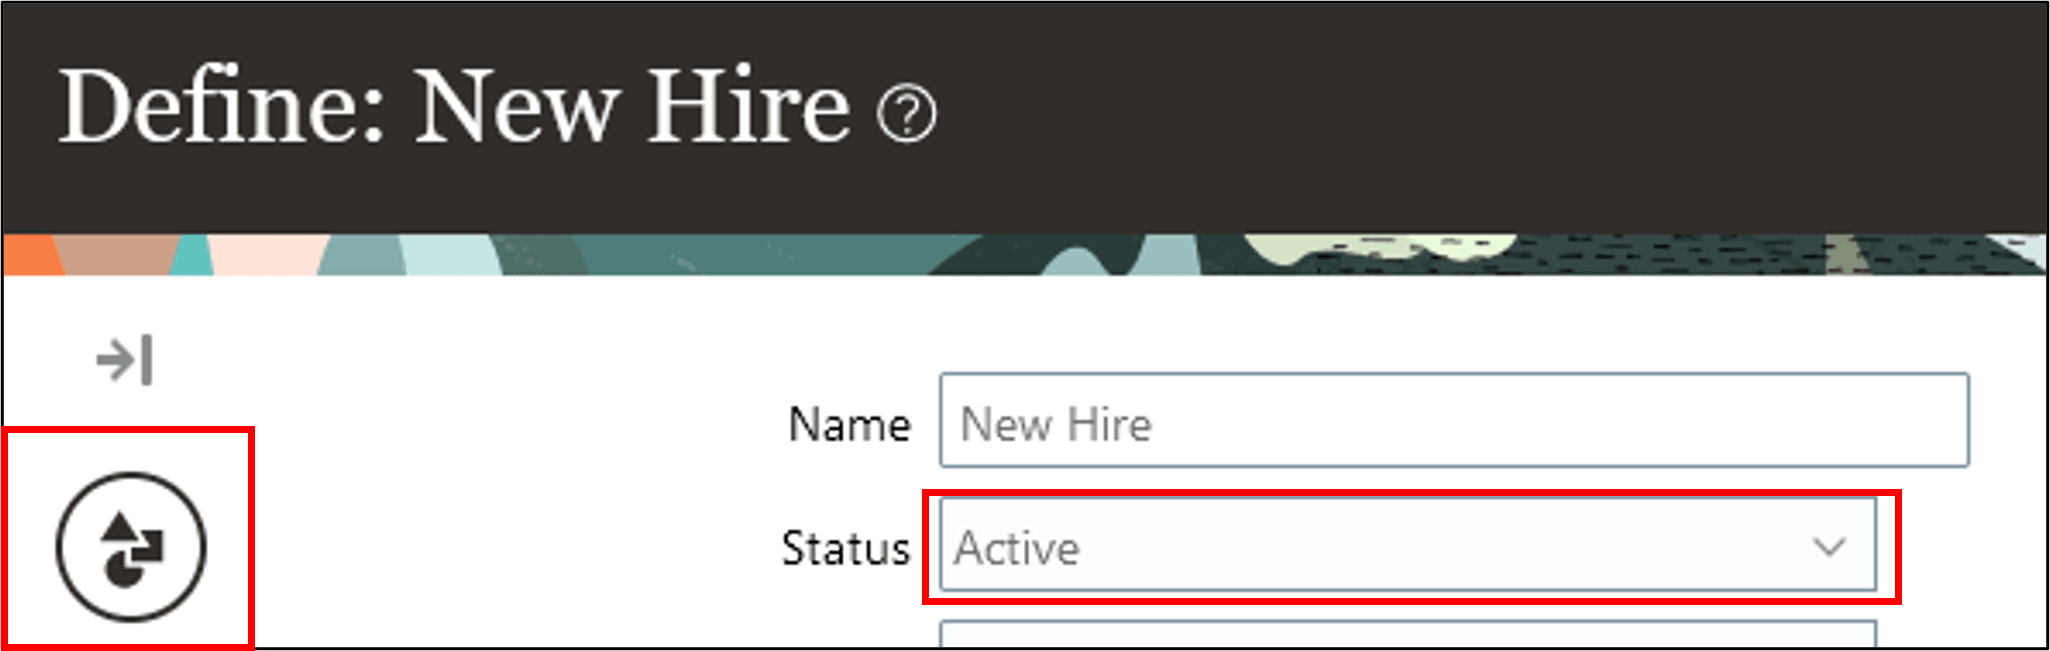
Only active templates are visible in the Run Spreadsheet Data Loader task and can be used when initiating HSDL using REST. For templates that have a Draft status, complete these steps.
- Navigate to the Spreadsheet Templates and search for the template to activate.
- Click on the template name to access the guided process.
- Click the Review and activate step in the side panel.
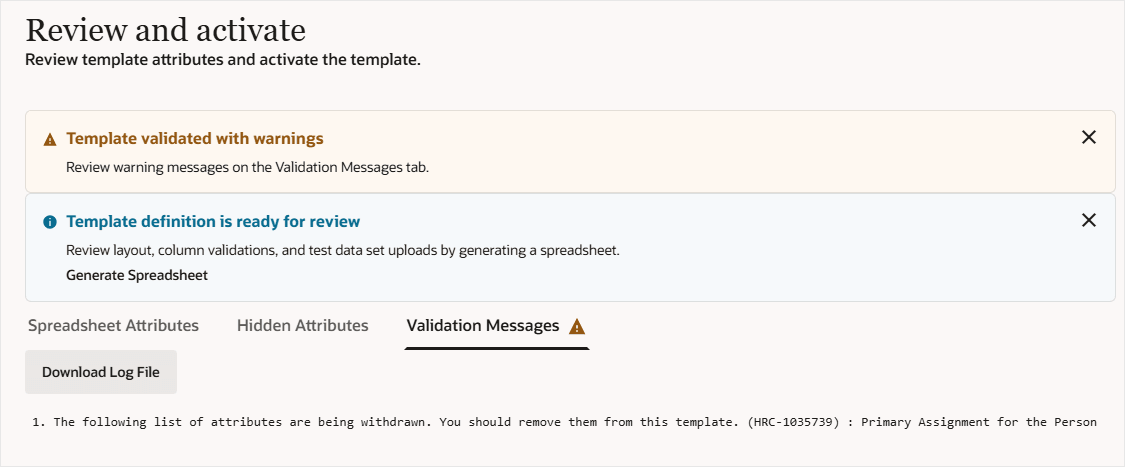
- Click Validate.
- If errors or warnings are found in the template definition, you'll find them on the Validation Messages tab.
- If the template can be activated, a dialog message needs to confirm you want to activate.
Click Activate to activate the template.
The template is now available for use.
Related Links
TutorialsYou can find links to the latest Oracle by Example tutorials in this Cloud Customer Connect topic:
Acknowledgements
- Authors - Ema Johnson (Lead Principal Product Manager, HCM Data Loader & AI)
More Learning Resources
Explore other labs on docs.oracle.com/learn or access more free learning content on the Oracle Learning YouTube channel. Additionally, visit education.oracle.com/learning-explorer to become an Oracle Learning Explorer.
For product documentation, visit Oracle Help Center.
Grant Access to Run HCM Spreadsheet Data Loader
G12900-07
May 2026