Load and Submit Data Into an Interview In a Visual Builder Application
An Intelligent Advisor interview for logged-in users in Oracle Digital Customer Service (DCS) needs to be configured in an Oracle Visual Builder application to load and submit data for a particular object from Oracle Fusion. To do this, you need to retrieve the object id (for example, SrID for the service request object) from Oracle Fusion and load the values from this connection. On a page in your application, you need to add a component that allows selection of the object (for example, the service request). Once a value is selected for the object in the interview, the opaEngagementCloudObjId variable used in the Intelligent Advisor Interview component, is set so that Oracle Fusion data can be loaded into the embedded Intelligent Advisor interview for the selected object as input data.
The steps required to set this up are:
- In Visual Builder, retrieve the object ID from Oracle Fusion. One way in which this can be done is by using a Service Connection in Visual Builder as follows:
- In Visual Builder, open your application.
- Open the Services tab and click +, then Service Connection to create a service connection. The way in which you create the service connection will depend on the source of your service connection. One way in which you can do this is to point to a URL of an endpoint and define its parameters declaratively. To do this:
- In the Create Service Connection wizard, on the Select Source page, select Define By Endpoint.
- On the next page, specify:
- Method: GET
- URL: enter the URL for the REST service request (to obtain the object ID)
- Action Hint: Get Many

Click Next.
- On the next page on the Overview tab, specify the Service Name (for example, getSR).
- On the Server tab:
- Propagate Current User Identity if using Oracle Identity Cloud Service.
- Basic otherwise. Enter the Username and Password for the user.
For more information, see Configure Connection and Authentication Types for Service Connections and Backends.
- On the Test tab:
- In the Request section, click Send Request.
- In the Response section, check that the object ID is returned (for example, the SrId).
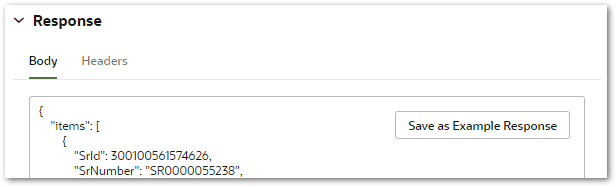
- Click Save as Example Response.
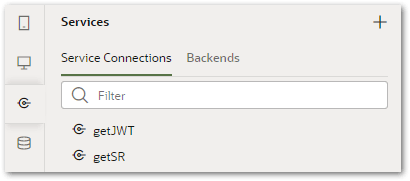
- Click Create. The Services pane now lists the service connection you have just added (for example, getSR). For more information, see Create a Service Connection from an Endpoint.
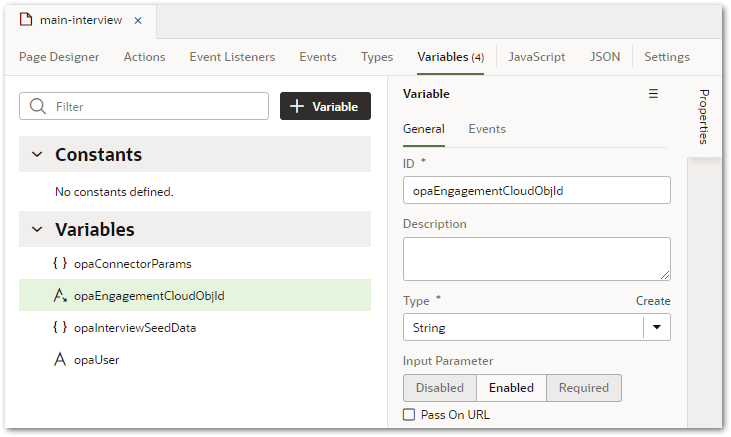
- Specify the opaEngagementCloudObjId variable as an input parameter on the Intelligent Advisor interview page. To do this:
- Select the page in the Web Apps pane where you added the Intelligent Advisor Interview component, to open it in the designer.
- Open the Variables tab.
- Select the opaEngagementCloudObjId variable.
- In the right-hand Properties pane, select the Enabled option for Input Parameter.
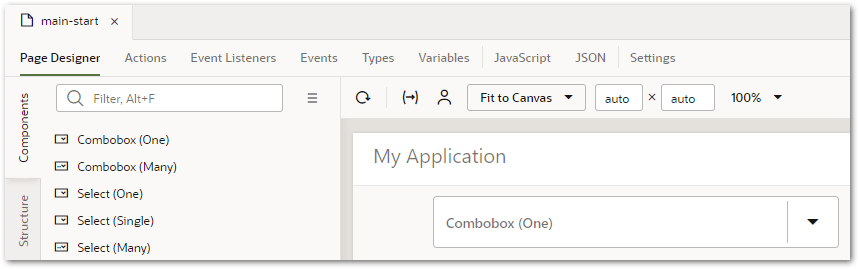
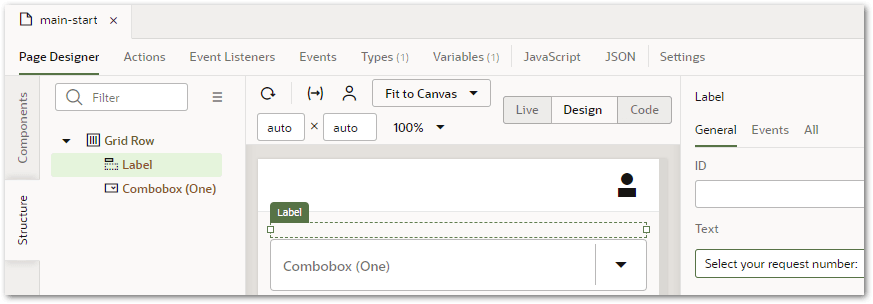
- Add a component (for example, a combobox) to another page (for example, main-start) that determines which object the interview is for. Note that this should not be the page where the Intelligent Advisor interview is embedded. The values for this component will be loaded from the service connection that gets the object id (created in step 1). To do this:
- Select the page in the Web Apps pane where you want to add the selection component, to open it in the designer.
- In the Components pane, drag the component onto the canvas.
- In the right-hand Properties pane, select the Quick Start tab and then click Add Options.
- In the Add Options wizard, select the data source for the component. This will be the endpoint for the object id. (For example, the getSR endpoint.) Click Next.
- Map data from the data source to the component by dropping items from the Endpoint Structure pane on to options for the component. (For example, bind the SrNumber field to Label and the SrId field to Value in the Dropdown options pane.)

Click Next. Click Finish. - Add a Label component before the selection component on the canvas.
- In the right-hand Properties pane, provide the label for the component in the Text field (for example, Select your request number:).
- On the Visual Builder toolbar, click the Preview button and check that the new component is retrieving values for the object from Oracle Fusion.

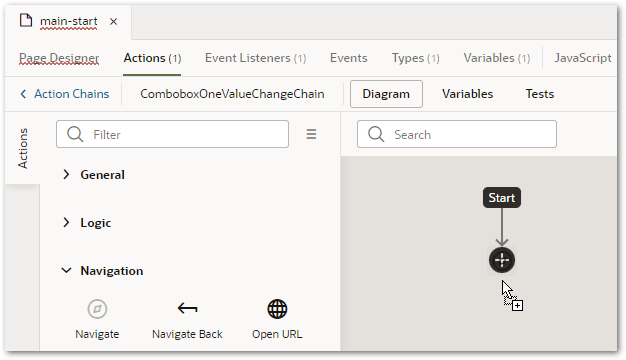
- Create an action chain that sets the opaEngagementCloudObjId variable when a value is selected for the object in the interview. This enables the Intelligent Advisor interview to be dynamically updated to load in any mapped data for the selected object. To do this:
- On the canvas, select the selection component that you added in step 3b.
- In the right-hand Properties pane, select the Events tab.
- Click the + New Event button and in the drop-down menu, select On 'value'. The Actions editor is displayed for the new action.
- Drag the Navigate action from the Actions palette into the action chain.
- In the Navigate right-hand pane, in the Page drop-down select the page that contains the Intelligent Advisor interview (for example, main-interview) as the peer page.

- In the Navigate right-hand pane, click Assign next to Input Parameters.

In the Assign Input Parameters dialog, drag the source of the values in the Sources pane onto the target parameter in the Targets pane. (For example, drag the value node from the Action Chain to the opaEngagementCloudObjId parameter.)
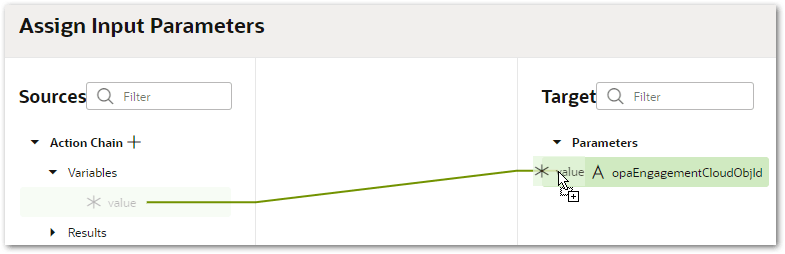
Click Save. The Navigate pane now shows the opaEngagementCloudObjId as mapped.
For more information, see Create an Action Chain.