Managing auto meta tagging rules
You can view or update auto meta tagging rules at any time.
To manage auto meta tagging rules:
-
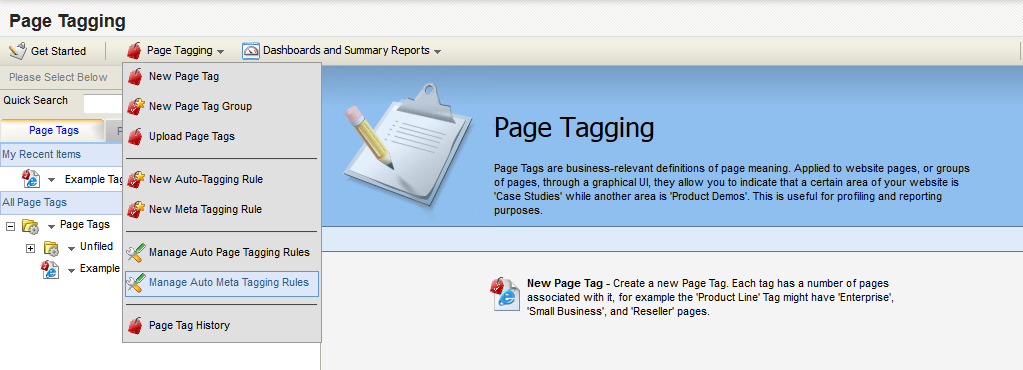
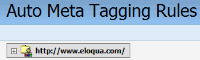
Navigate to Assets
 > Website Setup, then click Page Tagging.
 -
Click the Page Tagging, then click Manage Auto Meta Tagging Rules.
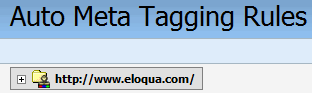
A list of the web sites that are being crawled for meta tags is displayed.
-
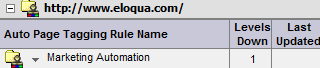
Click the + sign next to the web site that is being crawled to expand the list of rules associated with this site.
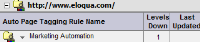
In this example, there is only one rule (Marketing Automation).
-
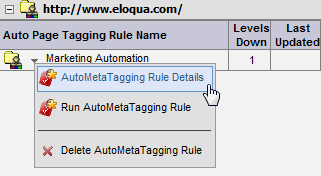
Click on the drop-down arrow next to the rule name.
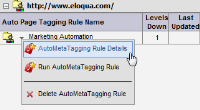
Your options are to either view, run, or delete the rule.
- Click Auto-Meta Tagging Rule Details to view the options that were configured when you initially created the rule. The only value that you can change is the Base URL. Click OK when done. Once the rule is updated, the meta data will be extracted from the new site during the next scheduled website crawl.
- Click Run Auto-Meta Tagging Rule to force the rule to run immediately. Running the rule prior to the next scheduled time website crawl can be useful if you wish to tag a number of pages that have recently been added to your site for which you wish to have immediate reporting capabilities
- Click Delete Auto-MetaTagging Rule to permanently remove the rule from the application.