Creating a security group
Security groups allow administrators to control what levels of access users have to assets, features, interfaces, and so on. There are several security groups offered with your Eloqua instance, but you can create your own security groups to suit your needs.
To create a security group:
-
Click Settings
 .
. -
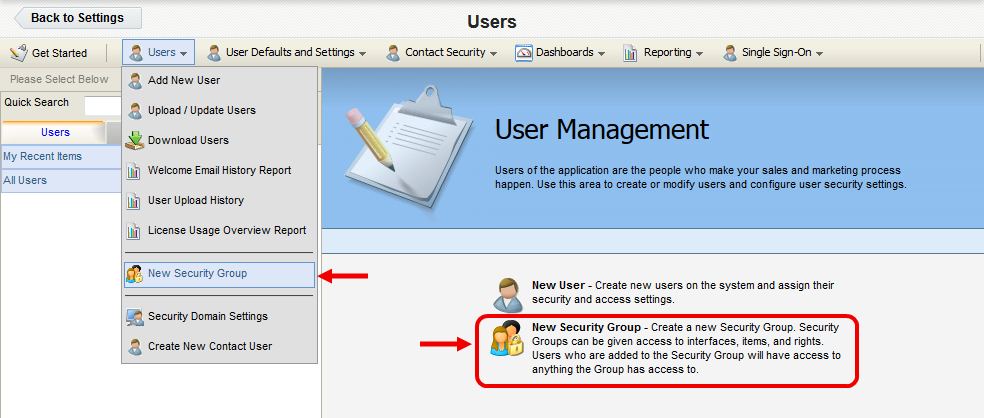
Click Users in the Users and Security area.
-
Click Users, then click New Security Group. Alternatively, click New Security Group in the right panel.
The New Security Group Overview configuration window then opens in the right panel.
-
Enter the basic information for the security group:
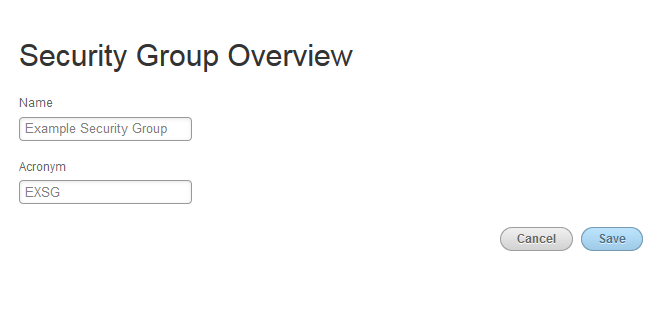
- Type the name of the group into the Name field. Choose a name that accurately reflects the common association of members in that group, such as a department, region, or role of the users you intend to place in the group.
- Type an acronym for the security group into the Acronym field. Try to use an acronym that makes it easier to remember, search for, or identify the group.
- Click Save.
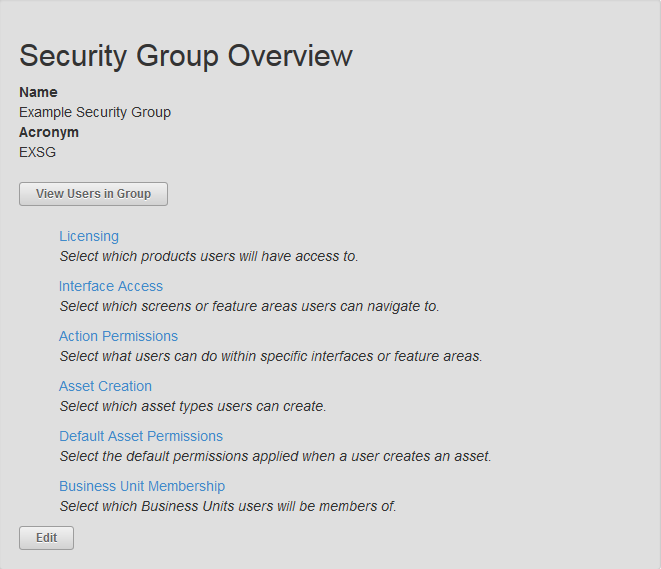
The security group is created, and the Security Group Overview menu for the group opens in the right panel.