Modifying security groups
To access and modify a security group:
-
Click Settings
 .
. -
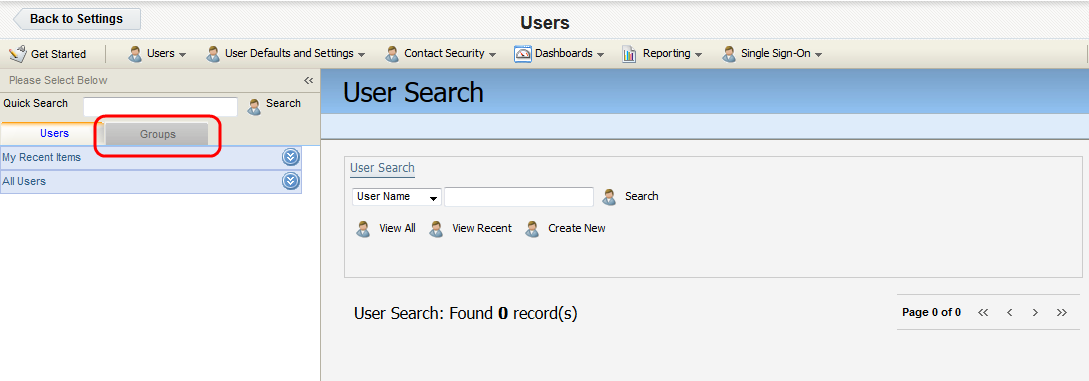
Click Users in the Users and Security area.
-
Click the Groups tab on the left panel.
-
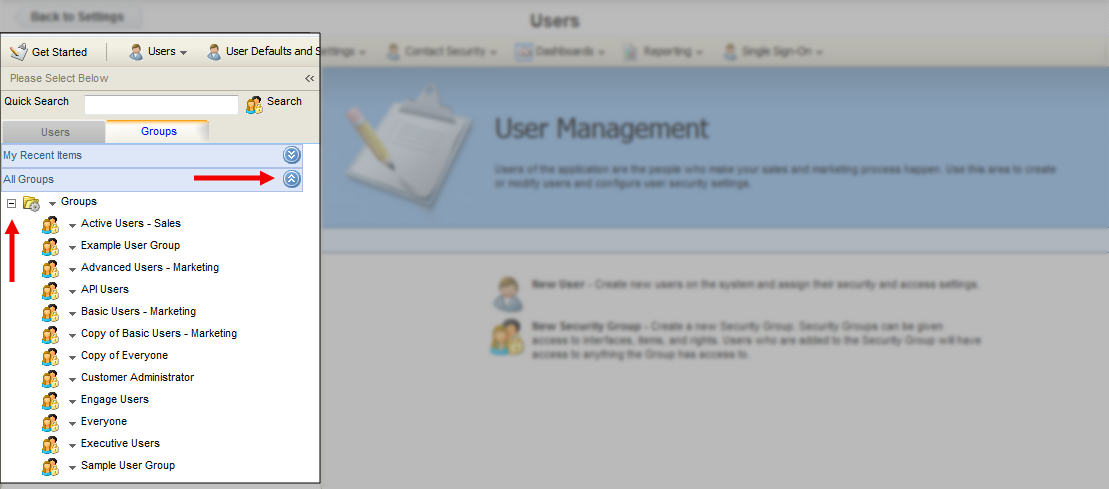
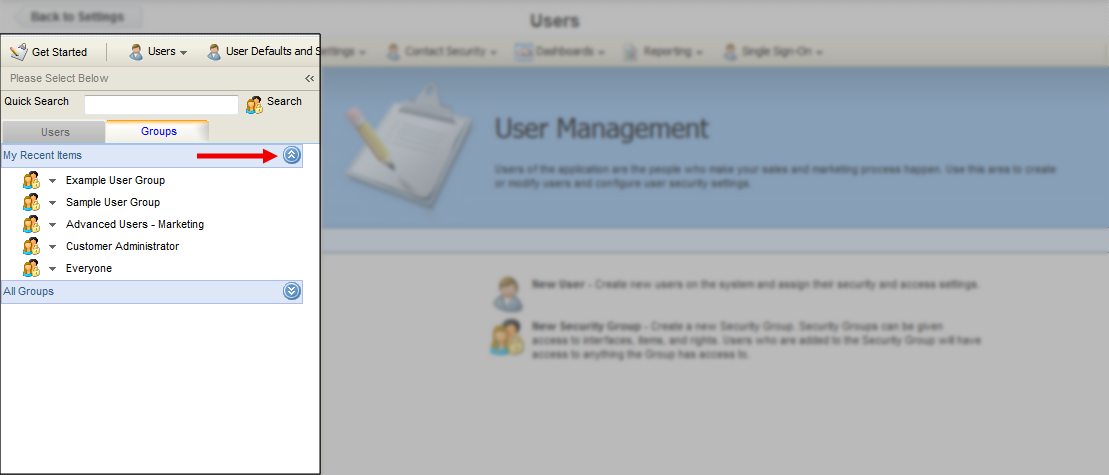
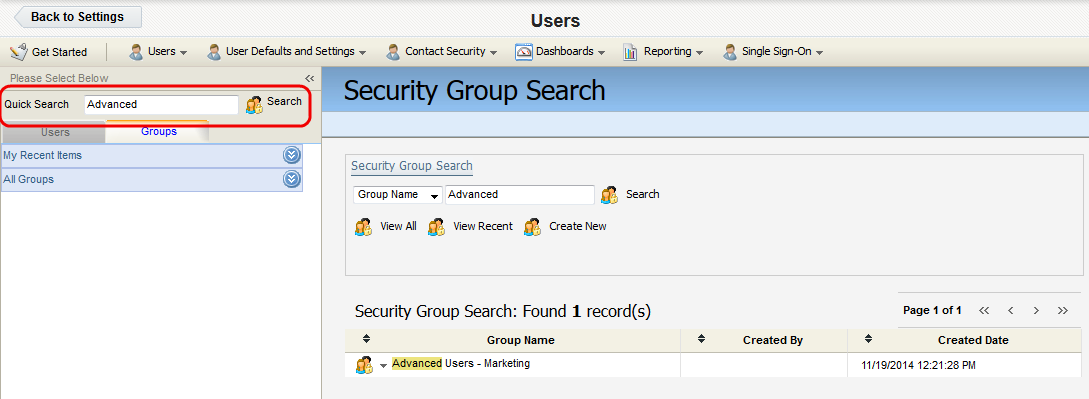
Locate the security group that you want to modify. You have three options to achieve this:
-
Expand the All Groups drop-down, then click the + symbol next to the Groups folder to navigate into that folder.
-
Expand the My Recent Items drop-down to access a list of recently created or modified security groups available to you.
-
Type the first few letters of the group into the Quick Search field, then press Enter.
-
-
Click the group name to open the security group profile overview on the right panel.
Note: Alternatively, you can click the drop-down arrow next to a user profile, then click Security Group Details.

The Security Group Overview page is displayed.
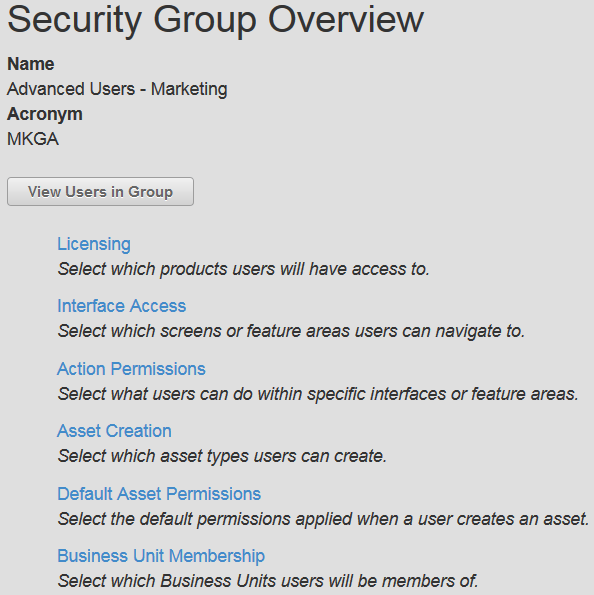
Notice the name of the group you selected is indicated at the top of the overview. The four-letter acronym is also displayed. To view a list of users in this group, click View Users in Group. This list will initially be blank until you begin to add users.