Managing users
Secured user access to Oracle Infinity is administered in Settings.
When managing users, you typically follow this process:
In this topic, you'll learn about:
Viewing users
Before inviting a user to sign in, you can review the list of users to see if they are already using Oracle Infinity.
To view users:
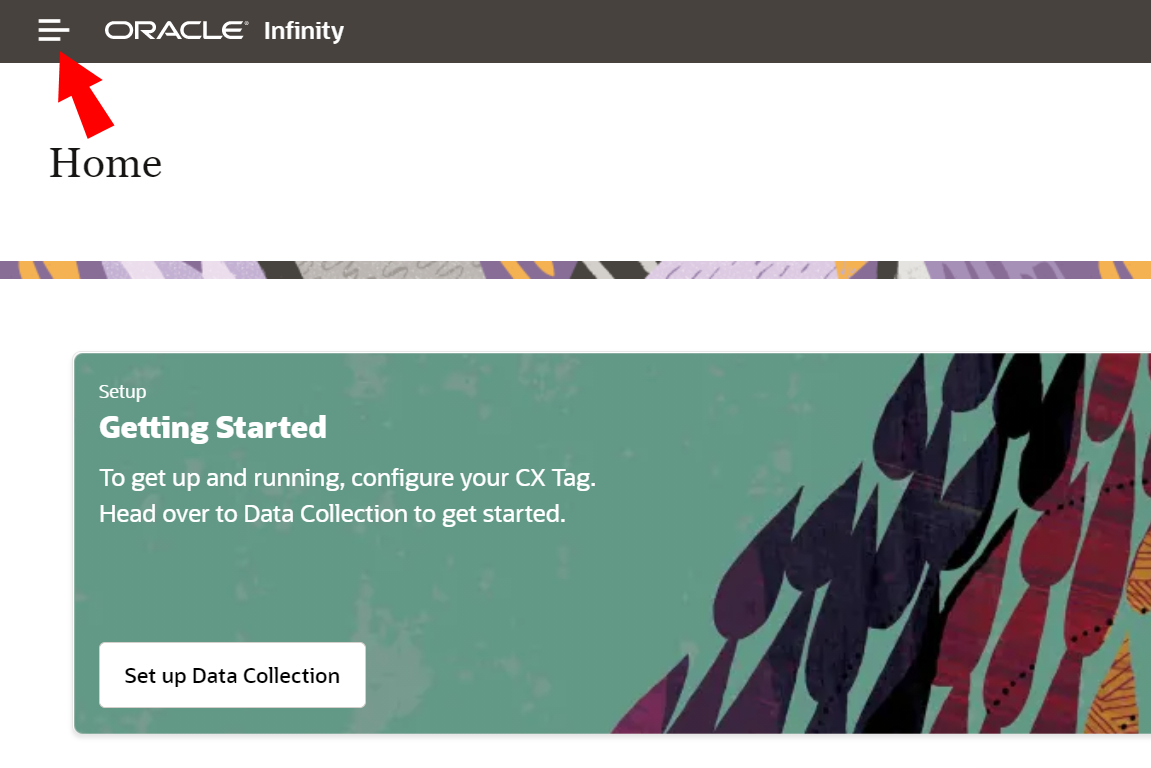
- Click
 at the top of the page.
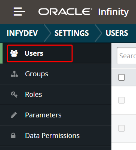
- Click Settings.
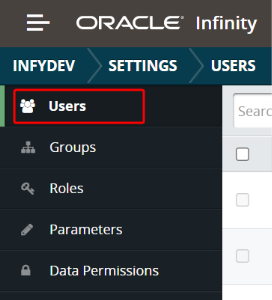
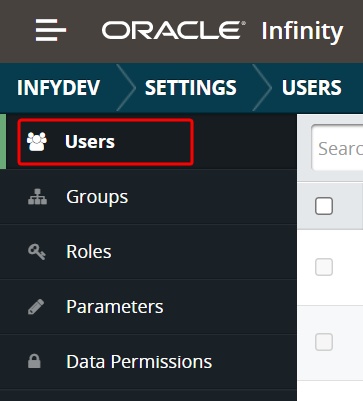
- Select Users from the left sidebar.
- Click the row for an existing user to view their details, such as groups, roles, and data permissions.
Learn more: Viewing a group's users
Inviting users
You can use Settings to invite users to sign in and start using Oracle Infinity.
Prerequisites
- To invite a user, you must enter at least one email address
- The new user must be associated with at least one role or group
- You must have rights to view and manage users
Note: The Super Administrator group is only displayed in the list of available groups if you are a member of the Super Administrator group.
To invite new users:
-
Click
at the top of the page. - Click Settings.
- Select Users from the left sidebar.
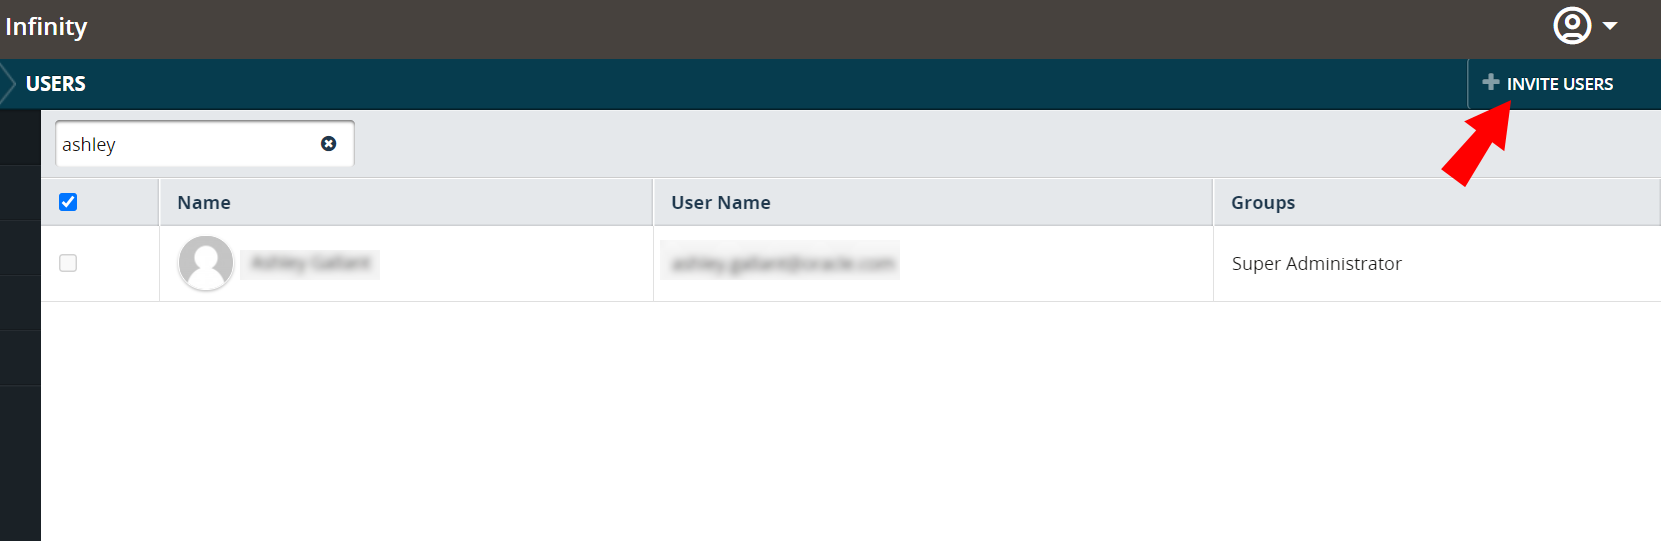
- Click Invite Users.

The Invite Users window is displayed. - Enter one or more email addresses. You can paste in multiple email addresses that are separated by a comma or semicolon. When entering multiple email addresses for one invitation, all users get the selected roles and groups.
- In the Groups section, select one or more groups for the set of users. Alternatively, select + New Group and create a new group.
- (Optional) In the Roles section, you can select individual roles for the set of users that you are inviting (not recommended). It is better to associate the role with a group because managing roles for specific users can be problematic.
- (Optional) In the Data Permissions section, you can select individual data permissions, but it is better to associate them with a group.
- Click Send Invite or Send and Add More to invite more users.
Modifying users
-
Click
at the top of the page. - Click Settings.
- Select Users from the left sidebar.
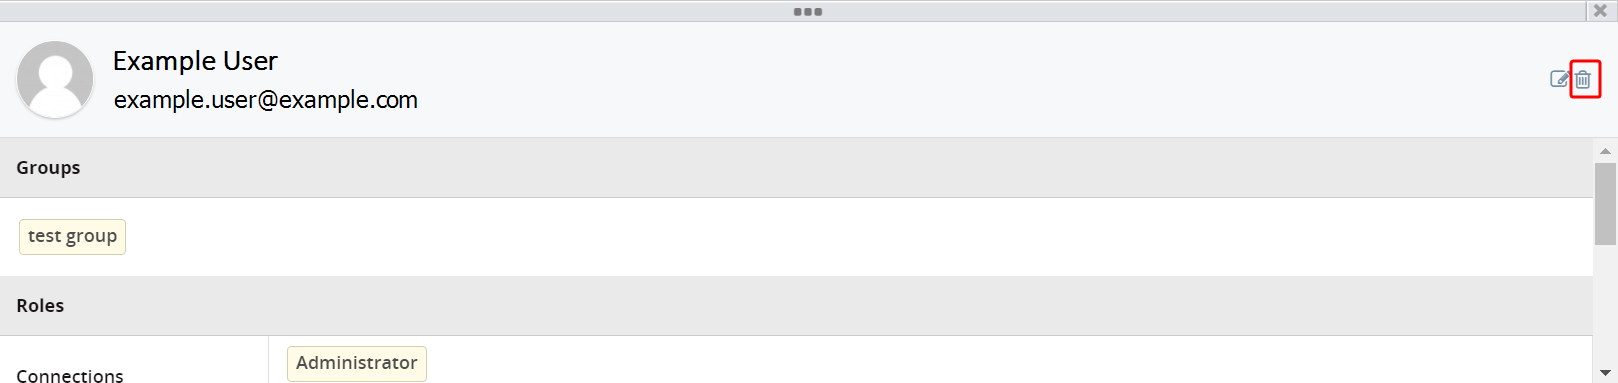
- Click a user's name or email address. The user's details are displayed.
- Click the edit icon
 in the upper-right of the panel to modify the user.
- Add or remove groups, roles, and data permissions.
- Click Save.

To edit groups for multiple users:
-
Click
at the top of the page. - Click Settings.
- Select Users from the left sidebar.
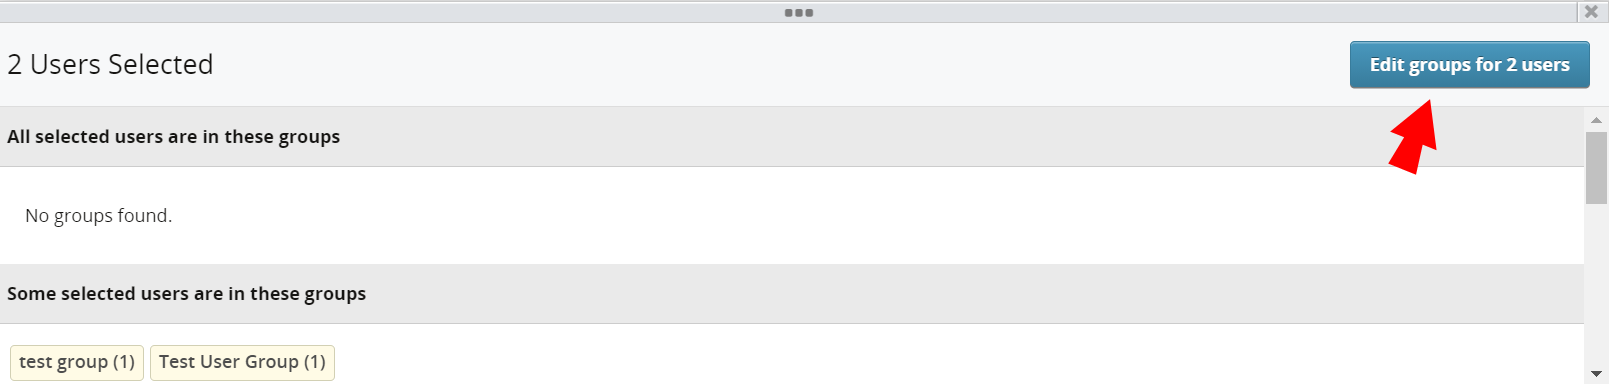
- Click the check box to the left of all users you want to edit.
- Click Edit groups for X users.

- Modify group assignments, then click Save.
Note: Users are not notified when their account changes, but automatically see new applications in the top menu bar after their next sign in.
-
Click
at the top of the page. - Click Settings.
- Select Users from the left sidebar.
- Click a user's name or email address. The user's details are displayed.
- Click the delete icon
 in the upper-right corner of the panel.
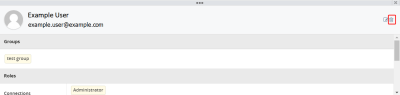
- Click Delete.