Personalization API and Native Apps
Personalize content wherever your users interact with your brand: on your website pages, mobile app, your cashier desks, etc.
Personalization API consists of two endpoints: content and state. The former serves the combined JSON file, and the latter answers which content is active.
Like the web personalization that runs in a browser alongside analytics, this API relies on analytics implementation in the app to cover behaviors tracking.
Pre-requisite: Capture behavioral data in the app
Behavioral data tracking implies calling the following two endpoints.
Step 1. Generate user ID
Request a new user identifier if none is available for the user.
Endpoint:
GET https://dc.oracleinfinity.io/v4/account/{account-id}/client/id- The
{account-id}from the request path can be found under your account name in the Infinity UI.
Here’s an example of a request done with JavaScript:
fetch('https://dc.oracleinfinity.io/v4/account/c20c97282f3d4f0d2daafcd03087ec9a/client/id')
.then(response => response.json())
.then(body => console.log(body));
And here’s the response format:
        {
         data: {
            type: "guid",
            id: "b6df9864-0c4b-4435-aa32-602fd3ce76d8"
               }
        }
Step 2. Track user events
Send analytics events as soon as interactions with the app happen.
Endpoint:
POST https://dc.oracleinfinity.io/v3/{account-id}- The
{account-id}from the request path can be found under your account name in the Infinity UI. - JSON body should contain analytics data as per Oracle Infinity Developer Help Center - Data Collection API.
An example of a request:
        fetch('https://dc.oracleinfinity.io/v3/c20c97282f3d4f0d2daafcd03087ec9a?dcsverbose=true', {
            method: 'POST',
            body: JSON.stringify({
                "static": {
                    "wt.co_f": "219aabf1-f402-4854-b890-be077afa1b89"
                },
                "events": [{
                    "dcsuri": "/home",
                    "wt.dl": "0",
                    "wt.ets": "1523448732"
                }]
            })
        })
        .then(response => response.json())
        .then(body => console.log(body));
And the response:
        {
            "valid": true,
            "message": "All events are valid",
            "events": [{
                "valid": true,
                "message": "- - - - - - - - - - - -"
            }]
        }
Please follow Data Collection API to capture all the required events. The data becomes available for analytics, actions, and personalization in Infinity.
Run personalization
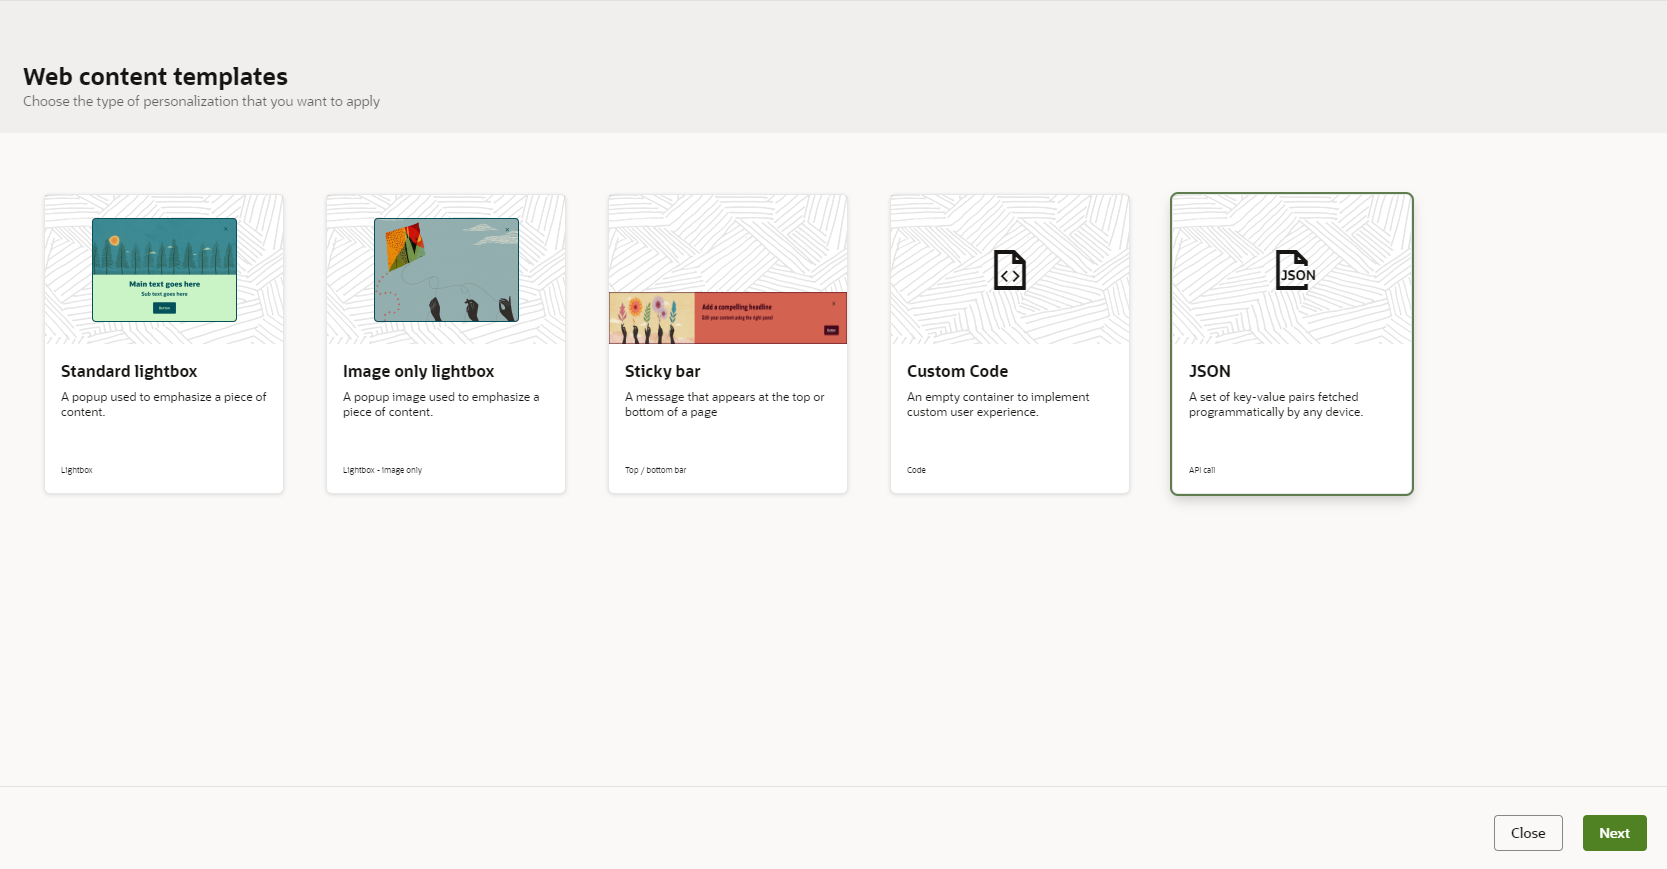
To get personalization up and running you should start from creating JSON content in the Infinity UI. This generates a JSON file you can feed into your application.
Step 1. Fetch JSON content
Receive all the JSON from a file. It’s up to you to decide how often you want to get this file. It may be once per session, or on each state change.
Endpoints:
-
All workspaces:
These endpoints return personalizations across all workspaces. Both endpoints are supported:
GET https://d.oracleinfinity.io/infy/personalization/{account-id}/{configuration}/personalization.jsonGET https://d.oracleinfinity.io/infy/personalization/{account-id}/{configuration}/campaigns.json
-
Specific workspace:
To retrieve personalizations for a specific workspace, use:
GET https://d.oracleinfinity.io/infy/personalization/{account-id}/{workspace-id}/{configuration}/personalization.json - The
{account-id}from the request path can be found under your account name in the Infinity UI. - The
{workspace-id}is displayed at the top of the drop-down list of workspaces in the Web Personalization UI. - The
{configuration}is either sandbox or production, depending on whether you want to request the last saved version or last published version of the content.
Request example:
            fetch('https://d.oracleinfinity.io/infy/personalization/c20c97282f3d4f0d2daafcd03087ec9a/production/personalization.json')
            .then(response => response.json())
            .then(body => console.log(body));
Response:
        {
        "campaigns": {
            "abcf2692-c0cf-4c54-9e6b-f96b18ee5e05": {
            "name": "Test",
            "blocks": {
                "C1": {
                "name": "Content 1",
                "masks": {
                    "include": [
                    "*"
                    ],
                    "exclude": []
                },
                "json": {
                    "color": "red"
                },
                "pages": []
                }
            }
            }
        },
        "pages": {

        }
        }
Personalized content in the response is defined under corresponding ID that you pick from the URL of each personalization when it is opened in the UI:
- masks are the URLs or any other identifiers you use to set where a content should run.
- json is the content defined in the UI.
- pages are mask groups.
Your application is responsible for evaluating the JSON content and rendering the corresponding personalized experience.
Step 2. Sync the user state
Recalculate each content’s status for a user. This is done on each state change of your application.
Please set a delay of 1 second between tracking events and recalculating the state, so all the data gets processed in Infinity backend.
If a specific content is active as per the state response, render it in the application.
Endpoints:
-
All workspaces:
POST https://dc.oracleinfinity.io/display/v1/account/{account-id}/state?wt.co_f={user-id} -
Specific workspace:
POST https://dc.oracleinfinity.io/display/v1/account/{account-id}/workspace/{workspace-id}/state?wt.co_f={user-id} - The
{account-id}from the request path can be found under your account name in the Infinity UI. - The
{workspace-id}is displayed at the top of the drop-down list of workspaces in the Web Personalization UI. - The
{user-id}is the identifier generated for analytics.
Note: The POST request body should be the most recent response body, which means that the app stores the state on the device and updates it with each request. Pass an empty object {} for a new user.
Request example:
        fetch('https://dc.oracleinfinity.io/display/v1/account/c20c97282f3d4f0d2daafcd03087ec9a/state?wt.co_f=31a847a5-85d4-4abf-9714-77ddff2c71a4', {
            method: 'POST',
            body: JSON.stringify({})
        })
        .then(response => response.json())
        .then(body => console.log(body));
Response:
        {
         "ids": ["1873266263786462241"],
         "campaigns": {
         "e75fa00b-09a6-4549-af42-4ff4dd3131ad": {
             "activeBlocks": ["c1", "C2"],
             "pointer": "E1"
         }
        },
        "hash": "15jwfcY3Vu+UEwvs6KUunpbxu+1kowm87c/ZWdm62Ow="
        }
All the content under the “activeBlocks” field should be activated for the corresponding personalizations from campaigns.json.
Web Personalization Canvas - Learn more on setting up a web personalization.
Overview of the Data Collection application - Learn how to send data to Infinity through our API.