Custom Templates
Web content templates library could be extended with custom-built content templates. These templates can be used for content creation similar to the out-of-the-box templates.
Template creation
Step 1. Select the template that you need to duplicate
Choose the most appropriate Default template in the Library as a base and hit the Duplicate template option at the bottom:
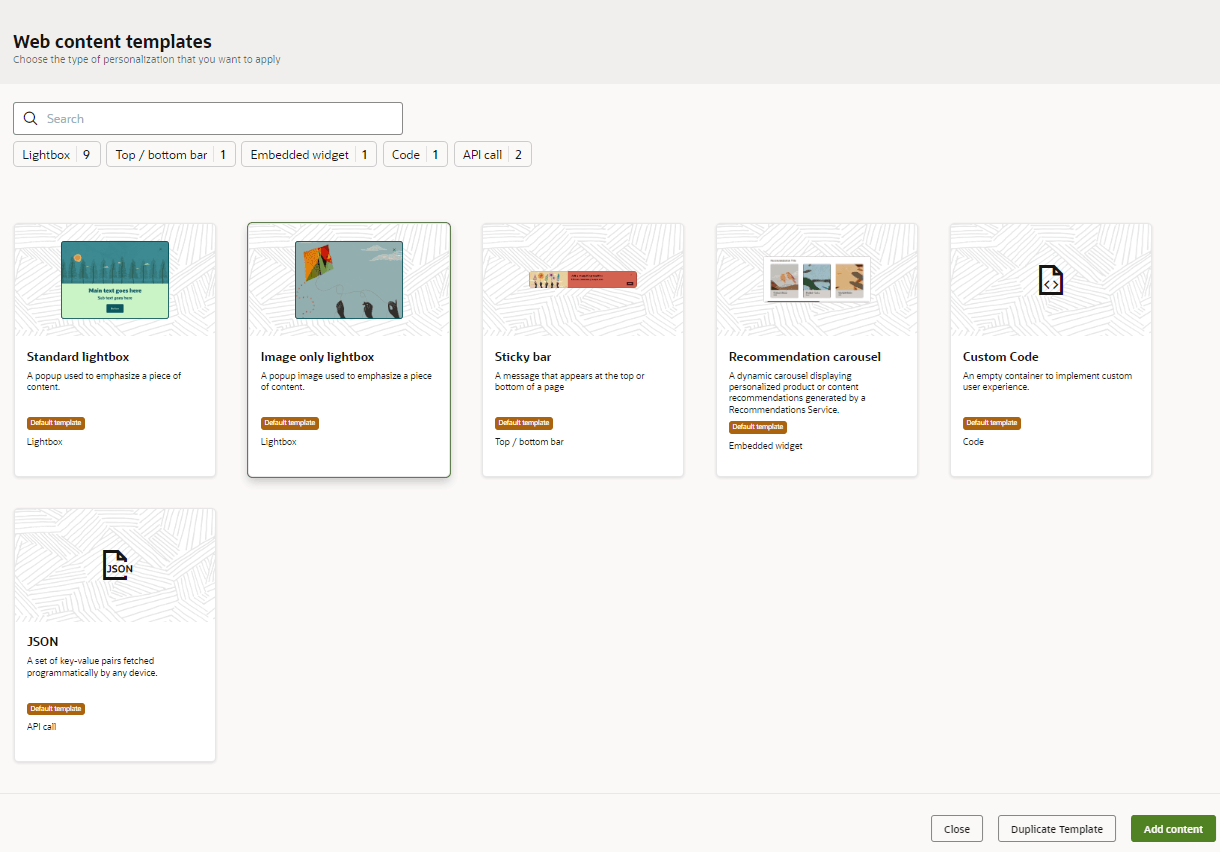
That duplicates all content properties of the selected content template: CSS, HTML, JS, Variables and attributes.
Step 2. Configure a template
Specify appropriate template name, description, and type on the Properties panel:
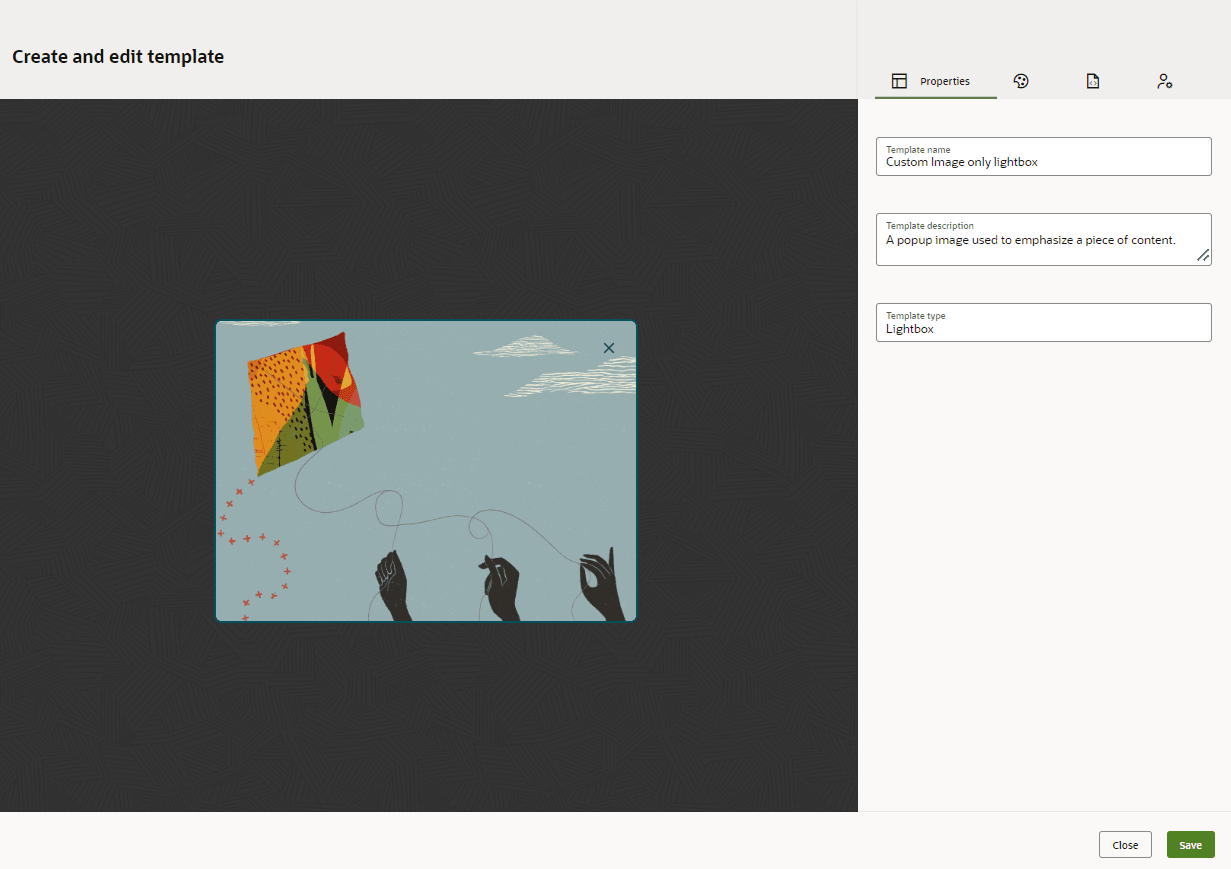
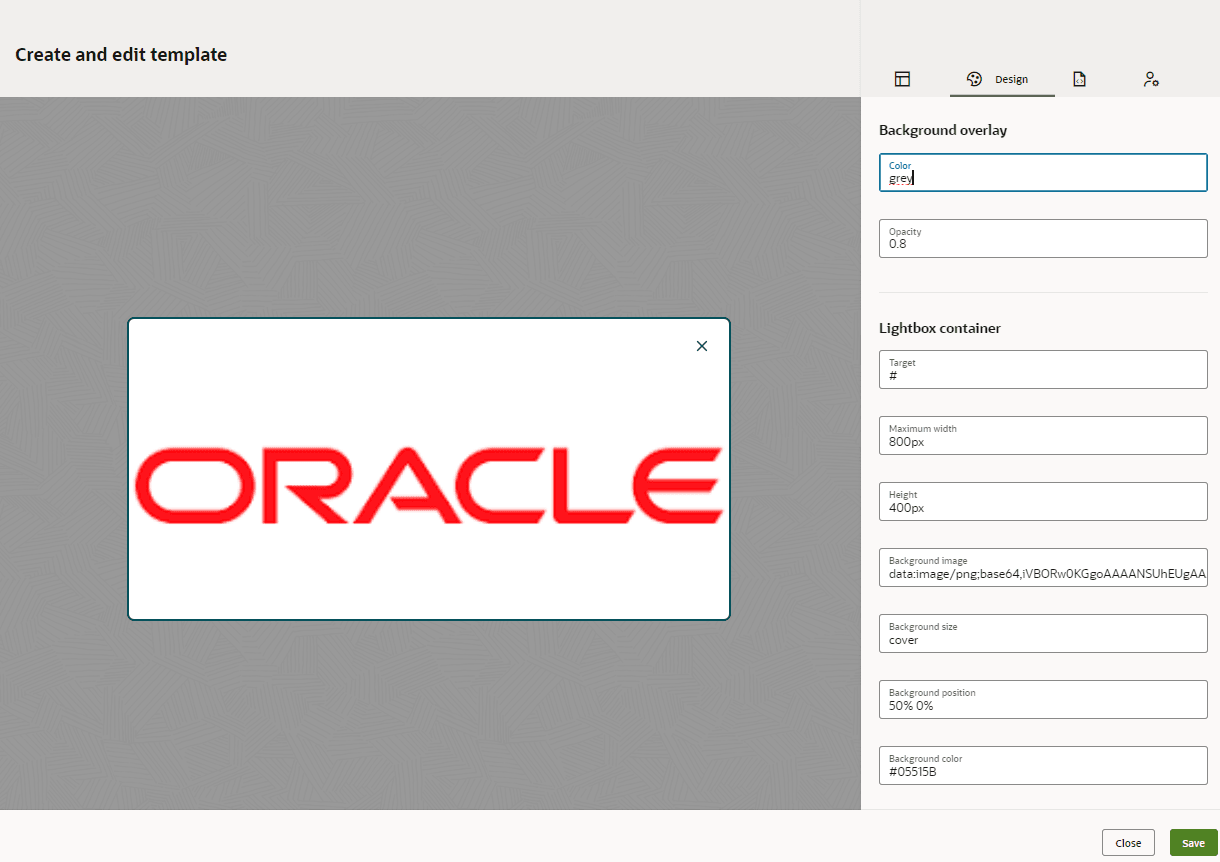
Next, proceed with the template configuration and make the needed changes on the Design, Code, or the Attributes tabs:
Step 3. Test a template on a web page in the QA Tool
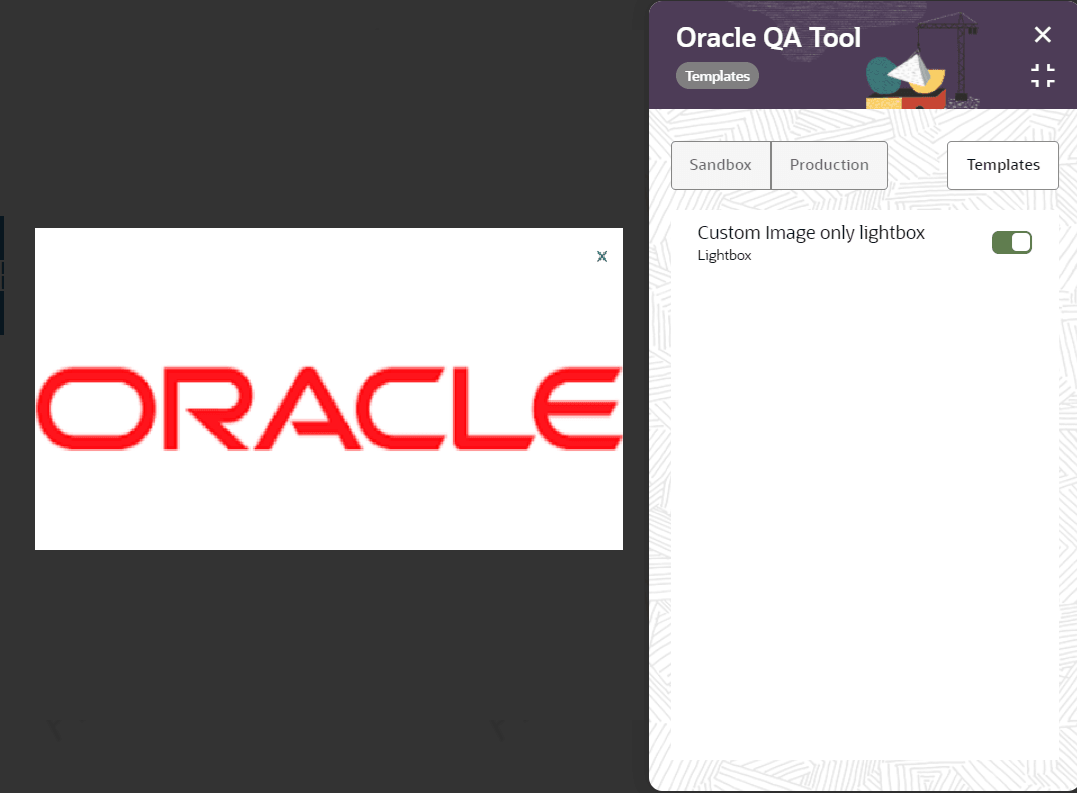
The QA tool allows you to preview and test custom templates on your site.
Navigate to the Templates section and choose a content to preview, click the Apply Changes button to see the template on your website:
Step 4. Save the template
After your testing is finished, save the template.
Next time, when you create a content node on the Web personalization canvas, that template will be available in the list:
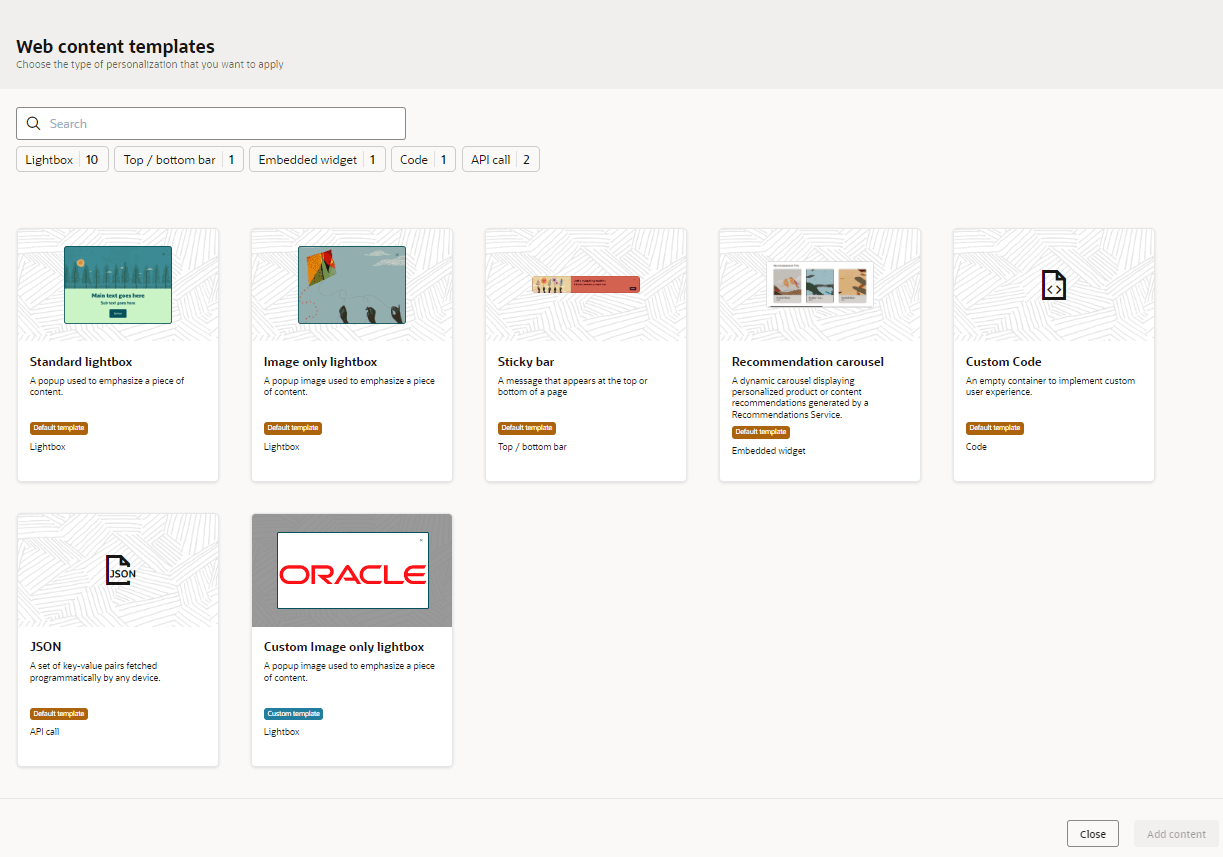
Note: Currently you can create a maximum of 15 templates per account. If you reached the limit but still need to add a new template, please delete one of the existing custom templates.
Template editing and deletion
If you want to change some custom template, you select it from the list and click the Edit Template option:
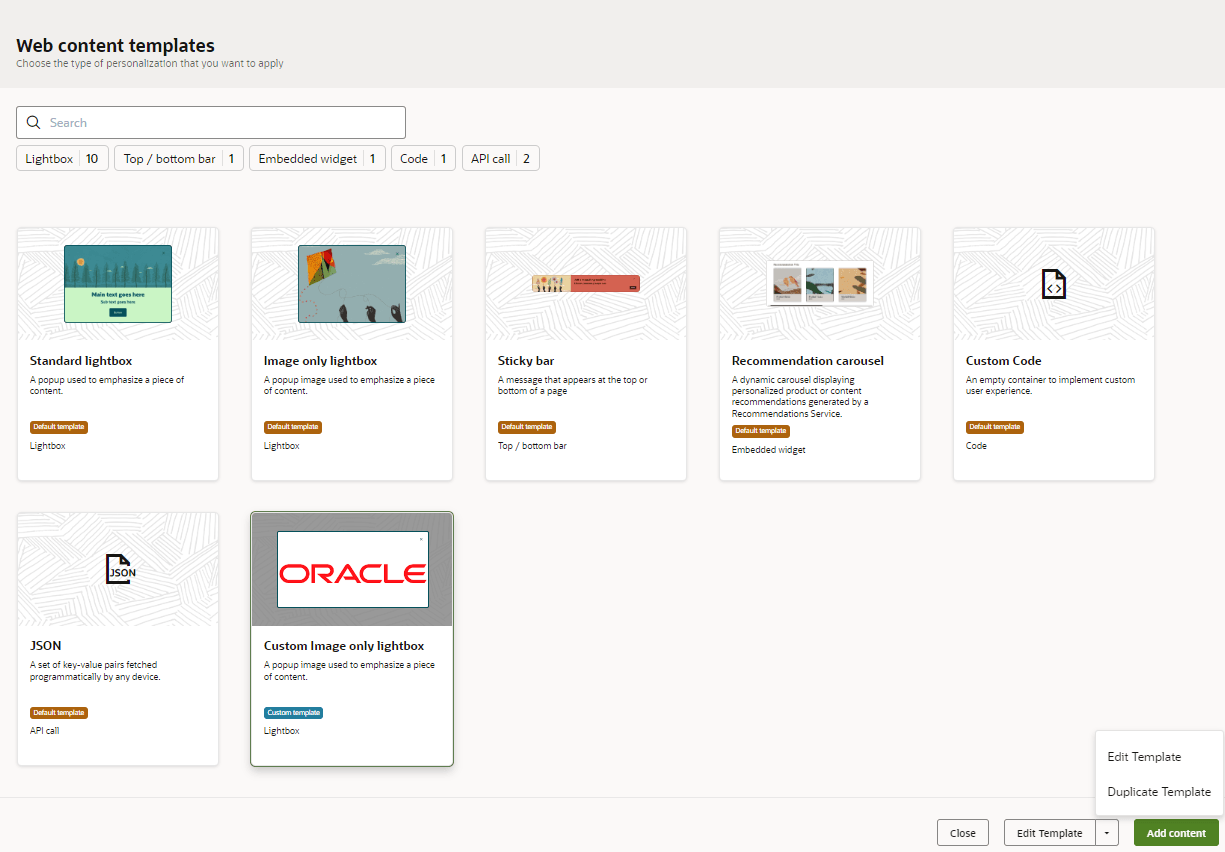
In case the template isn't needed anymore, you open it for editing and choose the Delete button:
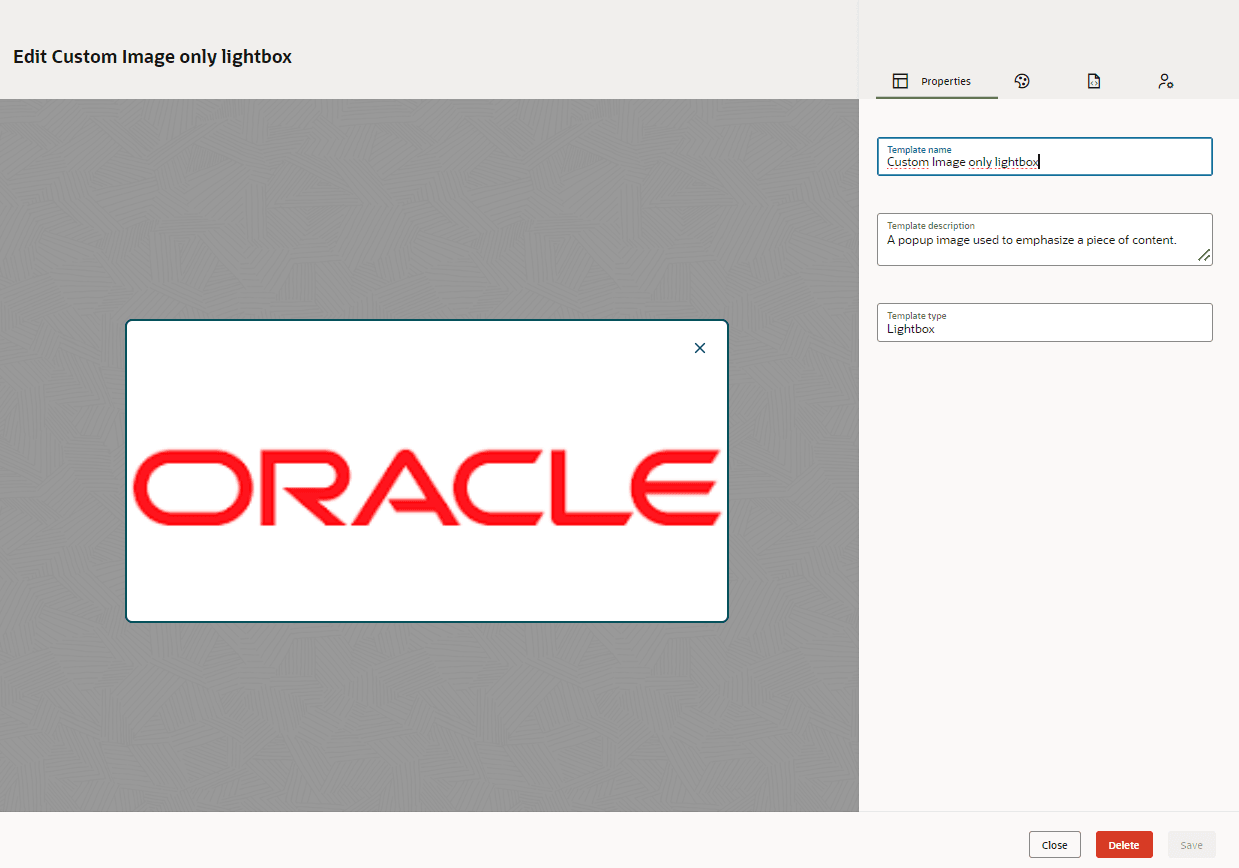
Note: Template editing and deletion doesn't affect contents created based on that template. Existing content nodes keep working even if the custom template they are based off is deleted.
Web Personalization Canvas - Understand how personalizations operate.