Integrating with 6sense
Integrating with 6sense allows you to pull customer-specific data on a page.
This article explains how to:
- Integrate a Maxymiser campaign with 6sense
- Validate and QA the integration for a campaign
How we pull the data?
This integration uses the data automatically populated by 6sense inside browser's localStorage. Maxymiser campaign script simply awaits for the data to become available, so that it can feed corresponding custom attributes. These can then be used for campaign and content targeting, used as part of variant content or additional filter options in the reporting.
Integration Implementation
The integration involves the following four steps.
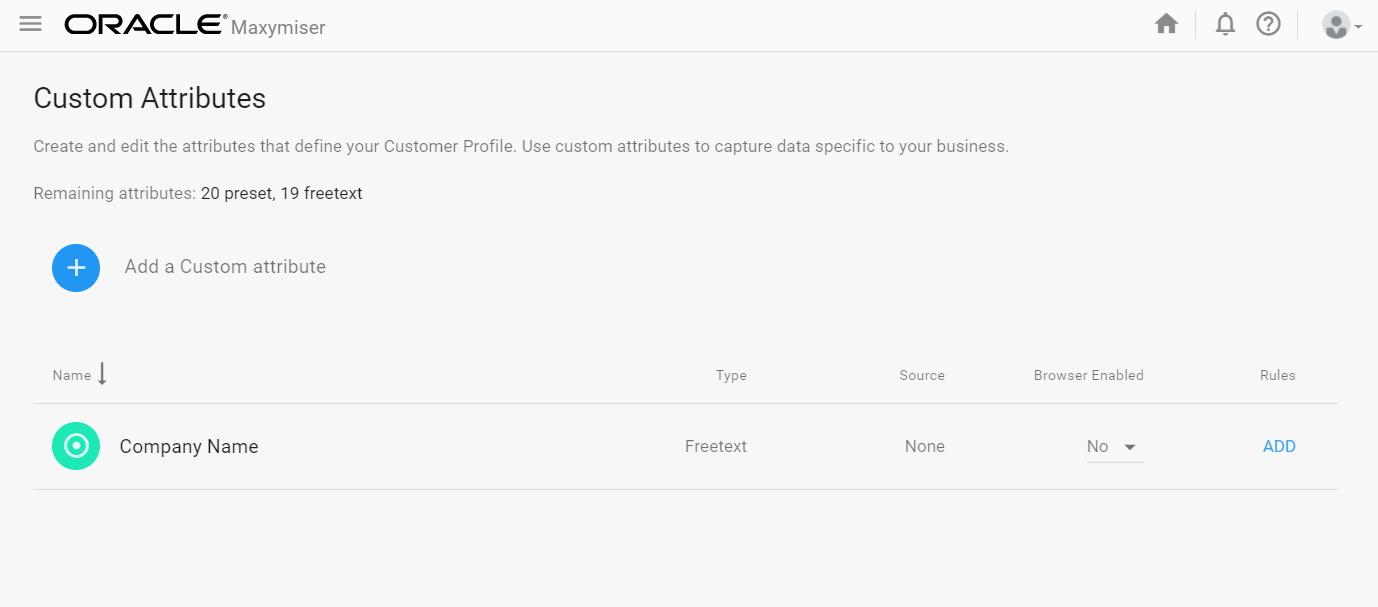
Step 1. Custom Attribute
Create or re-use one of the Custom Attributes in Maxymiser UI.
Step 2. Integration script
Create a campaign script with the following contents.
Setup the config section of that script in the following way: keys should correspond the names of the Custom Attributes you want to use, and the values of the object to define paths to the respective items inside the 6sense localStorage object.

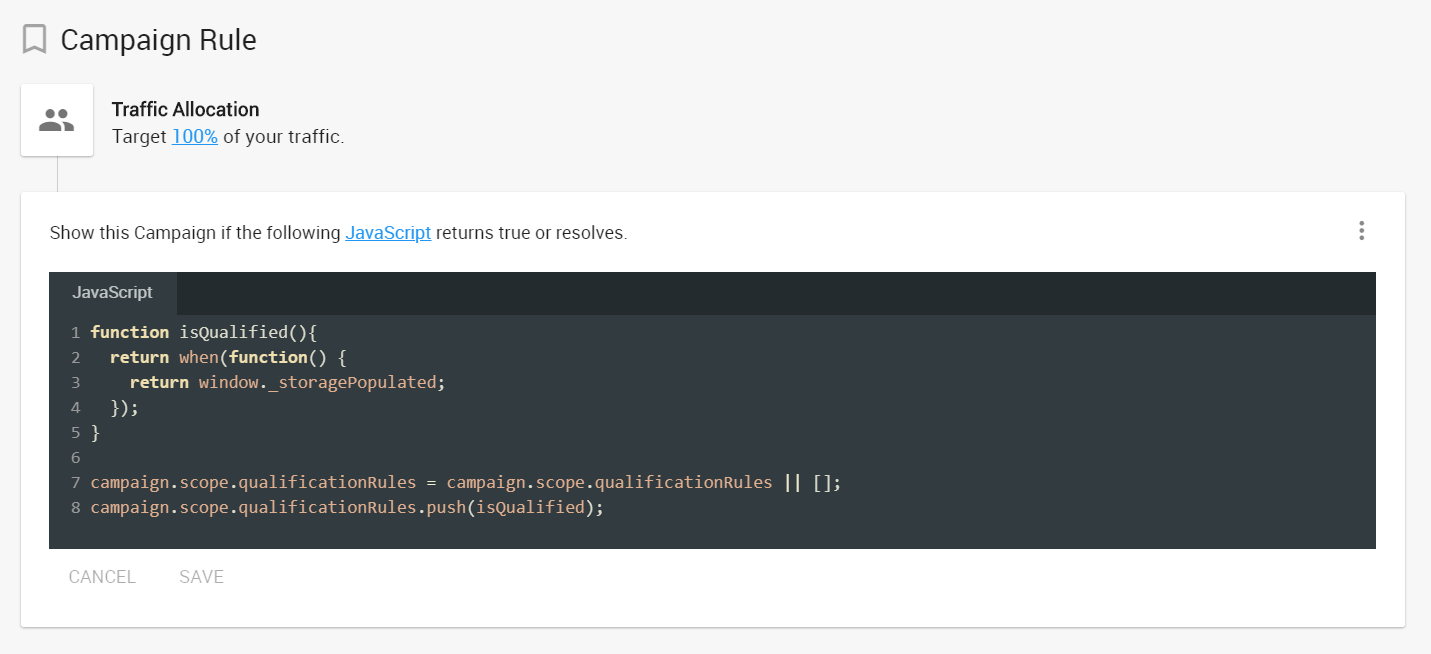
Step 3. Postpone campaign generation
It can be easily done by waiting for 6sense to fire. Just add a JavaScript Code campaign targeting rule and replace the auto-generated script with the following:
As shown on the screenshot:
Step 4. Use the attributes
Custom Attributes values that were successfully fetched can now be used for Campaign Targeting, as part of campaign alternative variants or inside reports.
Below is an example of a variant's source code that uses this customer data and its preview on the campaign page:

QA the Integration
Whenever the campaign scripts are configured (i.e., step 3 of the integration is complete), you should be able to see the Custom Attribute value populated in the QA tool.

