App Campaign Builder
Use the App Campaign Builder to create AB and multivariate tests for iOS and Android native apps. You can quickly create tests using our visual editor or more advanced users can work with JSON code directly using the Code Editor. You can then publish and update your app without going through the App Store.
Prerequisites
Before using App Campaign Builder:
- The Oracle Maxymiser iOS or Android SDK must be embedded in your app. For details and to download the SDKs, head over to Oracle Maxymiser for Mobile Apps Cloud Service Downloads.
- App Campaign Builder must be enabled on the site where you want to run App Campaigns.
- You need a compatible device with the latest version of your app installed. App Campaign Builder needs to be paired to the device so that the app can be displayed inside the visual editor exactly as it appears on the device.
App Campaign Builder workspace
The workspace is designed to help you build your campaign quickly:

- Site menu: Use to access other areas of the Maxymiser platform such as the dashboard and publish center.
- Build: Area where you set up your campaign and build the variants
Note: Use the Settings tab to modify advanced campaign and site settings.
- Campaign outline: Use the campaign outline to create variants for an AB test or in the case of MVT set up the structure of a campaign using elements and variants.
- Properties tab: Use to modify the properties of the selected UI Element.
- Actions tab: Use to add on-tap or view actions, these are the metrics used to measure the success of your campaign.
- Outline view tab: Use to select screen UI elements from a tree view.
- Device viewing area: The paired device screen is displayed in real time so you can see your modifications exactly as they appear on the device.
- Code editor: Use to insert JSON code directly. This is for more advanced users and gives you the flexibility to make complex transformations to the screen.
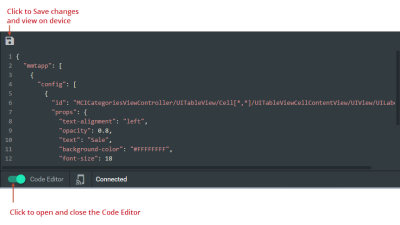
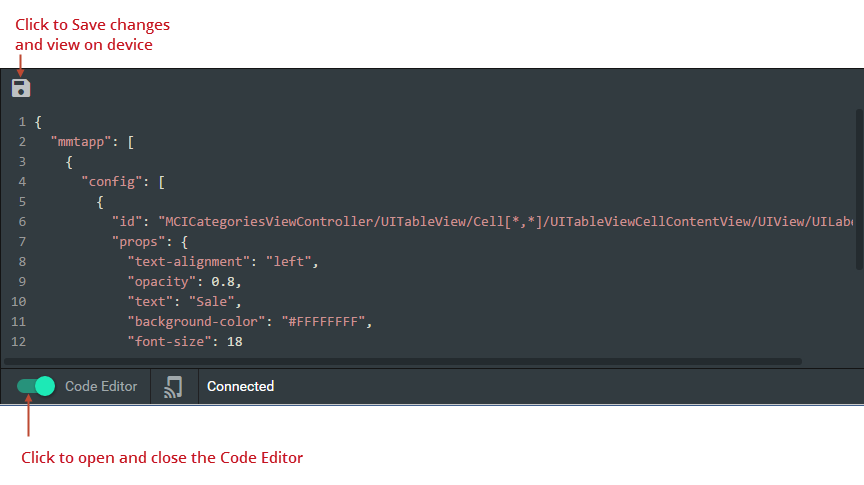
- Status bar: Use to turn the code editor on and off and to connect / disconnect the Device.
Creating an App campaign
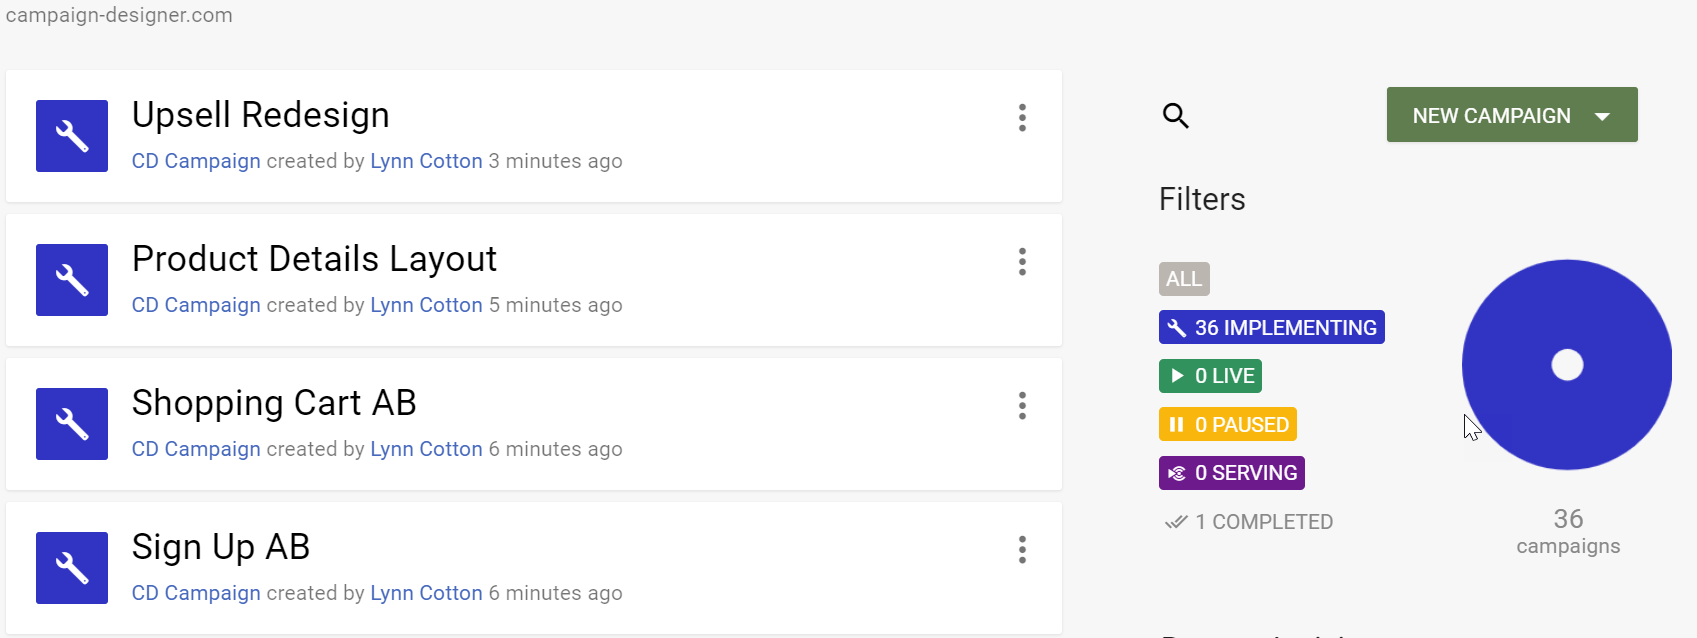
Once App Campaign Builder is enabled, you can create a new app campaign directly from the dashboard.
To create an app campaign from the dashboard:
- On the dashboard, click + NEW CAMPAIGN.

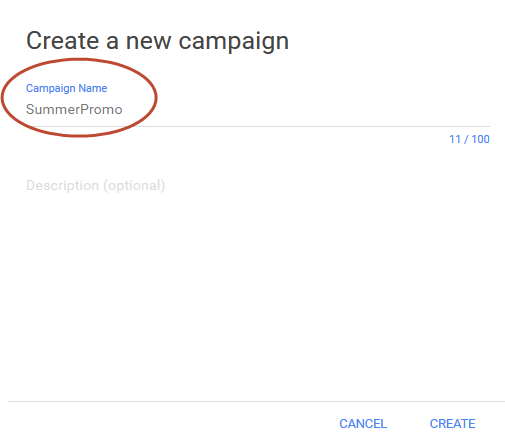
- Enter the campaign name.

- Click CREATE.
Pairing a device
You need to pair a device with campaign builder when setting up or modifying a campaign. This pairing allows content to be rendered in the visual editor exactly as it appears on the device.
To pair a device:
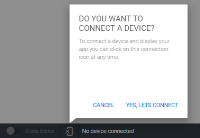
- Device: Open your app.
- App Campaign Builder: Click YES, LETS CONNECT.
- Device: Using your finger, trace a large O making sure that you join the two connection points of the O.

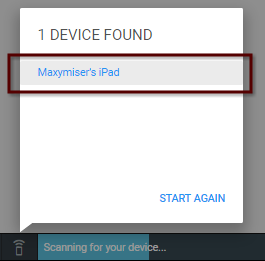
- App Campaign Builder: The device is displayed in the list.

- App Campaign Builder: Click the device name. A four digit code is displayed. If the device does not appear in the list, try tracing the O again.
- Device: Enter the four digit code on the device. This security step makes sure you pair with the correct device.
- Device: Click OK.


Note: We recommend that you connect your device to an unmetered Wi-Fi internet connection when pairing it for editing with App Campaign Builder. This is because streaming the screen from your device typically uses up to 6 MB of data transfer per minute. This can peak at 18 MB of data per minute for complex UIs on devices with Retina displays. If you experience connection issues, see troubleshooting App Campaign Builder connection and pairing.
Setting up variants for an A/B test
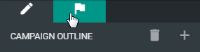
To add A/B test variants using the CAMPAIGN OUTLINE panel:
- Click + to add the AB test variant.
- Select the Variant option.

- Double-click the variant name to rename it.
- Enter the new name.


Editing UI elements
To edit UI elements using the properties panel:
- Select a UI element.
- The properties panel shows the selected UI element's properties.
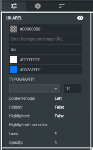
- Change the UI Element properties using the fields in the properties panel. For example, change font colors, background colors, fonts size, button text etc. The changes are mirrored on the device and in the device viewing area in real time.
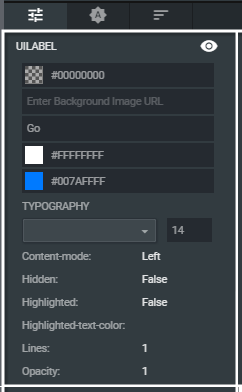
Tip: You can use the code editor to modify UI elements that cannot be modified using the Properties panel, such as opacity and text alignment.
Setting up tap and view actions
You can set up two types of actions:
- On-tap: Use tap actions to track the number of times visitors click on a screen element.
- View: Use view actions to track the number of times a visitor views the screen containing the element.
To create a new on-tap or view action:
- Select the screen element that you want to track.
- Select the Actions tab.
- Click + to add action.
- Select the action type.
- Enter the action name.
Note: If you set up more than one action, select one action as a primary action, the primary is the main metric used to measure the effectiveness of a campaign. It would usually be the metric on which a decision is based.
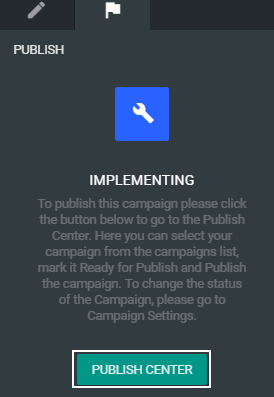
Publishing a campaign
Once you test your campaign, use the publish center to transfer campaigns from your sandbox (test environment) to the production environment where mobile app visitors see campaign content.
Note: Maxymiser recommends that you designate the role of publisher to a selected user or group of users.
- Click the Publish tab on App Campaign Builder.
- Click PUBLISH CENTER and follow the instructions.


Setting up elements and variants for a multivariate test
You can add a multivariate test by specifying elements in the CAMPAIGN OUTLINE panel and then add variants to your elements.
To set up elements and variants for a multivariate test:
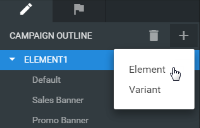
- Click + to add the MVT element.
- Select the Element option.
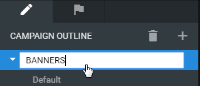
- Double-click the element name to rename it.
- Set up the variants for each element.


Testing multiple objects on an app allows you to gain an insight into the optimal experience for users. Before you create an MVT campaign, you need to identify the on screen object that you want to test. This object is called an element. You can then create alternative content (variants) for the element.
Example
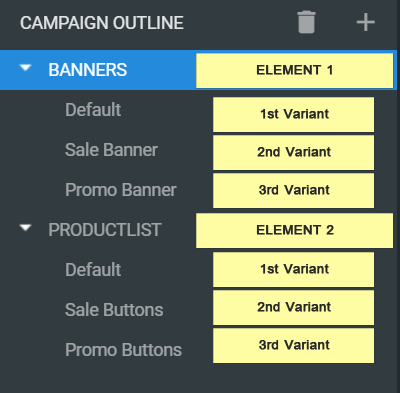
Let's use an example on our conversion interiors app. We want to set up an MVT campaign on our home page that tests two different banners and different buttons on our product list.
In this case, we set up two elements for our MVT campaign, BANNERS and PRODUCT LIST. To the first element BANNERS we add our two different banner variants, to the second ELEMENT we add two different button variants.
This example shows how quickly you can set up an MVT campaign serving nice different experiences.
Selecting screen elements
To select a UI element, you can either use the screen viewer or use the tree view.
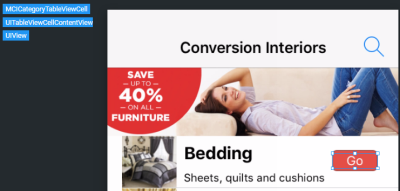
- Use the screen viewer: Click a UI element in the viewing panel to select it. A blue outline is shown around the selected element.
- Use the tree view tab:
- Select the Tree View tab.
- Select the UI Element directly in the tree view.
- The selected element is highlighted with a blue outline in the tree and viewing panel.


The three UI Elements shown at the top of the device are the three elements in the tree above the currently selected element. You can select one of these elements by clicking it.
Modifying variants using the code editor
To modify variants using the code editor
Use the code editor to extend your campaign by adding or modifying JSON code. You can also use the code editor to modify UI elements that cannot be updated using the Properties panel, such as opacity.
Note: This editor is for users with advanced JSON code skills.
- Click the Code Editor toggle button.
- You can add your own code or amend code from changes made via the properties panel.
- Click the save icon at the top of the code editor to view your changes on the device immediately.
- Click the code editor toggle button to close the editor.
Learn more: iOS SDK implementation guide
Example
The following example shows JSON code used align text to the left and change the opacity to 0.8. Notice how the Properties panel, JSON Code editor and Device viewing area are updated in real time.
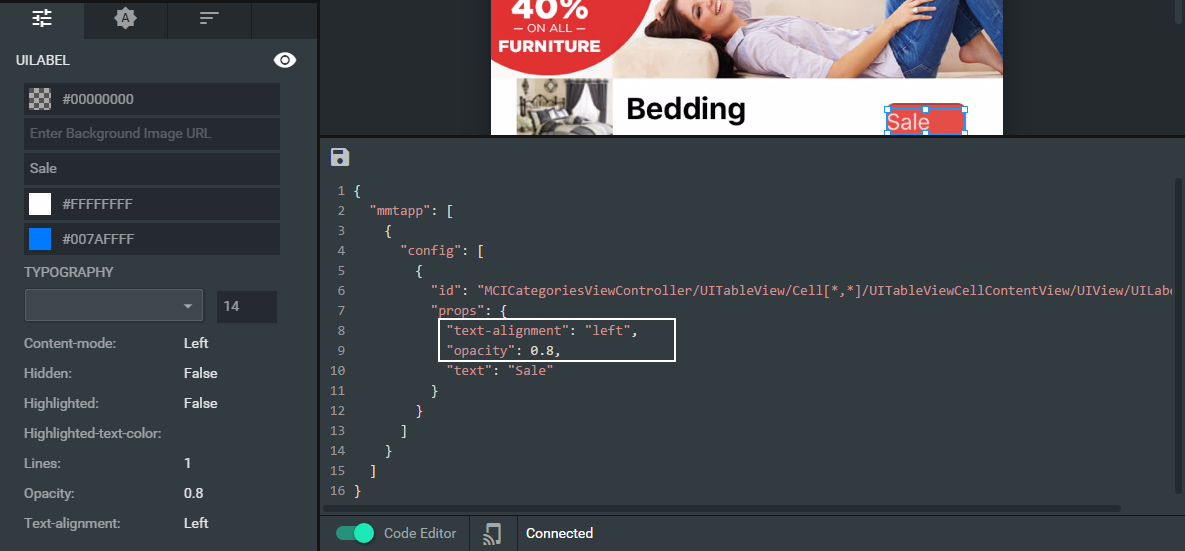
Tip: To clear changes, select and delete all code the text in the code editor and click the Save icon.
Pushing a campaign to your sandbox
The sandbox view shows the campaigns in the test environment. These campaigns are not visible to website visitors. Sandbox allows you to test your campaigns before putting them live.
To push your campaign to your sandbox:
- On the Publish tab in App Campaign Builder, click PUSH TO SANDBOX.


App Campaign Builder FAQs
Q. How do I adjust the width of panels and the Device viewing area?
A. You can increase the width of the panels by hovering over the edge and using the sizing tool. For example, you may want to expand the tree view to see full UI elements names.

Q. Can I use campaign builder to create campaigns for Android devices?
A. Yes, the campaign builder can be used to build tests for iOS and Android devices, with live preview and visual edits fully supported for both.
Q. Why isn't the code editor available on the default?
A. You cannot modify properties on the default (control). The code editor is only available on a variant
Q. Does the app testing SDK increase the size of my app?
A. The app testing SDK increases the size of the app by approximately 400 KB - exact size depends on the structure and functionality of your app.
Q. Can I hide a UI screen Element
A. Yes, you can quickly hide UI Elements by selecting the element and then clicking the hide button in the properties panel.

Q. Why can't I see my test campaign in Sandbox?
A. Verify that you pushed your campaign to your sandbox. Your campaign is only available in your sandbox once it has been pushed using the publish center:
- On the Publish tab on App Campaign Builder, click PUSH TO SANDBOX.
Q. What percentage of visitors see the default and variants?
A. Visitor traffic is split equally between variants. For example, if you have a default experience and three variants:
Default Experience - 25%
Variant 1 - 25%
Variant 2 - 25%
Variant 3 - 25%
Tip: If you want to change the variant weightings, go to Settings > Campaign Settings > Campaign > Content > Elements and Variants.
Q. When I try to connect, why is the device not found?
A.
- Make sure that the device you are connecting to is connected to a Wi-Fi or 4G network.
- Ensure that your device has the latest version of the Oracle Maxymiser mobile app testing SDK installed.
Q. What data connection should I use on the device that I will be connecting for editing?
A. Wi-Fi connection: We strongly recommend that you connect your device to an unmetered internet connection when pairing it for editing with App Campaign Builder. This is because streaming the screen from your device typically uses up to 6 MB of data transfer per minute - this can peak at 18 MB of data per minute for complex user interfaces on devices with Retina displays.
Q. What should I do if lose connection to the app?
A. If you lose connection to the app, try reconnecting to the device using the connection icon and repeating the pairing process.

If you continue to experience connection issues try force-quitting the app on your device and restarting the app.