JavaScript must be enabled to correctly display this content
Introduction
This tutorial shows you how to plan for Capital lease assets with IFRS16 Standard support enabled, as well as import existing leased assets. The sections build on each other and should be completed sequentially.
Background
With Capital, you can manage, prioritize, and plan for capital expenses. Capital helps decision-makers and front-line managers communicate throughout the request, justification, review, and approval process.
In Capital, you can perform lease asset planning with IFRS-16-enabled applications.
The following IFRS16 Standard calculations are supported:
New and existing lease assets
Asset and liability values based on NPV of Lease
Depreciation of the assets
Low value and low tenure assets that are exempt from being capitalized
Treatment considerations based on ownership of the Lease
Indexation of the lease cost
Lease calculations for Plan and Forecast scenarios
Review how lease asset calculations impact Profit & Loss, Balance Sheet and Cash flow in the Analysis card under Capital.
In this tutorial, you plan for lease assets with IFRS16 enabled for the following use cases:
Ownership with Lessor and Lease Term is less than Useful Life
Ownership with Lessor and Lease Term is greater than Useful Life
Ownership with Lessee
Low Tenure Leases
Low Value Leases
Lease with Indexation
Rent Free Lease
Prerequisites
Cloud EPM Hands-on Tutorials may require you to import a snapshot into your Cloud EPM Enterprise Service instance. Before you can import a tutorial snapshot, you must request another Cloud EPM Enterprise Service instance or remove your current application and business process. The tutorial snapshot will not import over your existing application or business process, nor will it automatically replace or restore the application or business process you are currently working with.
Before starting this tutorial, you must:
Have Service Administrator access to a Cloud EPM Enterprise Service instance. The instance should not have a business process created.
If you haven't already, register for a free Oracle Cloud Customer Connect account so you can access the required files.
Download the latest EPBCS Sample Application LCM snapshot from this idea page.
Upload and import the latest EPBCS Sample Application LCM snapshot into your Planning instance.
If you run into migration errors importing the snapshot, re-run the migration excluding the HSS-Shared Services component, as well as the Security and User Preferences artifacts in the Core component. For more information on uploading and importing snapshots, refer to the Administering Migration for Oracle Enterprise Performance Management Cloud documentation.
Reviewing Required Configured Features
Verifying IFRS16 Support
In this section, you verify that the IFRS16 feature for Capital is enabled.
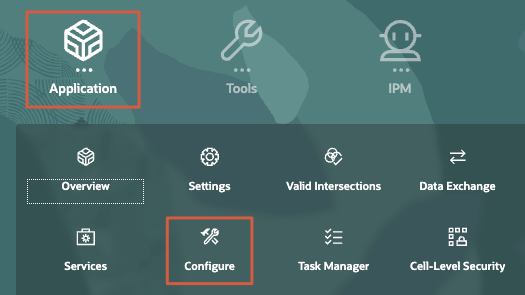
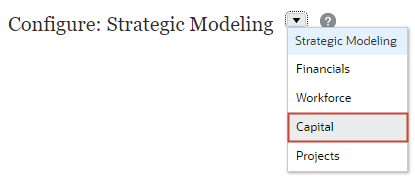
On the home page, click Application, and then Configure.
From the Configure dropdown, select Capital.
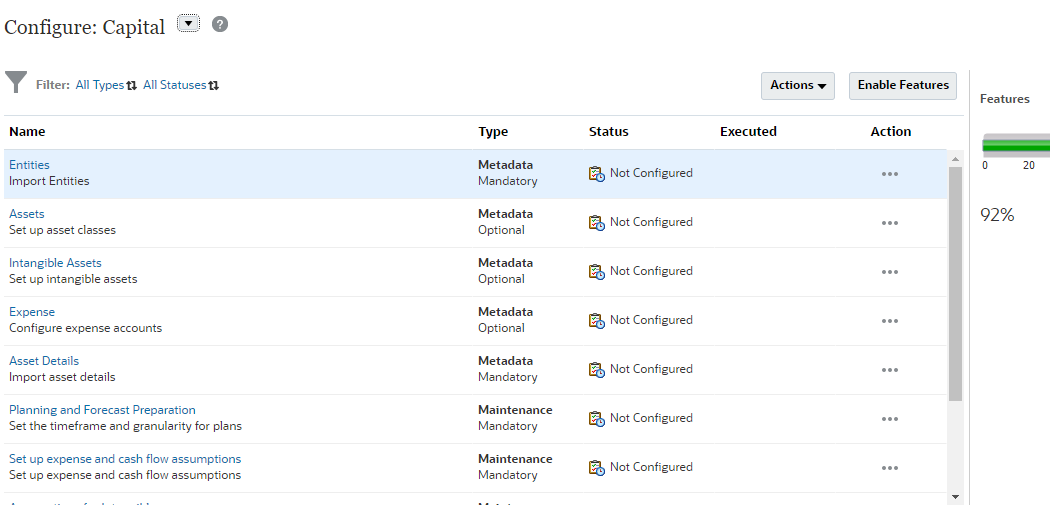
The Configure page for Capital is displayed. In this application, Capital was configured with a few features enabled. Components related to those enabled features are listed on this page.
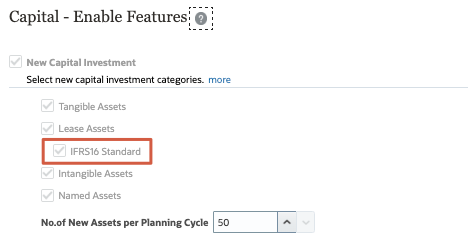
Click Enable Features.
In Enable Features, under New Capital Investment, verify that IFRS16 Standard is selected.
Review all previously enabled features, including the selected custom dimensions.
Click Close.
Verifying Capital Lease Asset Setup
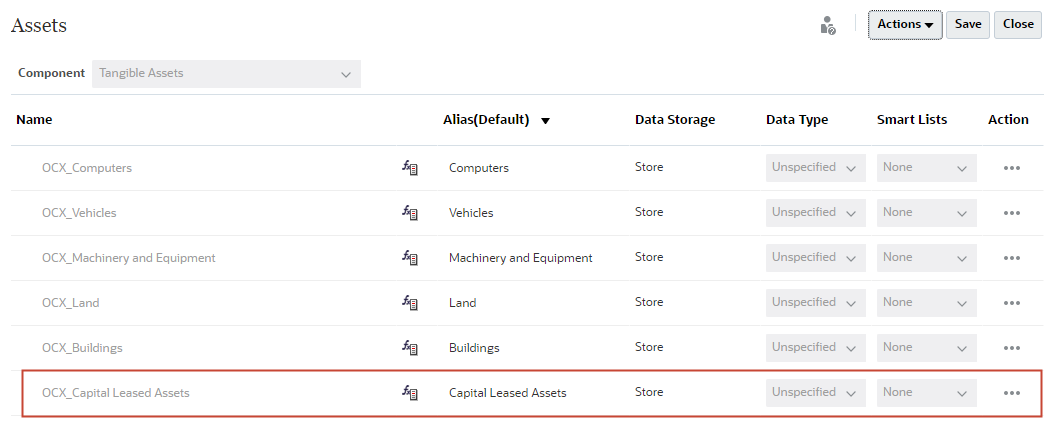
You can add assets using provided members or create your own asset class. In this section, you verify that Capital Leased Assets was enabled.
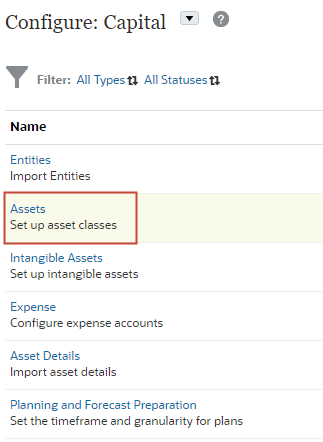
On the Configure page for Capital, from the list of components, click Assets.
In Assets, verify that Capital Leased Assets is listed.
Click Close.
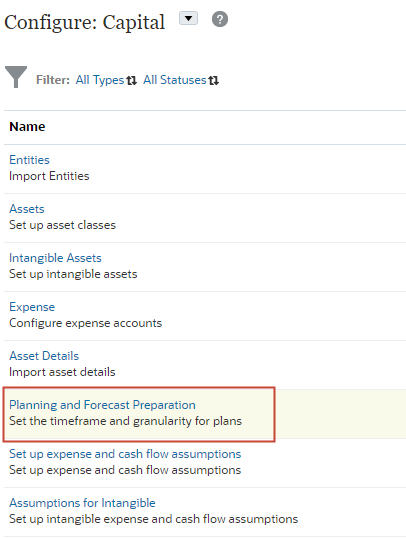
Reviewing the Timeframe and Granularity for Plans
In this section, you review the Planning and Forecast Preparation selections and set the current fiscal year.
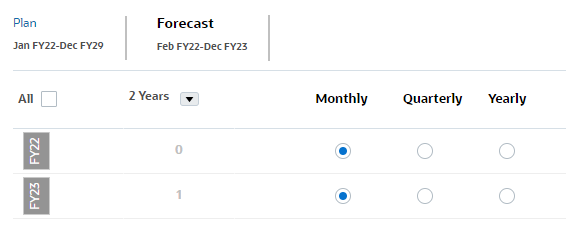
On the Configure page for Capital, click Planning and Forecast Preparation.
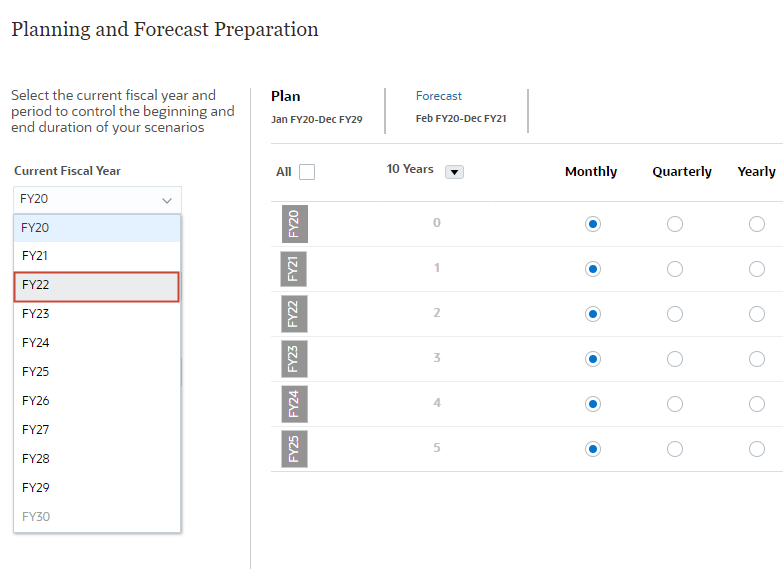
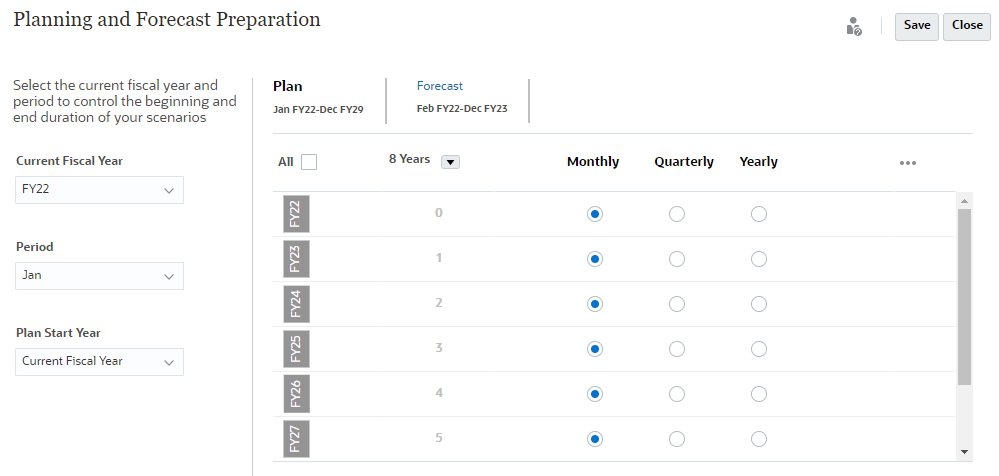
For Current Fiscal Year, select FY25.
For Plan Start Year, select Current Fiscal Year.
Review the selected Period, Plan Start Year, and planning frequency for the Plan scenario.
Click Forecast and review the planning frequency selections.
Click Save.
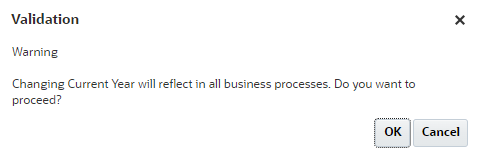
At the Validation message, click OK.
Click Close.
Setting Application Preferences
You can control many aspects of the application and the system. In this section, you set currency precision, assign values to user variables, and set display preferences.
Verifying Currency Precision
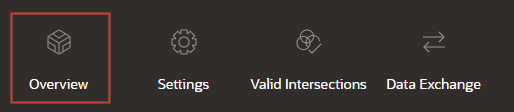
From the navigation options on the top of the page, click Overview.
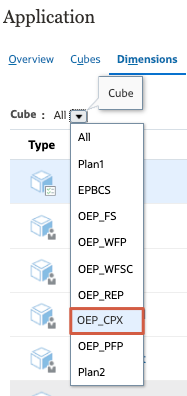
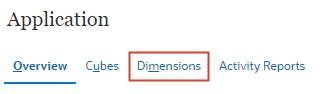
Click Dimensions.
From the Cube dropdown, select OEP_CPX.
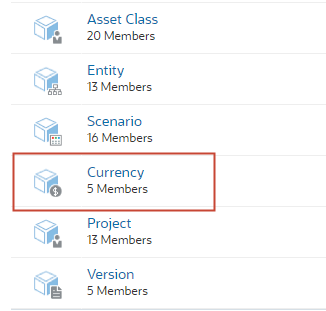
From the list of dimensions, click Currency.
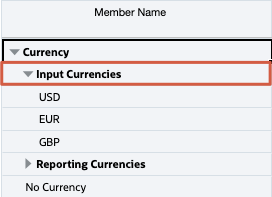
In the grid of Edit Member Properties for Currency, if not already expanded, expand Input Currencies under Currency.
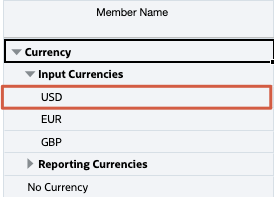
USD is listed as an input currency.
For USD, scroll to the right, locate the Precision column, and verify that it is set to 0.
Click Cancel.
Assigning Values to User Variables
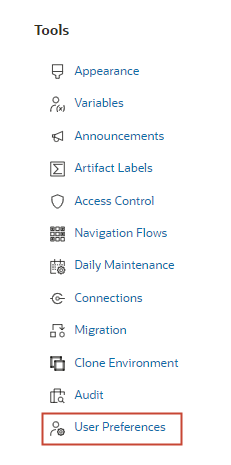
Click (Navigator), then under Tools, click User Preferences.
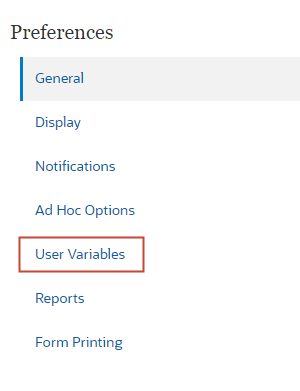
On the left, click User Variables.
For Entity, set it to Manufacturing US.
Tip:
When available, you can click a dimension or prompt's (Member Selector) to open the Select Member dialog where you can search, select, and assign members, user variables, or substitution variables to a dimension.
Click Save.
At the information message, click OK.
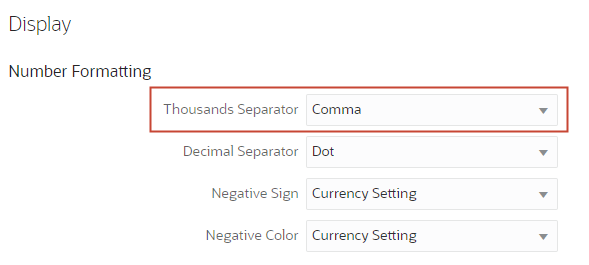
Setting Display Preferences
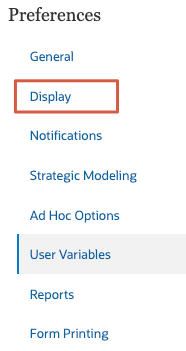
On the left, click Display.
Under Number Formatting, verify that Thousands Separator is set to Comma.
Click Save.
At the information message, click OK.
Setting Assumptions
You set assumptions that drive calculations used in the built-in best practice and formulas.
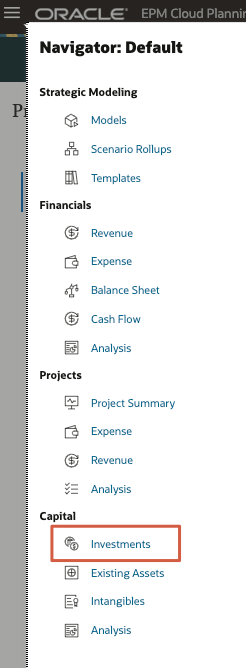
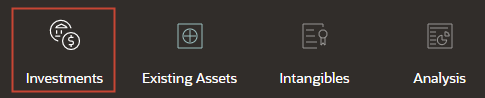
Click (Navigator), then under Capital, click Investments.
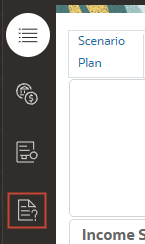
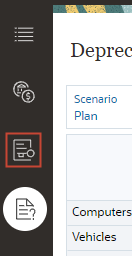
From the vertical tabs on the left, click (Assumptions).
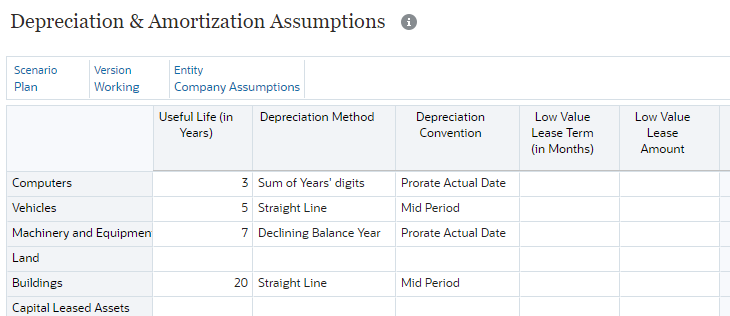
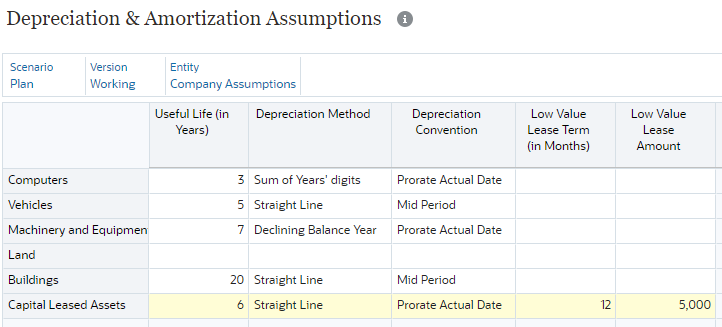
Depreciation & Amortization Assumptions is displayed.
In the POV, for Entity, select Company Assumptions.
In the grid, for Capital Leased Assets, set or verify the following values:
Detail
Value
Useful Life (in Years)
6
Depreciation Method
Straight Line
Depreciation Convention
Prorate Actual Date
Low Value Lease Term (in Months)
12
Low Value Lease Amount
5000
Verify your selections and click Save.
At the information message, click OK.
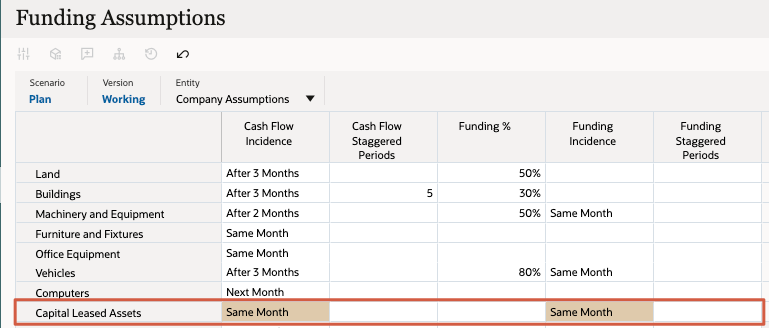
From the bottom horizontal tabs, click Funding Assumptions.
In Funding Assumptions, for Capital Leased Assets, enter the following:
Column
Value
Cash Flow Incidence
Same Month
Funding Incidence
Same Month
Verify your selections and click Save.
At the information message, click OK.
Use Case: Ownership with Lessor and Lease Term is less than Useful Life
In this use case, you add a capitalized lease asset with the following details:
Lease is owned by Lessor.
The lease term is shorter than its useful life.
From the vertical tabs on the left, click (Lease Asset Planning).
In the POV:
Verify that Entity is set to Manufacturing US
Set the Asset Class to Capital Leased Assets
Set Project to No Project
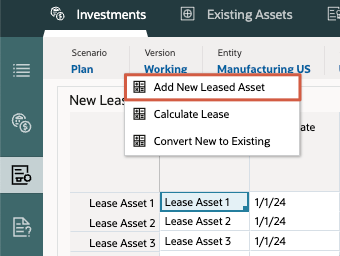
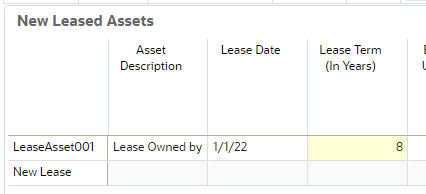
In the data grid of New Leased Assets, right-click the top left empty header cell to display menu options, and then select Add New Leased Asset.
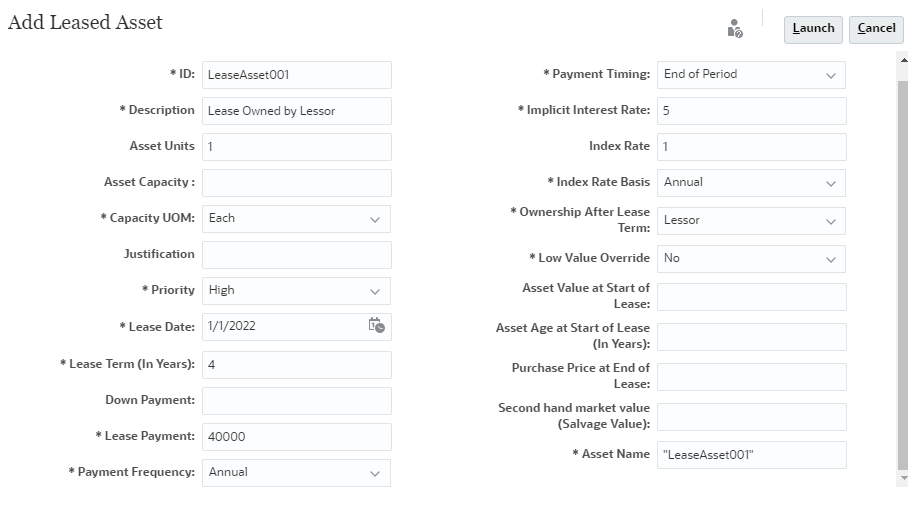
In Add New Leased Asset, enter the following:
Detail
Value
ID
LeaseAsset1001
Description
Lease Owned by Lessor
Asset Units
1
Capacity UOM
Each
Priority
High
Lease Date
6/1/25
Lease Term (In Years)
4
Lease Payment
40000
Payment Frequency
Annual
Payment Timing
End of Period
Implicit Interest Rate
5
Index Rate
1
Index Rate Basis
Annual
Ownership After Lease Term
Lessor
Low Value Override
No
Asset Name
"LeaseAsset1001"
Verify your selections and click Add Leased Asset.
At the information message, click OK.
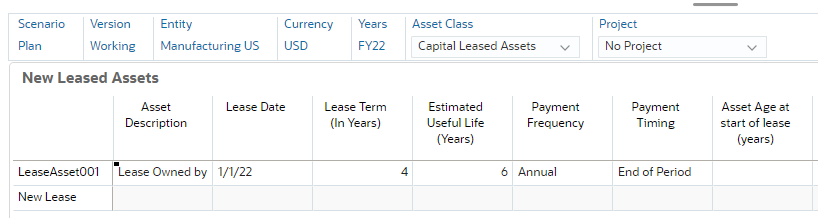
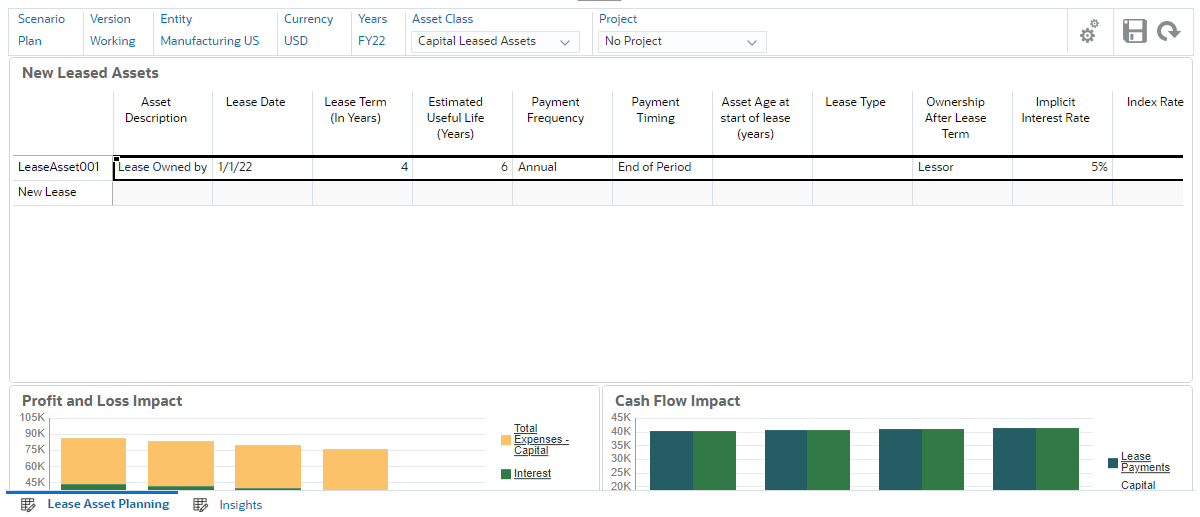
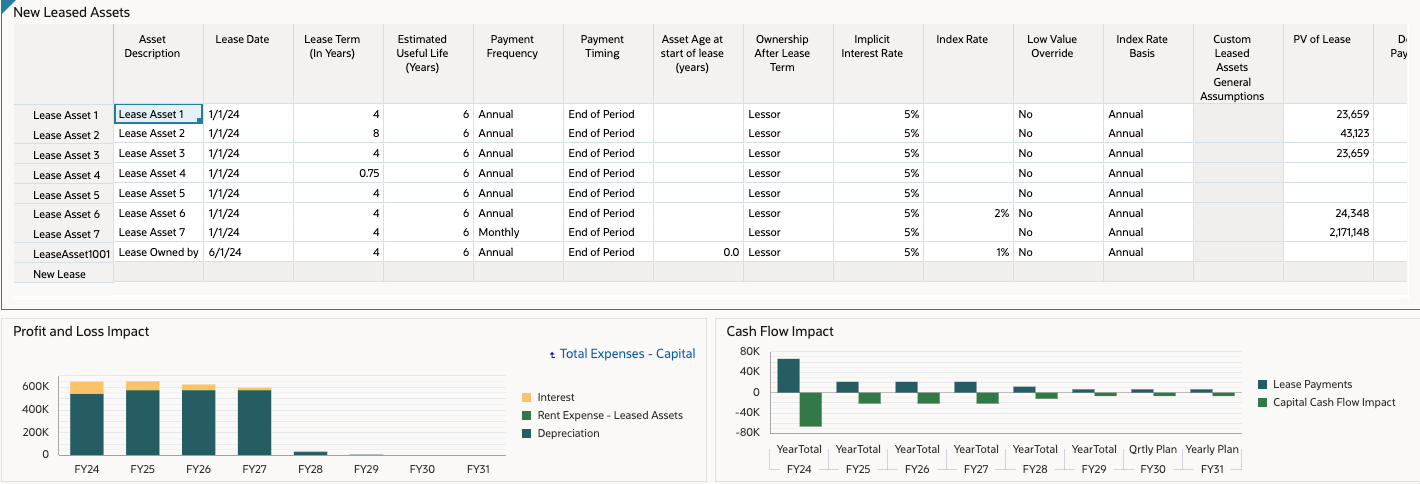
The new lease asset is displayed on the grid.
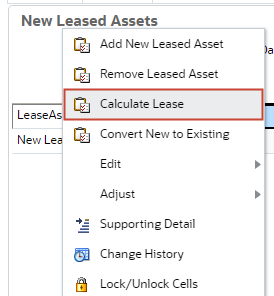
In the data grid, right-click LeaseAsset1001 and select Calculate Lease.
At the information message, click OK.
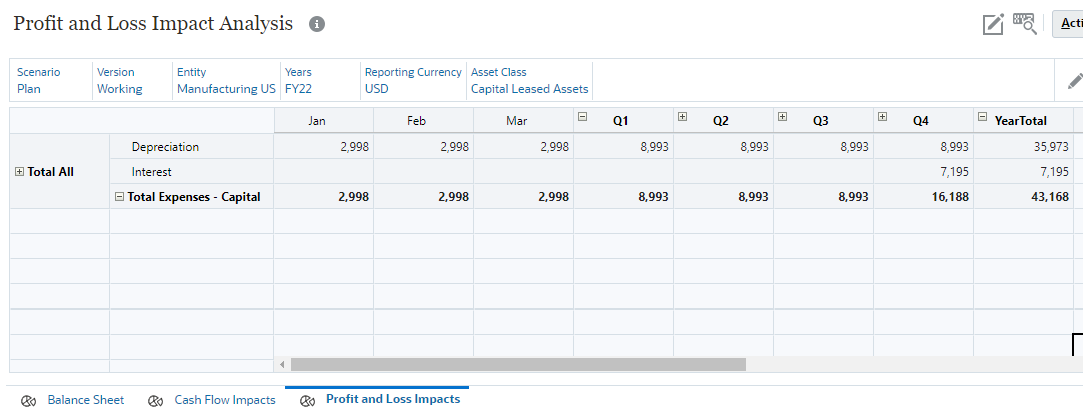
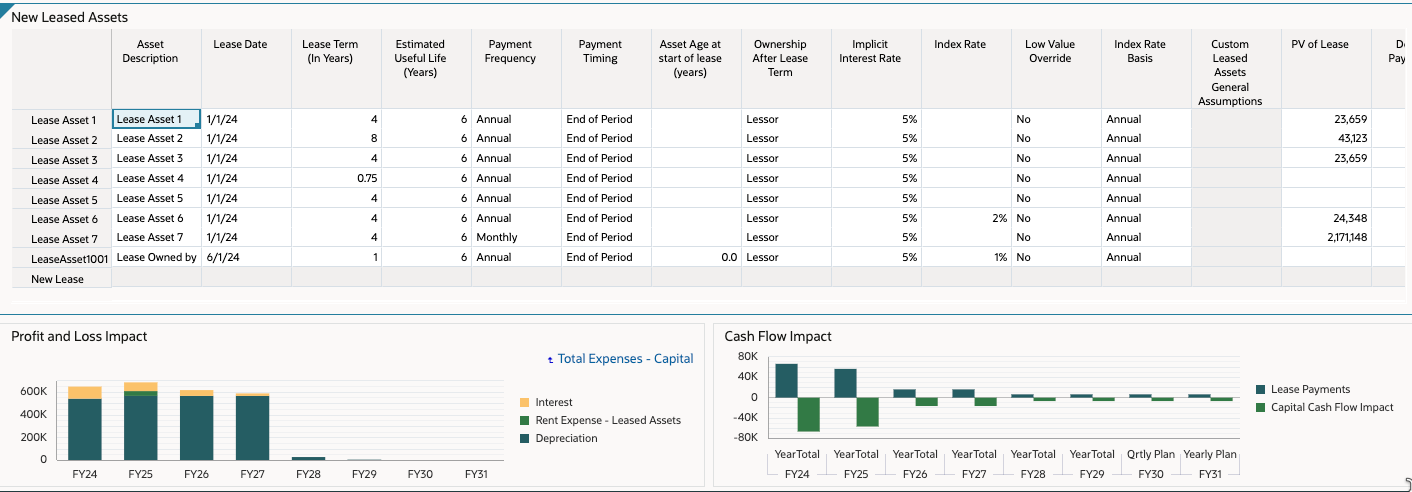
The charts on the dashboard are updated to display impacts on Profit and Loss, and Cash Flow.
The asset value is calculated from the Net Present Value of the asset. The Present Value becomes the Gross PP&E and Liability (right-of-use, or ROU, asset and liability). This is calculated based on the interest rate of 5%, lease payment, and the lease term of four (4) years.
Depreciation is calculated for (four) 4 years, as based on whichever is lower between the lease term or useful life since asset ownership is with the Lessor.
IFRS 16 also refers to the lease asset as an ROU asset. These leases are capitalized and presented on the balance sheet as both assets and liabilities, unless subject to any of the exemptions prescribed by the standard.
Tip:
In Profit and Loss Impact, click Total Expenses - Capital to drill-through data.
From the navigation options on the top of the page, click Analysis.
From the vertical tabs on the left, click (Financial Statements).
In the POV of Balance Sheet Summary Analysis, set Asset Class to Capital Leased Assets.
Review the contents of the Balance Sheet. Expand periods (Year Total) to drill-through values.
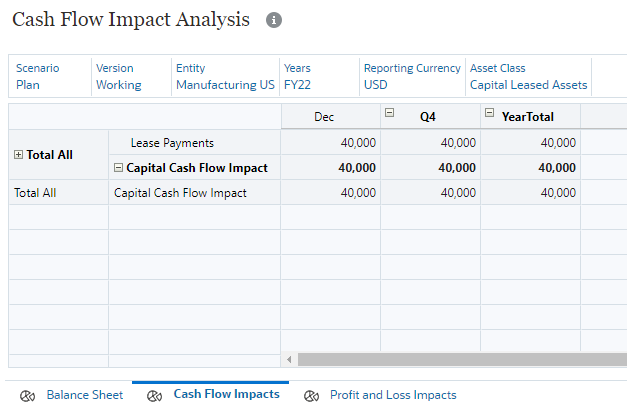
From the bottom horizonal tabs, click Cash Flow Impacts and review the impact of lease payments to the cash flow.
From the bottom horizontal tabs, click Profit and Loss Impacts and review depreciation and interest expenses.
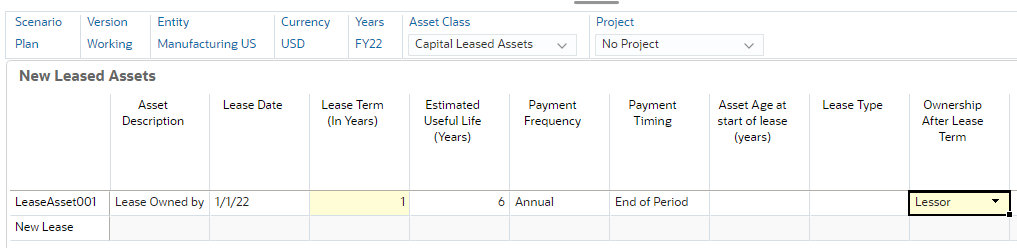
Use Case: Ownership with Lessor and Lease Term is Greater than Useful Life
In this use case, you set the lease term to eight (8) years so that the lease term becomes greater than the useful life.
From the cards on top, click Investments.
Verify that you are on Lease Asset Planning.
In the POV, verify or set:
Entity: Manufacturing US
Asset Class: Capital Leased Assets
Project: No Project
In the data grid, for LeaseAsset1001, set Lease Term (in Years) to 8.
On the upper right of the form, click (Save).
At the information message, click OK.
In the data grid, right-click LeaseAsset1001 and select Calculate Lease.
At the information message, click OK.
In Profit and Loss Impact, click Total Expenses - Capital to drill-through data.
The charts on the dashboard are updated to display impacts on Profit and Loss, and Cash Flow.
The asset value is calculated from the Net Present Value of the asset over the term of eight (8) years.
Depreciation is calculated for (six) 6 years, as based on whichever is lower between the lease term or useful life since asset ownership is with the Lessor.
With the lease asset capitalized, the Present Value is taken from the combination of the Gross PP&E and Liability (right-of-use, or ROU, asset and liability) and Asset Class value.
Optionally review the impact on Financial Statements in the Analysis card. When finished reviewing, return to Lease Asset Planning.
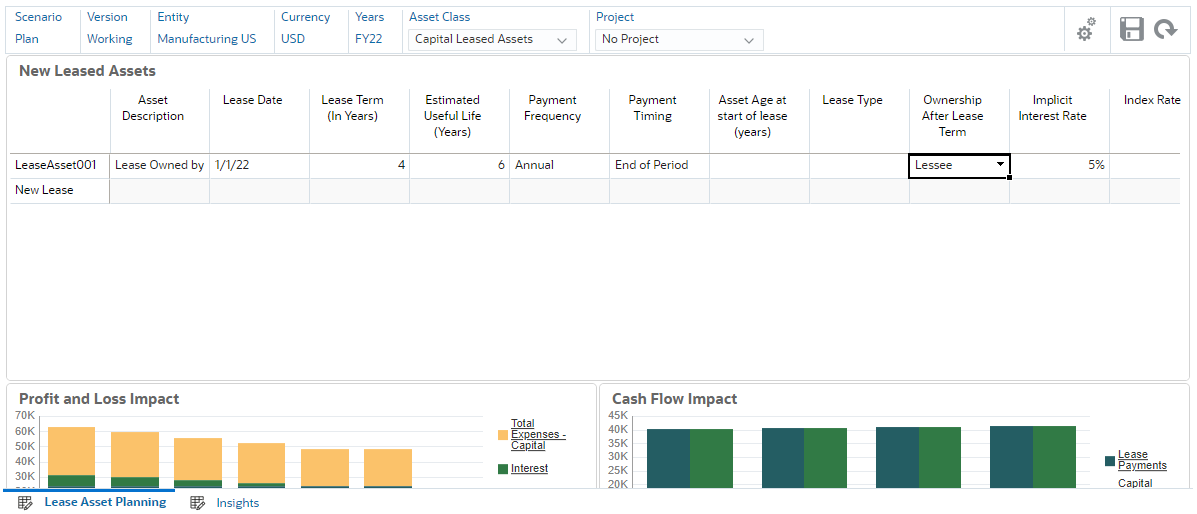
Use Case: Ownership with Lessee
In this use case, you set the ownership of the lease to the lessee.
Make sure you are in Lease Asset Planning, and set or verify the POV:
Entity: Manufacturing US
Asset Class: Capital Leased Assets
Project: No Project
In the data grid, for LeaseAsset1001, set:
Lease Term (In Years) to 4
Ownership After Lease Term to Lessee
On the upper right of the form, click (Save).
At the information message, click OK.
In the data grid, right-click LeaseAsset1001 and select Calculate Lease.
At the information message, click OK.
In Profit and Loss Impact, click Total Expenses - Capital to drill-through data.
The Present Value is again calculated based on the interest rate of 5%, lease payment, and the lease term of four (4) years.
Depreciation is calculated for (six) 6 years, based on the useful life since asset ownership is transferred to the Lessee at the end of the term.
Optionally review the impact on Financial Statements in the Analysis card. When finished reviewing, return to Lease Asset Planning.
In this use case, you plan for the following exception: If the lease term is less than or equal to the specified Low Value Lease Term (in Months) assumption, the lease is charged off on the P&L rather than being treated like other assets.
Make sure you are in Lease Asset Planning, and set or verify the POV:
In the grid, right-click LeaseAsset001 and select Calculate Lease.
At the information message, click OK.
In Profit and Loss Impact, click Total Expenses - Capital to drill-through data.
The charts on the dashboard are updated to display impacts on Profit and Loss, and Cash Flow.
Notice that because the lease term is equal to the Low Value Lease Term (in Months) assumption, the lease is charged off the P&L.
Optionally review the impact on Financial Statements in the Analysis card. When finished reviewing, return to Lease Asset Planning.
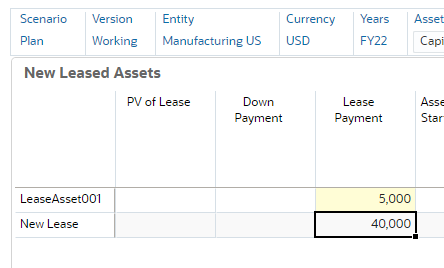
Use Case: Low Value Leases
Lease assets that meet the low value
threshold you set for the Low Value Lease Amount assumption are
calculated using the IFRS16 standard for low value assets, and are
charged off on the P&L rather than being treated like other assets.
In this use case, you add a low value lease asset.
Make sure you are in Lease Asset Planning, and set or verify the POV:
Entity: Manufacturing US
Asset Class: Capital Leased Assets
Project: No Project
In the data grid, for LeaseAsset1001, set:
Lease Term (In Years) to 4
Lease Payment to 5000
Tip:
You may need to scroll to the right of the form to locate Lease Payment.
On the upper right of the form, click (Save).
At the information message, click OK.
In the grid, right-click LeaseAsset001 and select Calculate Lease.
At the information message, click OK.
In Profit and Loss Impact, click Total Expenses - Capital to drill-through data.
The charts on the dashboard are updated to display impacts on Profit and Loss, and Cash Flow.
Similar to low tenure leases, low value leases are charged off the P&L. In this example, the P&L charge for this lease occurs within the four (4) year lease term.
Optionally review the impact on Financial Statements in the Analysis card. When finished reviewing, return to Lease Asset Planning.
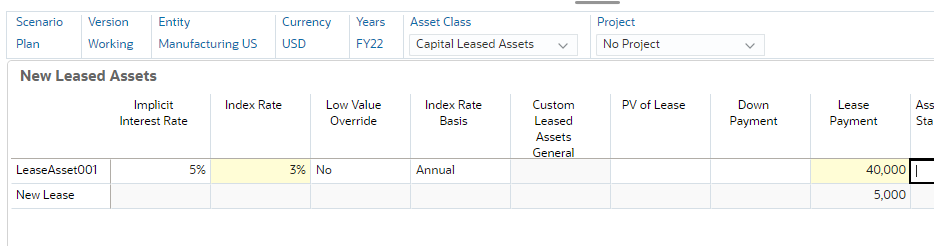
Use Case: Lease with Indexation
In this use case, you adjust the annual index rate of a lease asset. If you set an Index Rate, lease amounts increase for inflation based on the Index Rate
Basis (annual or according to the payment frequency, depending on what you selected). In the previous use cases, an index rate of 1% was used.
Make sure you are in Lease Asset Planning, and set or verify the POV:
Entity: Manufacturing US
Asset Class: Capital Leased Assets
Project: No Project
In the data grid, for LeaseAsset1001, set:
Index Rate to 3%
Lease Payment to 40000
Many companies structure lease contracts with an annual index (inflation) rate rather than according to the payment frequency (for example, monthly). This feature enables you to have an annual index rate increase that is not tied to the payment frequency.
On the upper right of the form, click (Save).
At the information message, click OK.
In the grid, right-click LeaseAsset001 and select Calculate Lease.
At the information message, click OK.
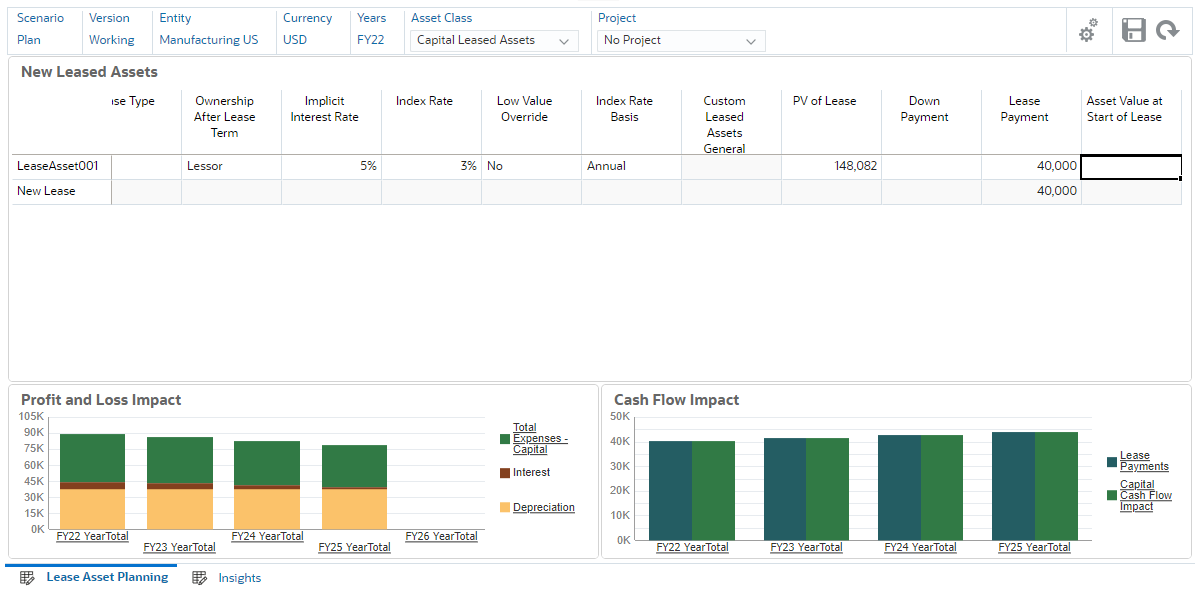
In Profit and Loss Impact, click Total Expenses - Capital to drill-through data.
The charts on the dashboard are updated to display impacts on Profit and Loss, and Cash Flow.
For leased assets with an Index Rate, Calculate Leased Assets calculates PV of
leased assets for all assets whose lease start date is prior to the planning and
forecast year range.
Optionally review the impact on Financial Statements in the Analysis card. When finished reviewing, return to Lease Asset Planning.
Use Case: Lease with Rent Free Periods
Rent free periods are based on periods, not a date range, based on the payment frequency for the lease (monthly, quarterly, yearly).
In this use case, you add a leased asset with rent free periods.
Make sure you are in Lease Asset Planning, and set or verify the POV:
Entity: Manufacturing US
Asset Class: Capital Leased Assets
Project: No Project
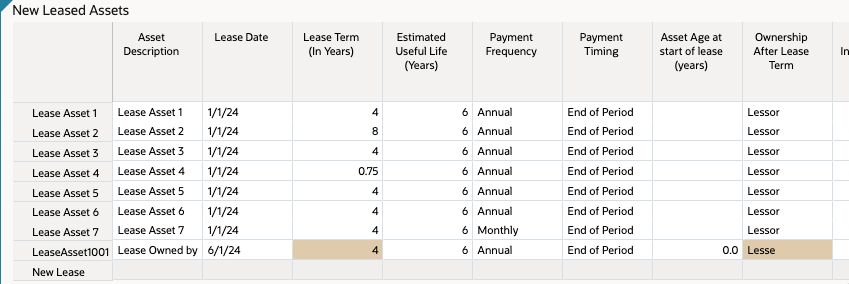
In the data grid, right-click the top left empty header cell to display menu options, and then select Add New Leased Asset.
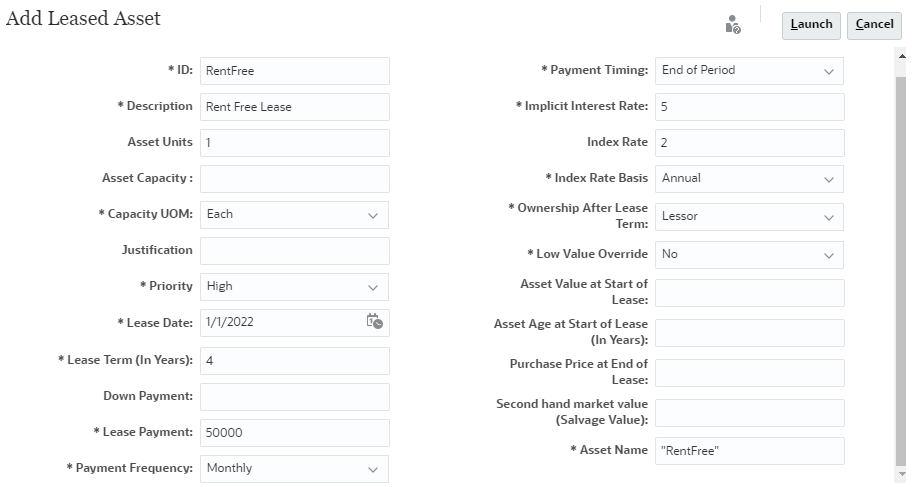
In Add Leased Asset, enter the following:
Detail
Value
ID
RentFree
Description
Rent Free Lease
Asset Units
1
Capacity UOM
Each
Priority
High
Lease Date
6/1/2025
Lease Term (In Years)
4
Lease Payment
50,000
Payment Frequency
Monthly
Payment Timing
End of Period
Implicit Interest Rate
5
Index Rate
2
Index Rate Basis
Annual
Ownership After Lease Term
Lessor
Low Value Override
No
Asset Name
"RentFree"
Verify your selections and click Add Leased Asset.
At the information message, click OK.
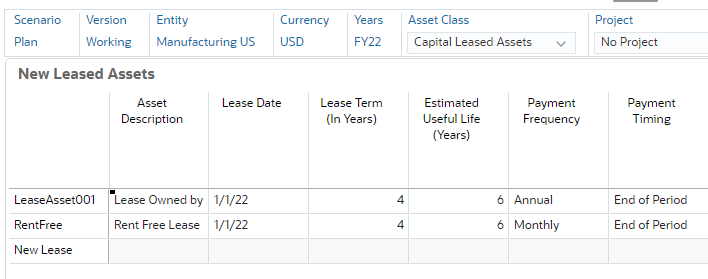
The new lease asset is displayed on the grid.
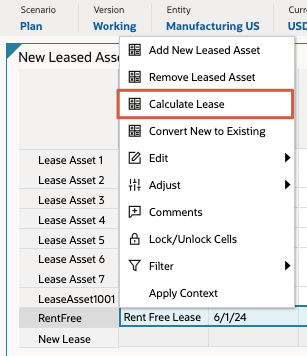
In the data grid, right-click RentFree and select Calculate Lease.
At the information message, click OK.
In Profit and Loss Impact, click Total Expenses - Capital to drill-through data.
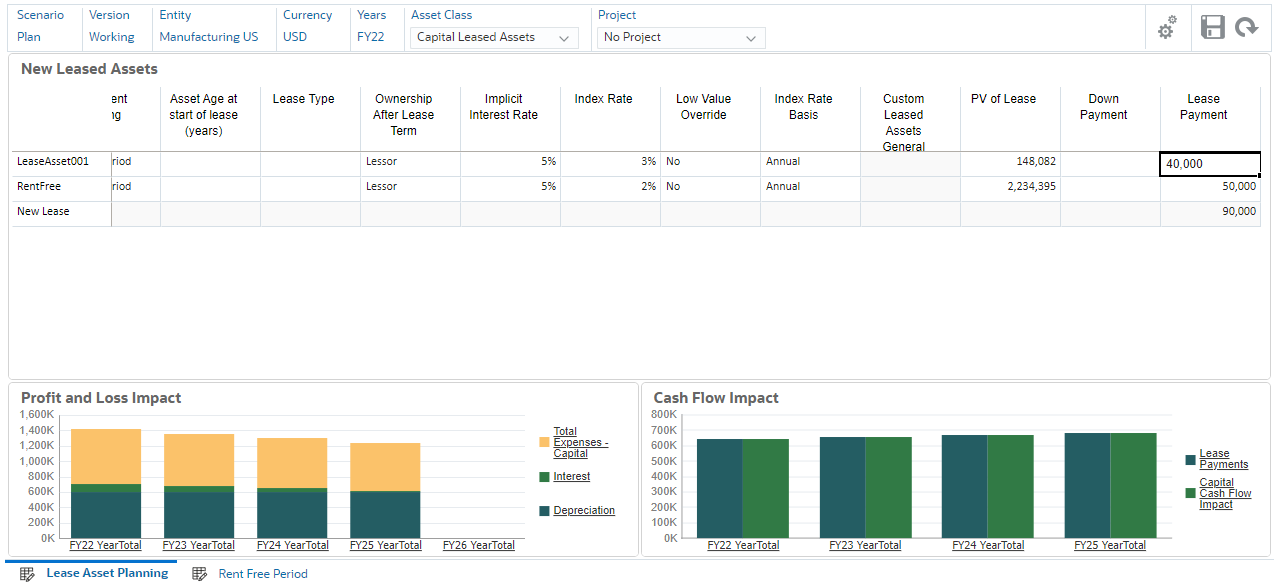
The charts on the dashboard are updated to display impacts on Profit and Loss, and Cash Flow.
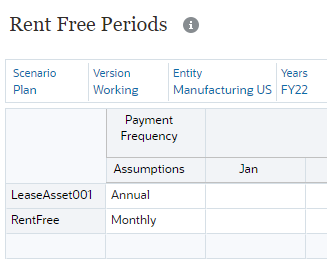
After you add new lease assets, on the Rent Free Periods form, for each lease asset, select Yes for any periods that should be rent free.
From the bottom horizontal tabs, click Rent Free Period.
In Rent Free Periods, for RentFree, verify that the Payment Frequency is set to Monthly.
For RentFree, set the values to Yes for months Jun through Nov.
Define rent free periods that can occur any time during the term of the lease.
When companies negotiate long term lease contracts, they might want to offer rent free periods during the term of the lease contract as an incentive. This is also popularly known as Lease Holiday, where certain periods are given as incentive as per the lease terms.
Click Save.
At the information message, click OK.
From the bottom horizontal tabs, click Lease Asset Planning.
Set or verify the POV:
Entity: Manufacturing US
Asset Class: Capital Leased Assets
Project: No Project
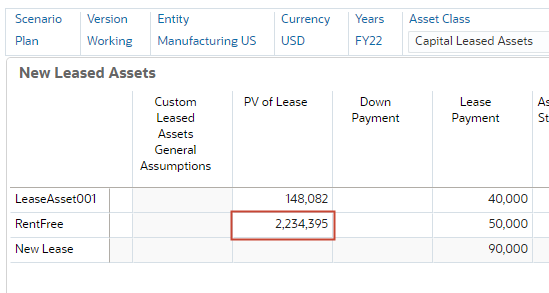
For RentFree, review the PV of Lease value.
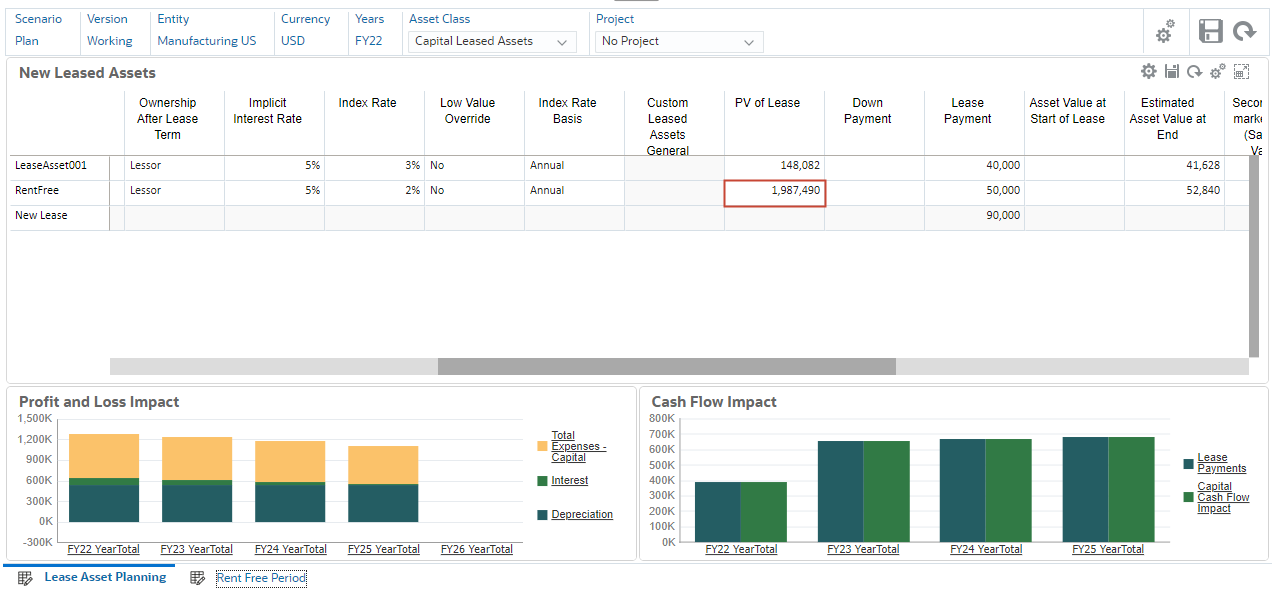
In the grid, right-click RentFree and select Calculate Lease.
At the information message, click OK.
In Profit and Loss Impact, click Total Expenses - Capital to drill-through data.
The charts on the dashboard are updated to display impacts on Profit and Loss, and Cash Flow.
After adding rent free periods and calculating the lease, the Present Value of the lease is lower. Rent free period lease payments are set to zero, and when you calculate the lease, values for present value and cash flow are calculated considering rent free periods.
Optionally review the impact on Financial Statements in the Analysis card.
Return to the home page. On the upper-right, click (Home).
Importing and Calculating Lease Assets
In this section, you import existing lease assets.
Adding Existing Lease Members to the Hierarchy
On the home page, click Application, and then Overview.
Click Dimensions.
From the Cube dropdown, select OEP_CPX.
Click Asset Detail.
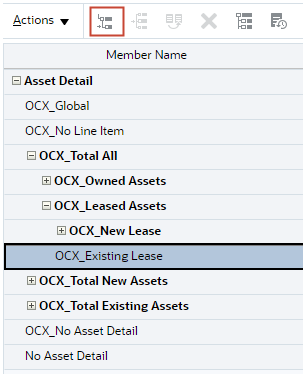
In Edit Member Properties for Asset Detail, expand Asset Detail, then OCX_Total All, and then OCX_Leased Assets.
Select OCX_Existing Lease.
Click (Add Child).
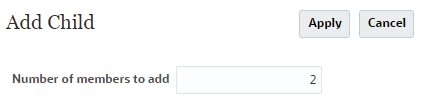
In Add Child, set the number of members to add to 2, and then click Apply.
Two untitled members rows are added under OCX_Existing Lease.
Replace the names of the untitled members with the following names:
Lease1002
Lease1003
For both members, set the Default Data Storage to Store.
Set the Default Alias Table entries to match the member names.
Verify your entries, and click Save.
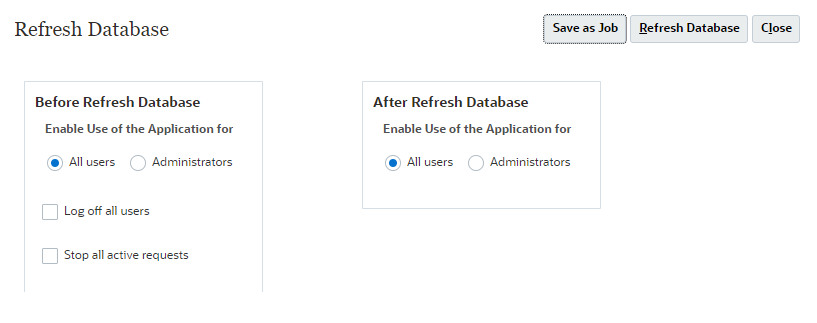
Click (Refresh Database).
In the first Refresh Database dialog, accept all default selections and click Refresh Database.
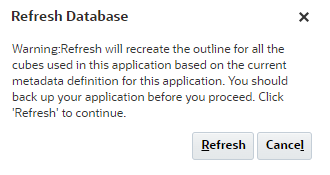
At the Refresh Database prompt, click Refresh.
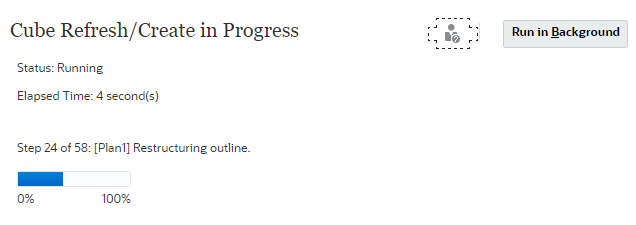
Refreshing the database takes a moment to complete.
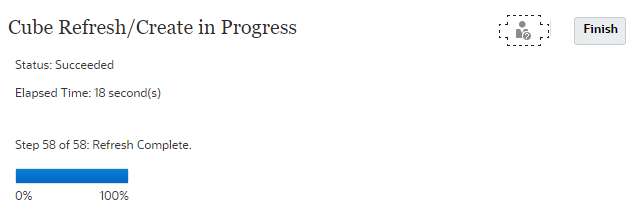
When the cube refresh progress completes, click Finish.
In Refresh Database, click Close.
In Edit Member Properties for Asset Detail, click Cancel.
Importing Existing Lease Asset Data
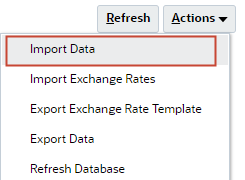
In Dimensions, click Actions, then select Import Data.
In the first Import Data dialog, click Create.
In the next Import Data dialog, for Source File, click Choose File.
Note:
Depending on your browser, the button label may display Choose File or Browse.
Oracle recommends validating your import file before running the import process. The import file included in this tutorial has been tested and validated.
At the information message, click OK.
Click Close, twice to close both Import Data dialogs.
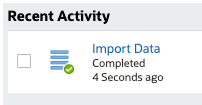
From the cards at the top, click Jobs.
In Jobs, locate the following jobs and verify that they completed successfully:
Reviewing the Imported Existing Assets
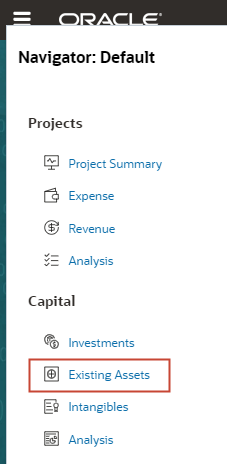
Click (Navigator), then under Capital, click Existing Assets.
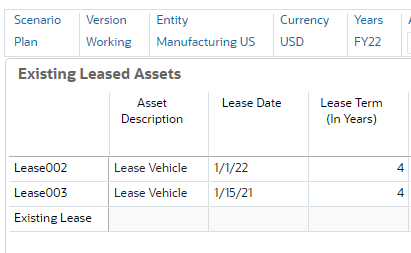
From the vertical tabs on the left, click (Existing Leased Assets).
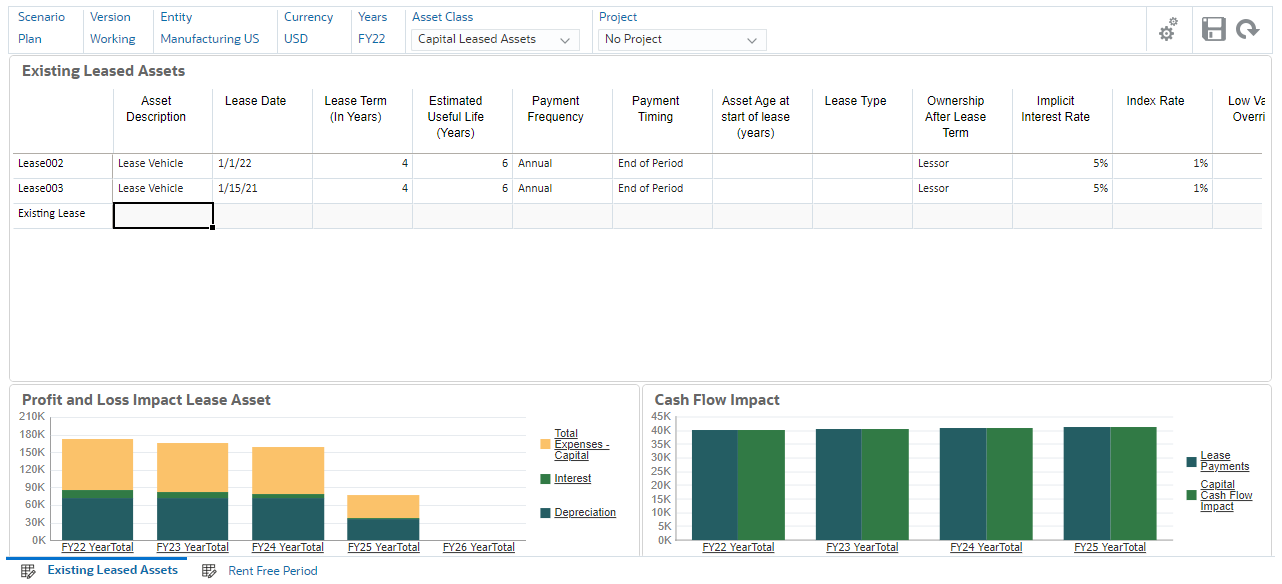
In the POV for Existing Leased Assets, verify or set:
Entity: Manufacturing US
Asset Class: Capital Leased Assets
Project: No Project
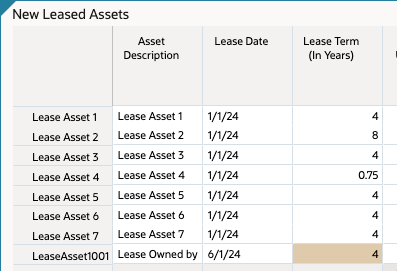
In the data grid, verify that the imported lease assets, Lease1002 and Lease1003 are displayed.
Set the Lease Date for both assets to:
Lease1002: 1/1/26
Lease 1003: 1/15/26
Locate the Index Rate column and, for both lease assets, set it to 1%.
Verify your entries, and then on the upper right of the form, click (Save).
At the information message, click OK.
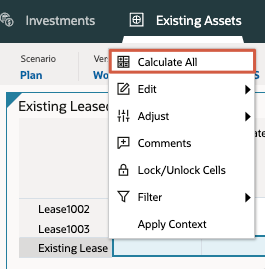
Right-click Existing Lease and select Calculate All.
At the information message, click OK.
The charts on the dashboard are updated to display impacts on Profit and Loss, and Cash Flow.
Optionally review the impact on Financial Statements in the Analysis card.


 (Navigator), then under Tools, click User Preferences.
 (Member Selector) to open the Select Member dialog where you can search, select, and assign members, user variables, or substitution variables to a dimension.
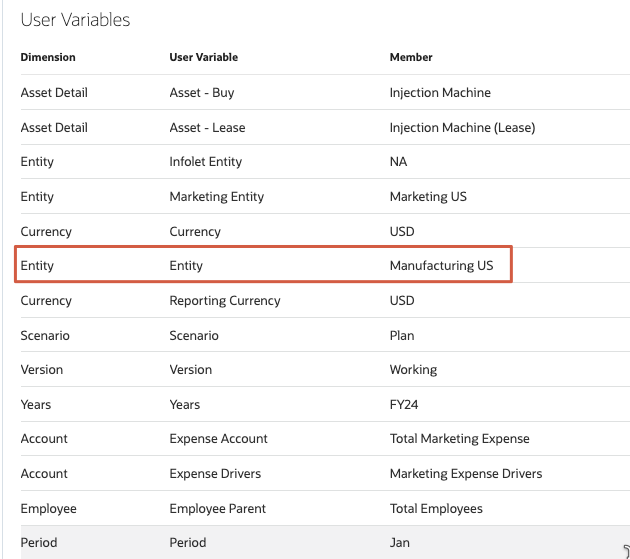
 (Assumptions).
 (Lease Asset Planning).


 (Financial Statements).
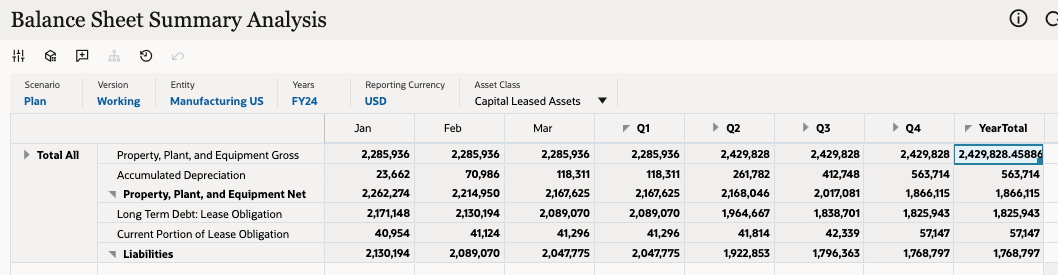
 (Save).

 (Home).
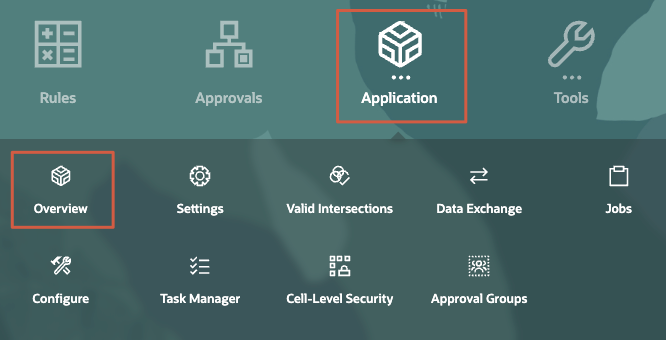

 (Add Child).

 (Refresh Database).