JavaScript must be enabled to correctly display this content
Introduction
This tutorial shows you how to create the FreeForm Business Process. The sections build on each other and should be completed sequentially.
Background
With FreeForm, you can create an application with the cubes and dimensions of your choice without being constrained by the cube and dimension limitations imposed by standard applications. You can model and build your own cubes while preserving the ability to leverage business process functionalities.
You can create applications with multiple cubes, or you can create an application with a single cube and then add more cubes later (up to 12 cubes in total).
You can build FreeForm business processes by creating dimensions using the application creation wizard. Alternatively, you can use an outline (OTL) file or a Life Cycle Management (LCM) snapshot from an on-premises release 11.1.2.4.xxx (or later) to create a single cube Oracle Essbase application in the FreeForm business process.
You can access FreeForm in Oracle Smart View for Office or Oracle Enterprise Performance Management Cloud; they support Groovy scripts for custom functions, and business rules for calculations.
Note:
Predictive Planning, Auto-Predict, and IPM Insights are not available in FreeForm because these features require the provided Scenario, Version, Period, and Year dimensions to be present.
In FreeForm, you can define the Scenario, Version and Currency dimensions as optional custom dimensions.
Prerequisites
Cloud EPM Hands-on Tutorials may require you to import a snapshot into your Cloud EPM Enterprise Service instance. Before you can import a tutorial snapshot, you must request another Cloud EPM Enterprise Service instance or remove your current application and business process. The tutorial snapshot will not import over your existing application or business process, nor will it automatically replace or restore the application or business process you are currently working with.
Before starting this tutorial, you must:
Have Service Administrator access to a Cloud EPM Enterprise instance.
Download and save the following files to a local folder:
If you run into migration errors importing the snapshot, re-run the migration excluding the HSS-Shared Services component, as well as the Security and User Preferences artifacts in the Core component. For more information on uploading and importing snapshots, refer to the Administering Migration for Oracle Enterprise Performance Management Cloud documentation.
Have Microsoft Excel installed.
Have Smart View installed and configured to connect to your instance.
You can download Smart View and Application Templates from the Downloads page of your Cloud EPM Enterprise Service instance.
Selecting the FreeForm Business Process
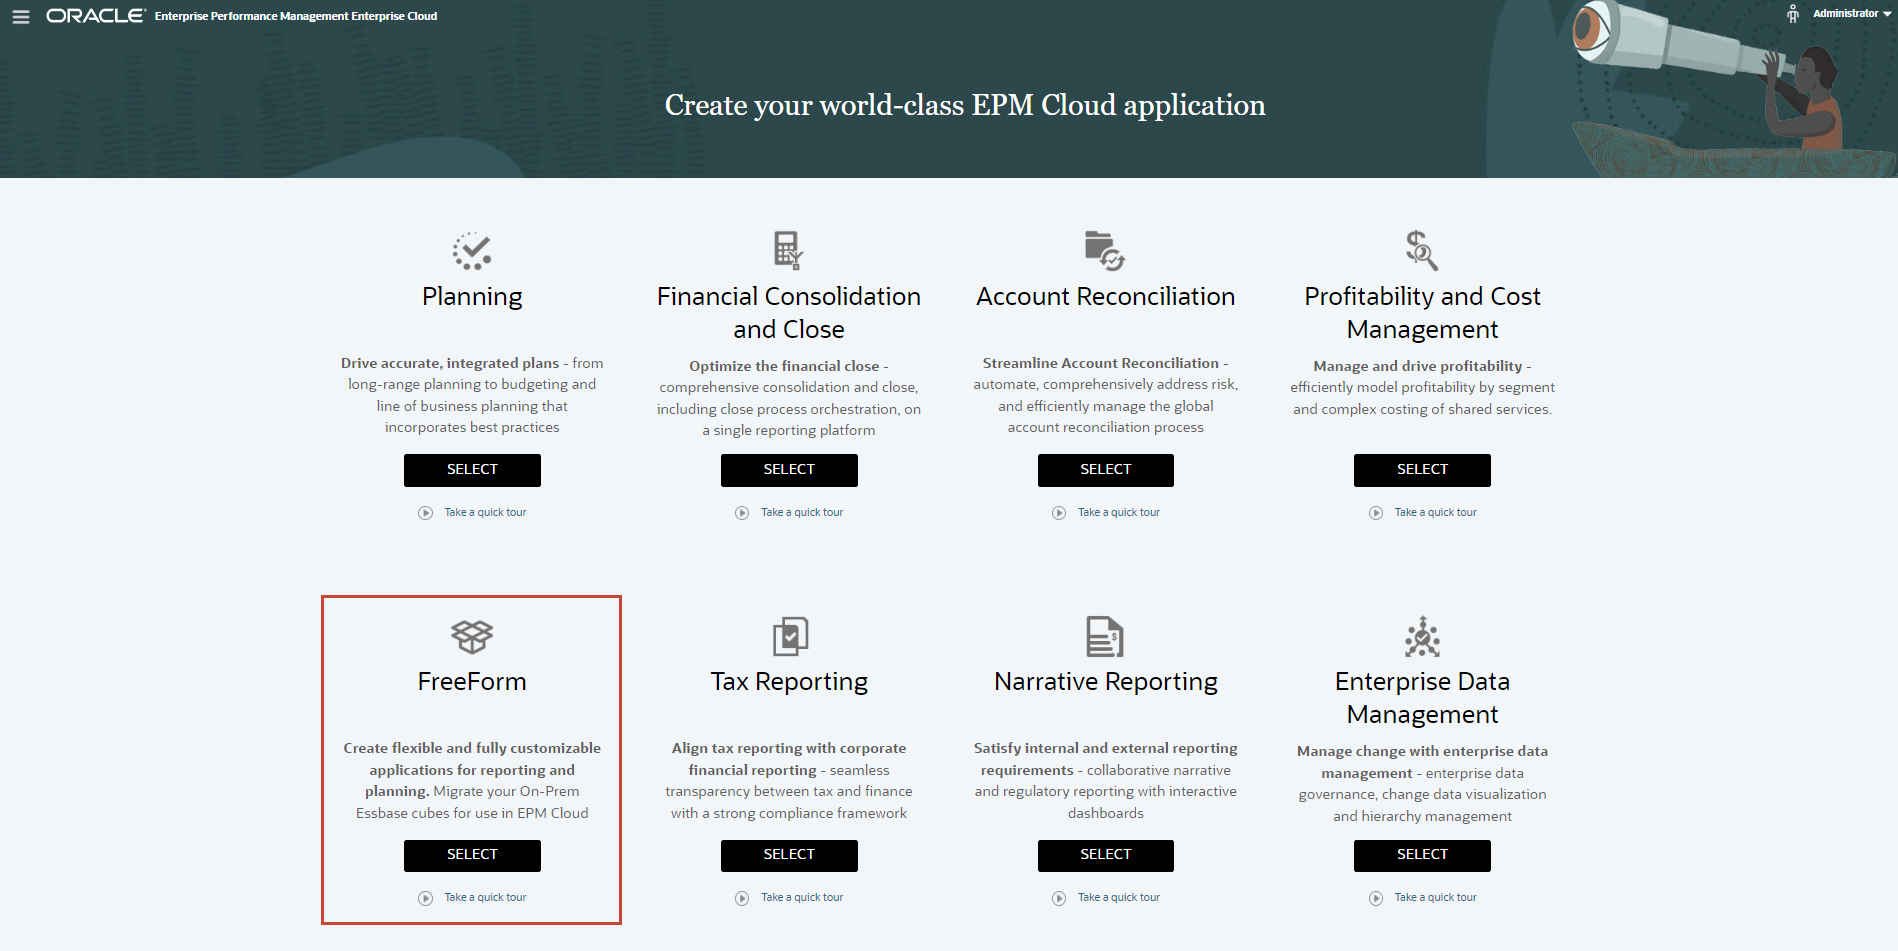
On the Enterprise landing page, under FreeForm, click SELECT.
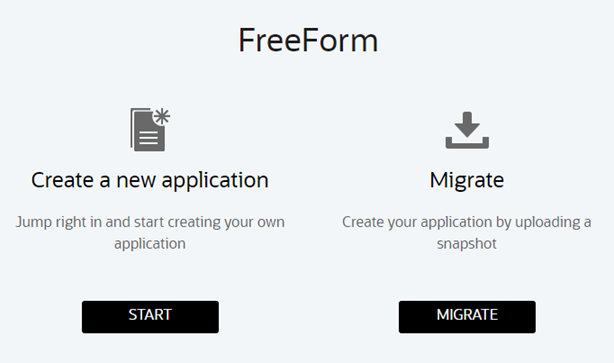
The FreeForm landing page is displayed.
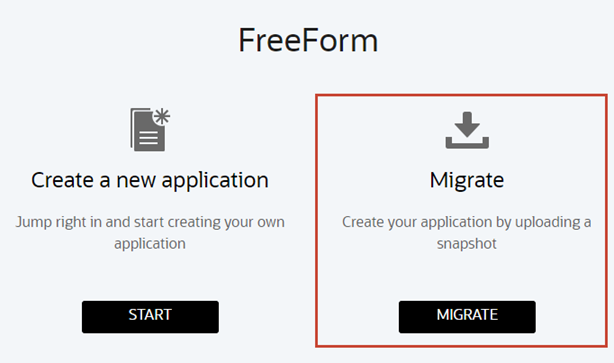
Review the available options:
Use Create a new application to create a FreeForm business process with custom dimensions.
Use Migrate to create a FreeForm business process from a snapshot.
Creating Applications from an Outline File (OTL)
In this section, you create an application from an Outline File (OTL).
Important Considerations for FreeForm Business Process
If you plan to use an OTL file or snapshot stored in your Cloud EPM environment as the source, upload the file before starting the application creation process. Use the uploadFile EPM Automate Utility command or Migration to upload the OTL file or snapshot to a Cloud EPM environment.
If you create a FreeForm business process by importing an OTL file or snapshot, you can add or create new cubes for this FreeForm business process at a later time.
If you create a FreeForm business process by adding new cubes in the application creation wizard, an Essbase cube OTL file or Essbase application snapshot cannot be imported into this FreeForm business process at a later time to create new cubes.
Make sure that the OTL file or Essbase application snapshot that you are using does not contain objects with system restricted names; for example, a member named FY02 in the Year dimension. You must rename or remove such restricted names before generating the OTL file or snapshot that you plan to use to create the business process.
Ensure that the OTL file or Essbase application snapshot that you are using does not have member and alias names that are longer than 80 characters. If member and alias names are longer than 80 characters, you must remove or shorten them or the import will not be successful.
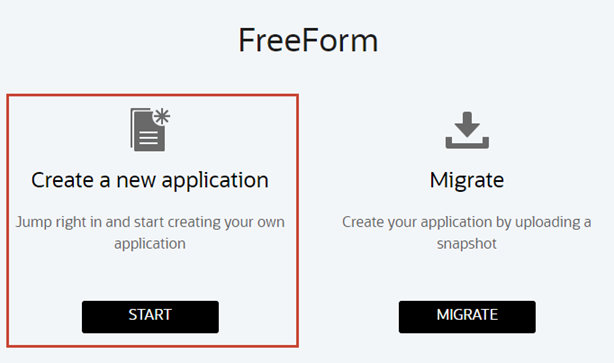
On the FreeForm landing page, for Create a new application, click START.
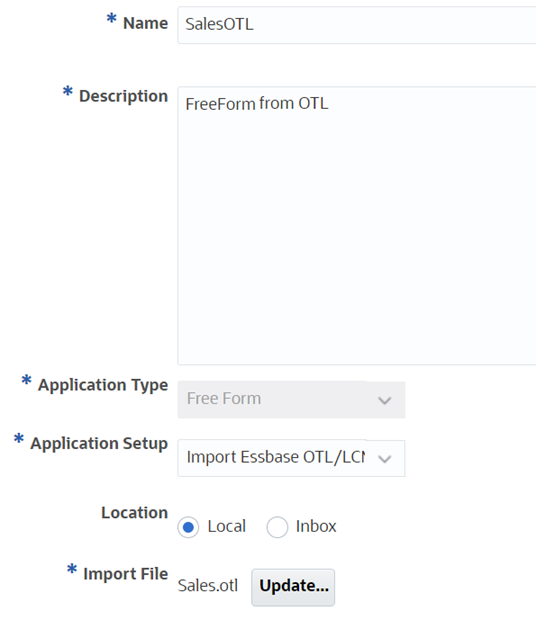
In the application wizard, for the General step, enter a name and description:
Name
SalesOTL
Description
FreeForm from OTL
For Application Setup, ensure that Import Essbase OTL/LCM is selected.
For location, ensure that Local is selected.
Note:
For Location, you can select Inbox to access a source OTL file from your Cloud EPM environment.
For Import File, click Choose File.
Note:
Depending on your browser, the button label may display Choose File or Browse.
Navigate to where you saved Sales.otl, then select and open it.
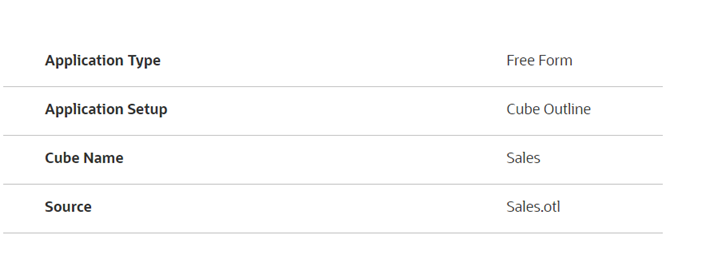
Verify your entries and selections:
In the application wizard, click Next.
Review application information and click Create.
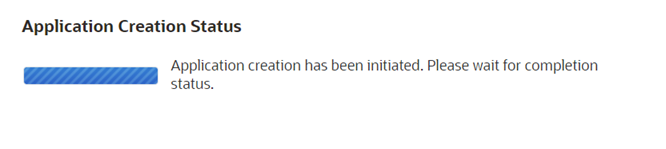
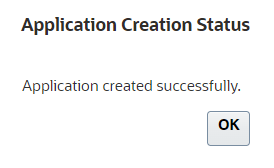
The Application Creation Status information message is displayed.
Click OK.
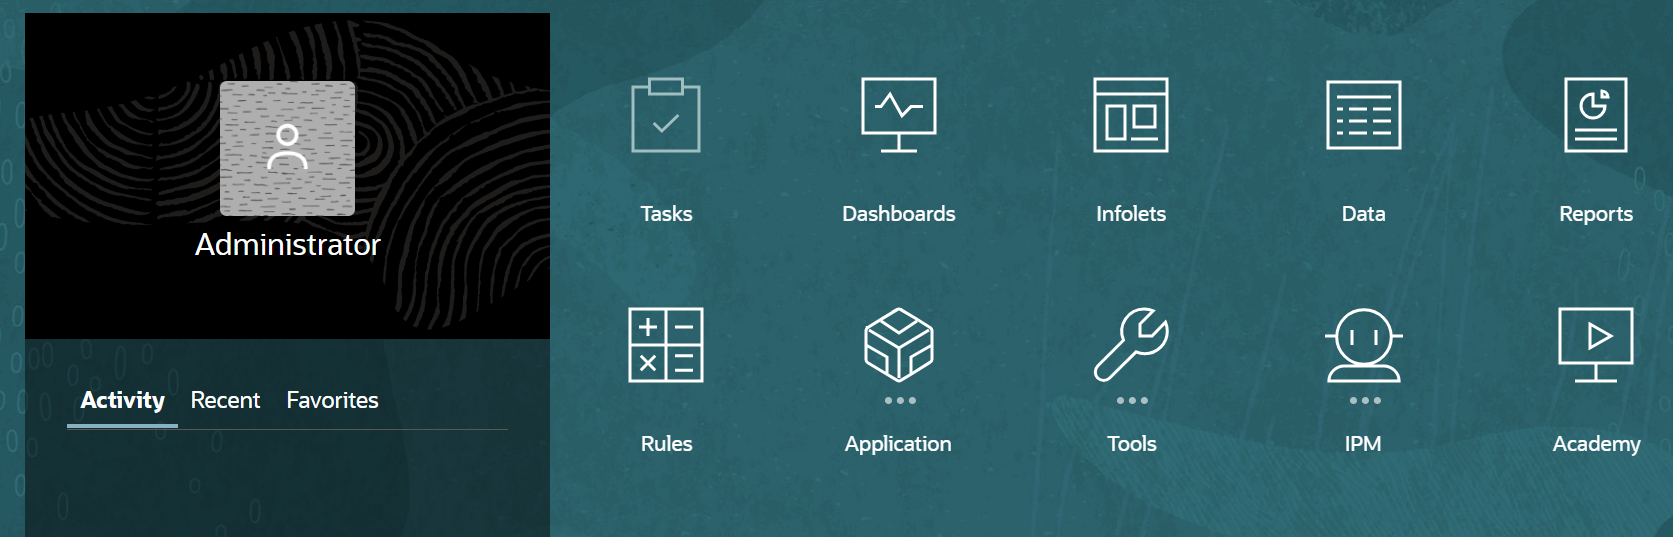
The home page is displayed.
Removing Applications
In this section, you remove the existing FreeForm application. Before you can create a new application, you must remove the existing application from your environment.
On the home page, click Application, then Overview.
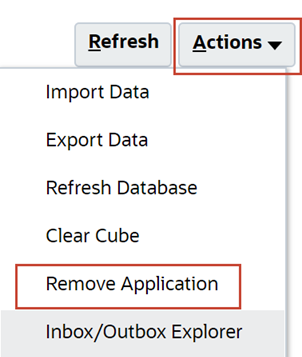
On the Overview tab, click Actions and select Remove Application.
In the Remove Application message, click Yes.
Creating Applications with an LCM Snapshot
In this section, you create an application from an LCM snapshot.
Important Considerations for FreeForm Business Process
Essbase snapshots with Custom Defined Functions (CDF) and CDF references cannot be used to create FreeForm business processes.
Click here to see the other applicable considerations.
Note:
You must remove the existing application from your Cloud EPM environment. Refer to Removing Applications for the detailed steps.
On the FreeForm landing page, for Create a new application, click START.
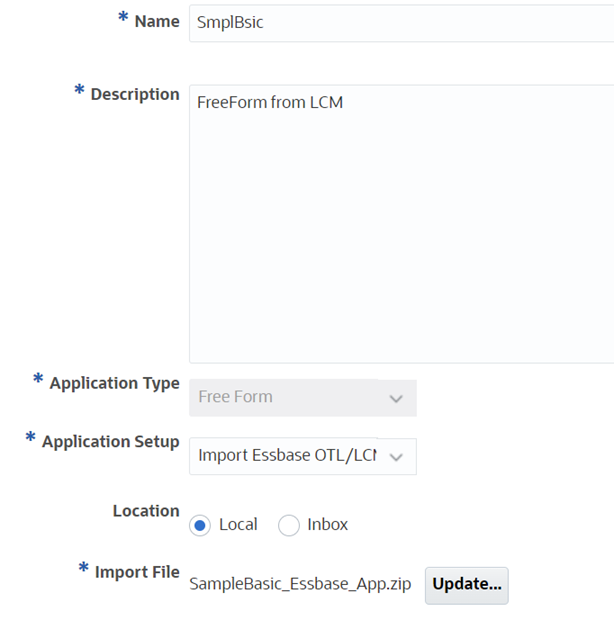
In the application wizard, enter name:
Name
SmplBsic
Description
FreeForm from LCM
For Application Setup, ensure that Import Essbase OTL/LCM is selected.
For location, ensure that Local is selected.
Note:
For Location, you can select Inbox to access a source snapshot from your Cloud EPM environment.
For Import File, click Choose File.
Note:
Depending on your browser, the button label may display Choose File or Browse.
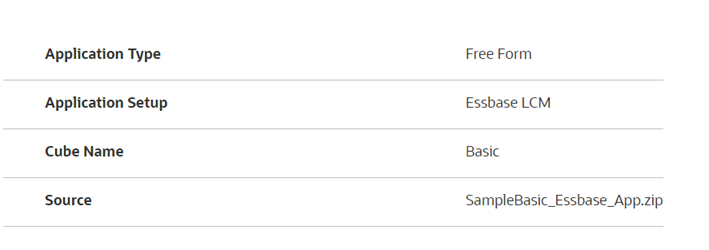
Review the application information and click Create.
The Application Creation Status information message is displayed.
Click OK.
The home page is displayed.
Creating a Single or Multi-Cube Application
You can create an application with one cube or multiple cubes with the application wizard. After you create the application, you can add up to 12 total cubes with any combination of aggregate storage and block storage.
Note:
You must remove the existing application from your Cloud EPM environment. Refer to Removing Applications for the detailed steps.
Important Considerations for FreeForm Business Process
Data maps and other multi-cube features are unavailable if you create a single cube FreeForm business process using the application creation wizard.
Reporting applications that use ASO cubes, generally, store data in aggregate views and can handle a higher number of dimensions than BSO without adversely affecting performance.
FreeForm does not require standard dimensions. You can create an application with only custom dimensions containing members of your choice. The dimensions you create and its structure are not governed by the constraints imposed on standard application dimensions.
Building a Multi-Cube FreeForm Business Process
In this section, you create a multi-cube FreeForm business process using the application creation wizard.
On the FreeForm landing page, for Create a new application, click START.
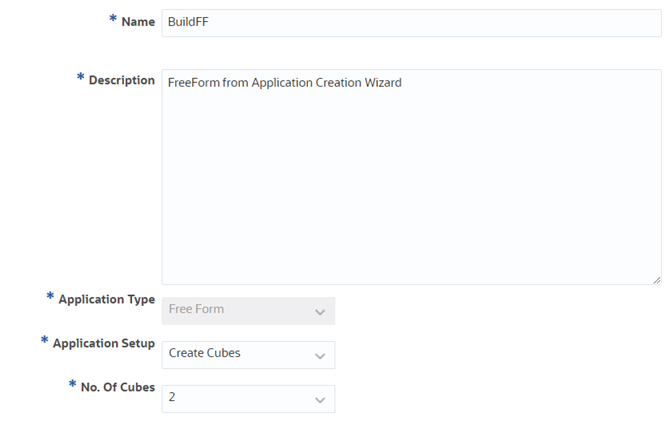
In the application wizard, enter name:
Name
BuildFF
Description
FreeForm from Application Creation Wizard
For Application Setup, select Create Cubes.
In No. of Cubes, select 2.
Tip:
You can add up to 12 cubes. You can start with one cube, and then add more cubes later.
Define the following cubes:
Cube Name
Is ASO
CubeASO
Selected
CubeBSO
Not Selected
Note:
If the Is ASO check-box is cleared, the cube is created as a hybrid block storage cube.
Verify your entries and selections:
Click Next.
The Create Dimensions page is displayed. You can optionally enable default dimensions.
In Dimensions Mapping, for Account, Entity, and Period, select Enabled and then verify dimension names for all three default dimensions:
Tip:
You can optionally enable default dimensions as you create the application or enable them later.
Click Next.
Review the application information and click Create.
The Application Creation Status information message is displayed.
Click OK.
The home page is displayed.
Adding Cubes
In this section, you add cubes to your business process.
On the home page, click Application, then Overview.
Click Cubes.
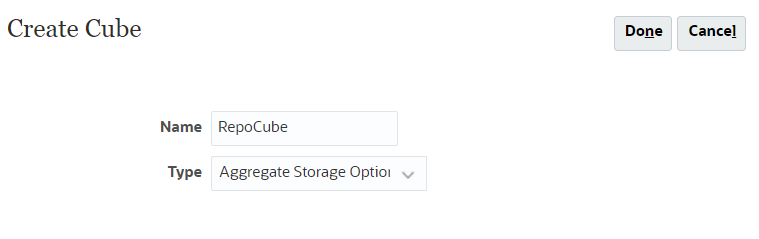
Click Create.
In Create Cube, enter and select the following properties:
Name
RepoCube
Type
Aggregate Storage Option
Click Done.
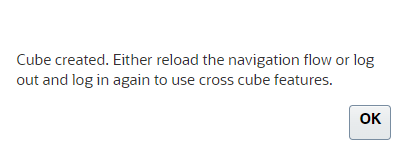
In the Information message for cube creation, click OK.
Migrating Applications from a Snapshot
In this section, you migrate an application from an LCM snapshot.
Important Considerations for FreeForm Business Process
Do not attempt to create FreeForm business processes by importing Essbase Migration snapshots into an Oracle Enterprise Performance Management Cloud environment. Importing snapshots using Migration is supported only for snapshots created from a previous FreeForm business process.
Note:
You must remove the existing application from your Cloud EPM environment. Refer to Removing Applications for the detailed steps.
On the FreeForm landing page, for Migrate, click MIGRATE.
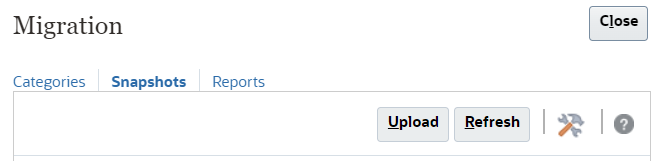
In Migration, click Snapshots.
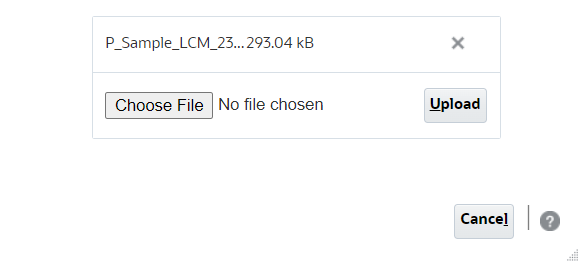
In Snapshots, click Upload.
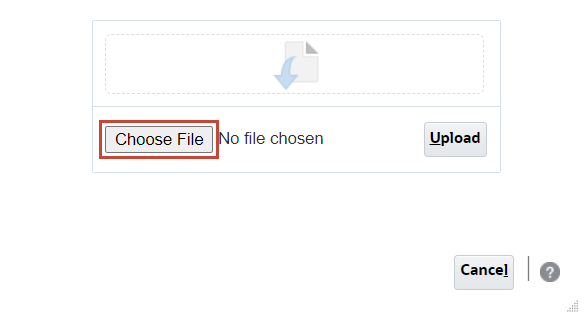
Click Choose File.
Note:
Depending on your browser, the button label may display Choose File or Browse.
In the Information message, click OK.
The snapshot is listed on the page.
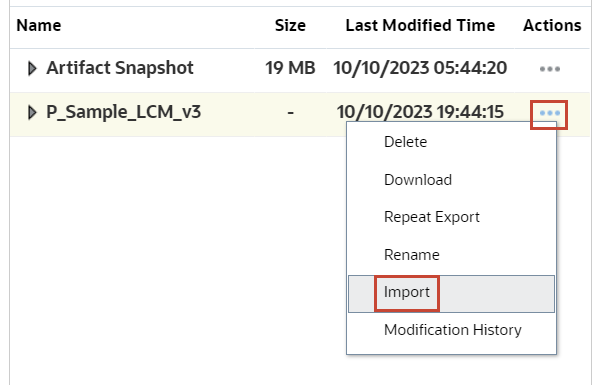
For the snapshot you uploaded, click Actions (…) and select Import.
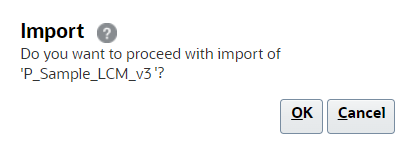
When prompted to proceed with the import, click OK.
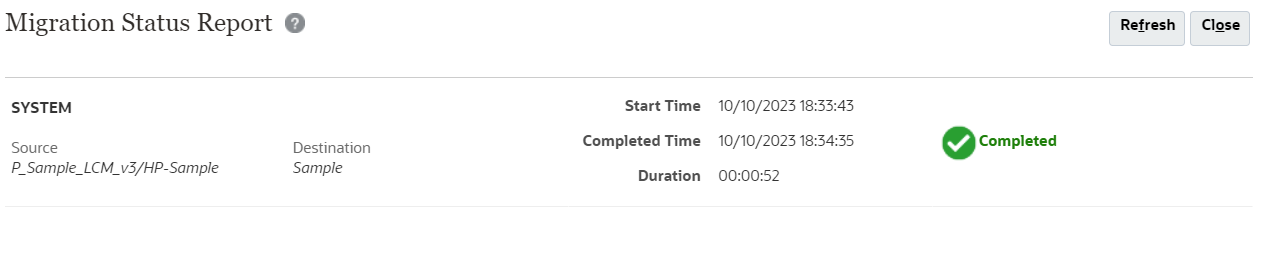
The Migration Status Report is displayed. The migration import process takes a moment to complete.
Click Refresh until the status displays Completed.
Click Close twice.
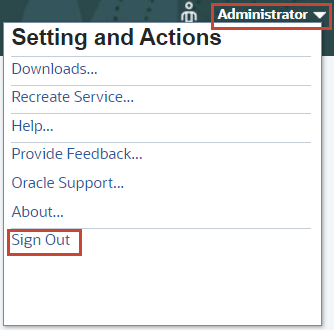
On the upper-right, click the drop-down and select Sign out.
Sign back into FreeForm.
Creating Applications from an Excel Template
In this section, you create an application using a template you modify in Excel. Download the application template from the Prerequisites section of this tutorial.
Note:
You must remove the existing application from your Cloud EPM environment. Refer to Removing Applications for the detailed steps.
You must also have Smart View installed and configured to connect to your Cloud EPM Enterprise instance before you can complete the tasks in this section.
Open Smart View in Excel and connect to your Cloud EPM Enterprise instance.
Tip:
For more information on connecting to your instance, see the Connecting Using a Shared Connection section in the Working with Oracle Smart View for Office documentation.
In Application Definition, modify the Application Name:
Application Name
BevApp
Review the remaining default template values for Application:
Description
FreeForm Multicube Application
Application Type
FreeForm
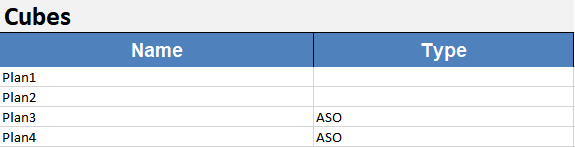
Review the cube definition for this application:
The FreeForm business process will be created with four cubes: two hybrid block storage cubes and two aggregate storage cubes.
Tip:
If the Type field is empty, it is a BSO cube. For a list of supported application properties, see Table E-1 in Appendix E of the Administering Planning documentation. Application properties on this worksheet cannot be modified after the application is created.
For each dimension required for your business process, ensure the worksheet is labeled with the dimension name prefixed with “Dim.”.
Note:
By default, all dimensions are enabled for all cubes. After creating the application, you can modify this option on the web interface. Supported dimension properties are listed in Table E-3 of Appendix E in the Administering Planning documentation. Supported member properties and descriptions are listed in Table 11-7 of the Administering Planning documentation.
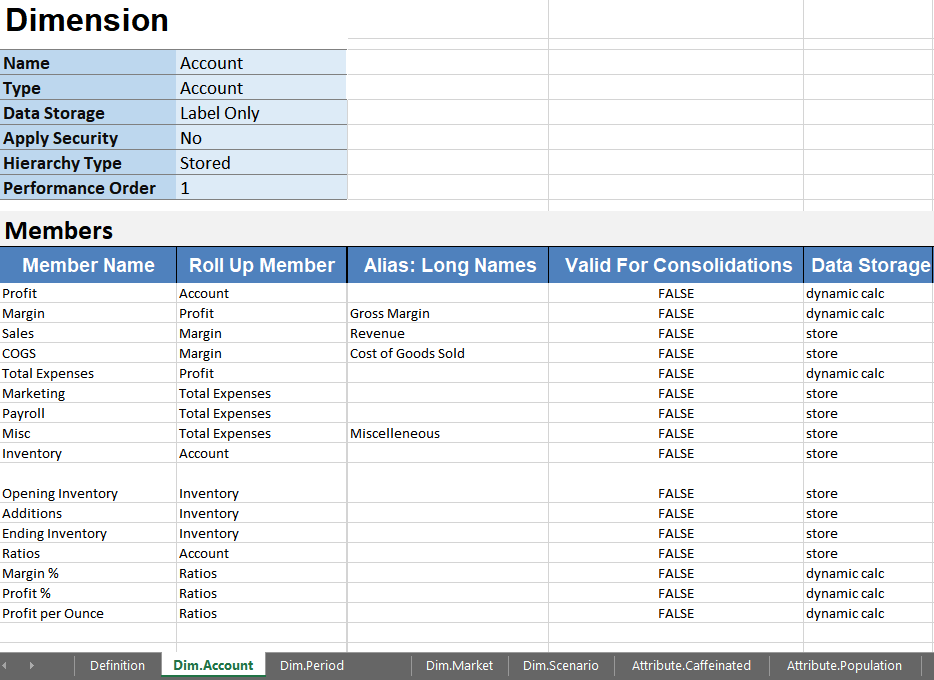
Select the Dim.Account worksheet and review its contents.
The Dim.Account worksheet includes the Account dimension members that are used to define the profit and loss structure in the application.
Tip:
Dimension properties that can be defined are Name, Alias, Data Storage, Hierarchy Type, and Performance Order. Only the Name is required.
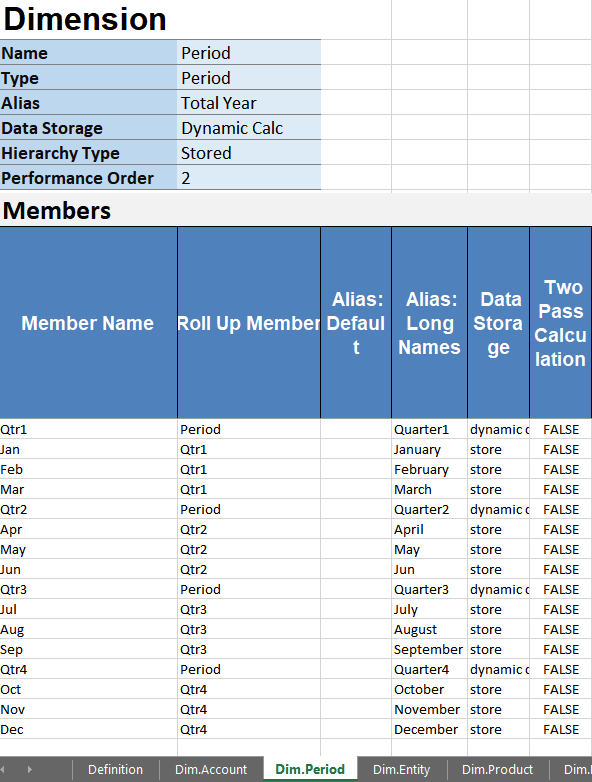
Select the Dim.Period worksheet and review its contents.
The Dim.Period worksheet includes the Period dimension members that are used to identify time periods like months and quarters.
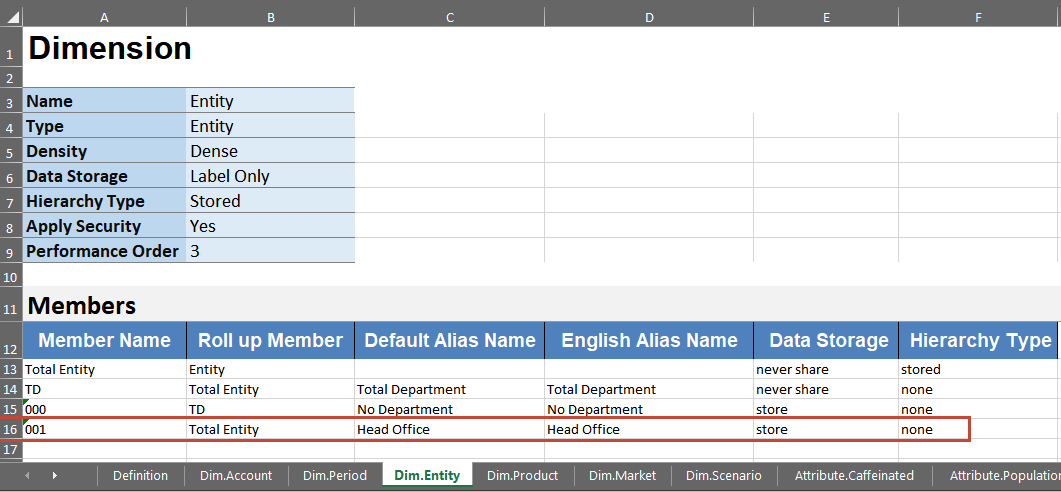
Select the Dim.Entity worksheet.
This worksheet identifies departments for the sample organization.
In row 16, add the following Entity member:
Member Name
Roll up Member
Default Alias Name
English Alias Name
Data Storage
Hierarchy Type
001
Total Entity
Head Office
Head Office
store
none
Tip:
Excel will treat member names prefixed with an apostrophe (‘) as text.
Verify your entries and save the file.
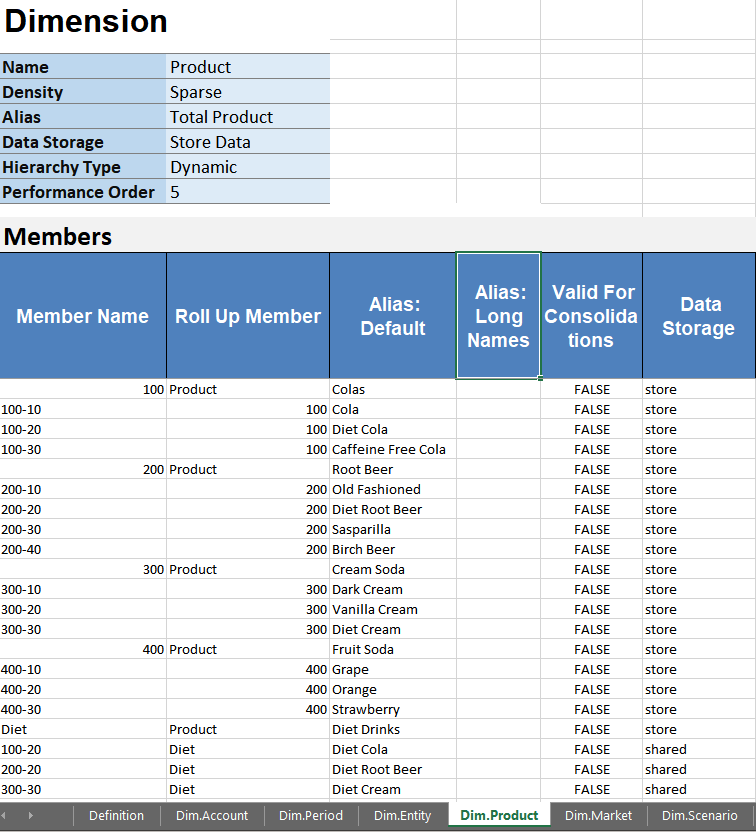
Select the Dim.Product worksheet and review its contents.
The Dim.Product worksheet includes all the products.
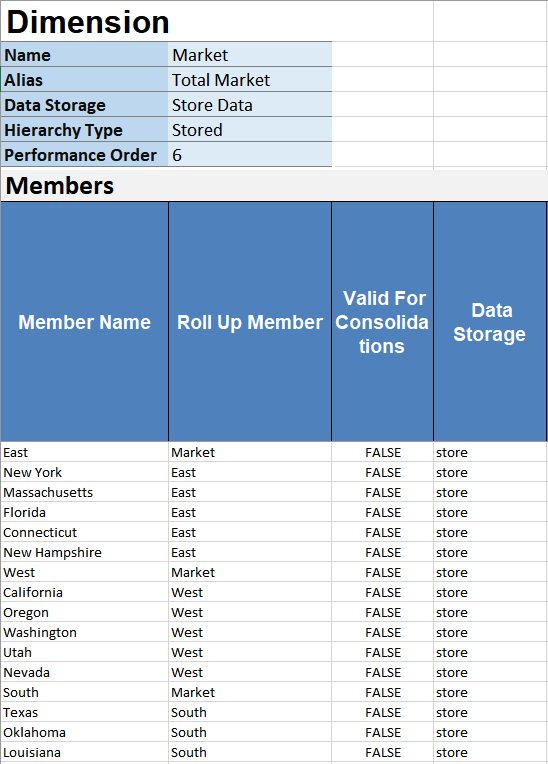
Select the Dim.Market worksheet and review its contents.
The Dim.Market worksheet includes all the markets and their regions.
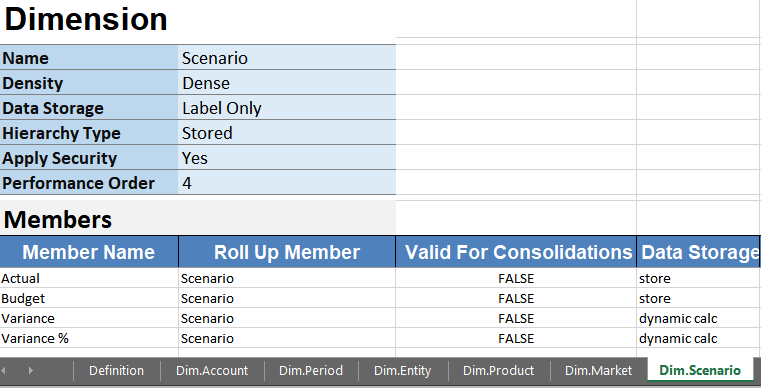
Select the Dim.Scenario worksheet and review its contents.
The Dim.Scenario worksheet includes the scenarios, such as budget and actual. This allows to model possible outcomes based on different assumptions.
Tip:
Use Scenario to create multiple iterations of a plan.
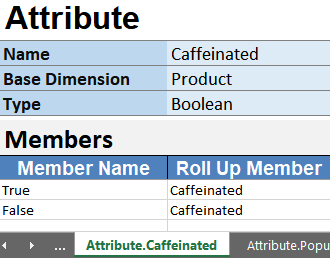
Select the Attribute.Caffeinated worksheet and review its contents.
Note:
Attributes are characteristics of the data. For attributes, label the worksheet with the attribute dimension’s name prefixed with “Attribute.” In the worksheet, define the attribute dimension name, type, base dimension, and members.
In this example, the Caffeinated attribute dimension defines whether a Product (base dimension) is Caffeinated or not.
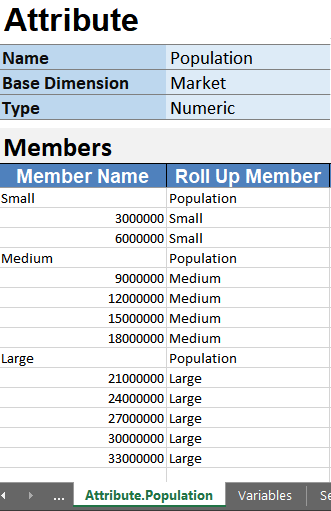
Select the Attribute.Population worksheet and review its contents.
In this example, the Population attribute dimension categorizes the Market (base dimension).
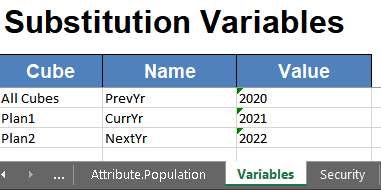
Select the Variables worksheet and review its contents.
Substitution variables are assigned in this worksheet. Substitution variables act as global placeholders for information that changes regularly.
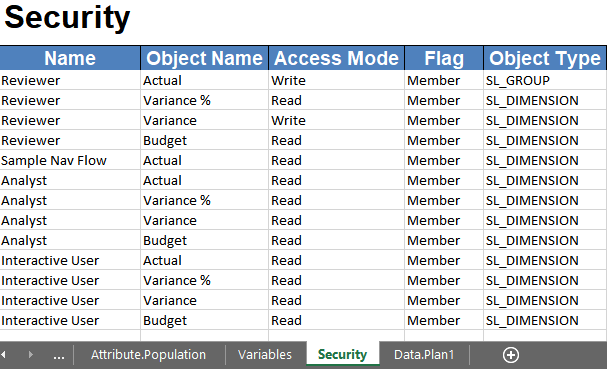
Select the Security worksheet and review its contents.
Assign access permissions to users and groups in this worksheet.
Note:
Supported security properties, including Object Types, are listed in the Security Definition section in Administering Planning documentation.
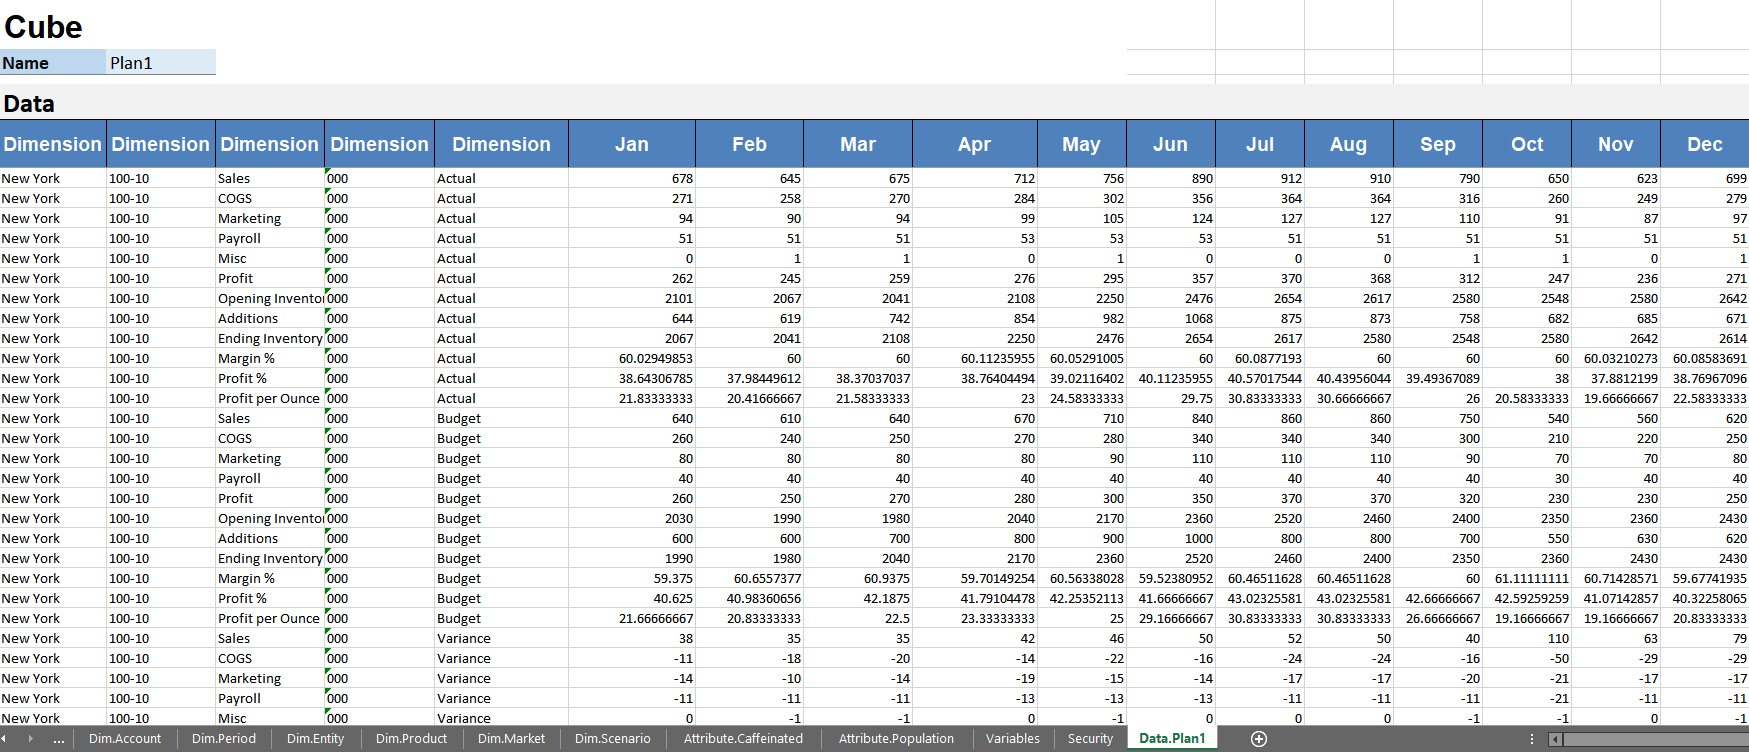
Select the Data.Plan1 worksheet and review its contents.
Limited data sets can be specified to use in testing the newly created application in worksheets prefixed with “Data.”. The format for the label of the worksheet is: Data.CubeName. With the application creation template, you can load up to 1,000 rows of data using the Essbase data format.
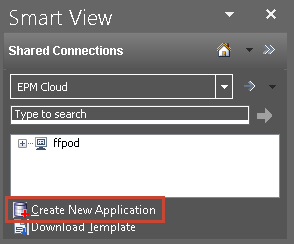
In the Smart View panel, ensure that you are connected to your Cloud EPM Enterprise instance.
Click Create New Application.
Note:
If you are not ready to create your application, you can decide to save your file.
The application creation process takes a moment to complete.
At the created successfully message, click OK.
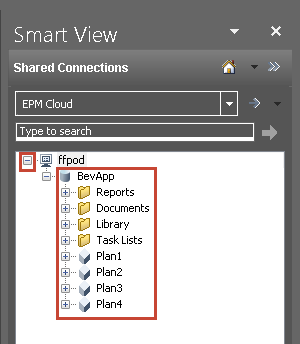
Expand the connection name to see the created FreeForm business process.
Minimize Smart View and return to your Cloud EPM Enterprise instance. If prompted to log on, sign back in using your Service Administrator credentials.
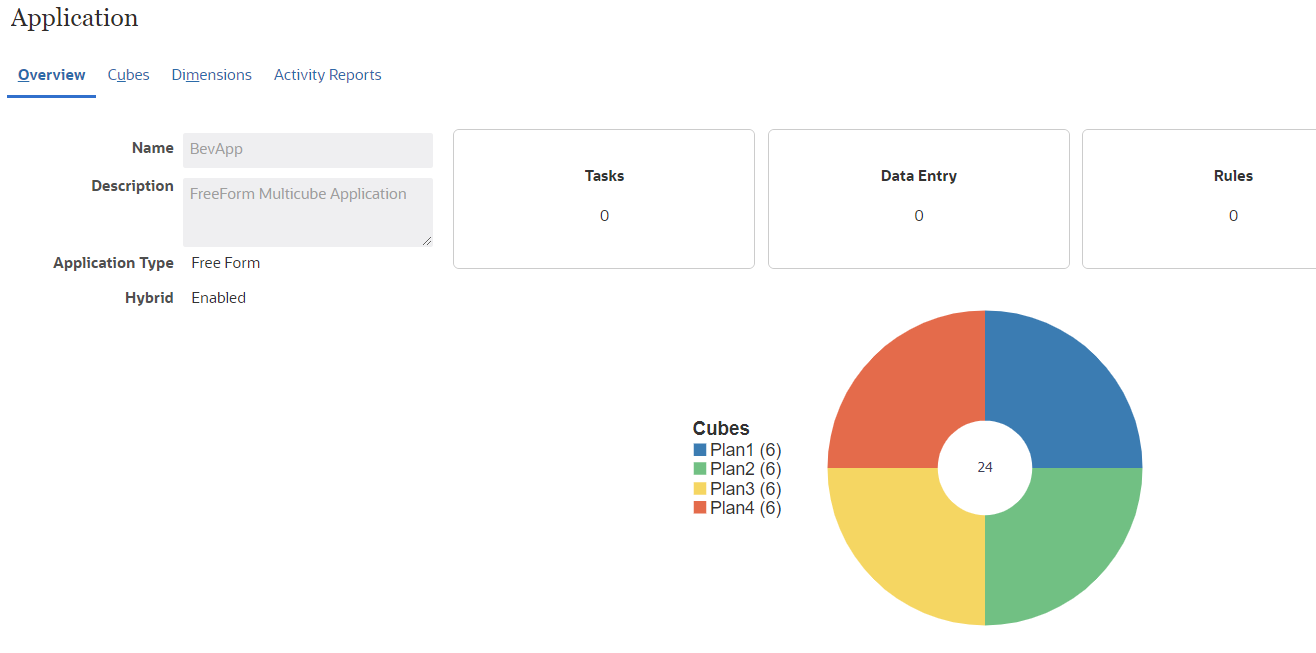
On the home page, click Application, then Overview.
Application properties are based on the entries in the application template you modified in Excel. For more detailed information, review the Cubes and Dimensions tabs.


 For each dimension required for your business process, ensure the worksheet is labeled with the dimension name prefixed with “Dim.”.
 The application creation process takes a moment to complete.