Introduction
This 15-minute tutorial shows you how to compare budget versions in Planning.
Background
You use versions in combination with scenarios to set up individual plans for review and approval. After users enter data for an entity for a scenario and version, they can submit or promote the data for the entity to other users for review and approval.
Prerequisites
Cloud EPM Hands-on Tutorials may require you to import a snapshot into your Cloud EPM Enterprise Service instance. Before you can import a tutorial snapshot, you must request another Cloud EPM Enterprise Service instance or remove your current application and business process. The tutorial snapshot will not import over your existing application or business process, nor will it automatically replace or restore the application or business process you are currently working with.
Before starting this tutorial, you must:
- Have Service Administrator access to a Cloud EPM Enterprise Service instance.
- Upload and import this snapshot into your Planning instance.
- Set the navigation flow to Financial Flow - Admin.
Note:
If you run into migration errors importing the snapshot, re-run the migration excluding the HSS-Shared Services component, as well as the Security and User Preferences artifacts in the Core component. For more information on uploading and importing snapshots, refer to the Administering Migration for Oracle Enterprise Performance Management Cloud documentation.Versions Overview
About Versions
Within Planning there are scenario and version combinations which contain data for the accounts and other dimensions for each entity. Scenario describes the type of data in a plan, such as budget, actual, or forecast, as well as the plan’s time span. Version describes the possible outcomes within the context of a scenario of data. For example, if the scenario is Budget, some of its versions could be Draft 1, Draft 2, and Final.
You can set up versions for the following purposes:
- Allow multiple iterations of a plan, such as preliminary and final.
- Model possible outcomes based on more optimistic or less optimistic assumptions, such as Best Case and Worst Case.
- Manage dissemination of plan data, such as Internal and External.
- Facilitate target setting.
If your administrator has enabled sandboxes at the cube level, then you can privately experiment with various outcomes in a sandbox without others seeing your numbers until you’ve completed your analysis. Your administrator can create version members within sandboxes so if you switch to sandbox view, you can select an enabled Version member, and then the data in the sandbox is tied to that version.
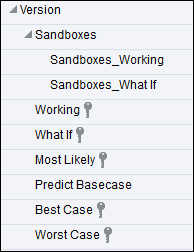
Permissions are independent of scenarios, so you could give users read-only access to the Final version and write access to the Working version. Then, if users want to enter data for Budget Final intersections, they cannot write to that intersection even though the Budget scenario may have write access. Read access to the Final version prevents write access to that intersection of data. You can create hierarchies and use shared members in the Version dimension. If you assign children to bottom-up versions, the versions are displayed as read-only parents on forms.
Target and Bottom Up Versions in Planning
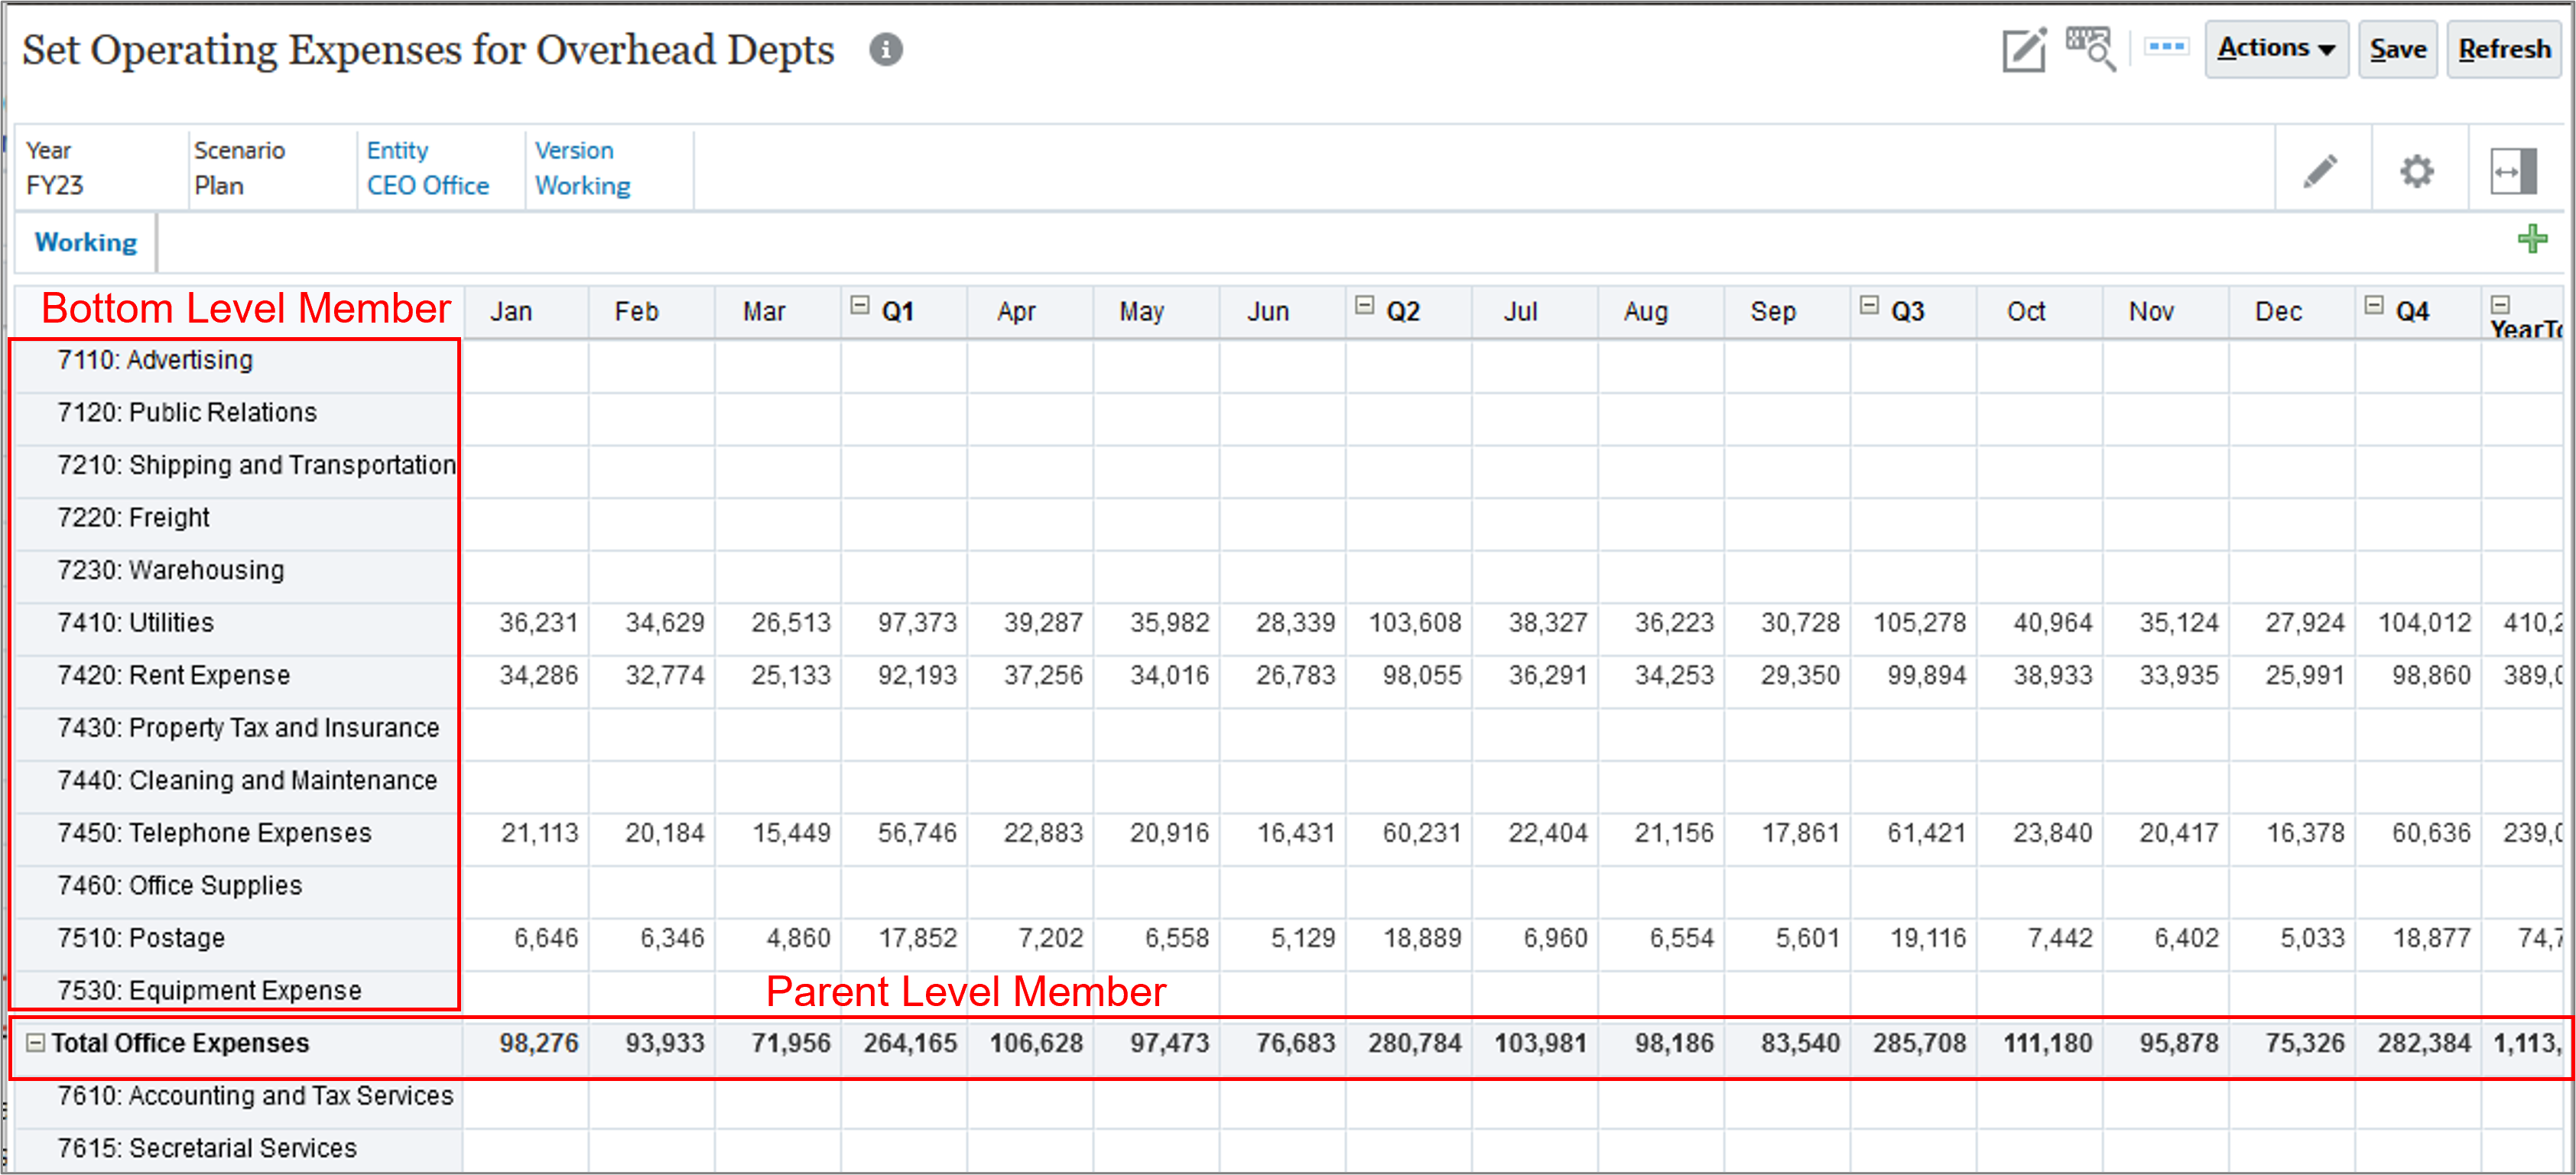
You can create target and bottom up versions. With bottom up versions, you enter data into bottom level members; parent level members are display-only and don't permit data entry. Parent member values are aggregated from bottom level members.
For target versions, you can enter data for members at any level in the hierarchy. You can use business rules to distribute values from parent members to their descendants. Use target versions to set high-level targets for your plan. Planners working with bottom up versions can reference these targets when they enter plan data.
Target versions use top-down budgeting. Manage Approvals tasks are not allowed, and children of target members must be blank (for example, #MISSING) to enable data input at the top level. Target members must be set to Store (Dynamic Calc overrides data input with sum of children).
Creating Versions in Planning
In this section, you create, and edit versions in Planning.
Creating Bottom Up and Target Versions in Planning
You create versions on the Dimensions page. After you create versions, you need to refresh the database to update the information in Planning.
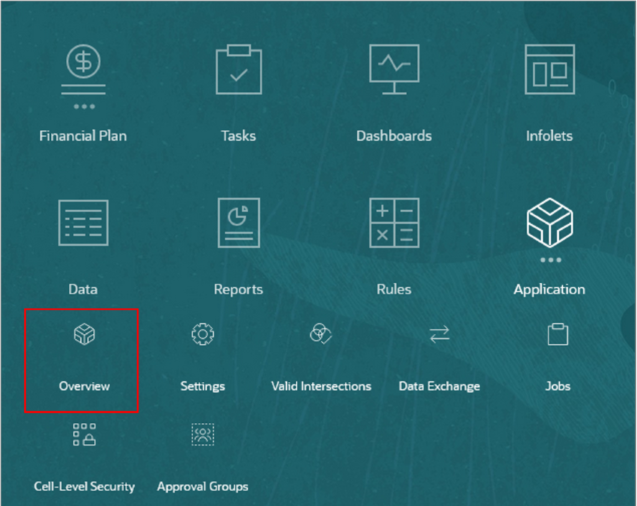
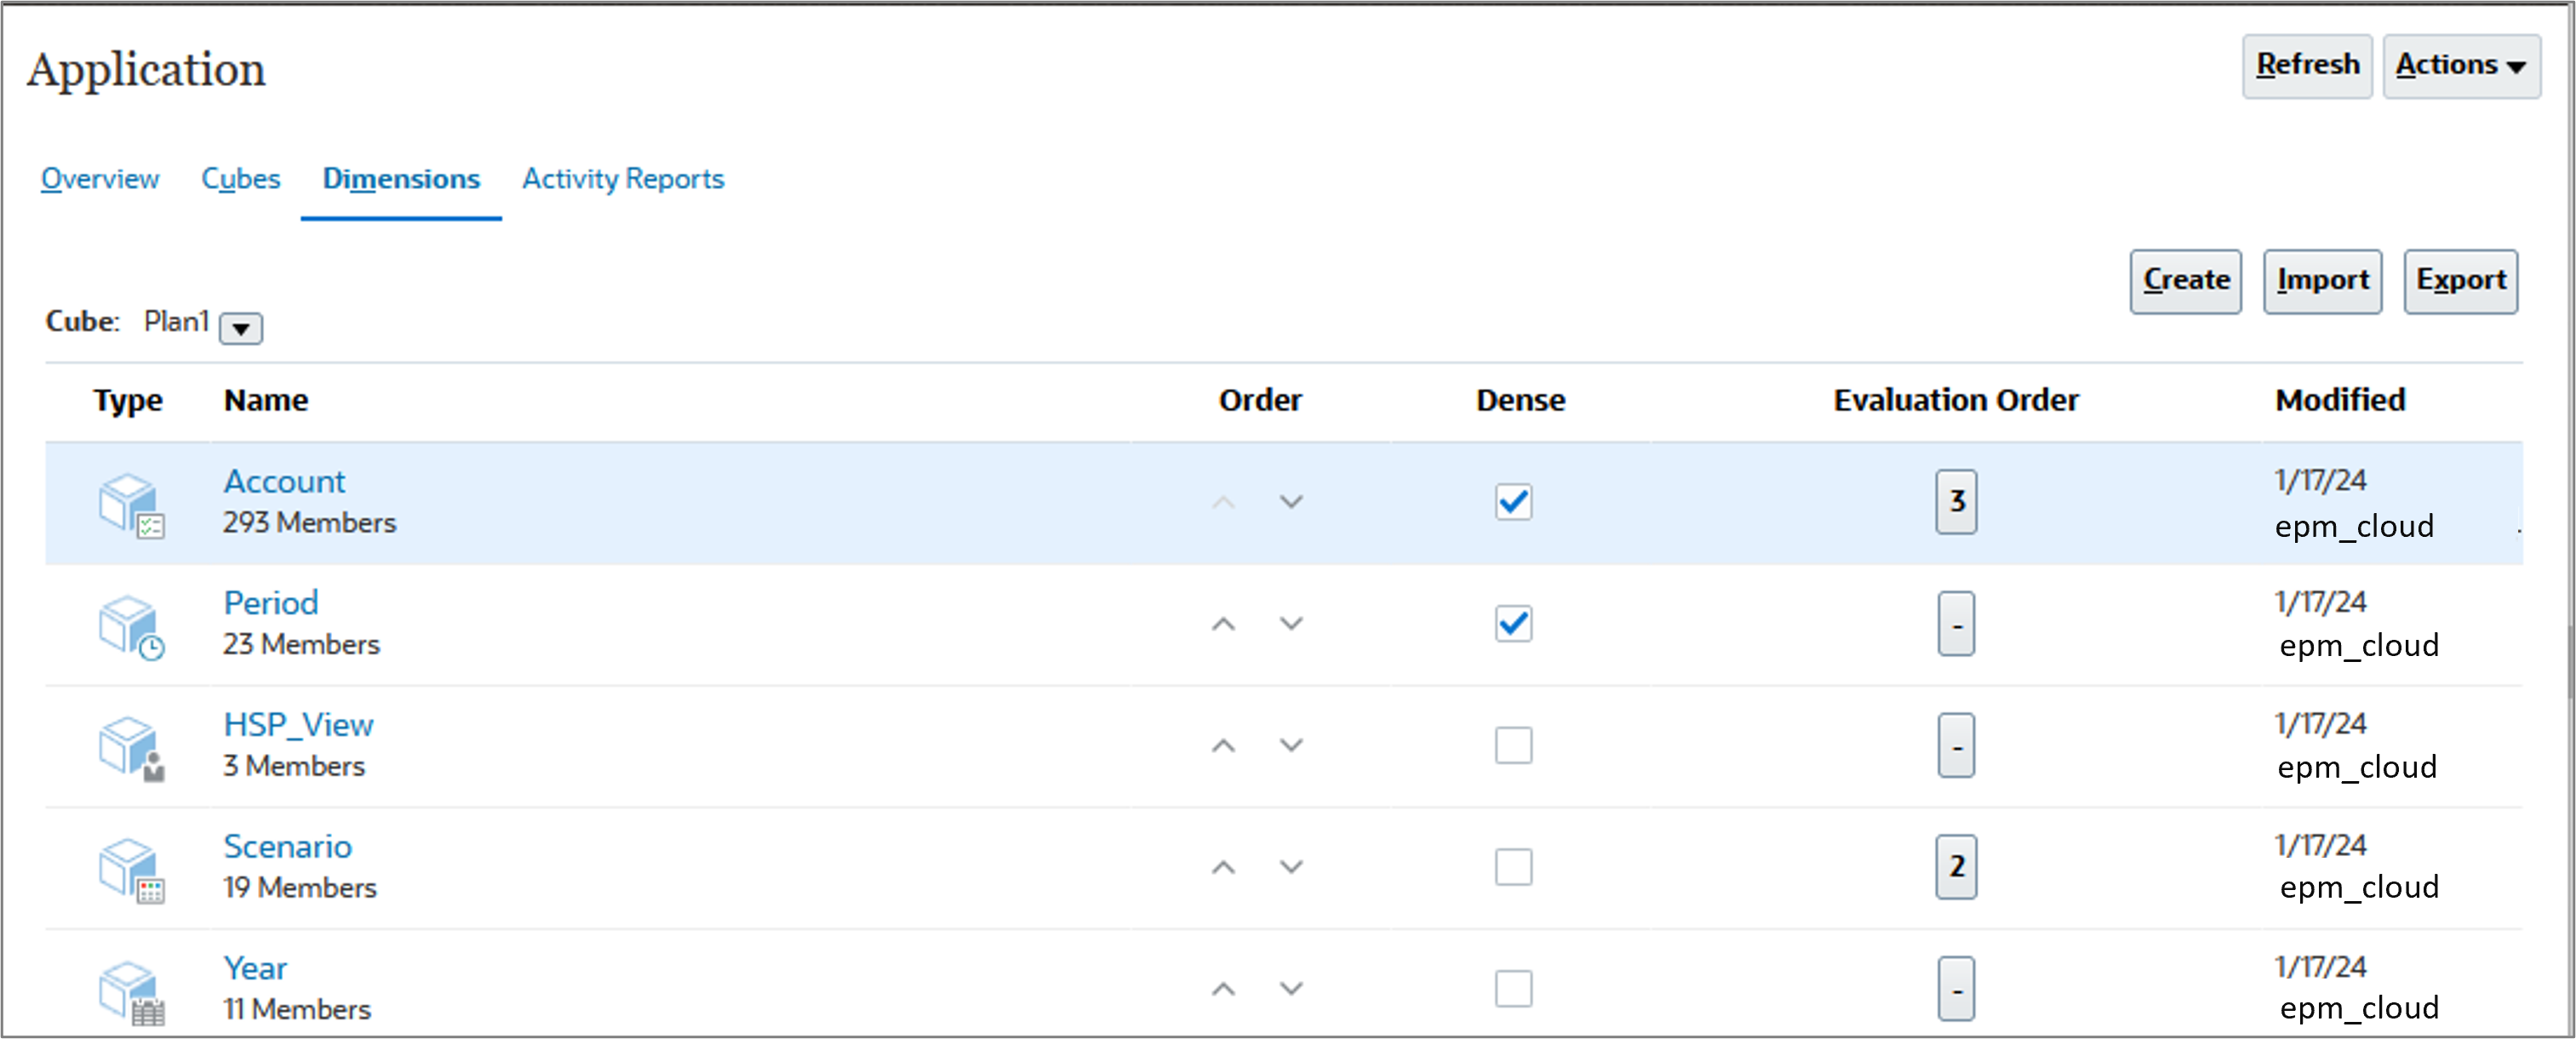
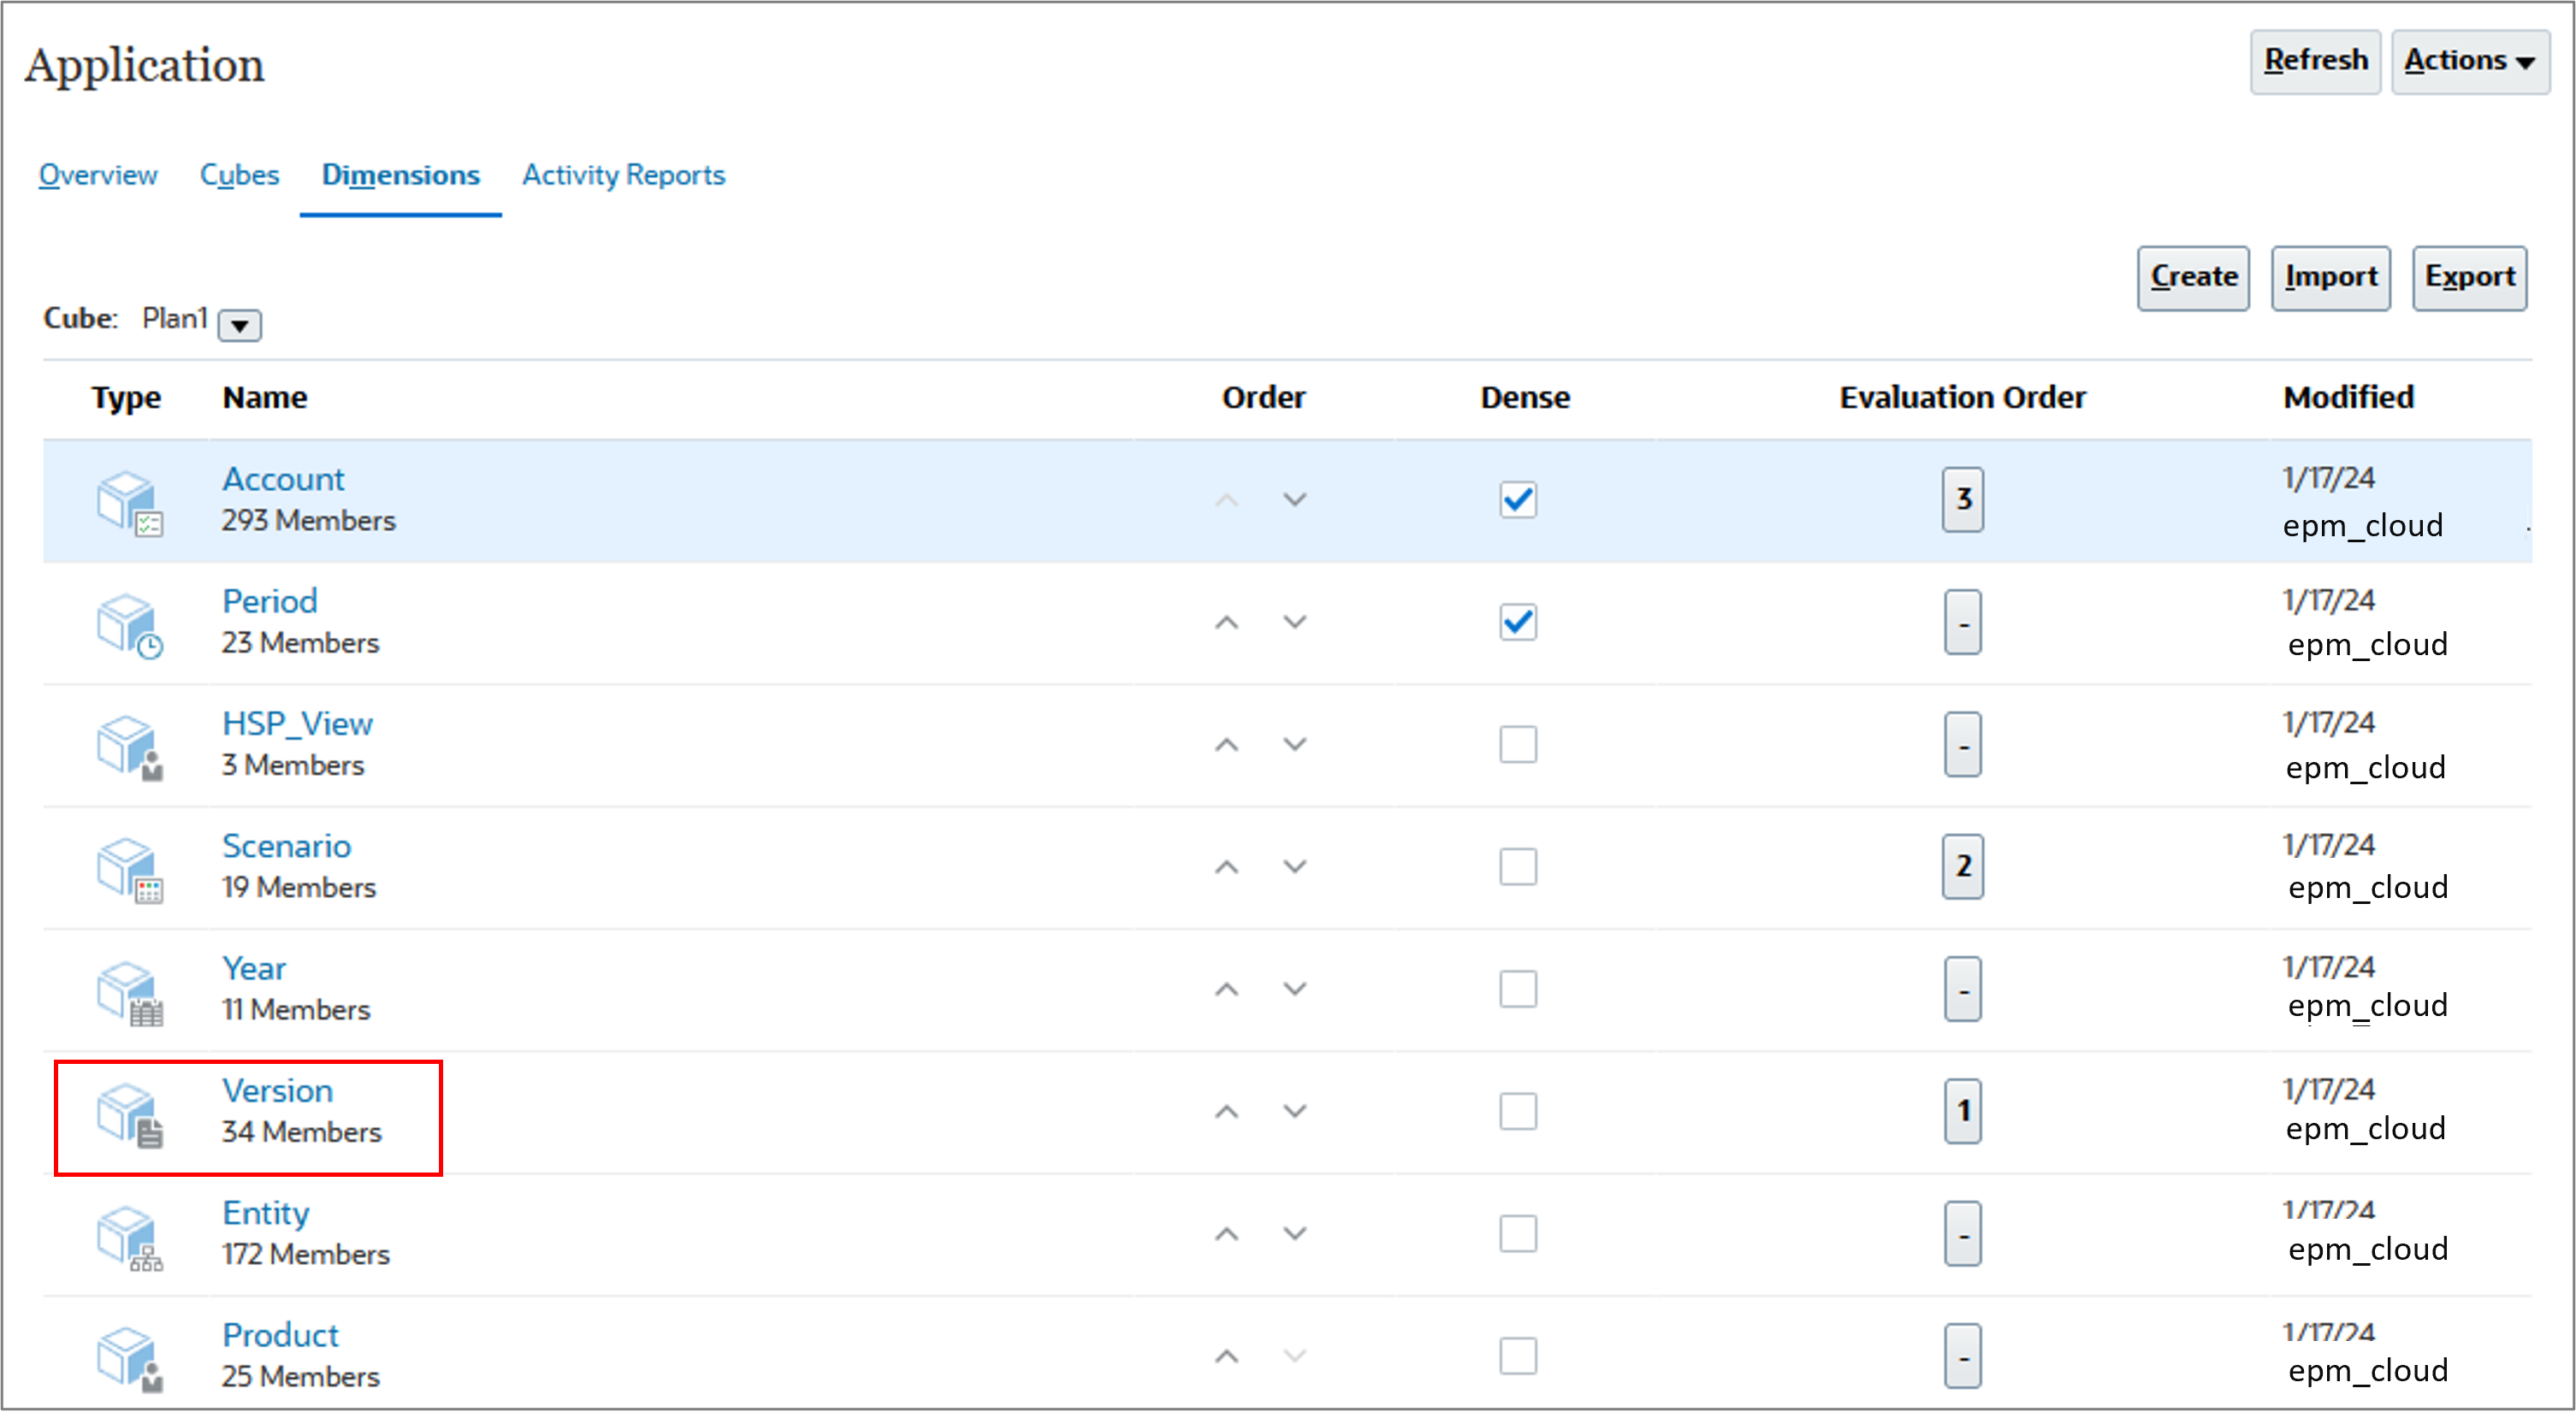
- From the Home page, click Application, and then Overview.
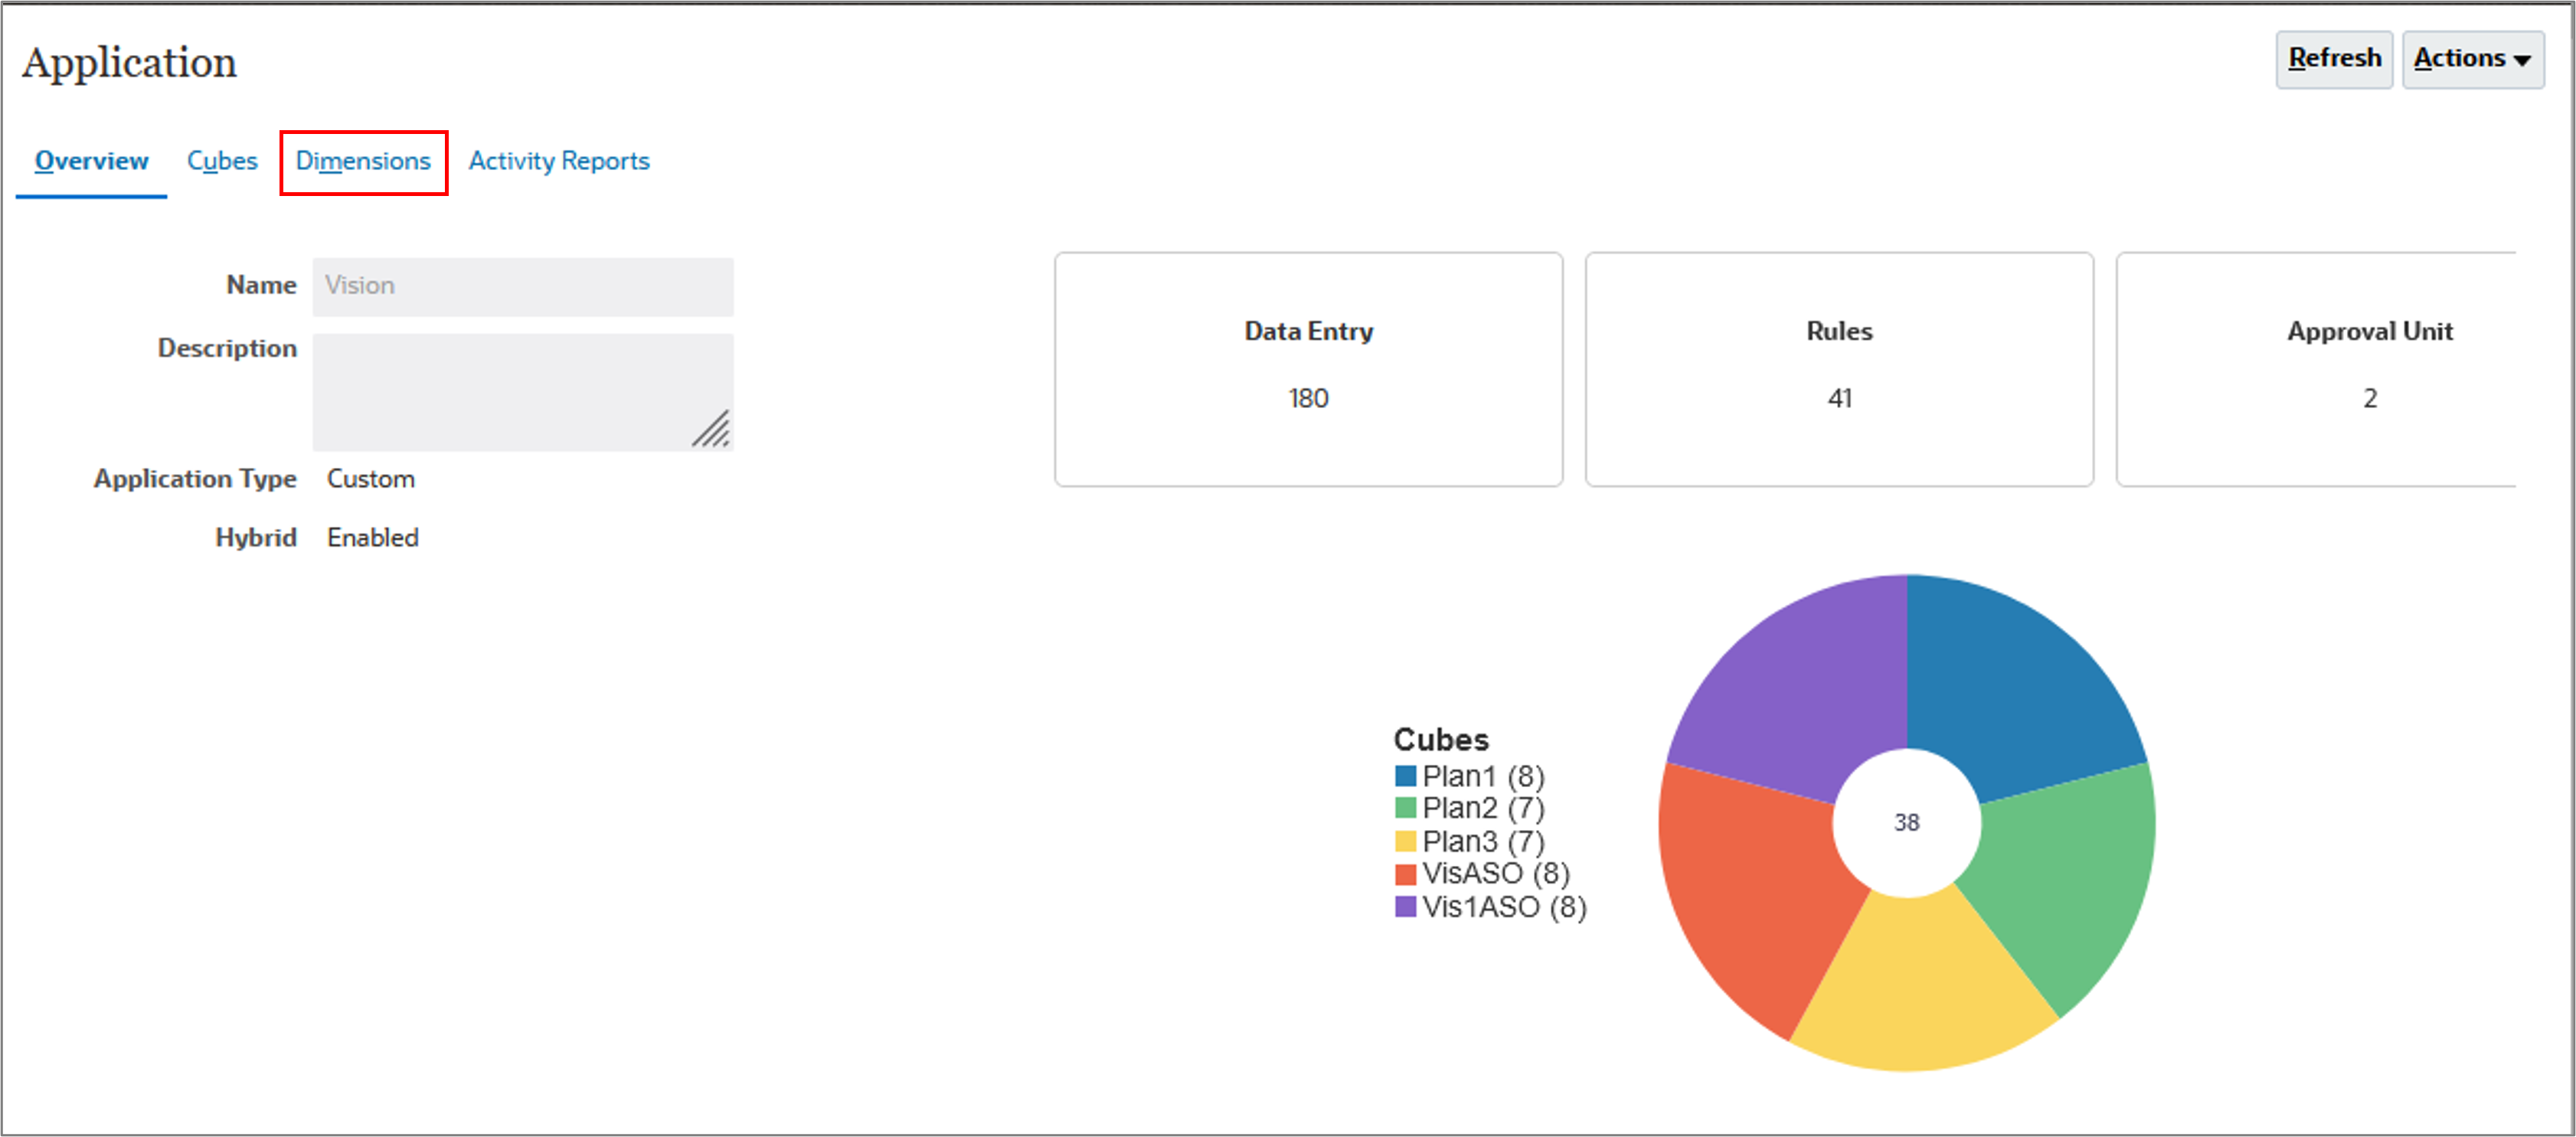
- Click the Dimensions tab.
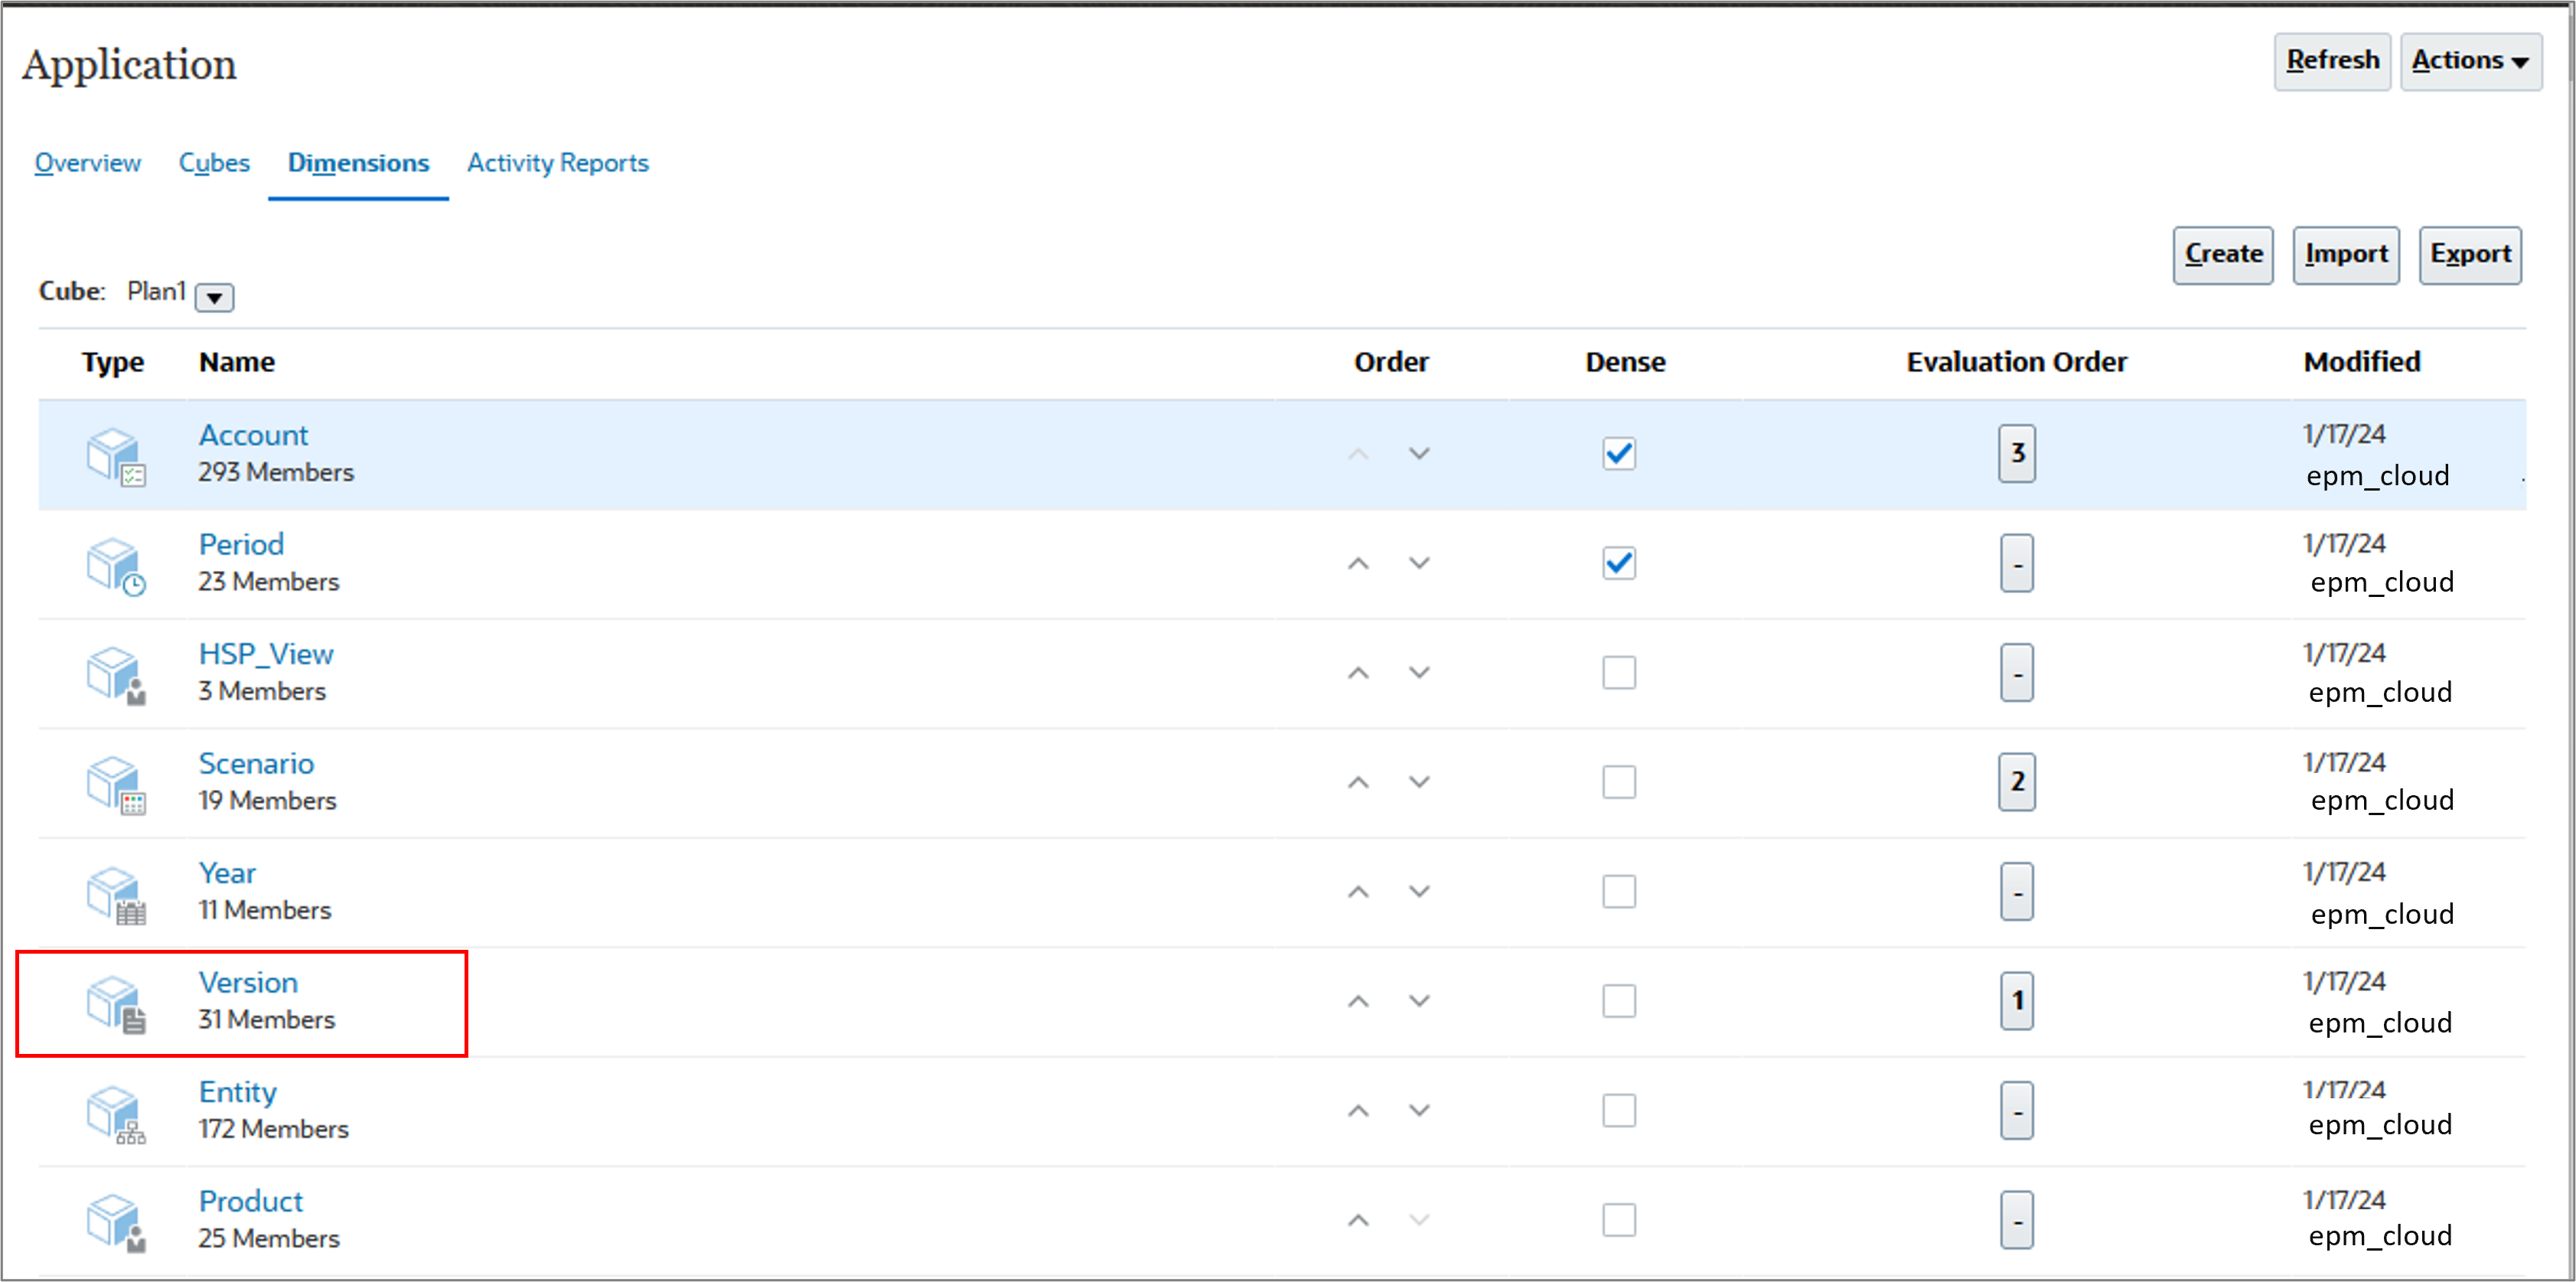
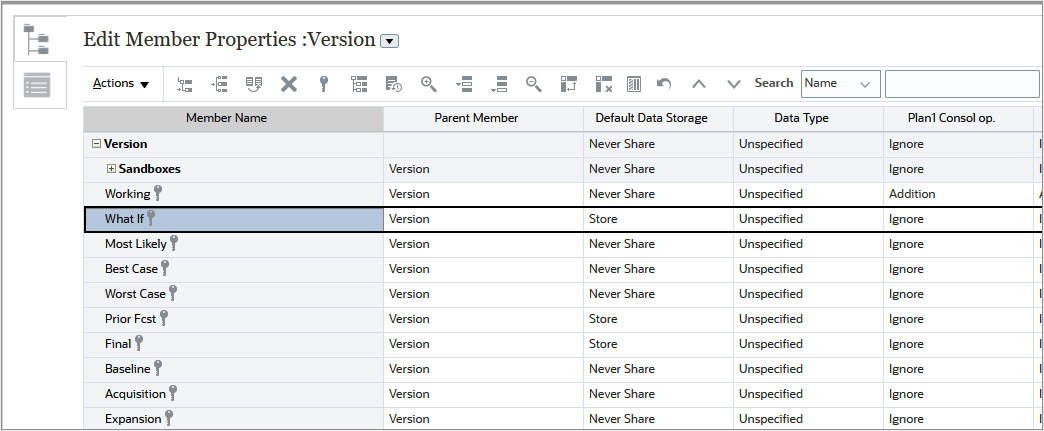
- On the Dimensions tab, select Version.
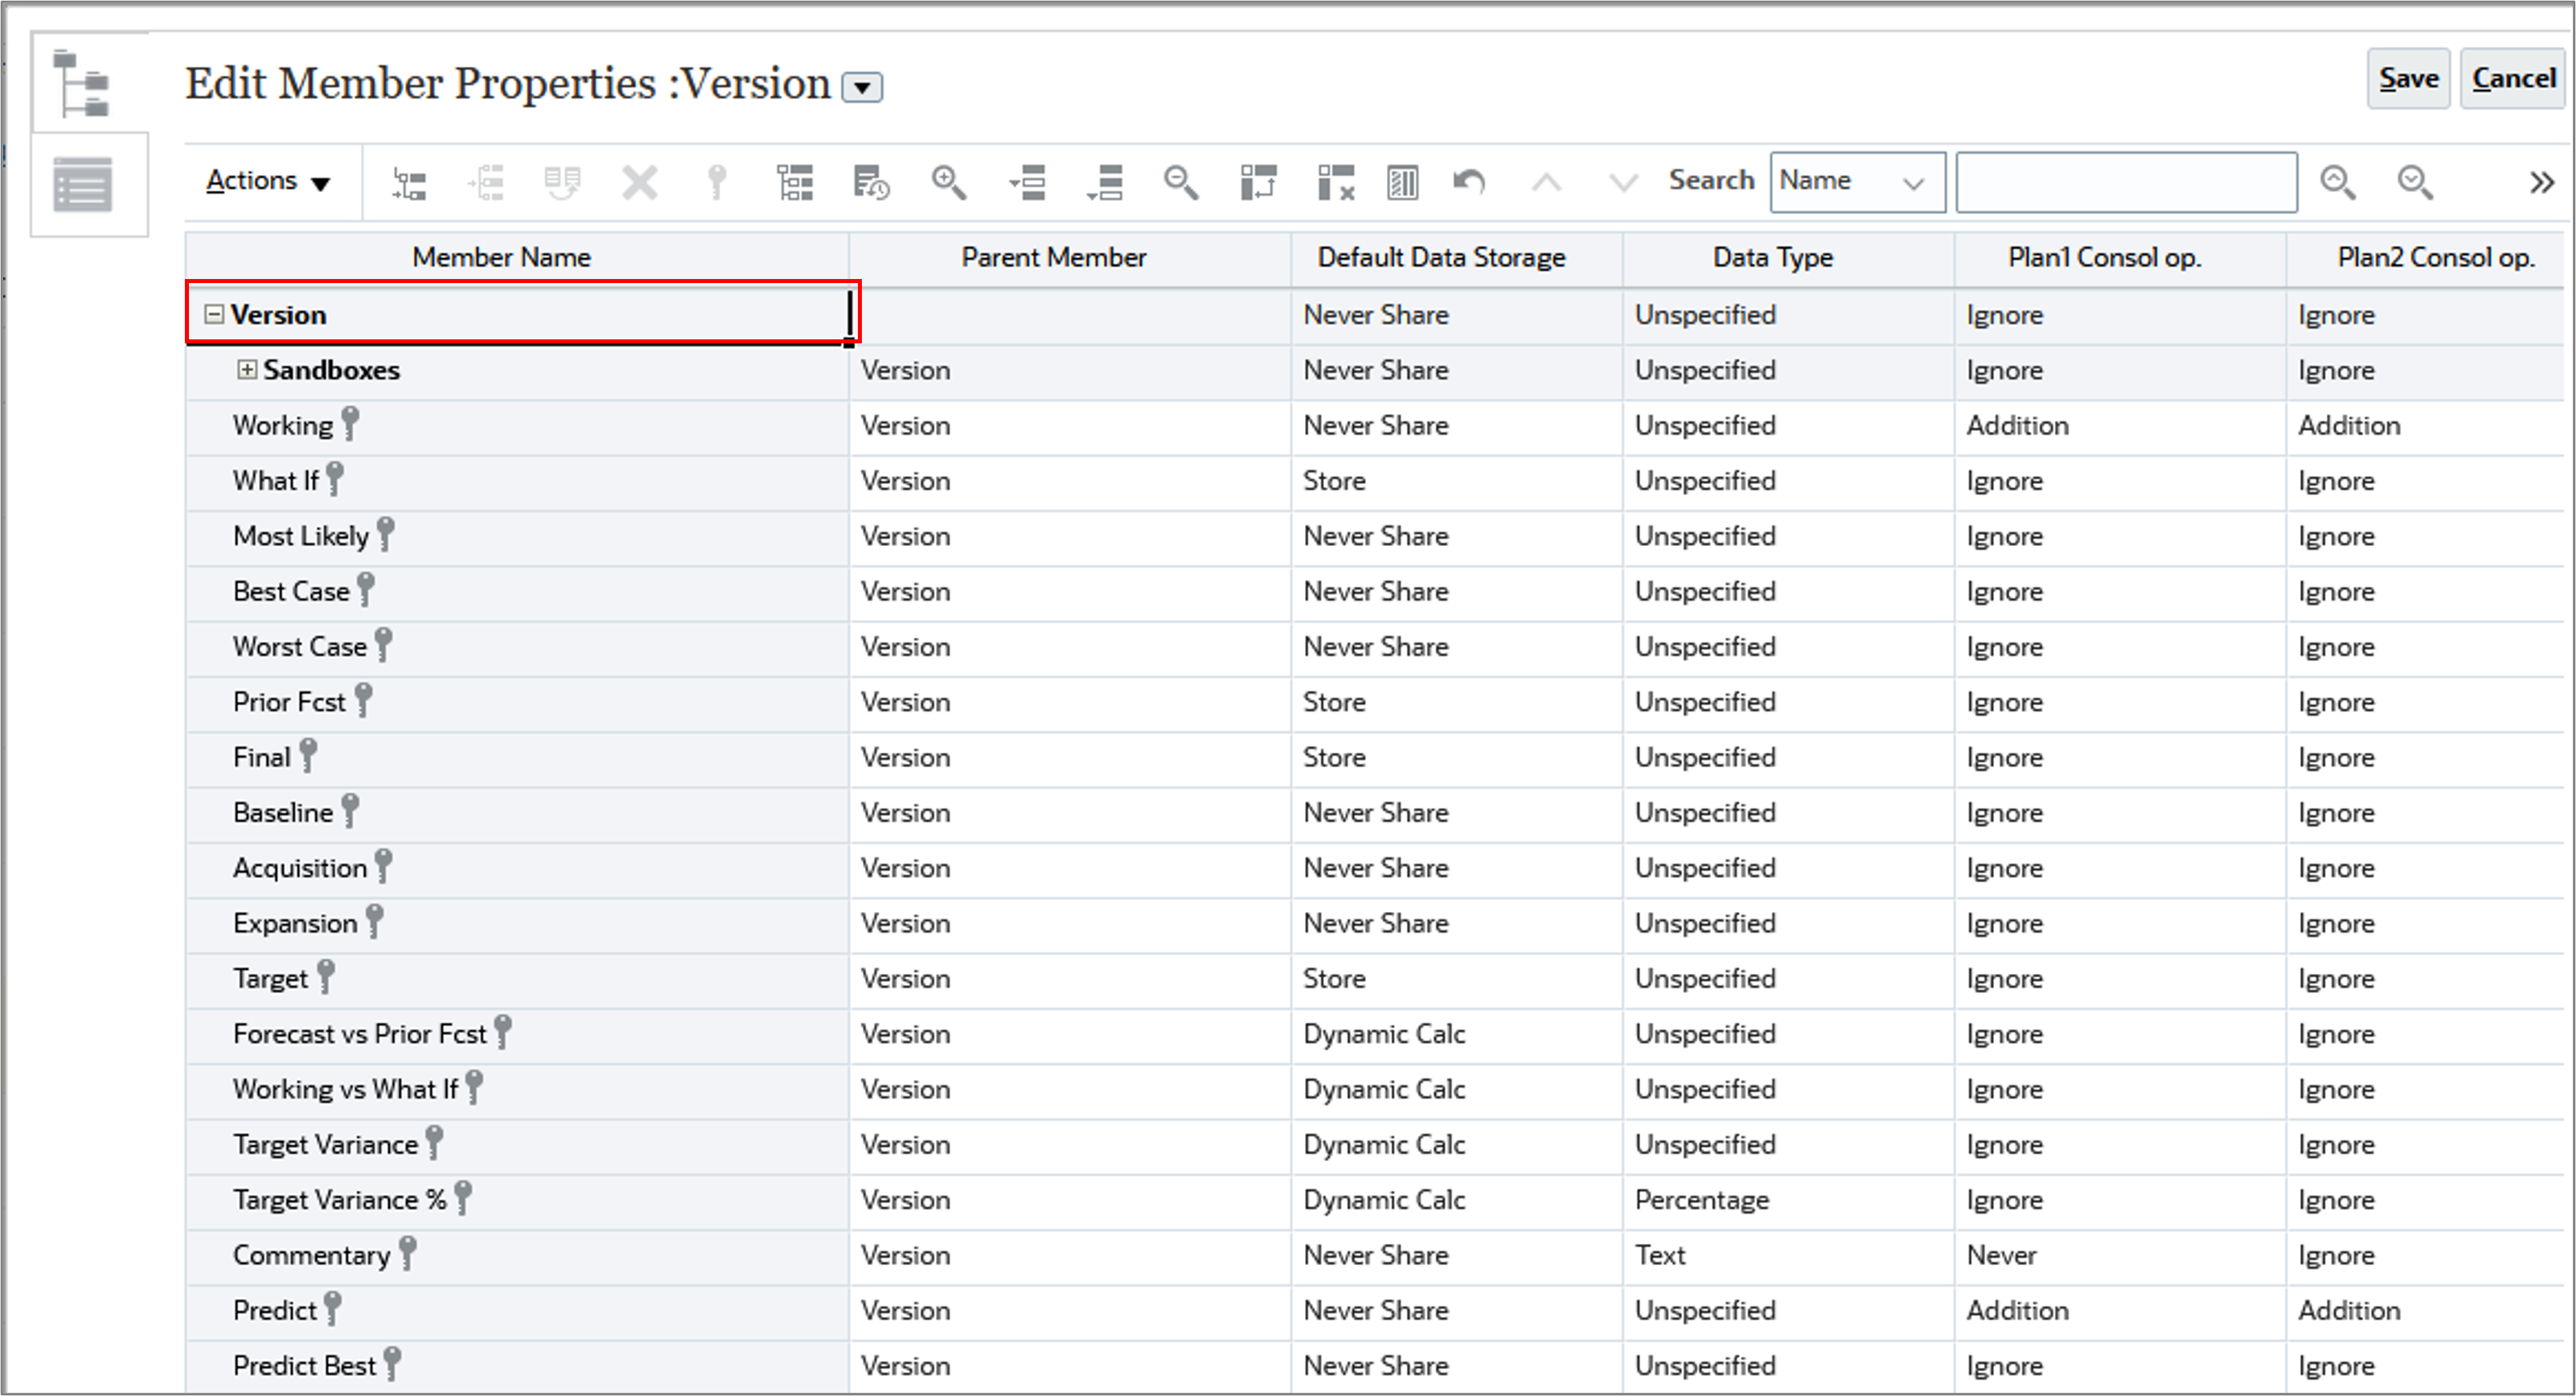
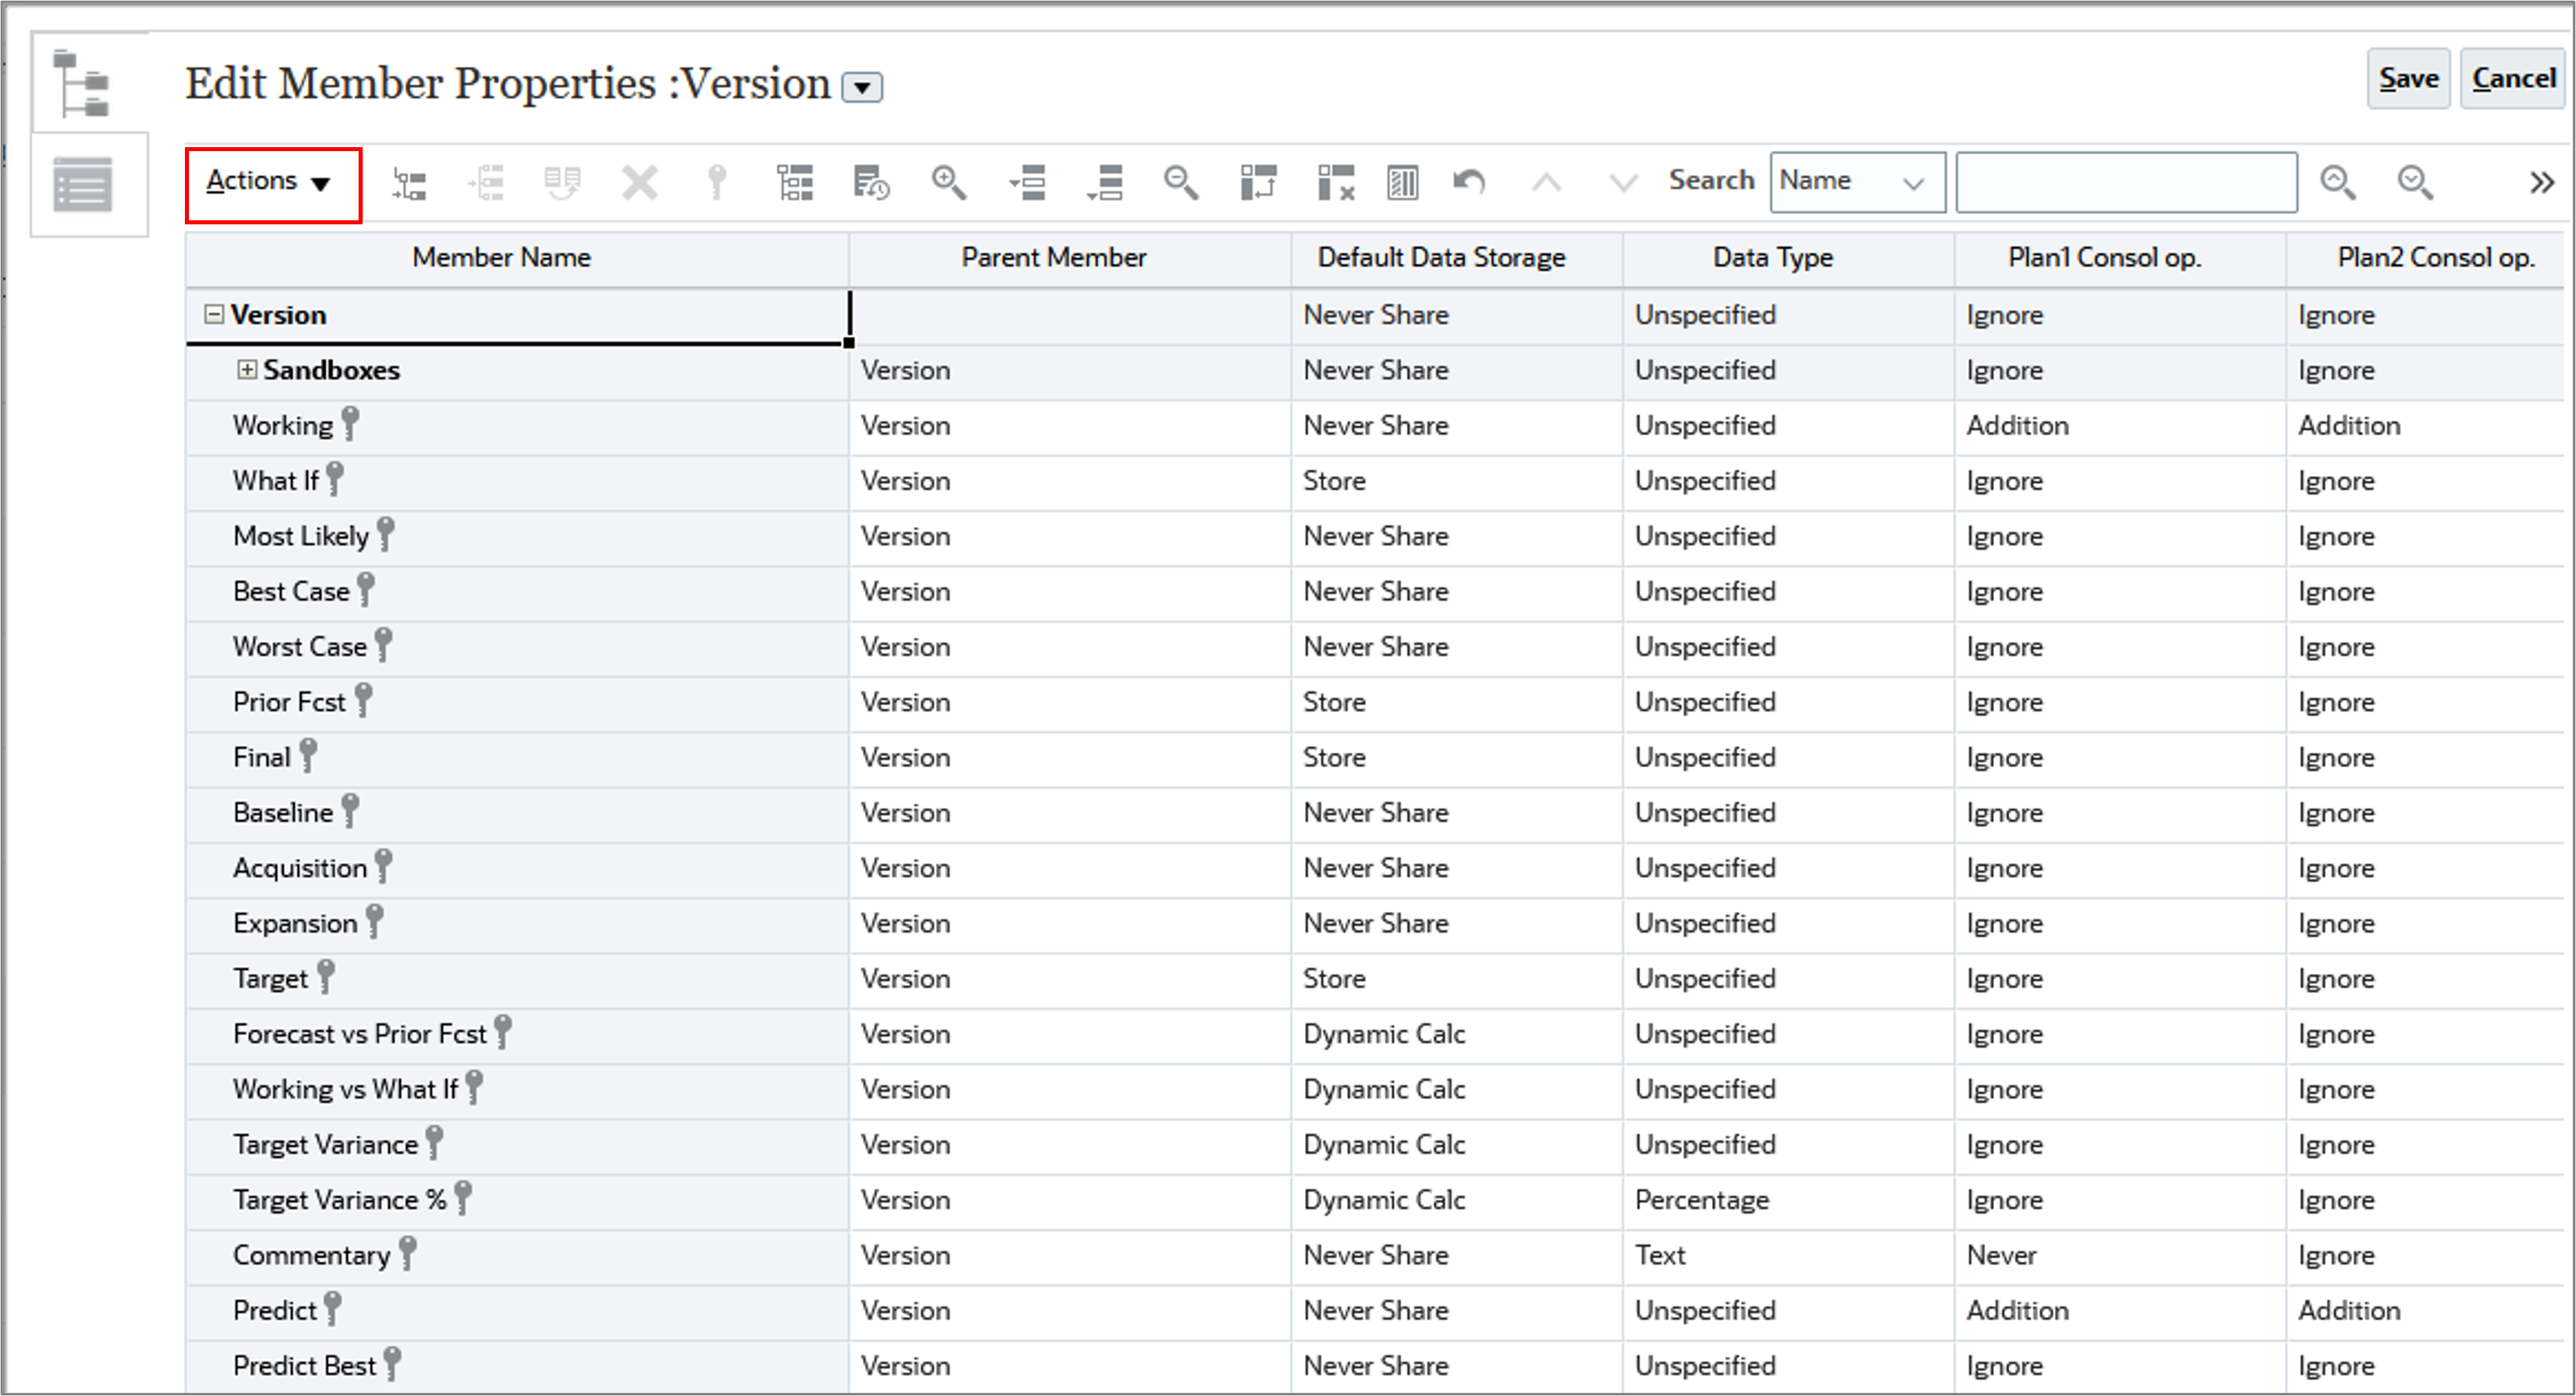
- Select Version in the hierarchy.
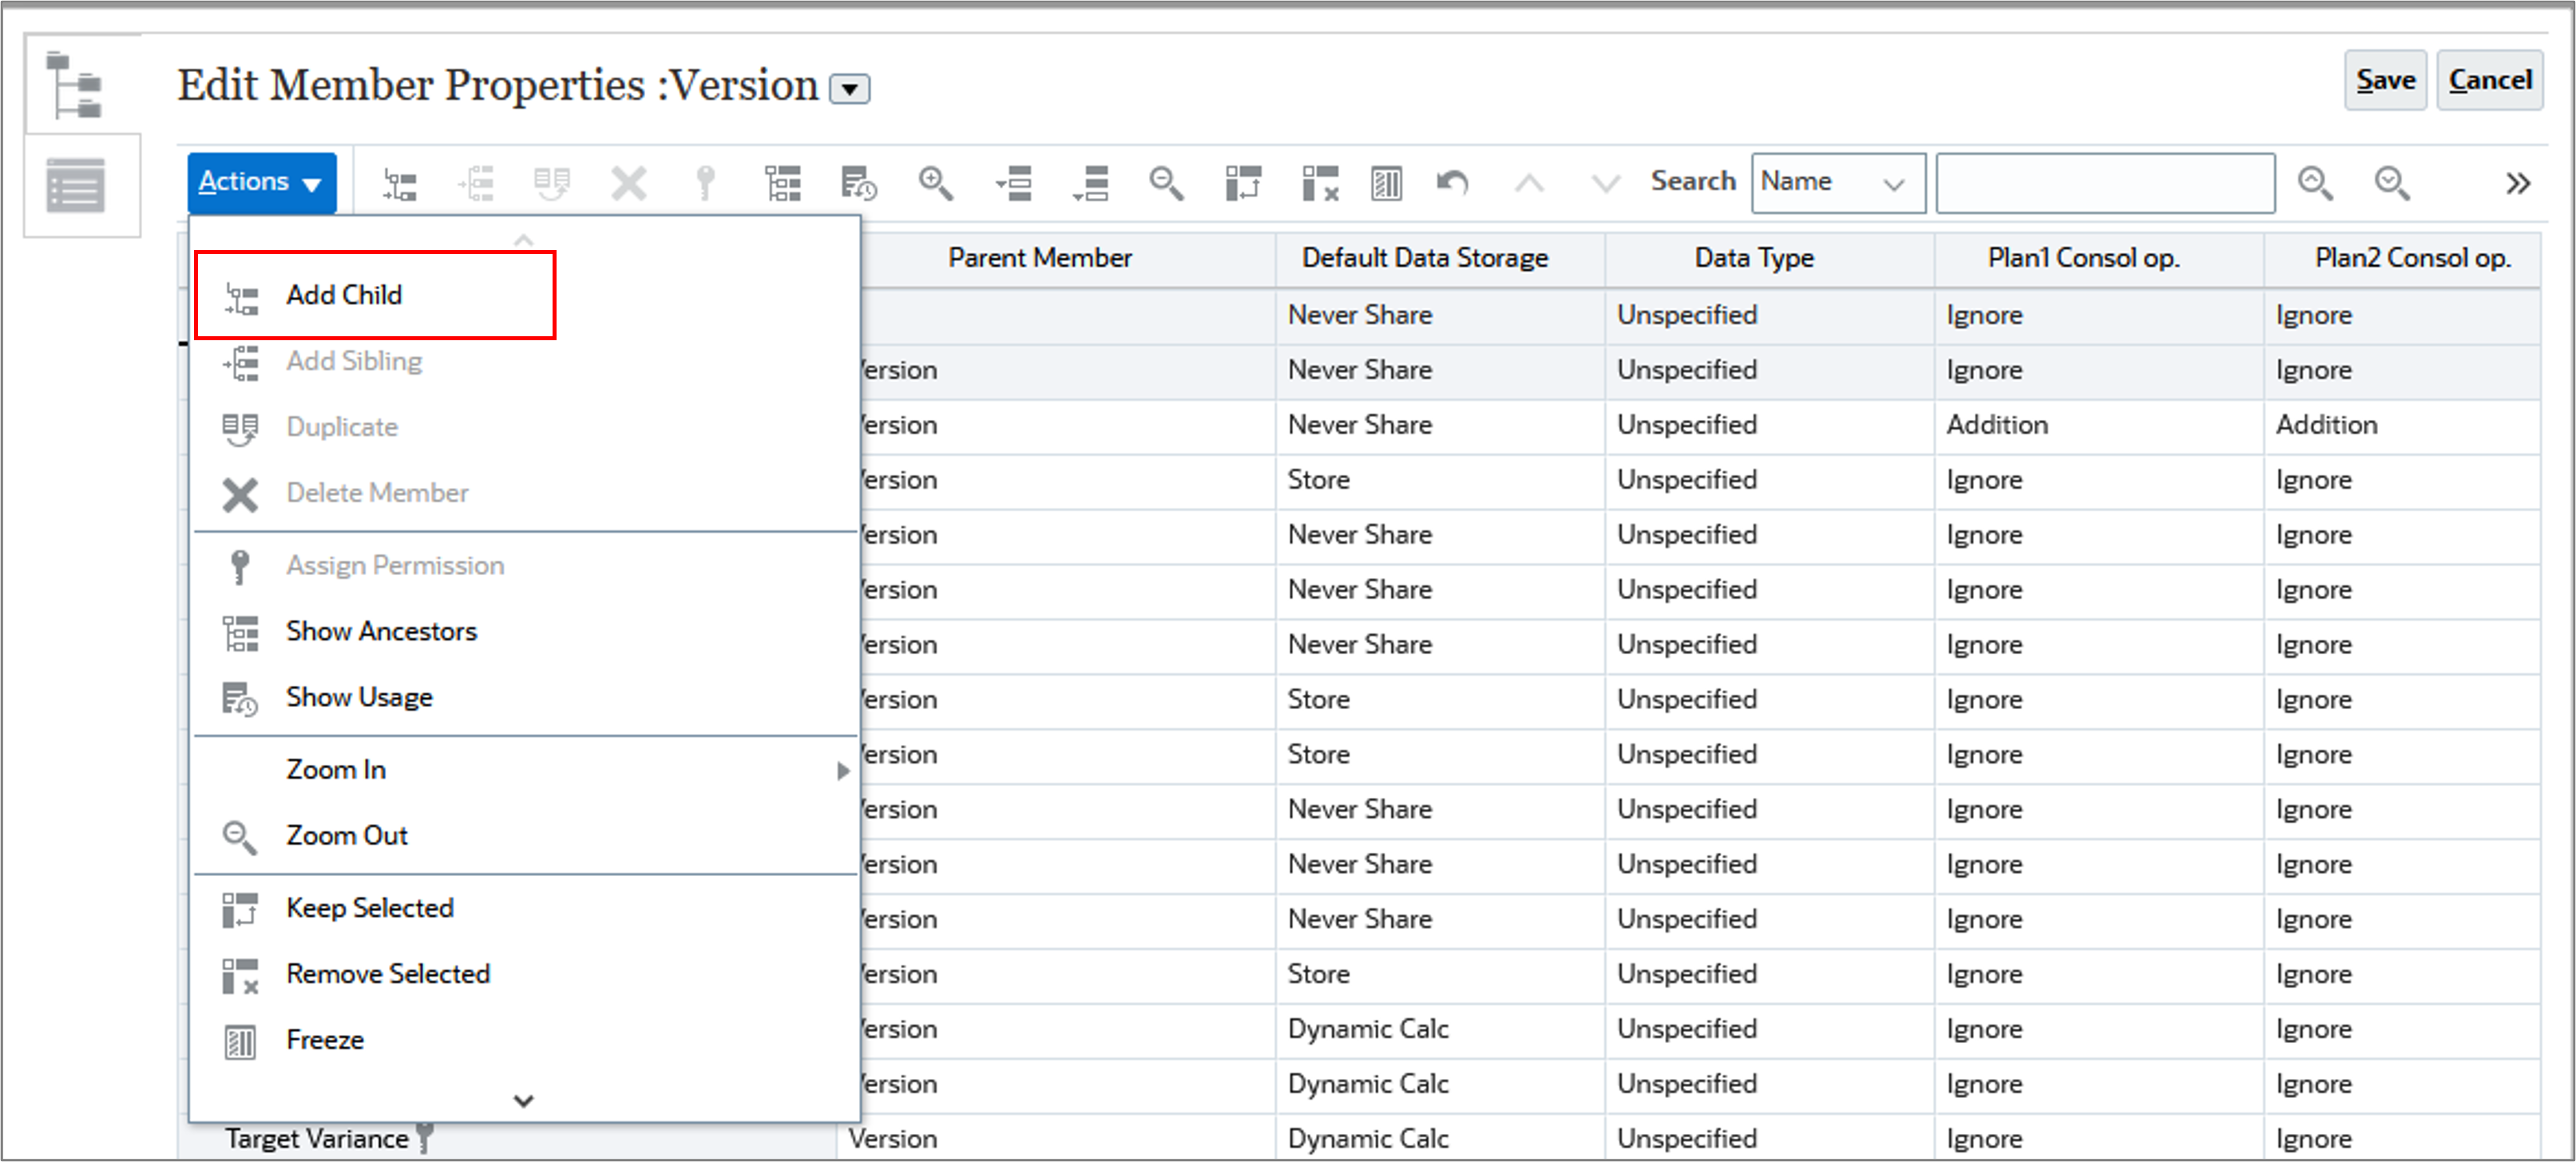
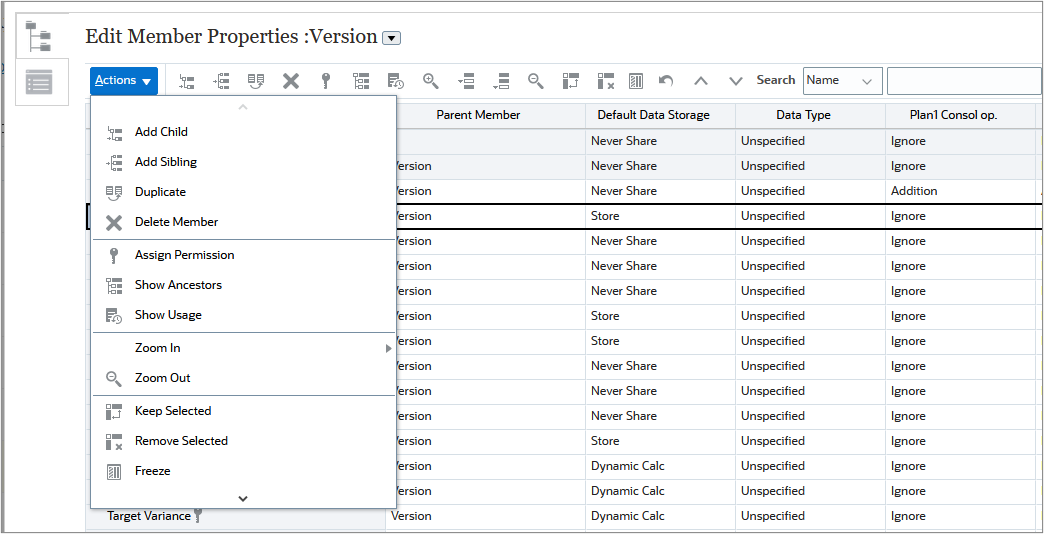
- Click Actions.
- From the Actions menu, select Add Child.
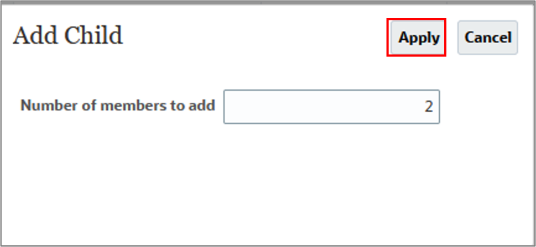
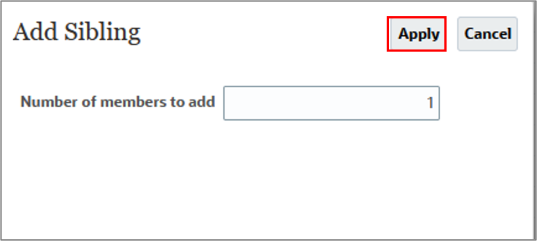
- In the Add Child dialog, enter 2 and click Apply.
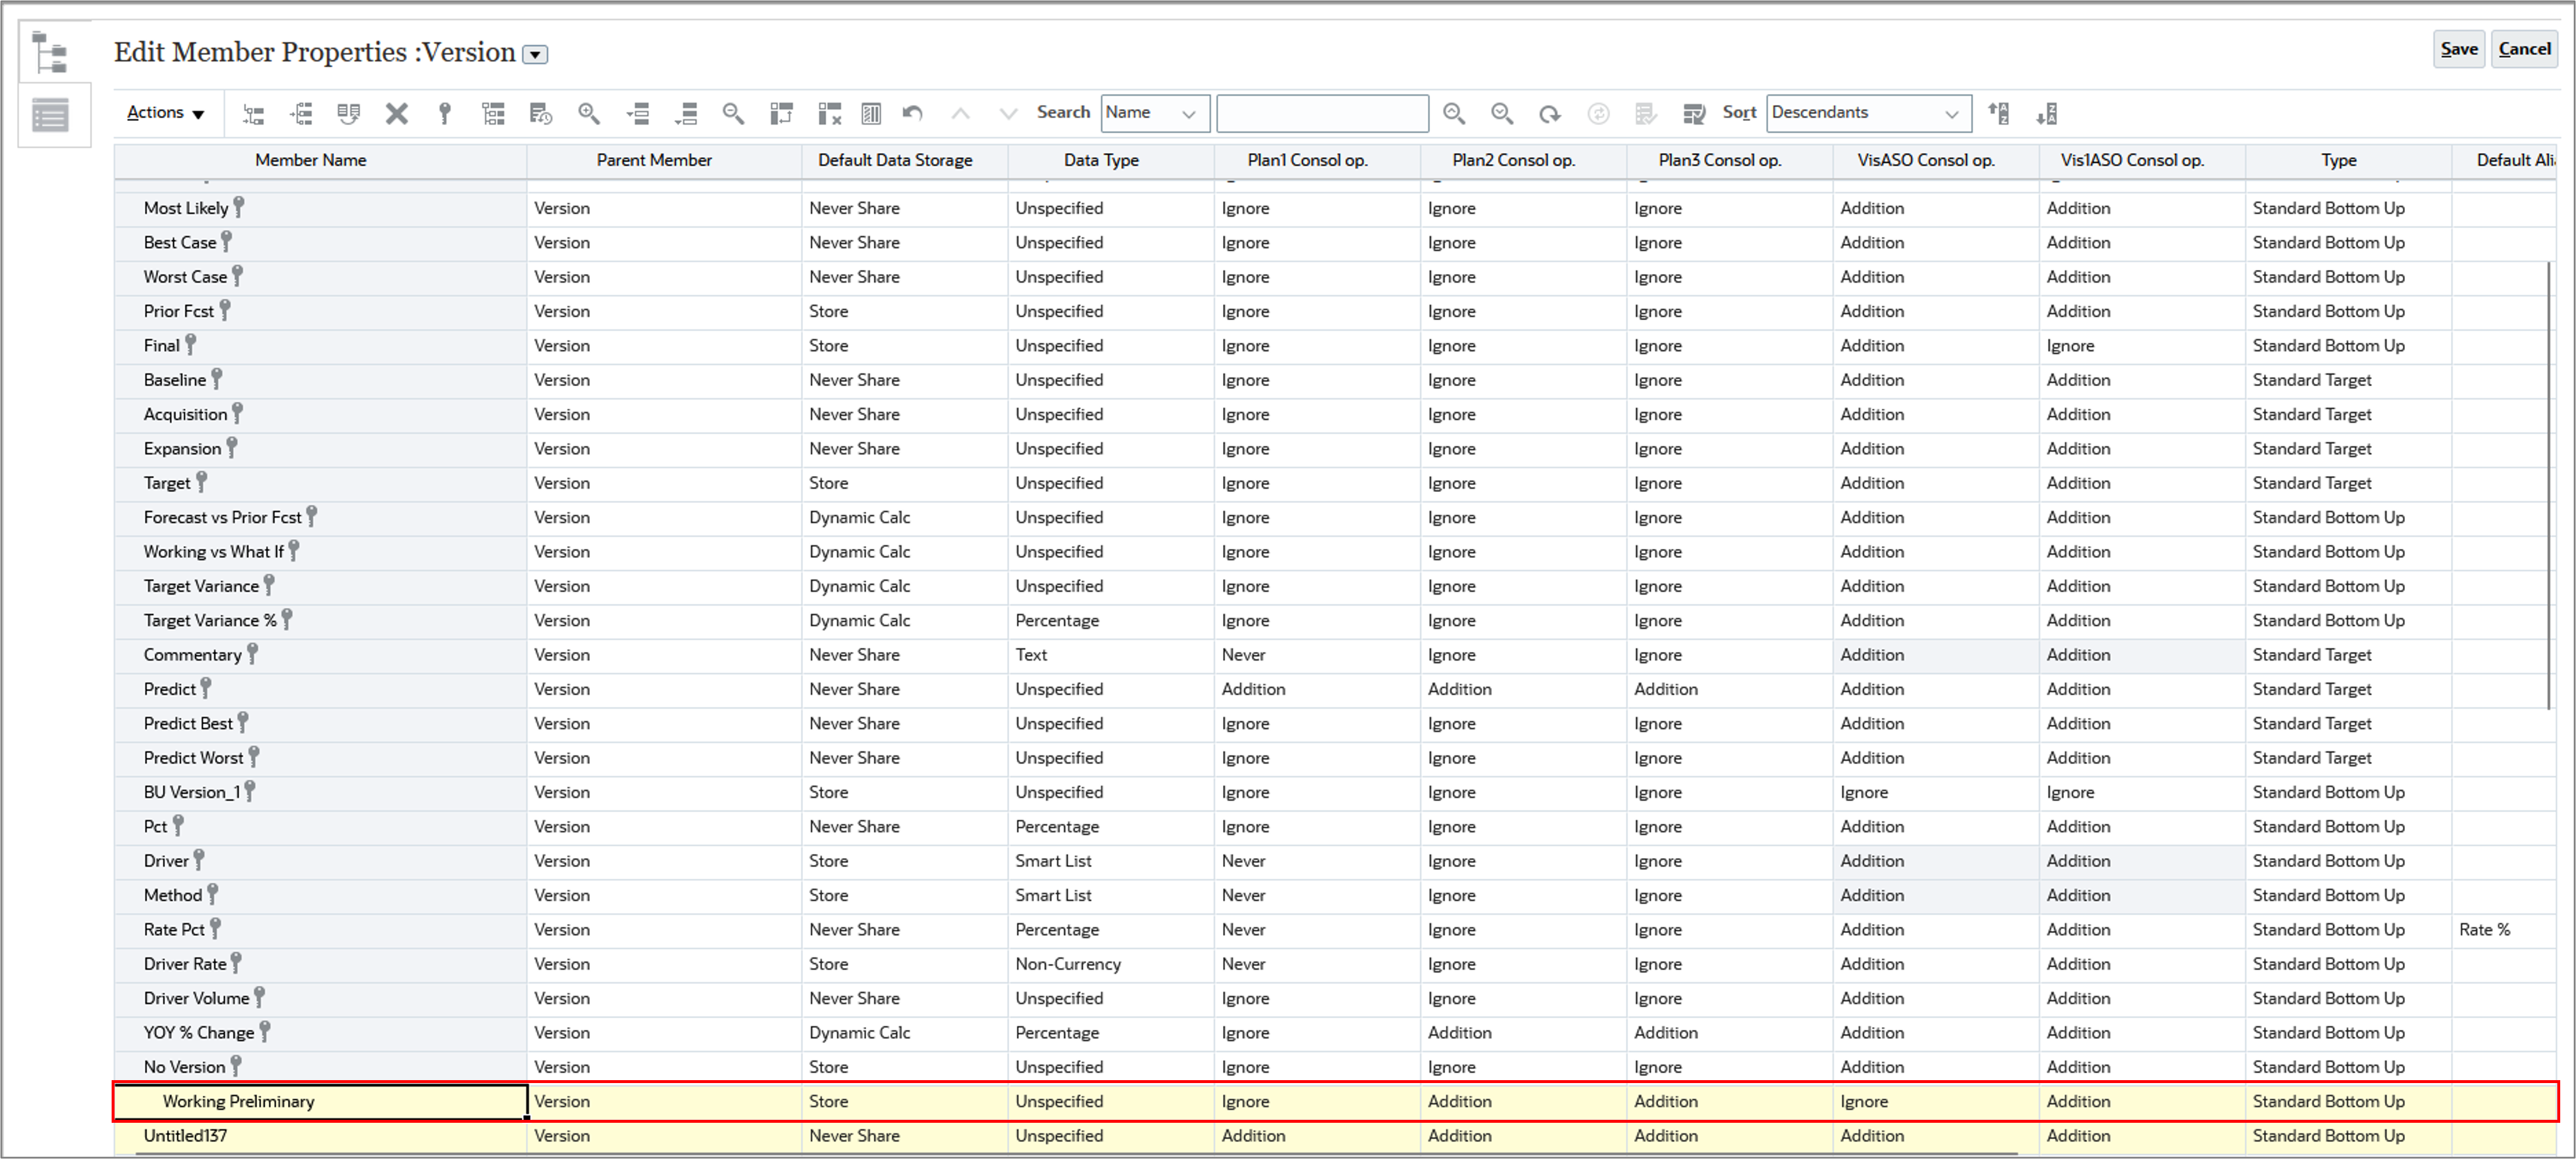
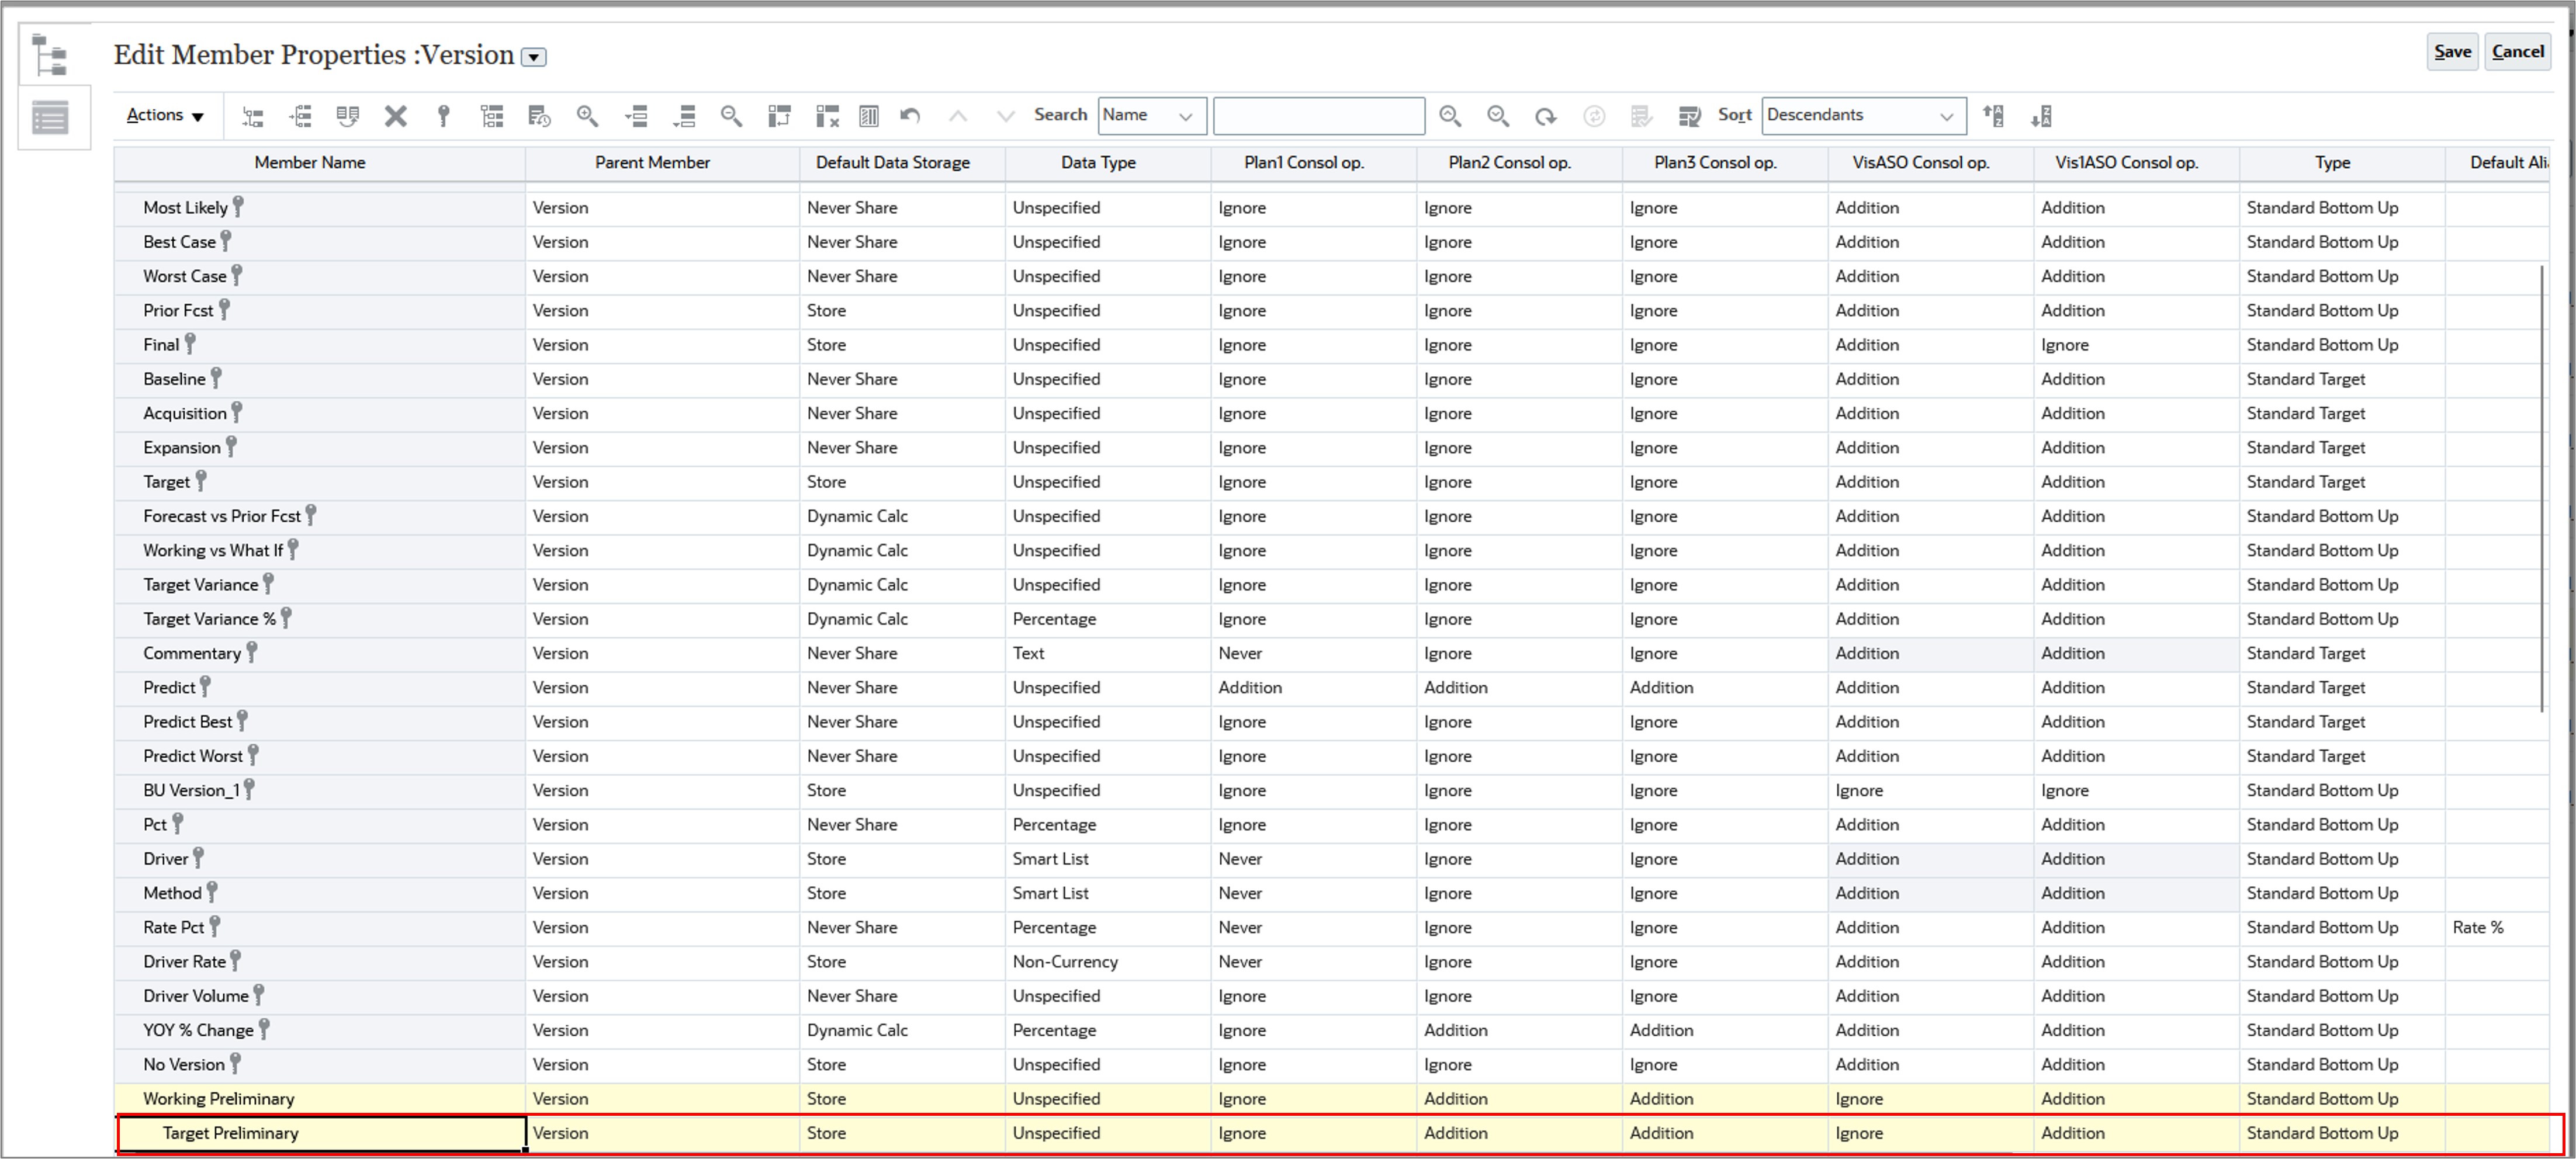
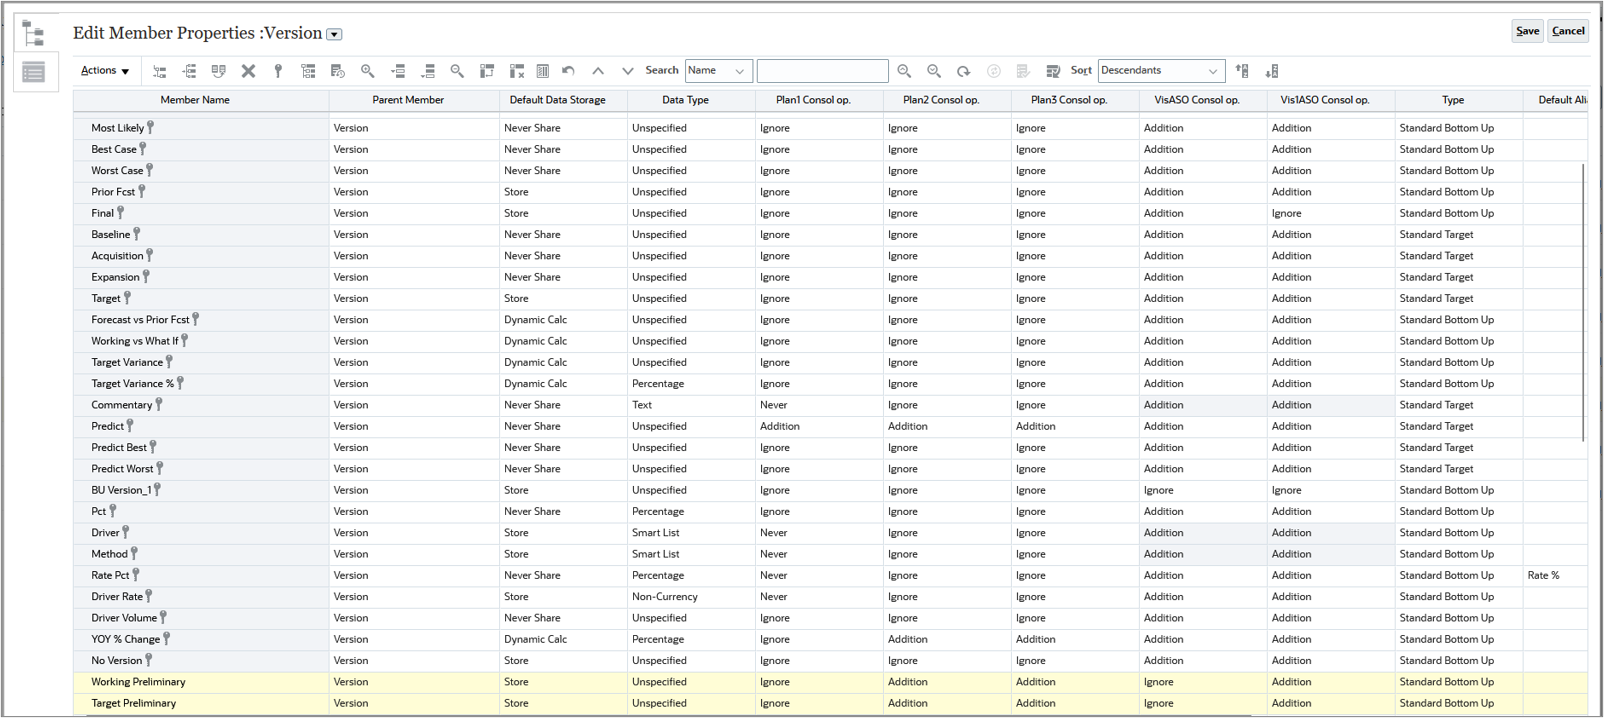
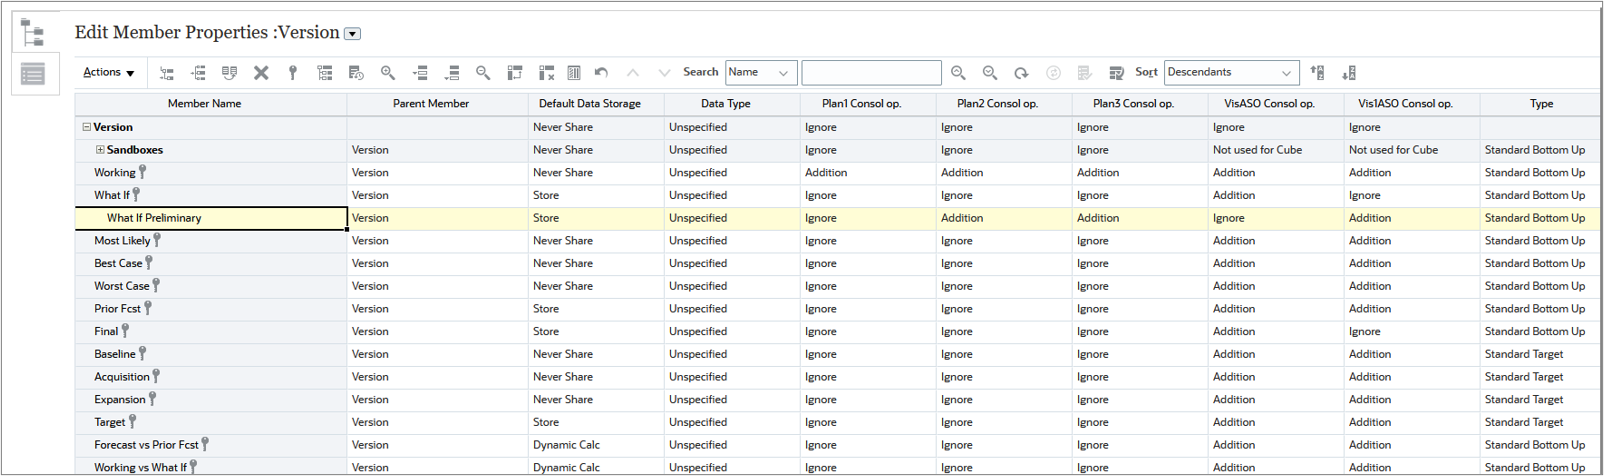
- For the first new row, enter or select the following:
- Member Name: Working Preliminary
- Default Data Storage: Store
- Plan1 Consol op: Ignore
- VisASO Consol op: Ignore
- Enable Sandboxes: Yes
- For the second new row, enter or select the following:
- Member Name: Target Preliminary
- Default Data Storage: Store
- Plan1 Consol op: Ignore
- VisASO Consol op: Ignore
- Enable Sandboxes: No
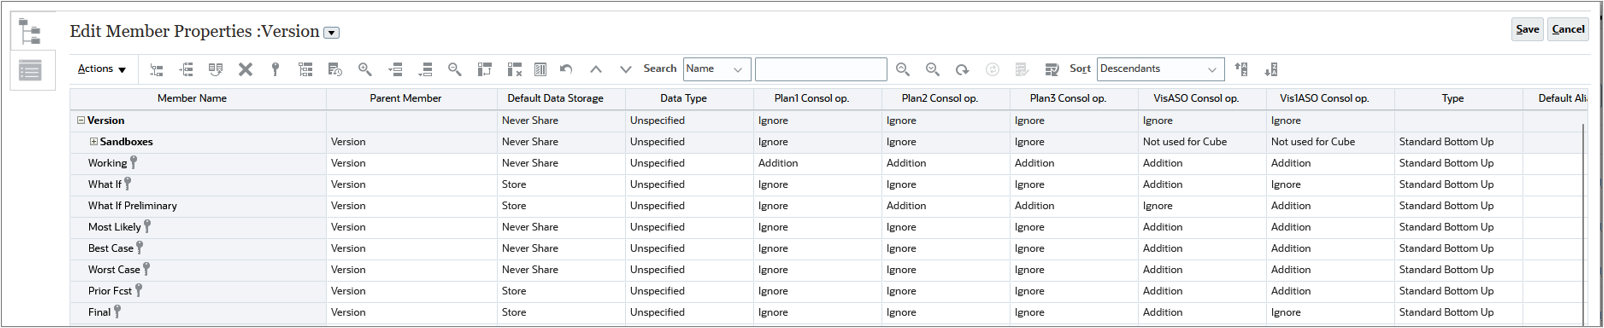
- Click Save.
- Select the What If version.
- From the Actions menu, select Add Sibling.
- In the Add Sibling dialog box, accept 1 for the number of members, and click Apply.
- For the new row, enter or select the following:
- Member Name: What If Preliminary
- Default Data Storage: Store
- Plan1 Consol op: Ignore
- VisASO Consol op: Ignore
- Enable Sandboxes: No
- Click Save.
- Click Cancel.

Refreshing the database
After adding, changing, or removing members, you must refresh the database.
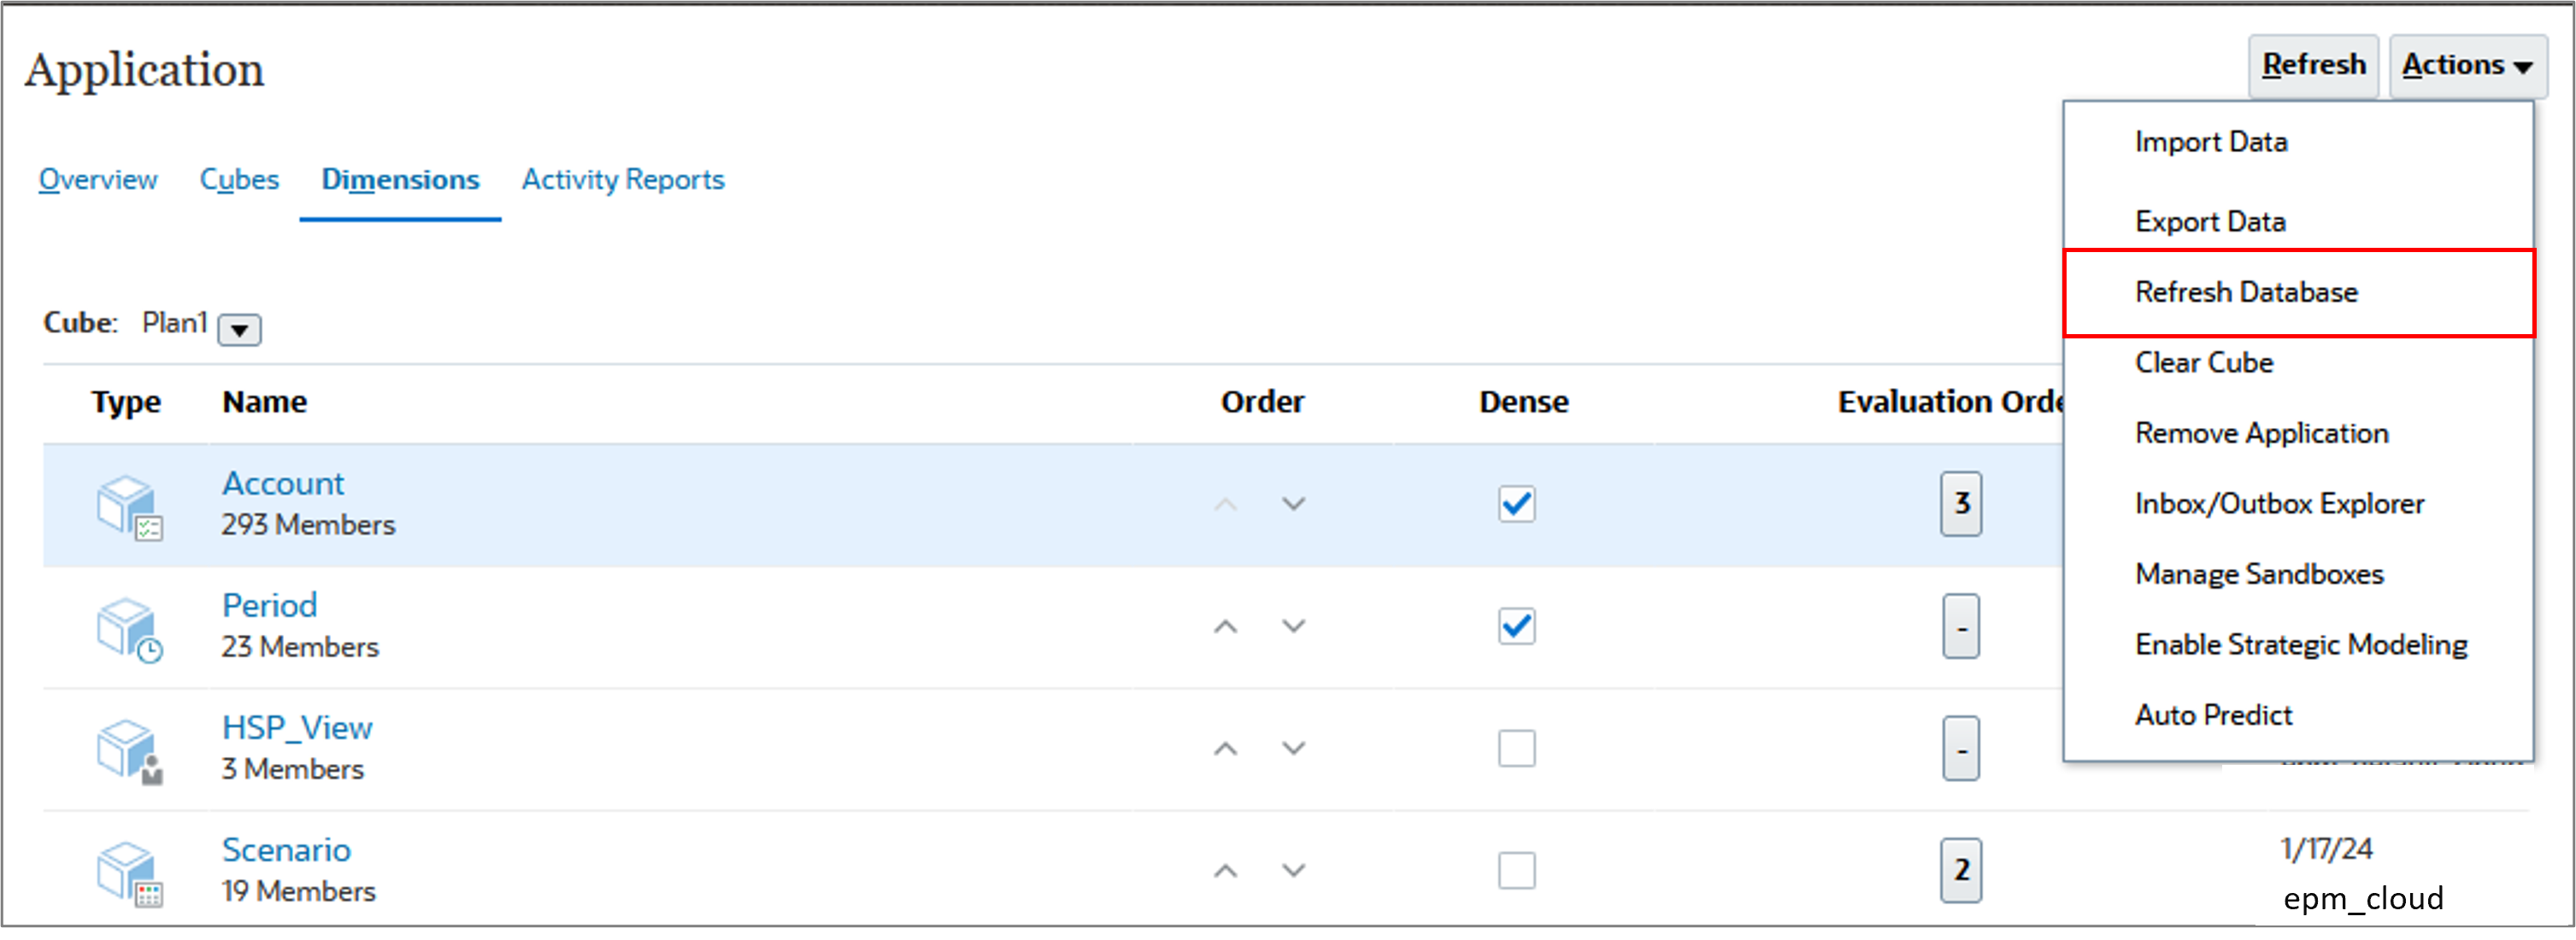
- On the Application page, click Actions.
- Select Refresh Database.
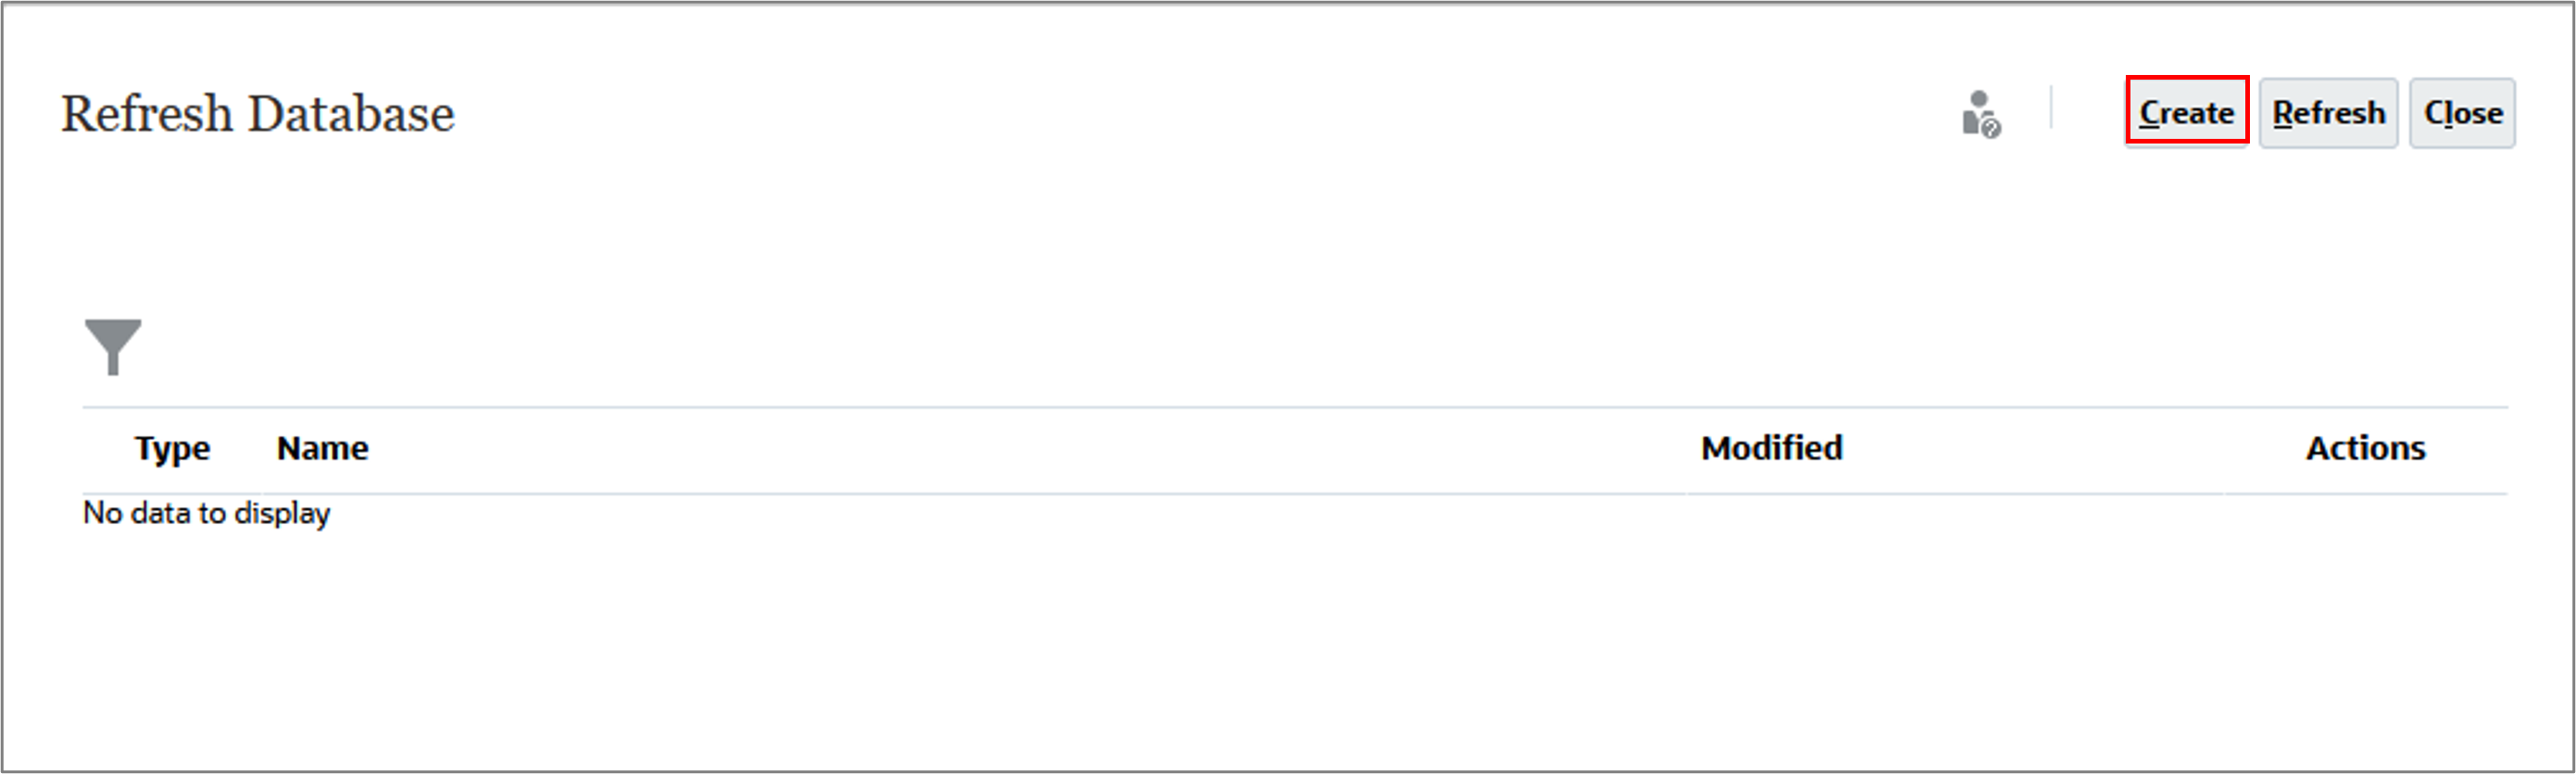
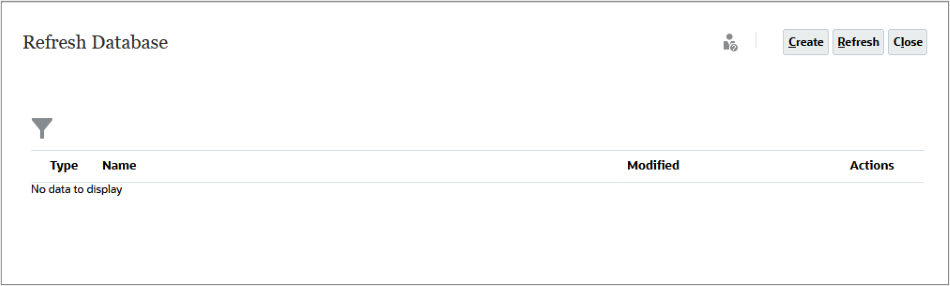
- On the Refresh Database dialog, click Create.
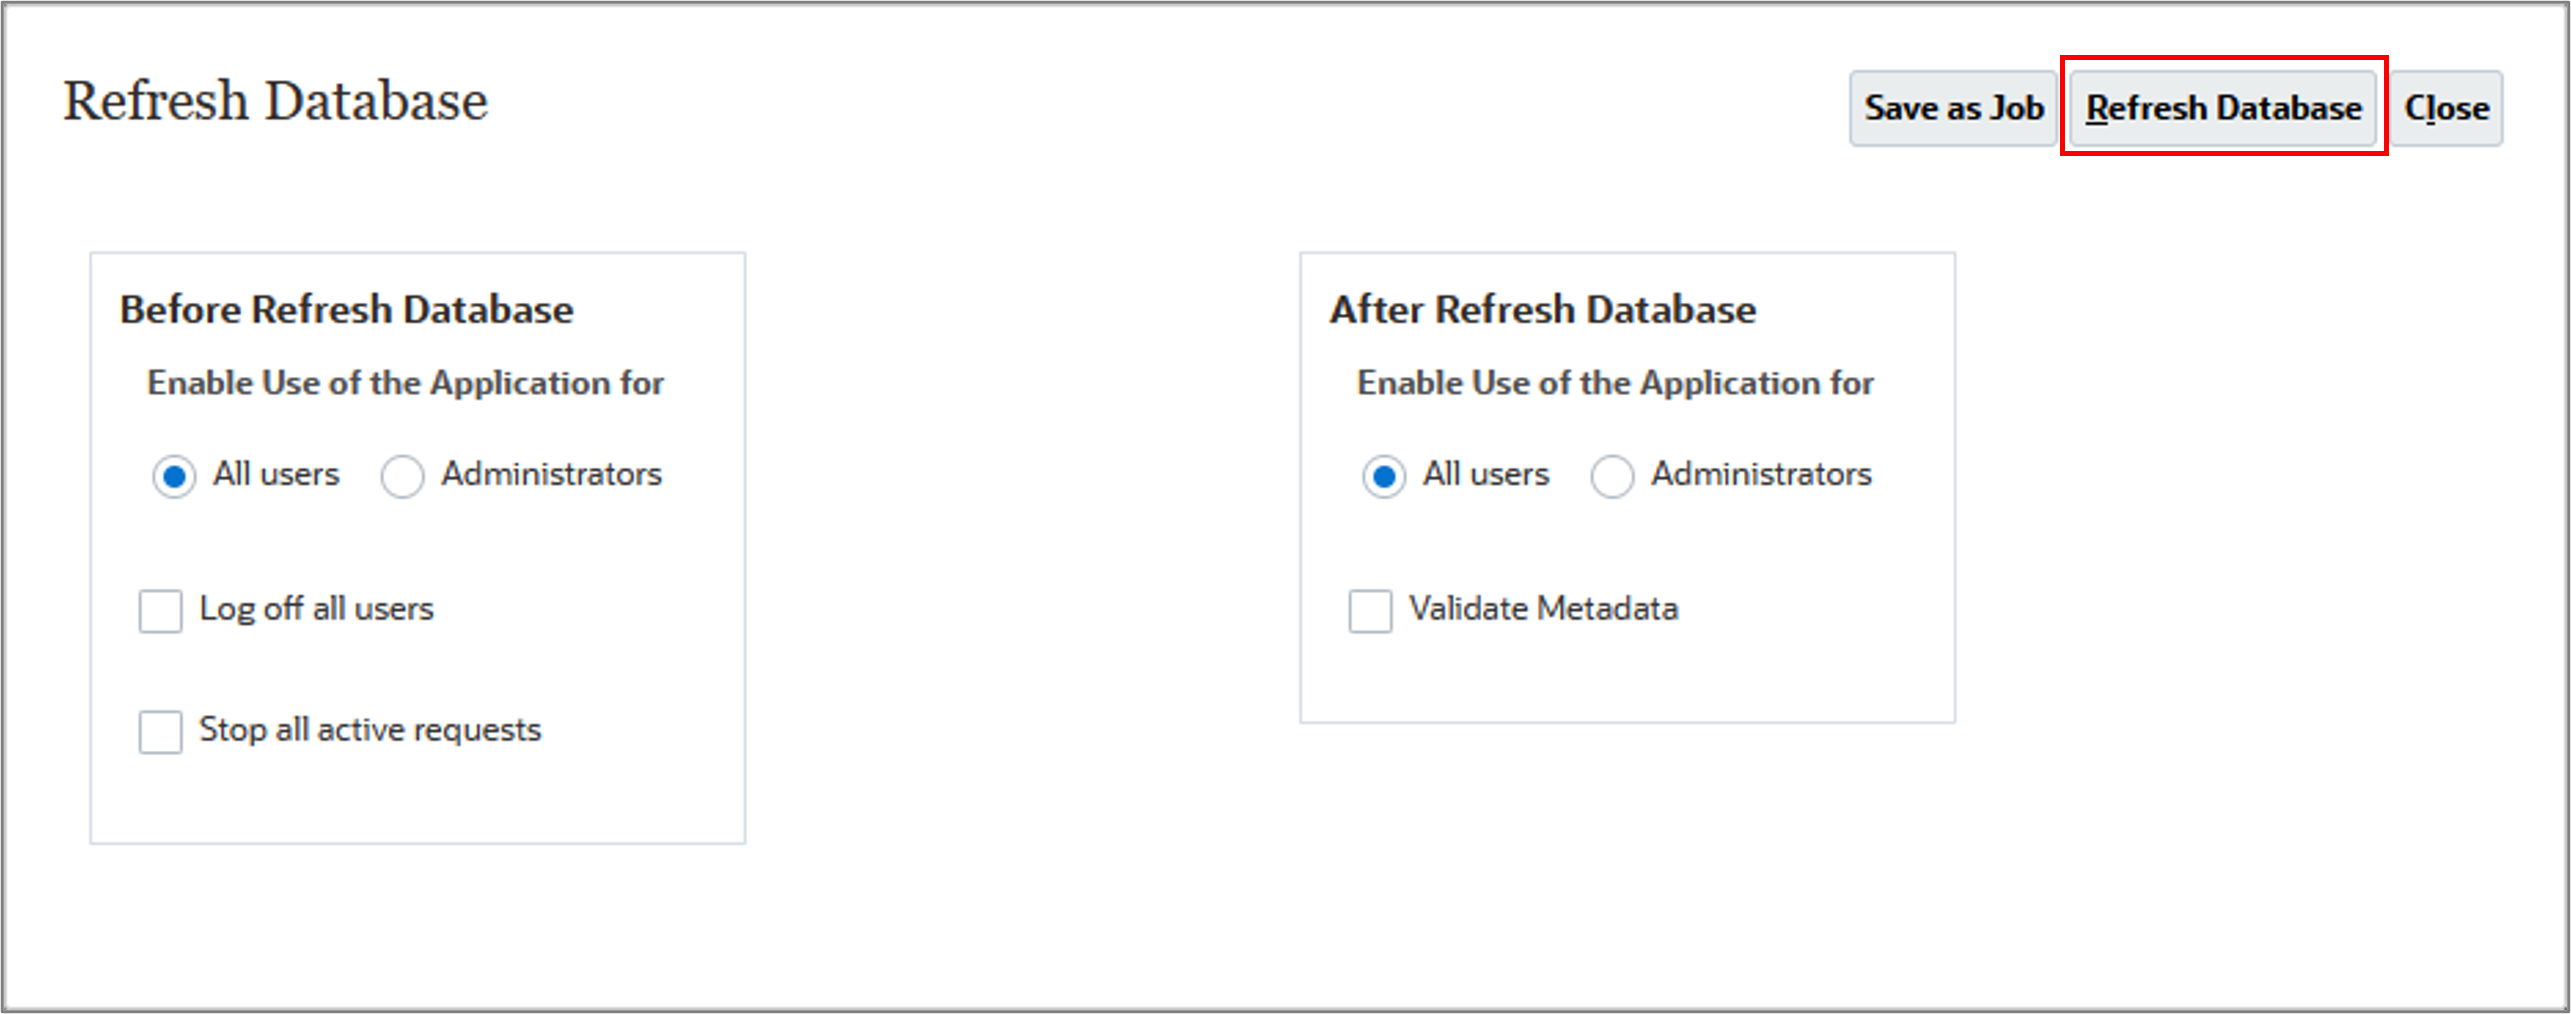
- On the Refresh Database dialog, click Refresh Database.
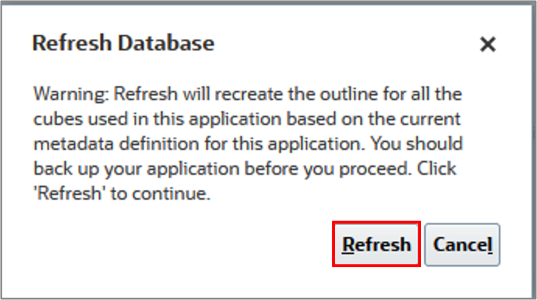
- On the Refresh Database dialog, click Refresh.
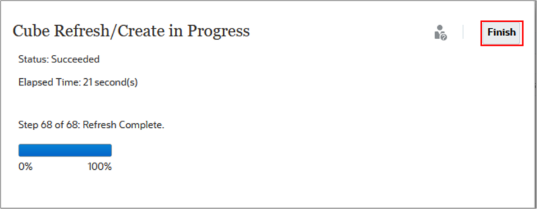
- After the successful confirmation message is displayed, click Finish.
- Click Close.
- On the Refresh Database dialog, click Close.

Editing Versions in Planning
You can modify version information. After you make changes to member properties, refresh the database.
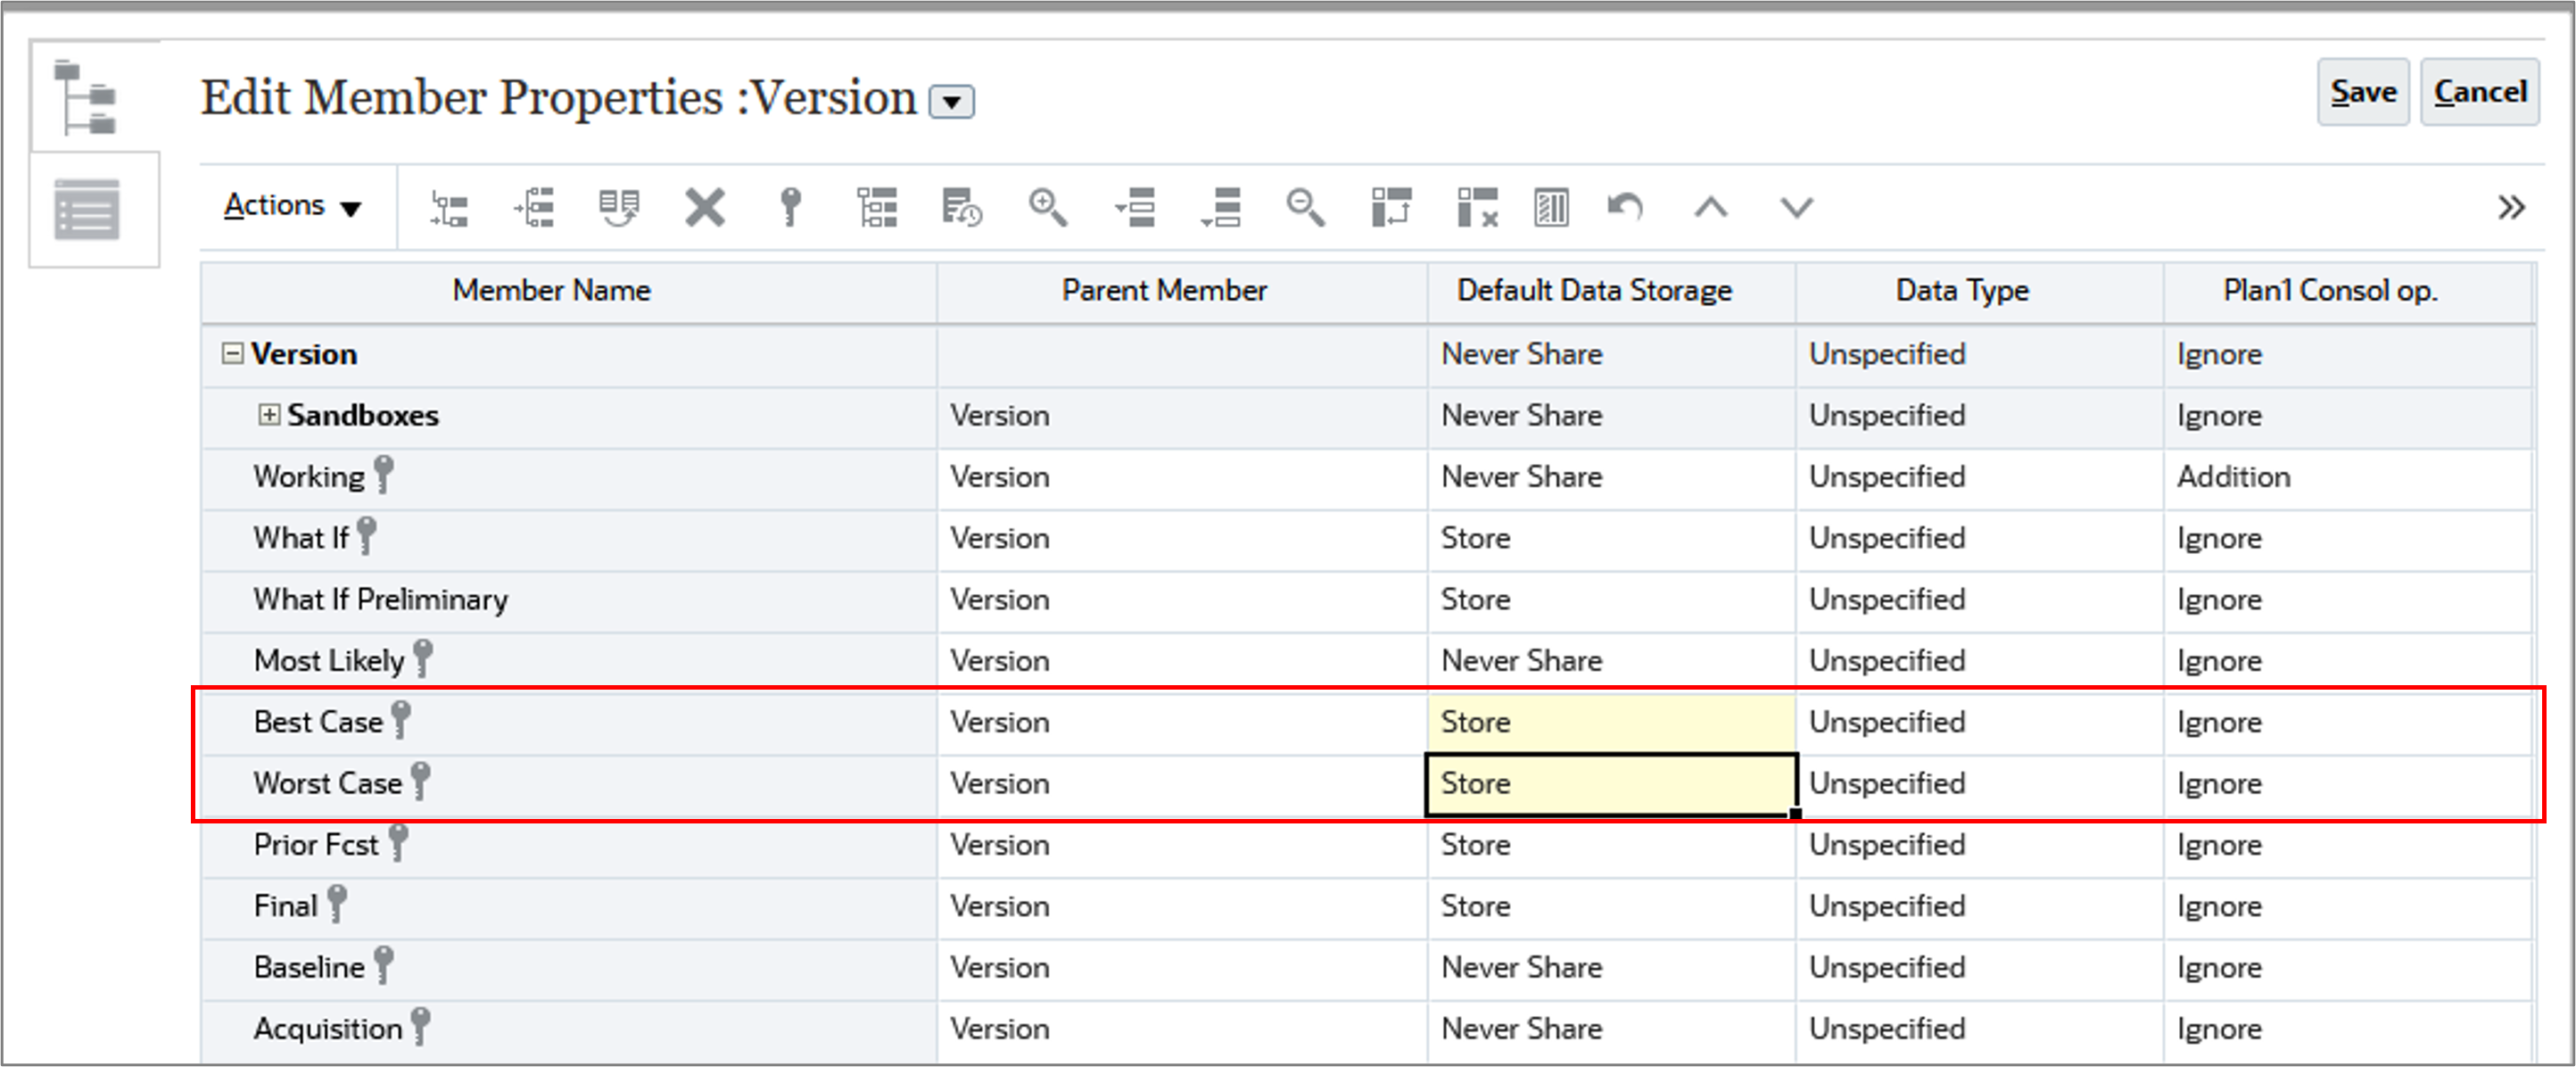
- On the Dimensions tab, select Version.
- For Best Case and Worst Case, change Default Data Storage to Store.
- Click Save.
- Click Cancel.
- Refresh the database. Perform the steps in the Refreshing the database section of this tutorial.


Comparing Versions in Planning
In this section, you learn about comparing different versions of your data.
Comparing the Target Version with the Working Version in Planning
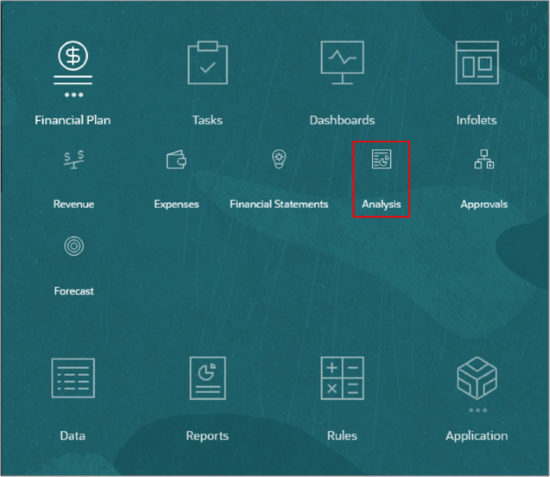
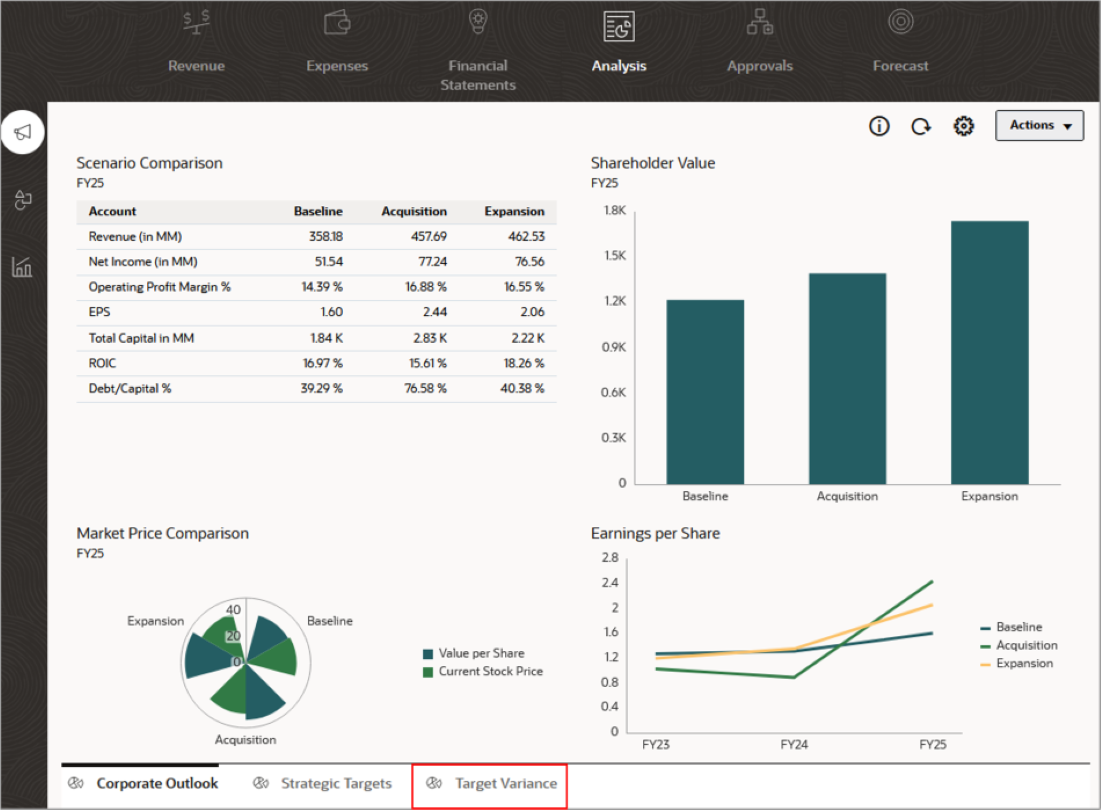
- From the Home page, click Financial Plan, then Analysis.
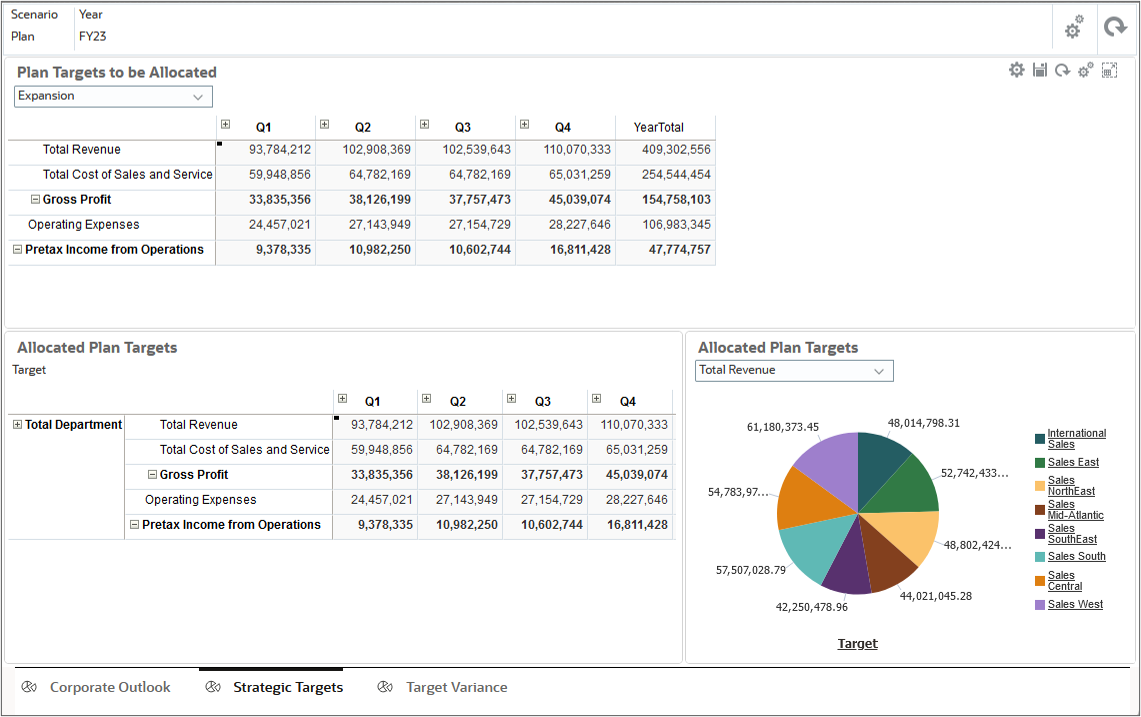
- Select the Target Variance horizontal tab.
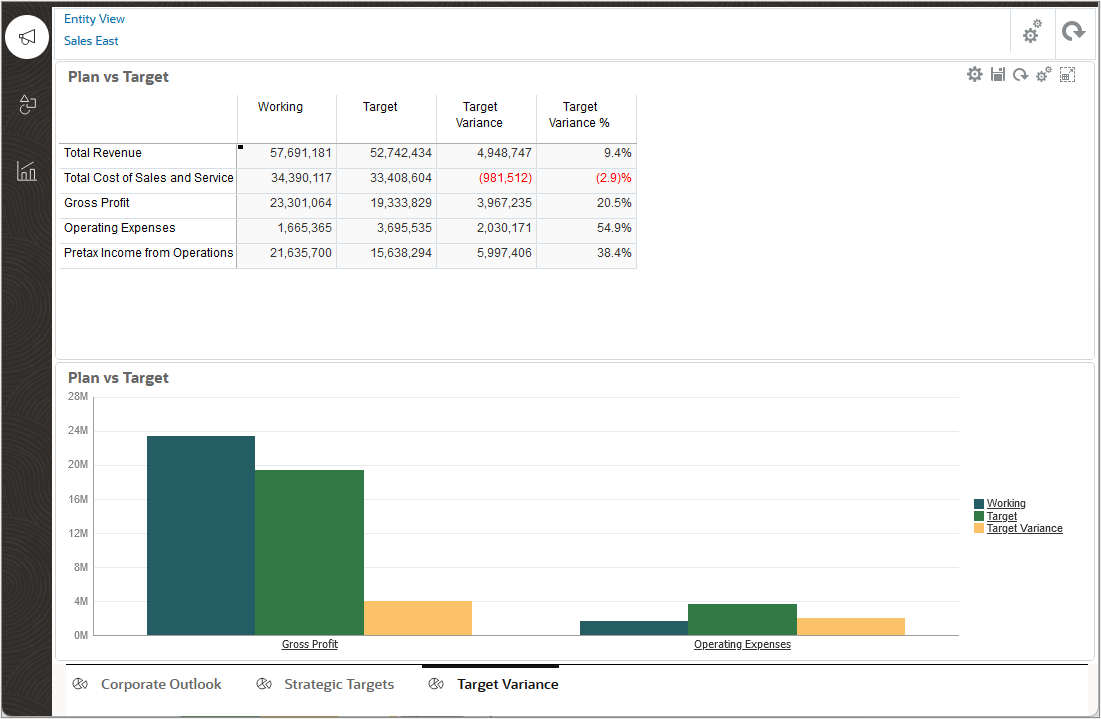
The Target Variance dashboard shows Revenue and Expense information for the Working and Target versions of the Plan scenario. You can also review the target variance and target variance percentage in the grid.
Entering Data in Planning for Different Versions
After you create versions, you can enter data into them. Let’s say you already have a Working version in the Plan scenario with data in it, and that you created a What If version to store data in that What If version. You can enter assumptions into the What If version and then create a dashboard to review the variance between the versions.
- Click (
 ) Home.
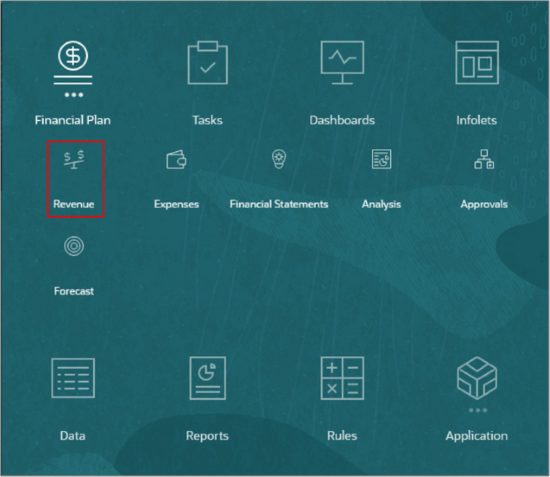
 - From the Home page, click Financial Plan, then Revenue.
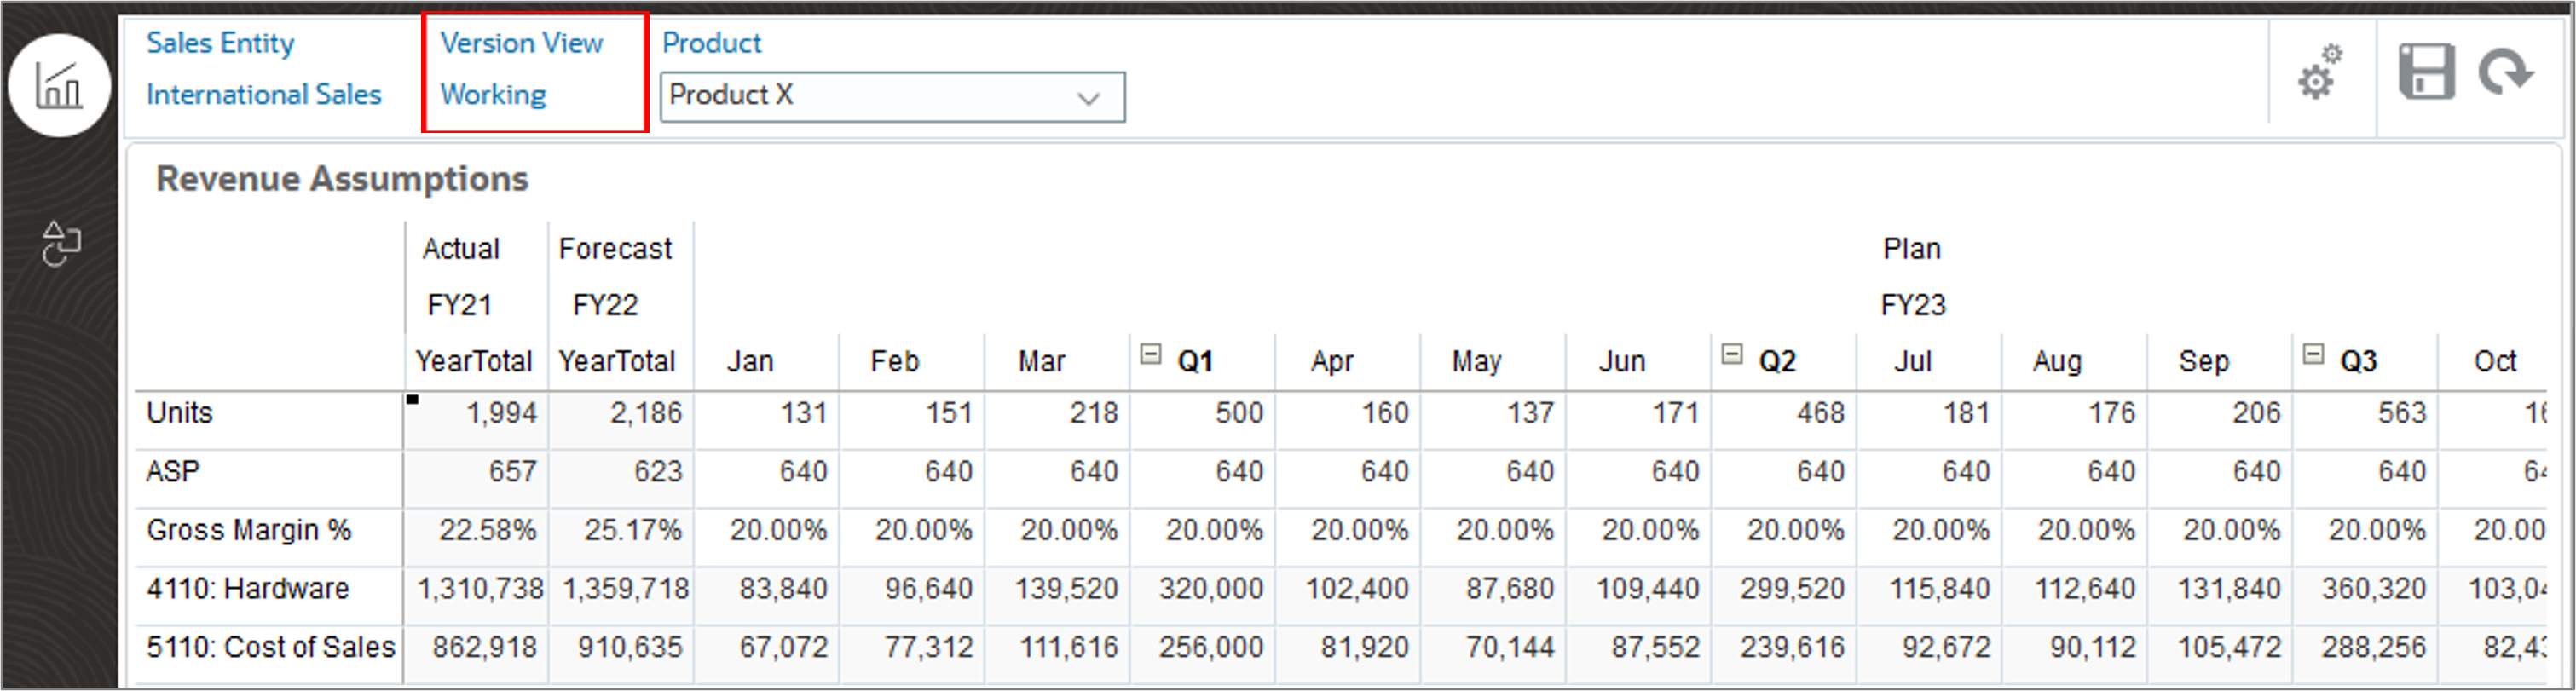
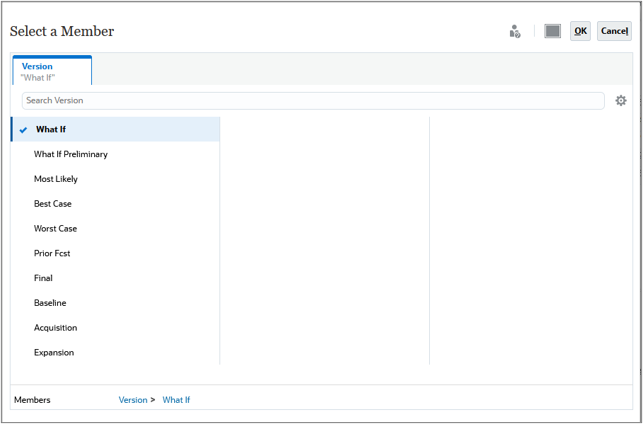
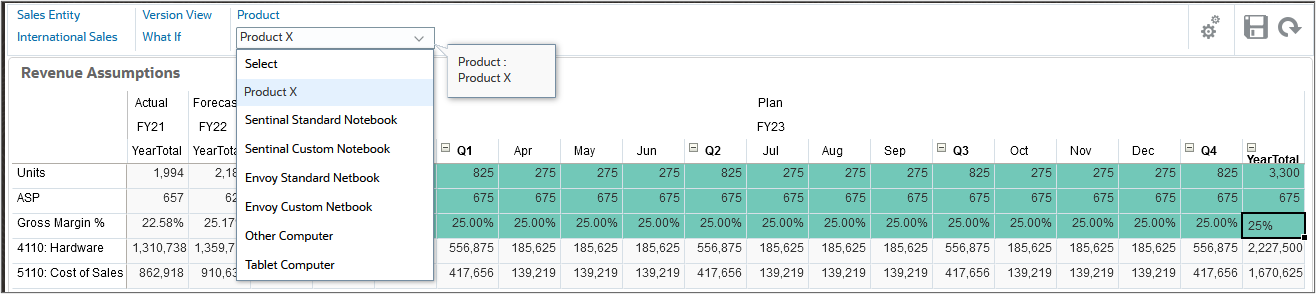
- Click the Version View link.
- Select the What If member, and click OK.
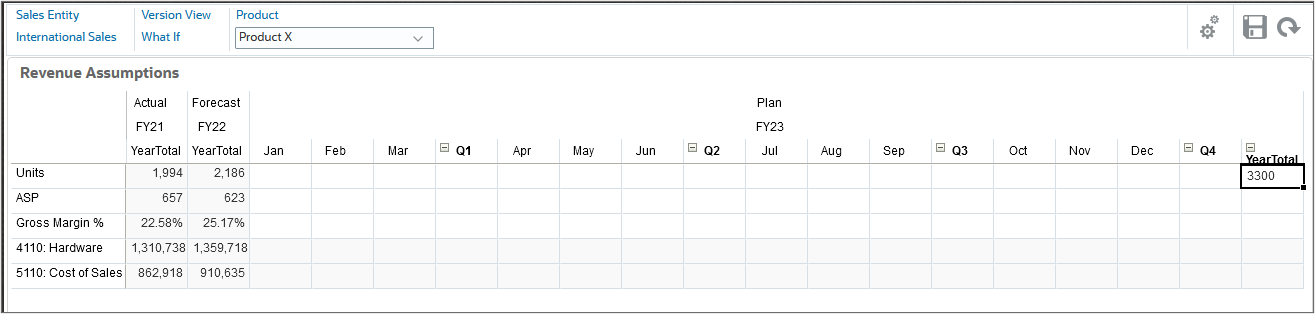
- Enter data for the What If version. For Units, in YearTotal, enter 3300.
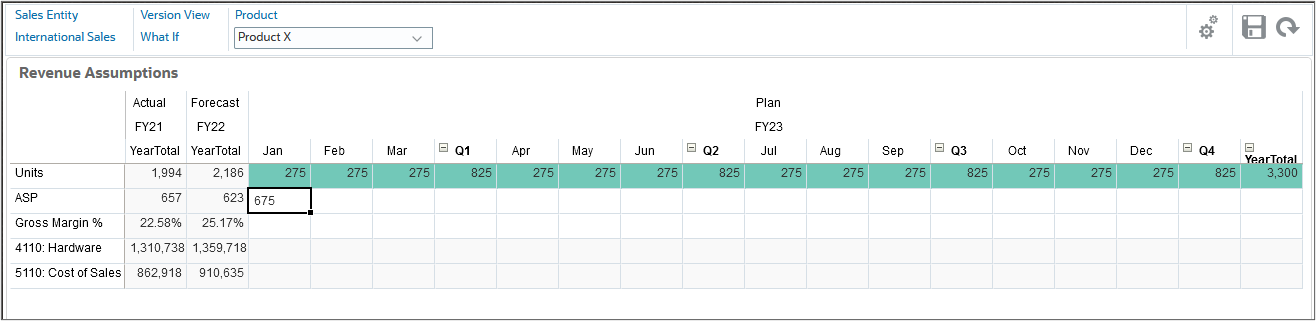
- For selling price, enter 675 in Jan and drag it across all the periods.
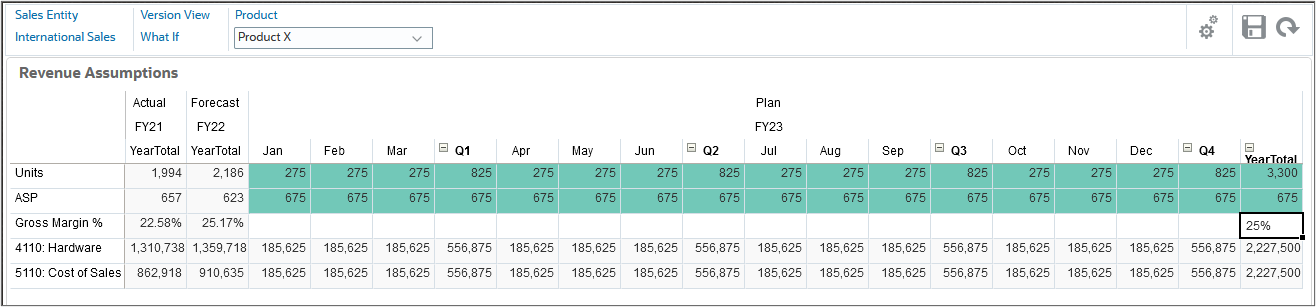
- For Gross Margin %, in YearTotal, enter 25%.
- You can continue entering information for different products by clicking the Product drop down and selecting a different product.
- Click ( ) Home to return to the Home page.
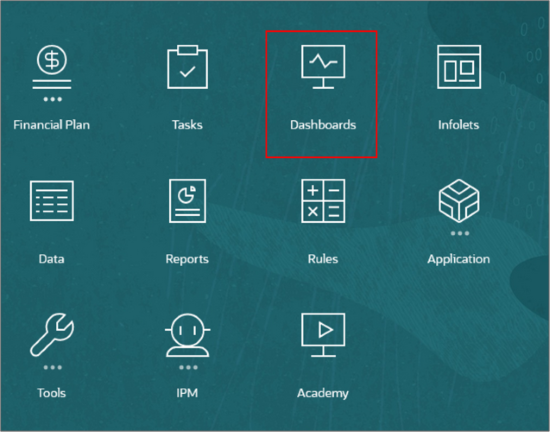
- On the Home page, click Dashboards.
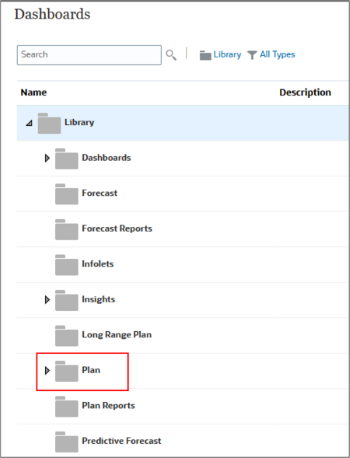
- Locate the dashboard. Expand Plan.
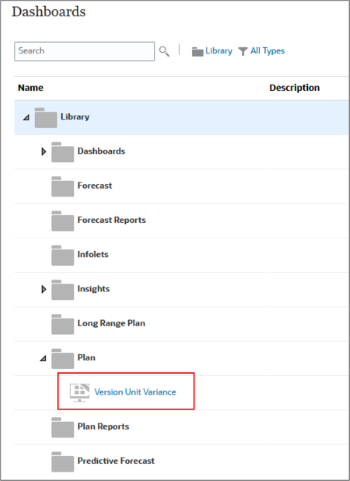
- Select Version Unit Variance.
After you enter data for the What If version of the Plan scenario, you can review your data in a dashboard.
The dashboard is displayed. The data for Product X includes data for both a Working version and a What If version.

Related Links
Comparing Budget Versions in Planning
F92002-01
February, 2024
Copyright © 2024, Oracle and/or its affiliates.