Introduction
This 30-minute hands-on tutorial shows you how to enable and configure Financials to bring in your own chart of accounts and leverage out-of-the-box features. The sections build on each other and should be completed sequentially.
Background
Your chart of accounts serves as the foundation behind a precise financial plan and effective financial analysis. It should support your organization’s accounting, information, and financial reporting requirements.
A well-designed chart of accounts contains consistent account names, elements, and attributes but offers flexibility for recording, reporting, and business growth.
For example, your company is in the process of implementing Enterprise Planning Cloud which includes out-of-the-box business processes such as Financials. You want to know how your existing chart of accounts fits in.
While a complete chart of accounts is included to get you up and running quickly, Financials also gives you the flexibility to use your own chart of accounts and still retain the benefits of the integrated Financials framework:
- Plan using existing forms and dashboards
- Review data on existing integrated financial statements
- Perform calculations using existing rules
- Integrate Financials with other business processes
If you choose to create your own chart of accounts, you can enable base or parent features to create an account structure with key members for you to add your own chart of accounts. You can then input or import your own accounts for each enabled feature.
If you initially create your own chart of accounts, you can incrementally enable the standard, provided chart of accounts.
Prerequisites
Before starting this tutorial, you must:
- Have Service Administrator access to a Cloud EPM Enterprise Service instance. The instance should not have a business process created.
- Download this zip file and extract the csv files to a local folder.
Creating the module-based Planning business process
Logging on and selecting the Planning business process
- Go to your Planning URL.
- Enter your user name and password.
- Click Go.
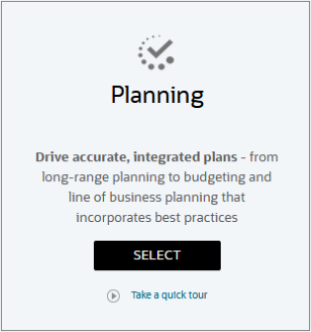
- On the EPM Enterprise Cloud Service landing page, for Planning click Select.
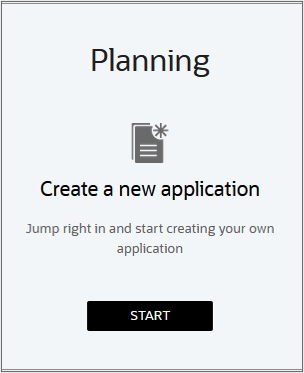
- For Create a new application, click START.
The Planning landing page is displayed.
The application wizard is displayed.
Creating the module-based Planning business process
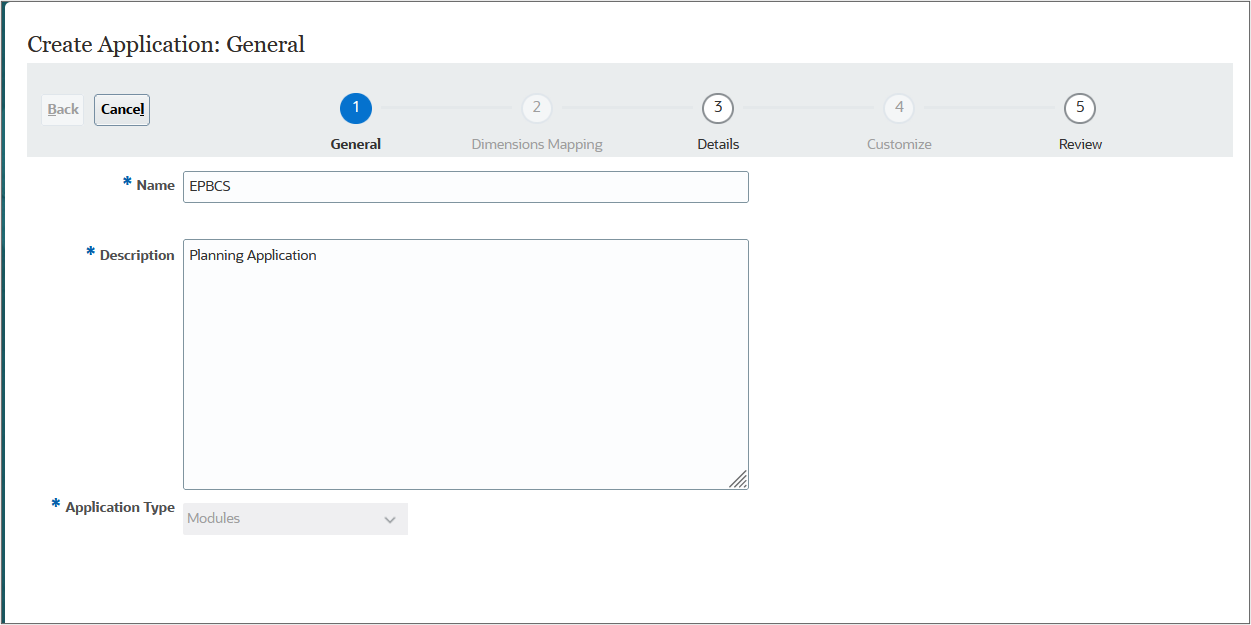
- In the application wizard, enter or select the following general properties:
- Name: EPBCS
- Description: Planning Application
- Application Type: Modules
- Click Next.
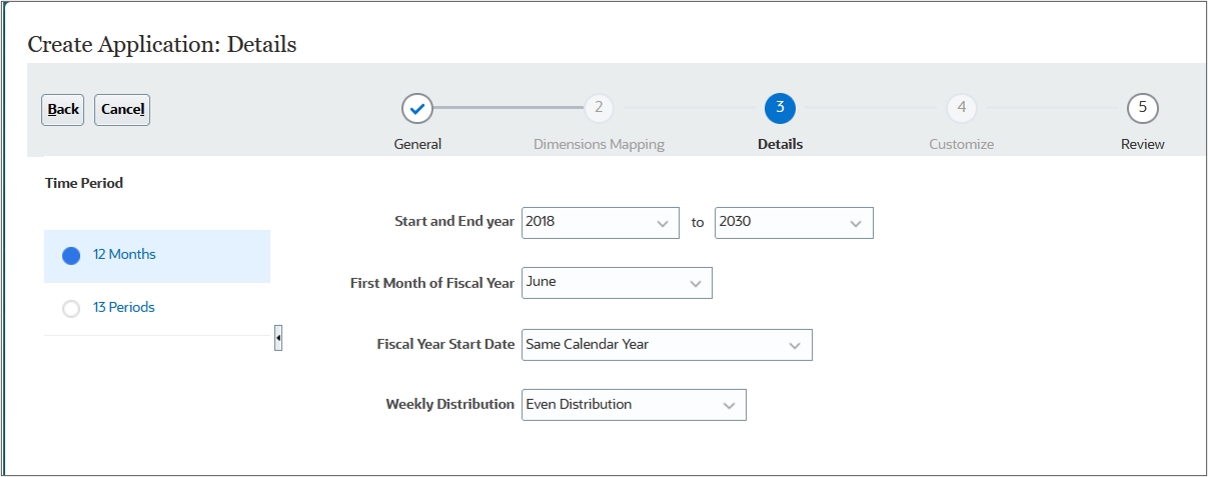
- For Time Period, make sure 12 Months is selected.
- Select the following TIme Period details:
- Start and End Year: 2018 to 2030
- First Month of Fiscal Year: June
- Fiscal Year Start Date: Same Calendar Year
- Weekly Distribution: Even Distribution
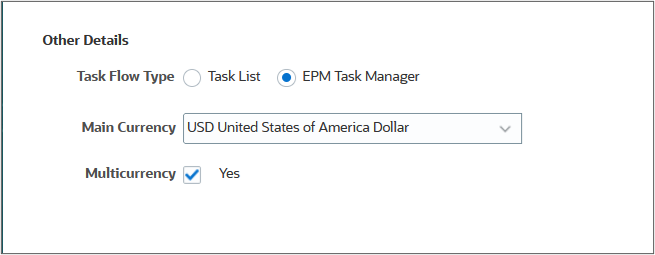
- For Other Details, make sure the Main Currency is set to USD United States of America Dollar, and Multicurrency is selected.
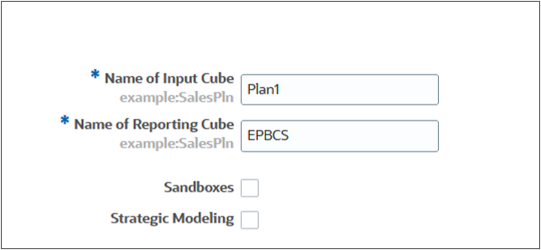
- Accept the default entries for Name of Input Cube and Name of Reporting Cube.
- Click Next.
- Review your selections.
- Click Create.
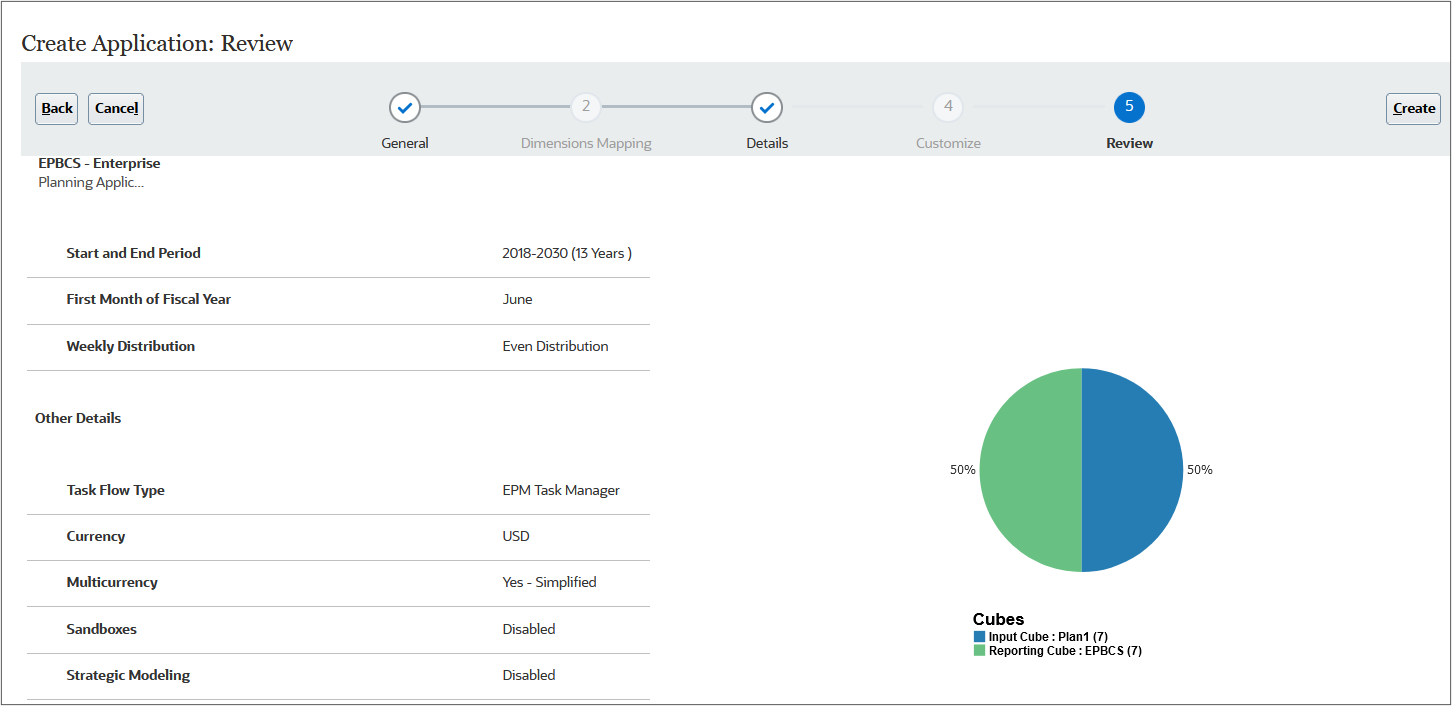
If necessary, you can return to the previous pages and modify your selections.
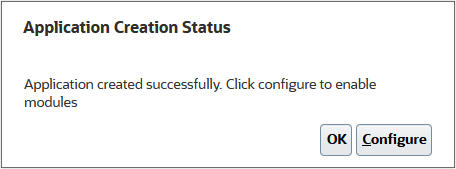
The Application Creation Status information message box is displayed.

Application creation may take several minutes. When completed, you'll see an Application created successfully message.
Configuring Financials with key members
Navigating to the Configure page
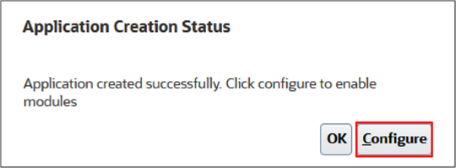
When the application status shows that the application created successfully, click Configure.
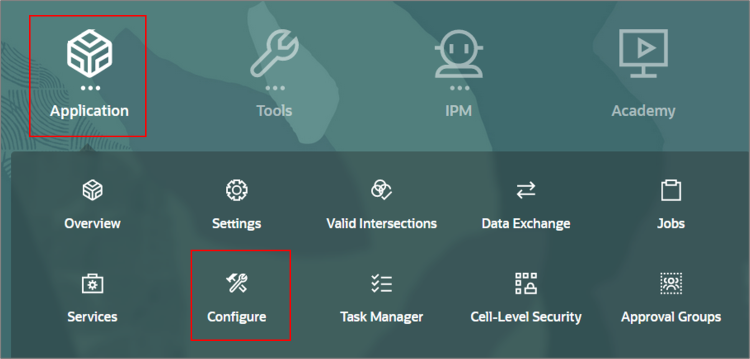
If you clicked OK, you are taken to the Planning home page. To navigate to the Configure page, click Application, then Configure.
Enabling Financials features and key members
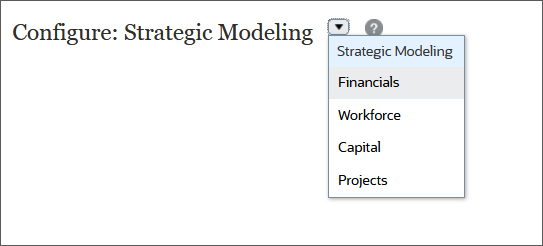
- From the Configure dropdown list, select Financials.
- Click Enable Features.
- Select the following key account members:
- Revenue/Gross Margin
- Expense
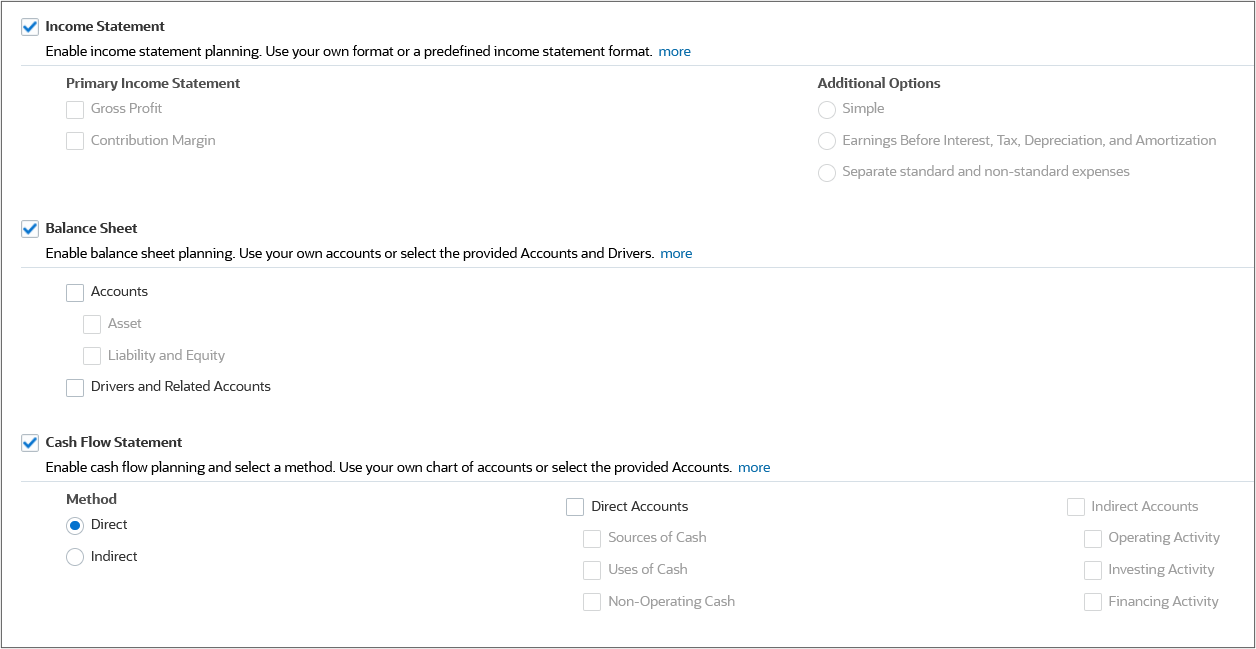
- Income Statement
- Balance Sheet
- Cash Flow Statement
- Make sure that the Cash Flow Statement Method is set to Direct.
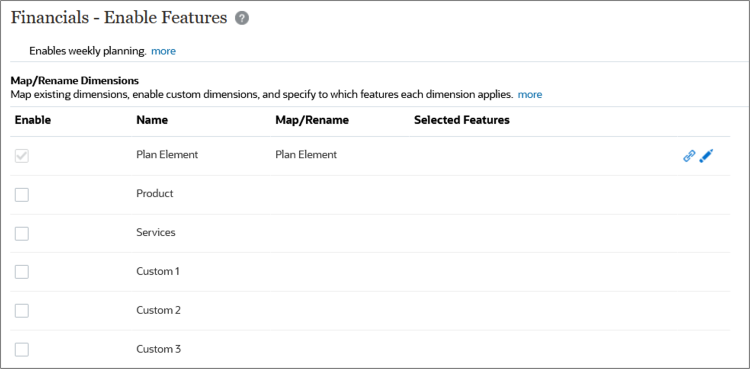
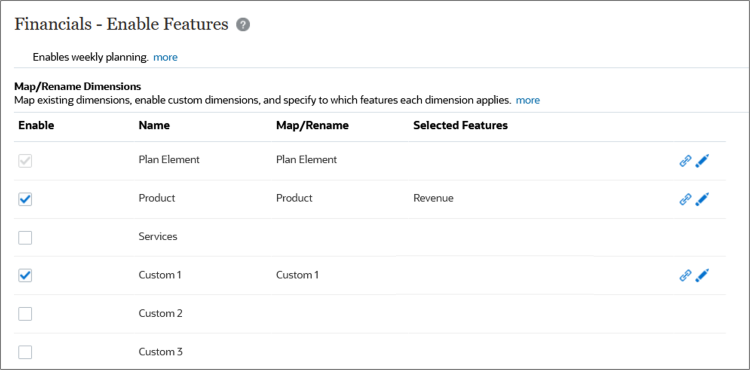
- Scroll down to the Map/Rename Dimensions section.
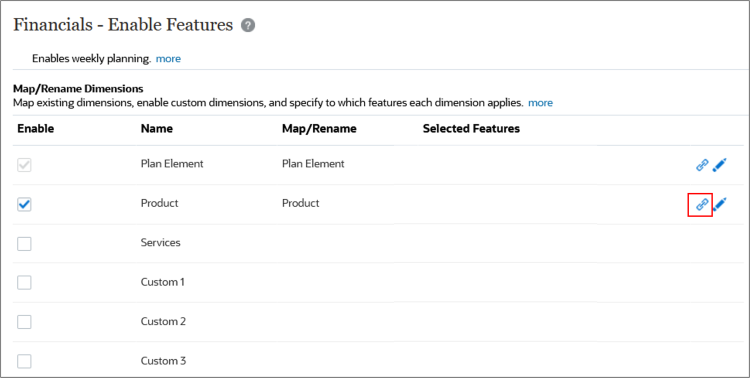
- Select (Enable) Product and click
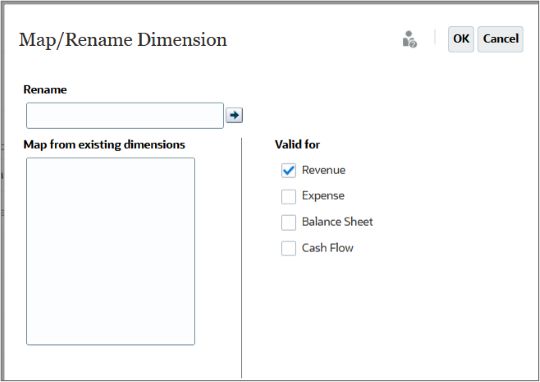
 (Rename Target Dimension).
 - In the Map/Rename Dimension dialog box, select Revenue and click OK.
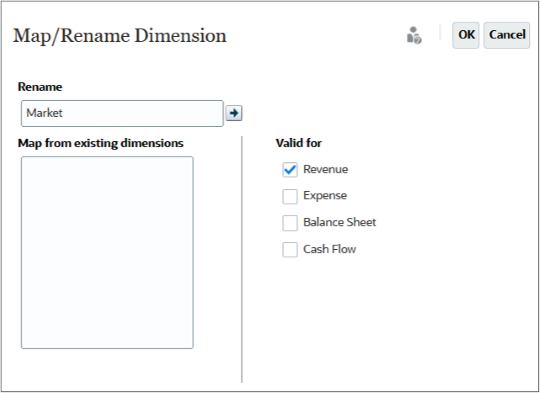
- Next, map a custom dimension. Select (Enable) Custom 1 and click (Rename Target Dimension).
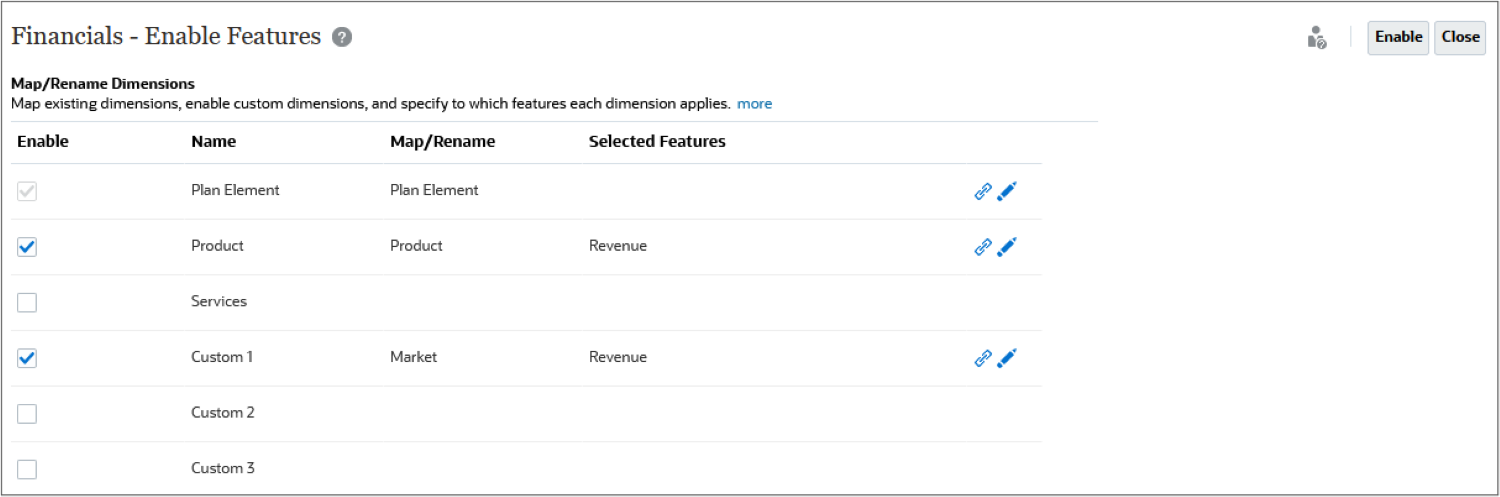
- In the Map/Rename Dimension dialog box, enter Market in the Rename textbox, select Revenue and click OK.
- Review your selections, and click Enable.
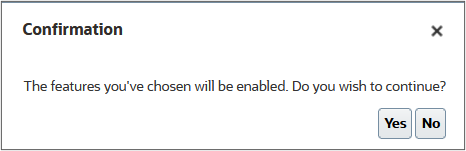
- When prompted to confirm the enablement process, click Yes.
- Click OK.
- Sign out and log back in to Planning.

The Financials - Enable Features dialog box is displayed.
Tip:
You may need to scroll down the page to display more options.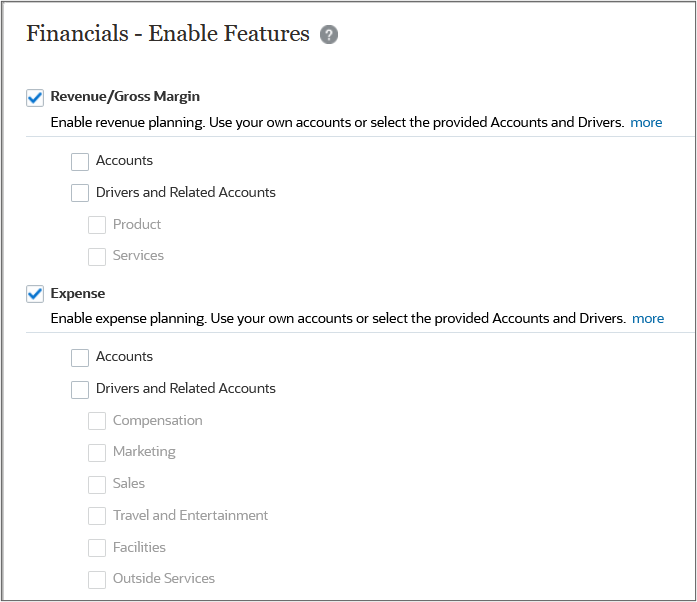
The Feature enablement in progress status is displayed.

When the process completes, you are prompted to sign out and then sign in again.

Reviewing added members
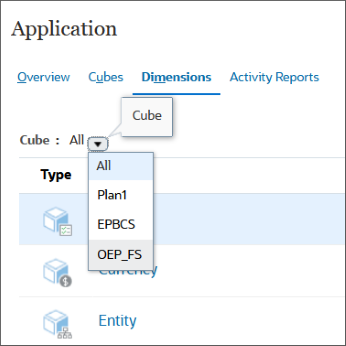
- On the Planning home page, click Application, then Overview.
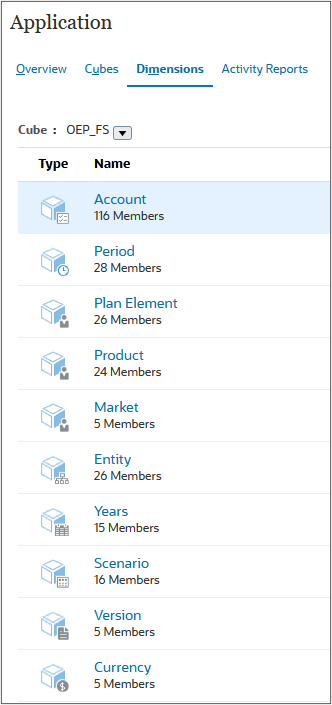
- Click Dimensions.
- From the Cube dropdown list, select OEP_FS.
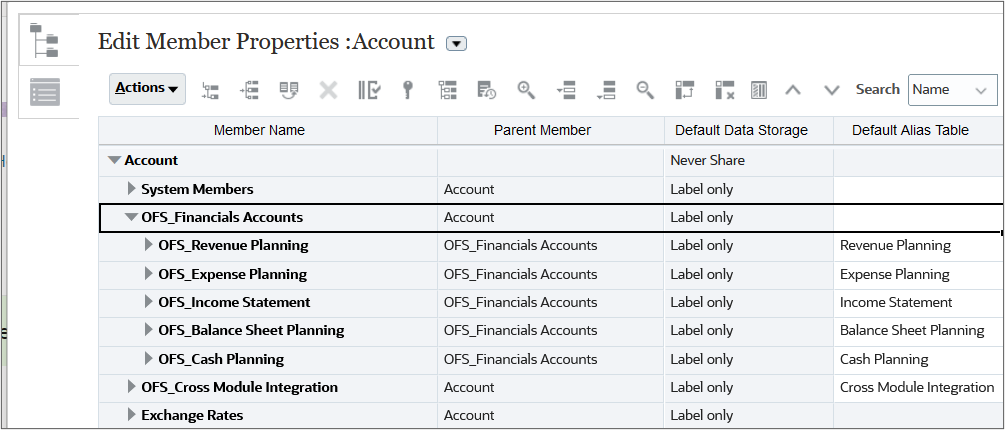
- Review the Account parent key members. Click Account.
- Make sure the Edit Member Properties tab is selected.
- In the grid, expand OFS_Financials Accounts.
The dimensions enabled for the cube are displayed.
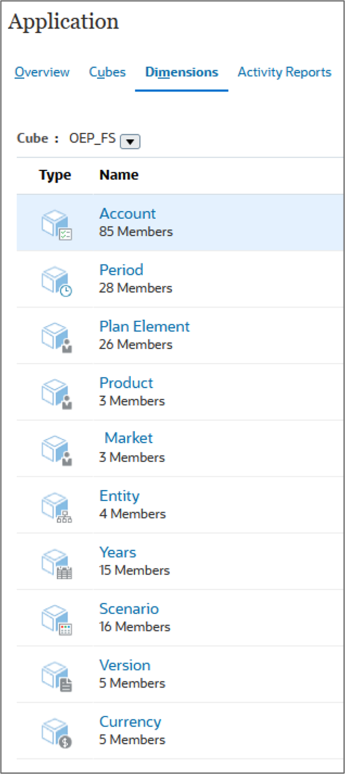
During the enablement process, key members were added to the Account dimension. The Plan Element, Product, and Market dimensions were also created.
Each column in the Simplified dimension editor grid represents a member property. You can also drag and drop member property values over to rows and columns to fill in properties that are the same.
The Financial account parent key members are listed under the OFS_Financials Accounts member.
Adding members to your chart of accounts
Manually entering chart of account members
Note:
Learn how to add and edit dimensions and members in the Simplified Dimension Editor by stepping through the Managing Dimensions in Planning hands-on tutorial.- Under OFS_Financials Accounts, expand OFS_Revenue Planning, and select OFS_Gross Profit.
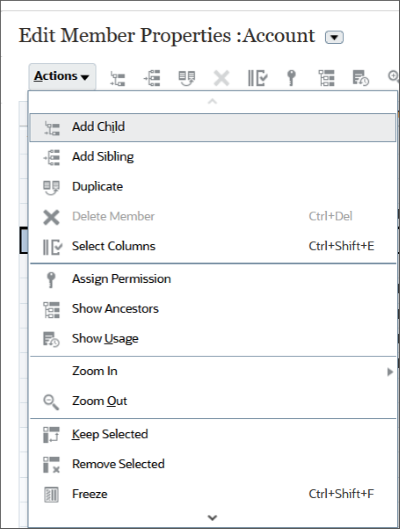
- Click Actions and select Add Child.
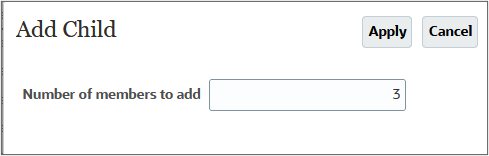
- In the Add Child dialog box, enter 3 and click Apply.
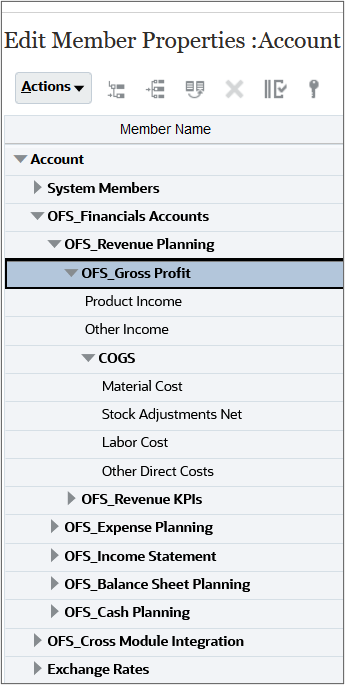
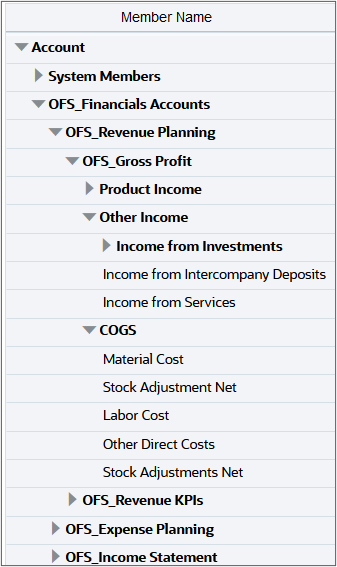
- Edit the Member Name for the three added cells under OFS_Gross Profit. Rename the untitled members to:
- Product Income
- Other Income
- COGS
- Select COGS.
- Click Actions and select Add Child.
- In the Add Child dialog box, enter 4 and click Apply.
- Rename the untitled members under COGS to:
- Material Cost
- Stock Adjustments Net
- Labor Cost
- Other Direct Costs
- Click Save.
- Click
 (Refresh Database).
 - In the Refresh Database dialog box, accept the default selections, and click Refresh Database.
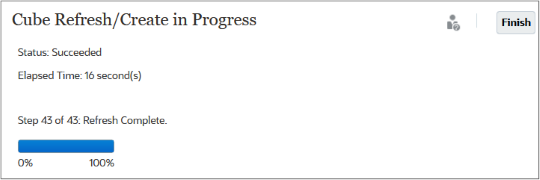
- In the Refresh Database prompt, click Refresh.
- When the status displays as Succeeded and the percent complete is 100%, click Finish.
- Click Close.
- Click Cancel.
Three yellow colored cells are added under OFS_Gross Profit.
The members are temporarily added to the hierarchy.
To commit changes, you must refresh the database.
Tip:
It is recommended that Enable Use of the Application is set to Administrators, before and after refreshing the database, until Financials is completely configured and ready for production.
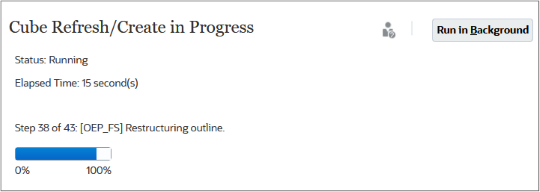
The Cube Refresh/Create in Progress status is displayed.
Exporting sample metadata
You can export metadata files and use them as a template.
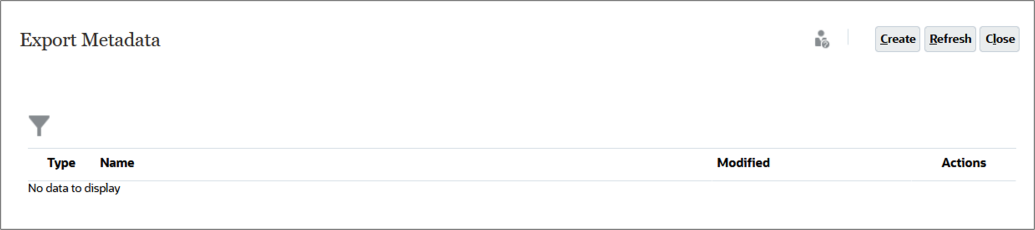
- On the Dimensions tab, click Export.
- On the Export Metadata dialog box, click Create.
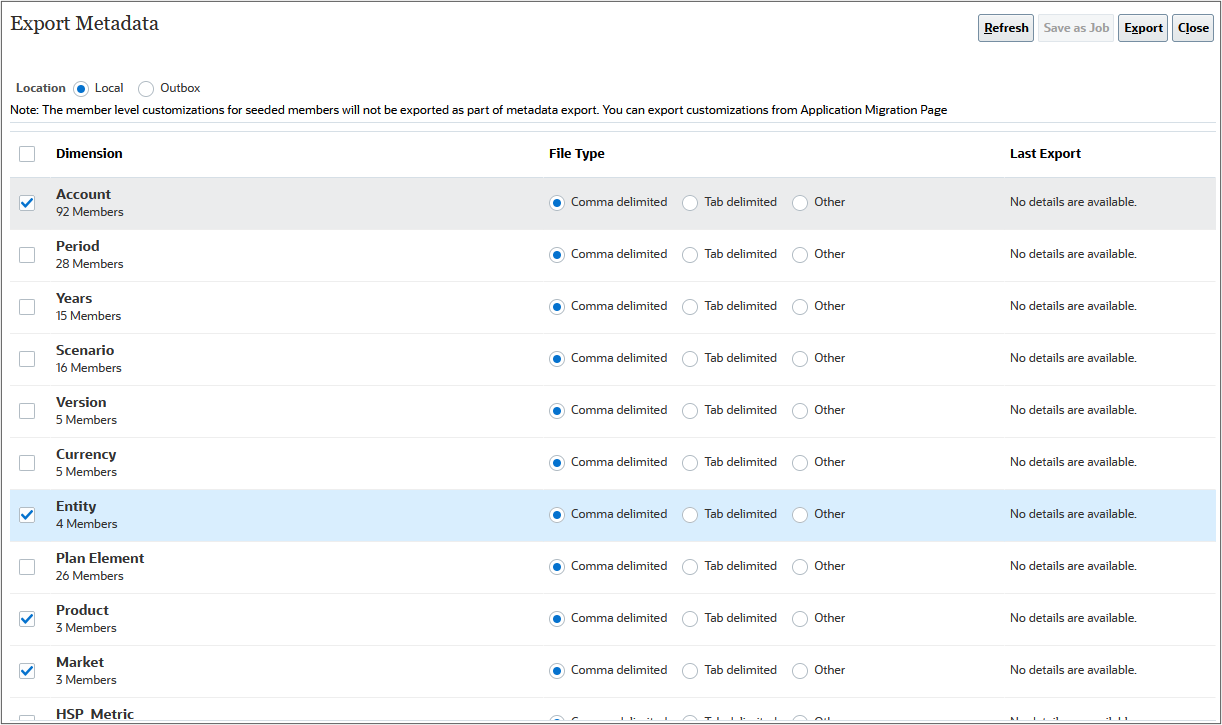
- On the next Export Metadata dialog box, select the following dimensions:
- Account
- Entity
- Product
- Market
- Accept default selections for Location and File Type.
- Click Export.
- Save the zip file locally.
- On the Export Metadata dialog box, click Close.
- On the next Export Metadata dialog box, click Close.
- Extract the zip file, and then open and review one of the csv files.
Tip:
You can modify the csv files to include the members you want to load. Back up a copy of the exported files before making any modifications.Importing Revenue Accounts, Expense Accounts, Entities, Market members, and Product members
After you update the metadata files to include the members you want to load, you can import them.
Make sure you downloaded the zipped load files noted in the What Do You Need? section of this tutorial. After you download the zip file, extract the csv files to a local folder. You will be importing metadata using those load files.
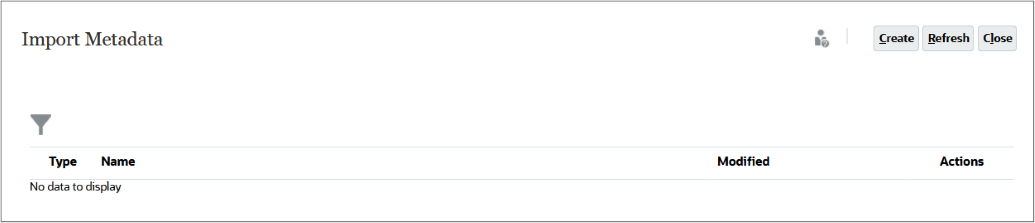
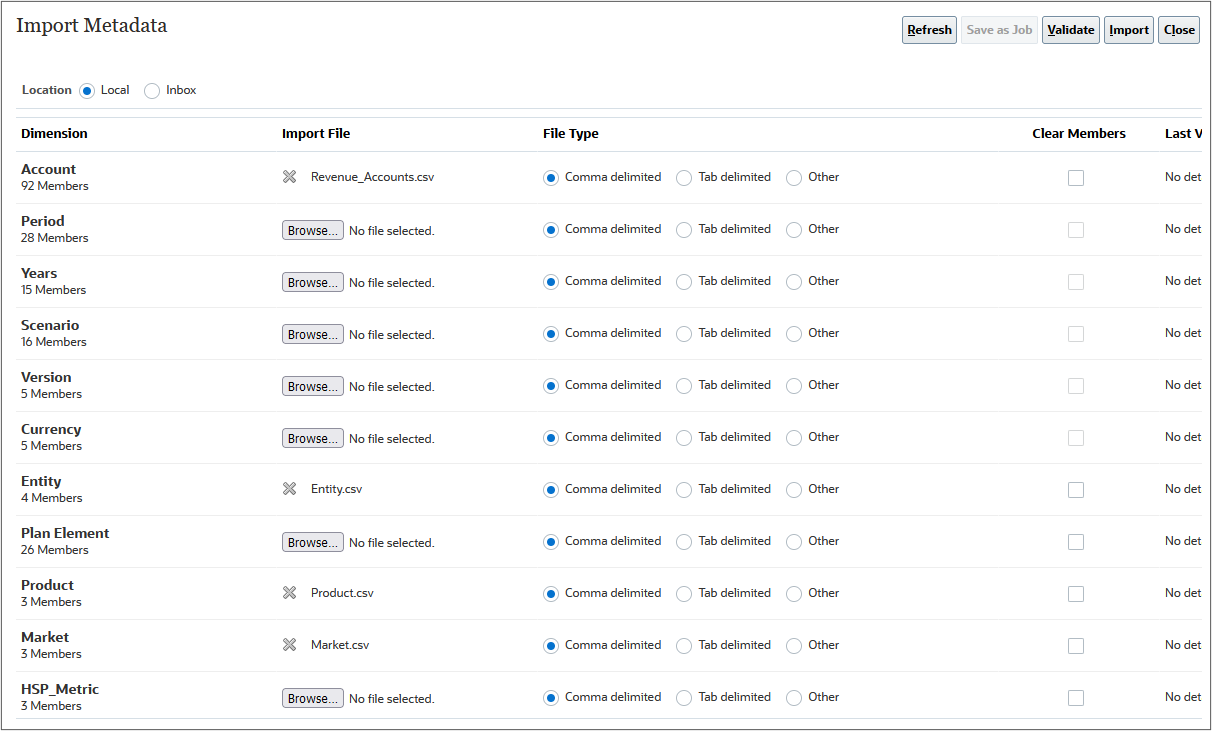
- Click Import.
- On the Import Metadata page, click Create.
- Make sure the Location is set to Local.
- For the following dimensions, click Choose File, locate and select the load file, and click Open:
- Click Import.
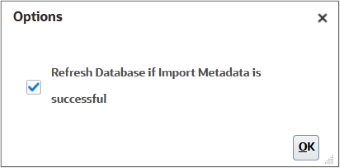
- In Options, select Refresh Database if import Metadata is successful.
- Click OK.
- In the Information dialog box, click OK.
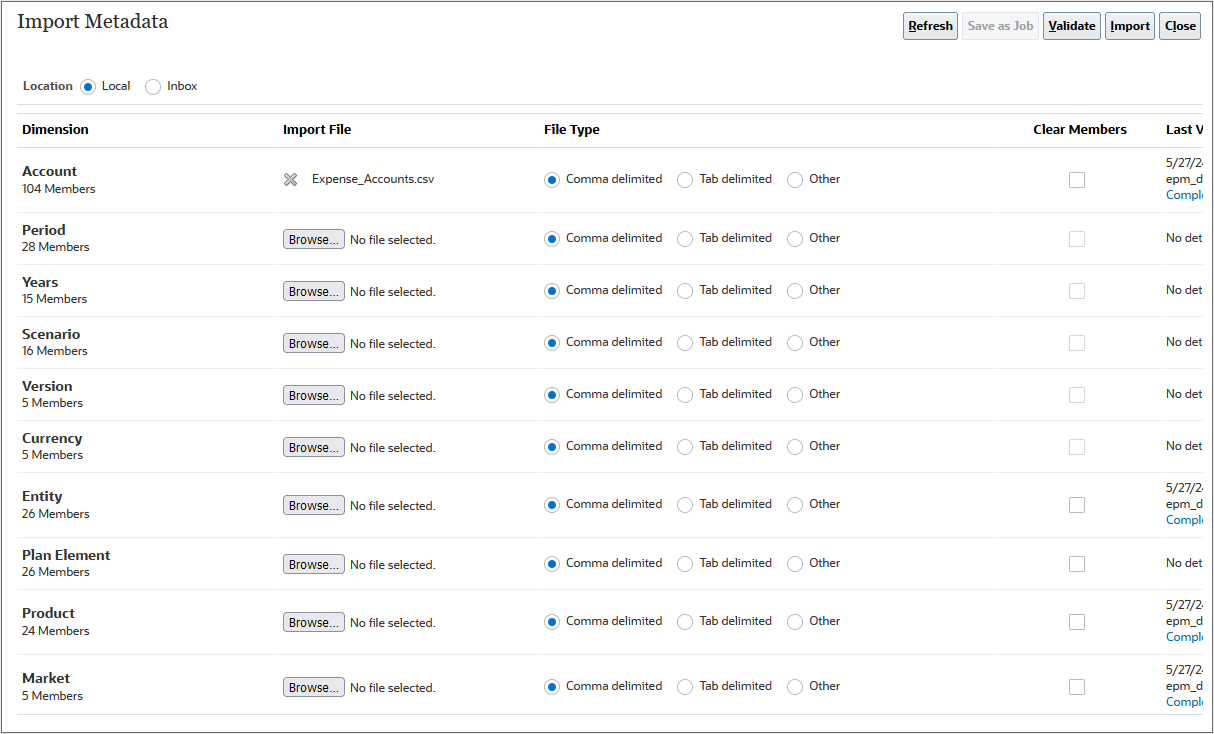
- On the Import Metadata page, click Refresh a few times until the Last Validate/Import column for the dimensions you imported to display Completed.
- Next, for Account, click Choose File, locate and select the Expense_Accounts.csv file, and click Open.
- Click Import.
- In Options, select Refresh Database if import Metadata is successful.
- Click OK.
- In the Information dialog box, click OK.
- On the Import Metadata page, click Refresh a few times until the Last Validate/Import column for the dimension you imported to display Completed.
- Click Close.
- On the next Import Metadata page, click Close.
| Dimension | Import File |
| Account | Revenue_Accounts.csv |
| Entity | Entity.csv |
| Product | Product.csv |
| Market | Market.csv |
Reviewing imported metadata
- On the Dimensions tab, click Refresh.
- From the Cube dropdown list, select OEP_FS.
- Click Account.
- Expand OFS_Financials Accounts, then OFS_Revenue Planning, and then OFS_Gross Profit.
- Expand the members under OFS_Gross Profit to display the chart of account members you added.
- When finished, collapse the hierarchy until only the parent key members are visible under OFS_Financial Accounts.
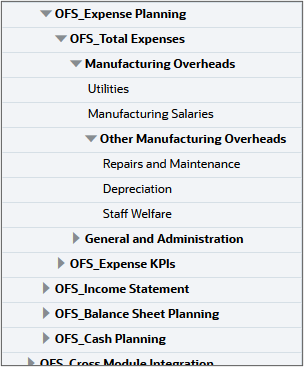
- Expand OFS_Expense Planning, and then OFS_Total Expenses.
- Expand the members under OFS_Total Expenses to display the chart of account members you added.
- When finished, collapse the metadata hierarchy.
- Switch dimensions. In Edit Member Properties, click the arrow next to the dimension name and select a dimension you imported: Entity, Product, Market.
- Entity: Expand OEP_Total Entity, and member levels below it to view entities you imported.
- Product: Expand Total Product, and member levels below it to view products you imported.
- Market: Expand Total Market and member levels below it to view markets you imported.
Related Links
Configuring Financials to bring in your own Chart of Accounts
F97852-02
May, 2024