Introduction
This tutorial guides you through choosing between top-down and bottom-up strategies for your planning process. The sections build on each other and should be completed sequentially.
Background
Top-down and bottom-up planning represent two contrasting strategies to organizational planning, each with its own set of characteristics, advantages, and disadvantages. Understanding these differences is crucial for businesses to choose the most effective method or combination for your company's specific needs.
Prerequisites
Cloud EPM Hands-on Tutorials may require you to import a snapshot into your Cloud EPM Enterprise Service instance. Before you can import a tutorial snapshot, you must request another Cloud EPM Enterprise Service instance or remove your current application and business process. The tutorial snapshot will not import over your existing application or business process, nor will it automatically replace or restore the application or business process you are currently working with.
Before starting this tutorial, you must:
- Have Service Administrator access to a Cloud EPM Enterprise Service instance.
- Have the Planning sample application (Vision) created in your instance.
Planning Strategies
About Scenario and Versions
You use Scenario and Version dimensions to create plans to be reviewed and approved. Each scenario/version combination contains data for accounts and other dimensions of each entity. After users enter data for an entity for a scenario and version, they can submit or promote the data for the entity to other users for review and approval.
You can create target and bottom-up versions.
- Bottom-up versions
With bottom up versions, you enter data into bottom level members; parent level members are display-only and don't permit data entry. Parent member values are aggregated from bottom level members.
- Target versions
For target versions, you can enter data for members at any level in the hierarchy. You can use business rules to distribute values from parent members to their descendants. Use target versions to set high-level targets for your plan. Users working with bottom up versions can reference these targets when they enter plan data.
Target versions use top-down budgeting. Manage Approvals Tasks are not allowed, and children of target members must be blank (for example, #MISSING) to enable data input at the top level. Target members must be set to Store (Dynamic Calc overrides data input with sum of children).
About Top-Down Planning
Top-down planning is a hierarchical process where upper management can use target versions to set high-level goals, strategies, and objectives for the entire organization. These high-level plans are then cascaded down through the different levels of the organization, with each subsequent level developing more specific plans to support objectives within specified budget parameters.
This approach starts with the "big picture" and works its way down to individual tasks and actions.
Advantages and Disadvantages:
- The primary benefits of top-down planning lie in its ability to provide clear direction and ensure everyone is working towards the same organizational goals. It allows for efficient decision-making from a broad organizational perspective, promotes consistency across departments, facilitates effective coordination, and enables rapid communication of high-level directives.
- However, top-down planning can suffer from limited employee engagement due to a lack of input from lower levels, potentially stifling creativity and innovation. Goals set by senior management might be unrealistic due to a lack of detailed operational understanding, and the rigid structure can hinder the organization's ability to adapt quickly to changes, potentially leading to employee resistance.
About Bottom-Up Planning
Bottom-up planning is an iterative process where data is data is input at lower leaf member levels or bottom levels, and consolidated by rolling data up the organizational hierarchy. When the budget is started, data is populated for each scenario and version combination or approval unit. The approval unit ownership follows the hierarchy of approval in bottom-up mode. Users can view or edit data based on access permissions defined for the approval unit. The topmost budget group owner consolidates individually approved budgets into a final consolidated budget.
Advantages and Disadvantages:
- The key strengths of bottom-up planning include increased employee engagement and motivation stemming from their involvement in the process, leading to more accurate and realistic plans based on practical experience. This approach also fosters greater flexibility and adaptability, encourages innovation and creativity from all levels, and can provide deeper insights into customer needs.
- Conversely, bottom-up planning can lead to a lack of strategic alignment across the organization, with the potential for conflicting priorities and a slower decision-making process as plans are aggregated. It may also result in inconsistencies and a lack of standardization across different departments, requiring significant effort for effective coordination.
Combining Strategies
Recognizing the strengths and weaknesses of both top-down and bottom-up planning, many organizations adopt a hybrid approach. This method seeks to combine the benefits of both by integrating elements of each into the planning process.
A hybrid planning process typically involves upper management providing broad strategic guidelines and objectives (top-down), while allowing lower-level teams and departments to develop specific operational plans and contribute their insights (bottom-up). There is often a feedback loop where lower-level plans are reviewed and refined at higher levels to ensure alignment with the overall strategy, and top-level guidance may be adjusted based on input from below.
By strategically blending top-down direction with bottom-up input, organizations can create more robust, adaptable, and engaging planning processes that lead to better outcomes. The specific balance between these two approaches will depend on the organization's requirements, size, industry, and the nature of the planning task.
Setting the Navigation Flow
Activate the Financials predefined sample navigation flow.
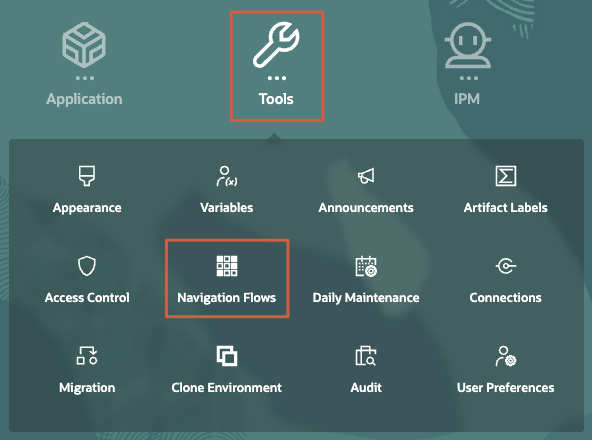
- On the home page, click Tools, then Navigation Flows.
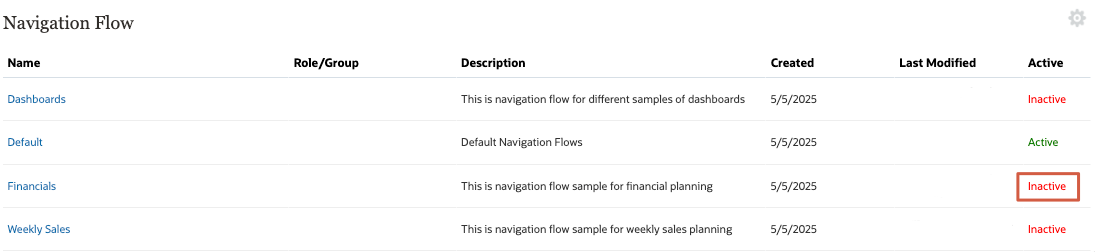
- In the Active column for Financials, click Inactive.
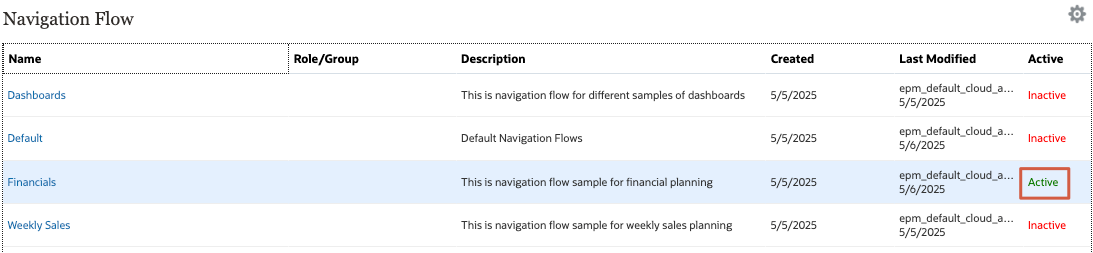
The Financials navigation flow is now set to active.
- Return to the home page. On the upper-right, click
 (Home).
 - On the upper-right, click
 (Default) and select Financials.
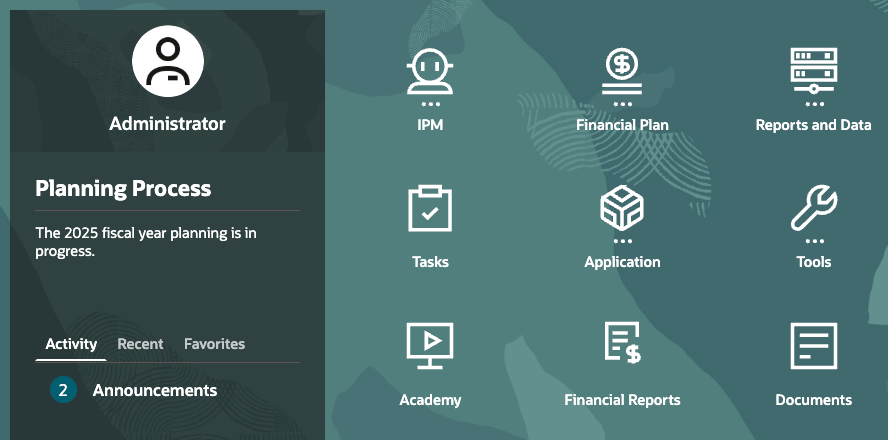
The home page now displays the Financials navigation flow cards and clusters. You will be primarily working with the Financial Plan cluster for revenue and expense driver assignments.
Tip:
If the navigation flow on the home page did not update, reload the navigation flow. On the upper right, click Administrator, and then Reload Navigation Flow.
Reviewing User Variables
User variables act as filters in forms, enabling planners to focus only on certain members. In this section, you review the set values for user variables
- On the home page, click Tools, then User Preferences.
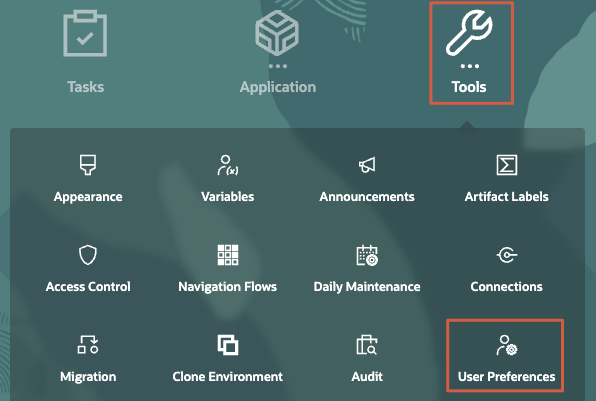
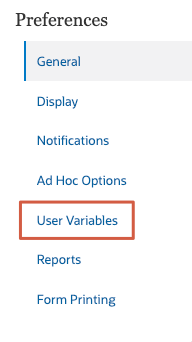
- On the left, click User Variables.
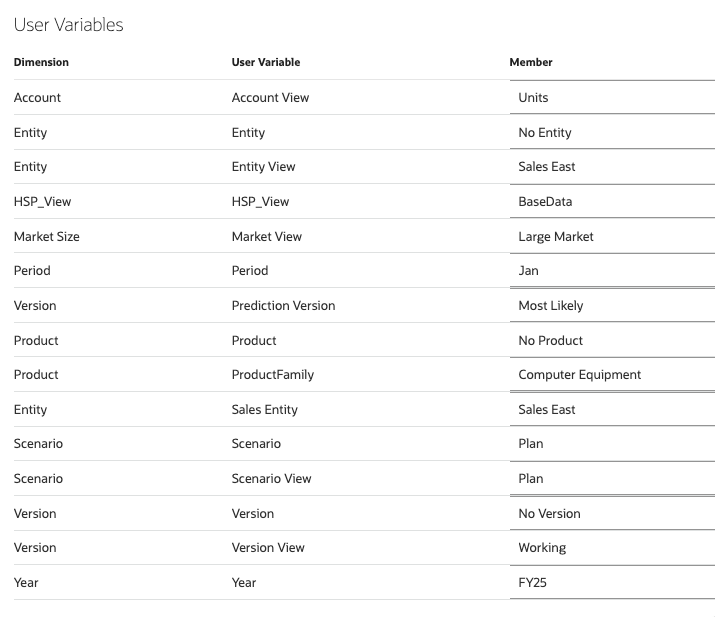
- Review the values set for each user variables.
Tip:
When available, you can click a dimension or prompt's (Member Selector) to open the Select Member dialog where you can search, select, and assign members, user variables, or substitution variables to a dimension.
 - Return to the home page. On the upper-right, click (Home).
Top-Down Planning
Setting Revenue Targets
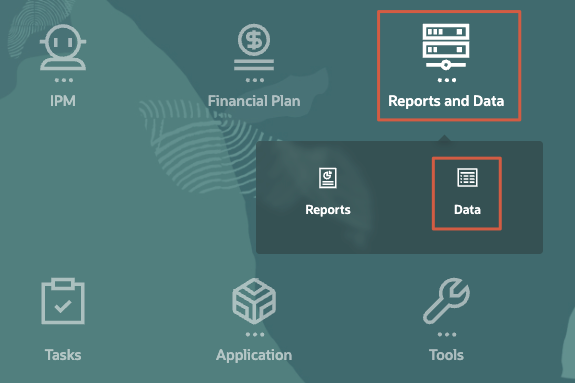
- On the home page, click Reports and Data, then Data.
- In Data, click Long Range Plan Revenue Targets to open the form.
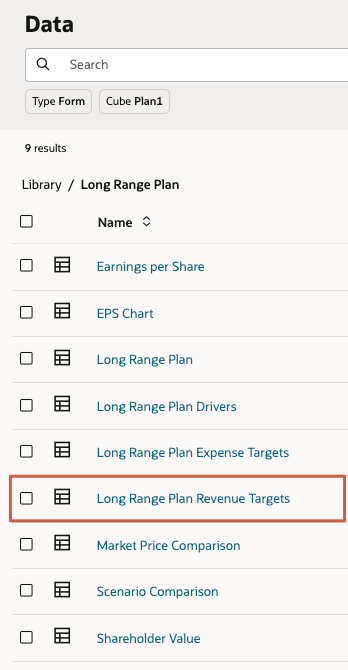
The form is displayed.
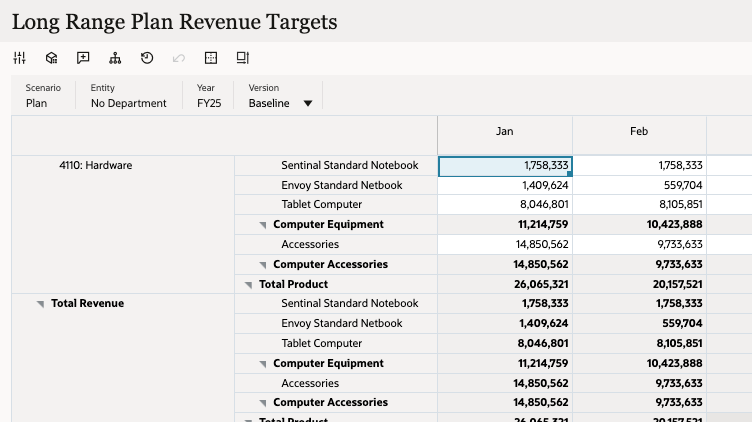
- Ensure that the POV displays:
- Scenario: Plan
- Entity: No Department
- Year: <Current Year>
- Version: Baseline
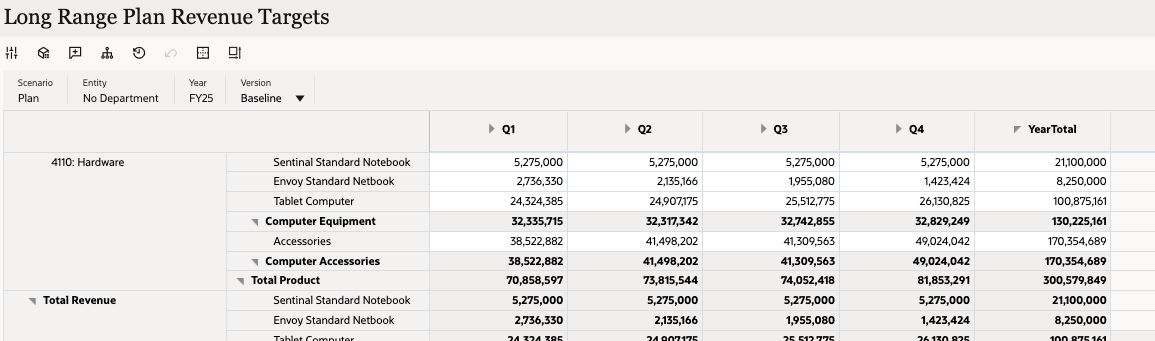
- In the data grid, collapse all quarters.
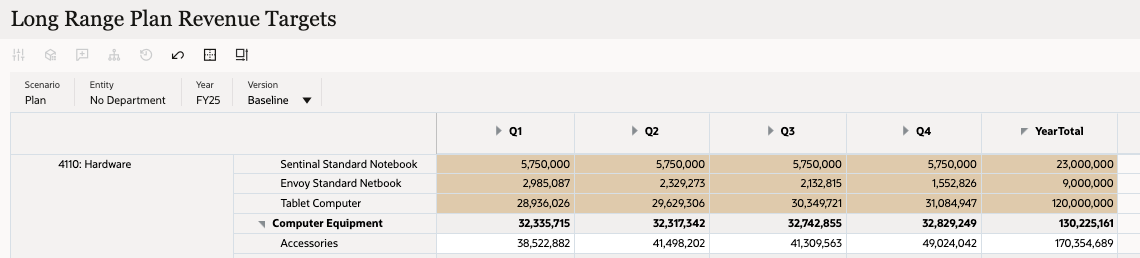
- In YearTotal for 4110: Hardware - Sentinal Standard Notebook, set the value to 23M.
- In YearTotal for 4110: Hardware - Envoy Standard Notebook, set the value to 9M.
- In YearTotal for 4110: Hardware - Tablet Computer, set the value to 120M.
- Review your changes and click Save.
- At the information message, click OK.
- Click X to close the form.

Setting Expense Targets
- In Data, click Long Range Plan Expense Targets to open the form.
The form is displayed.
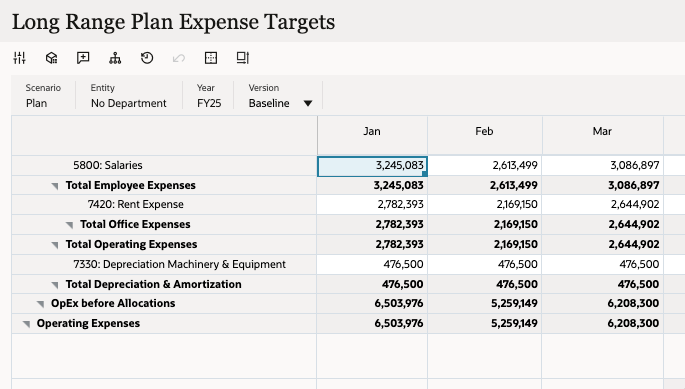
- Ensure that the POV displays:
- Scenario: Plan
- Entity: No Department
- Year: <Current Year>
- Version: Baseline
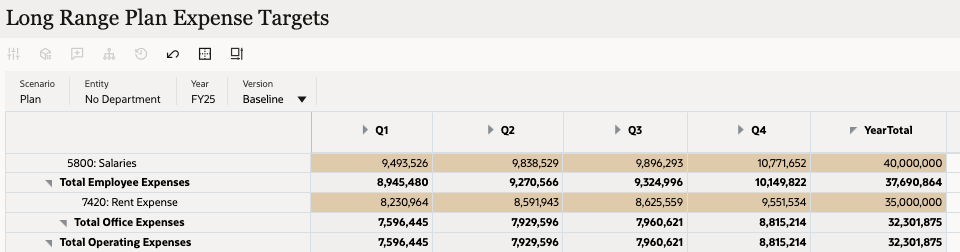
- In the data grid, collapse all quarters.
- In YearTotal, for 5800: Salaries, set the value to 40M.
- In YearTotal, for 7420: Rent Expense, set the value to 35M.
- Verify your entries and click Save.
- At the information message, click OK.
- Click X to close the form.

- Return to the home page. On the upper-right, click (Home).
Allocating Plan Targets
- On the home page, click Financial Plan, then Analysis.
- From the horizontal tabs, click Strategic Targets.
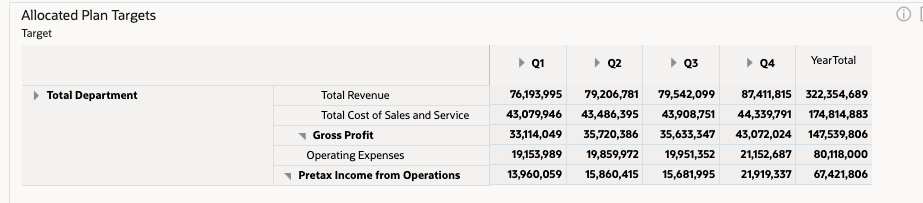
The dashboard is displayed. You allocate targets in Plan Targets to be Allocated (form on top). The bottom form, Allocated Plan Targets displays the allocated values for each resource. You can expand Total Department to view more detail.
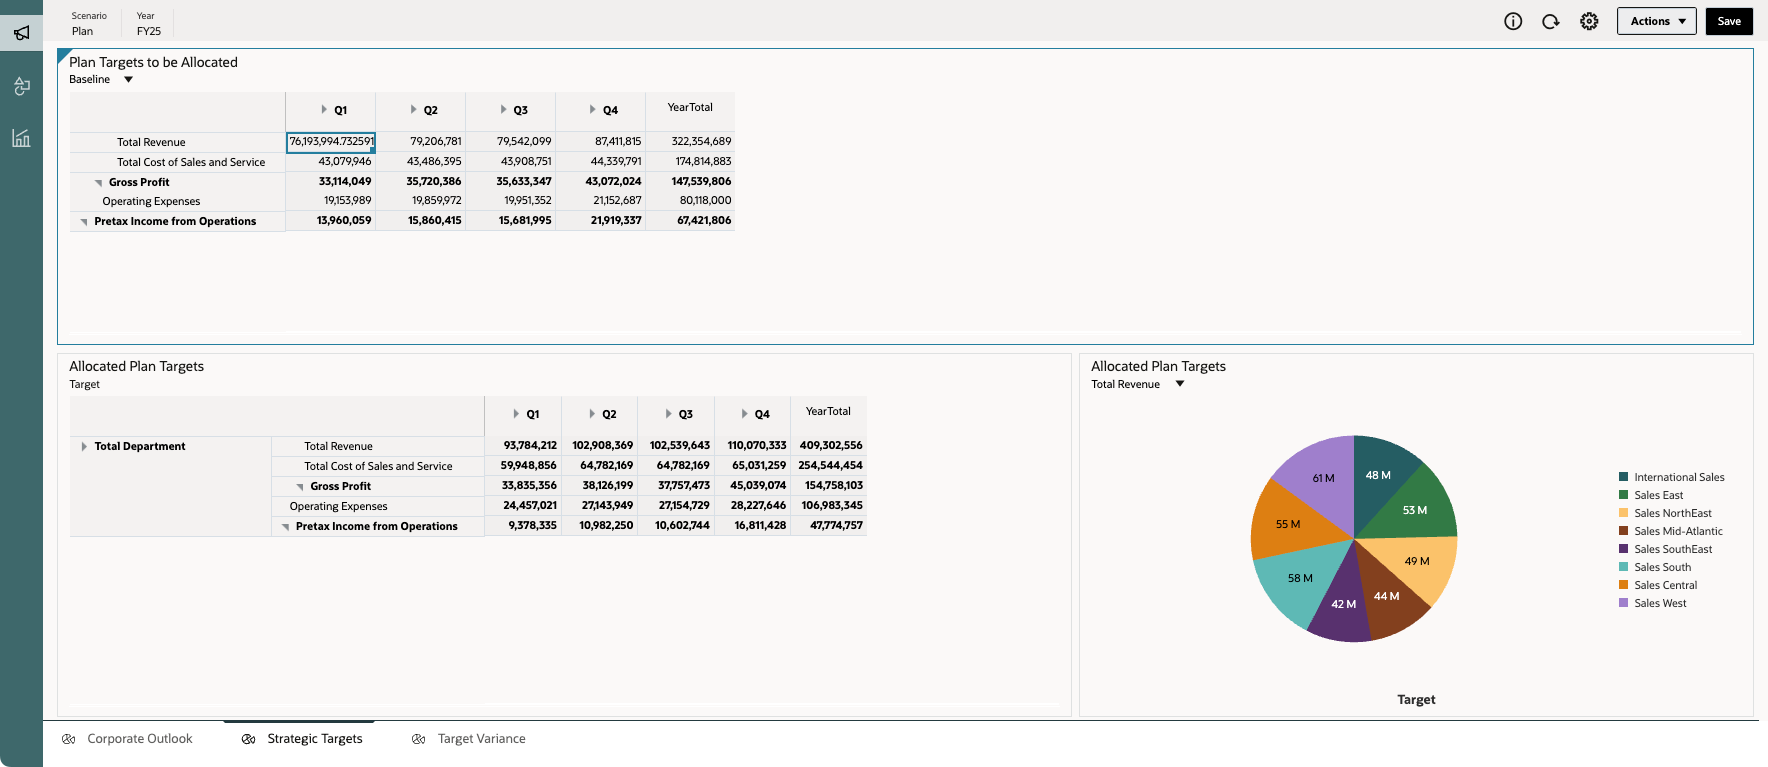
- In Plan Targets to be Allocated, make sure that Baseline is selected.
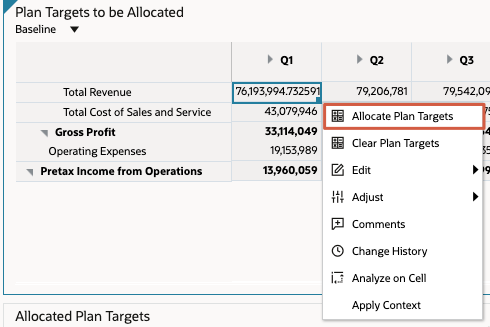
- Right-click a cell and select Allocate Plan Targets.
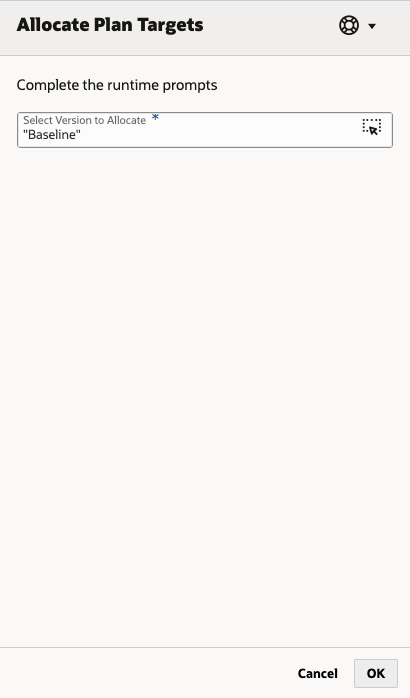
- In the Allocate Plan Targets runtime prompt, make sure that Baseline is the selected Version to allocate, then click Launch.
- At the information message, click OK.
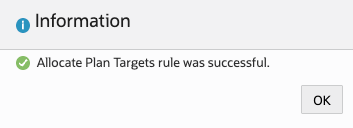
Allocations were recalculated and updated in Allocated Plan Targets.
- Return to the home page. On the upper-right, click (Home).
Bottom-Up Planning
Setting Revenue Targets
- On the home page, click Financial Plan, then Revenue.
- From the horizontal tabs, click Accessories Revenue Plan.

- In the data grid, hover your mouse over the top right portion to display its menu icons. Click ... (Actions), and then select Maximize.

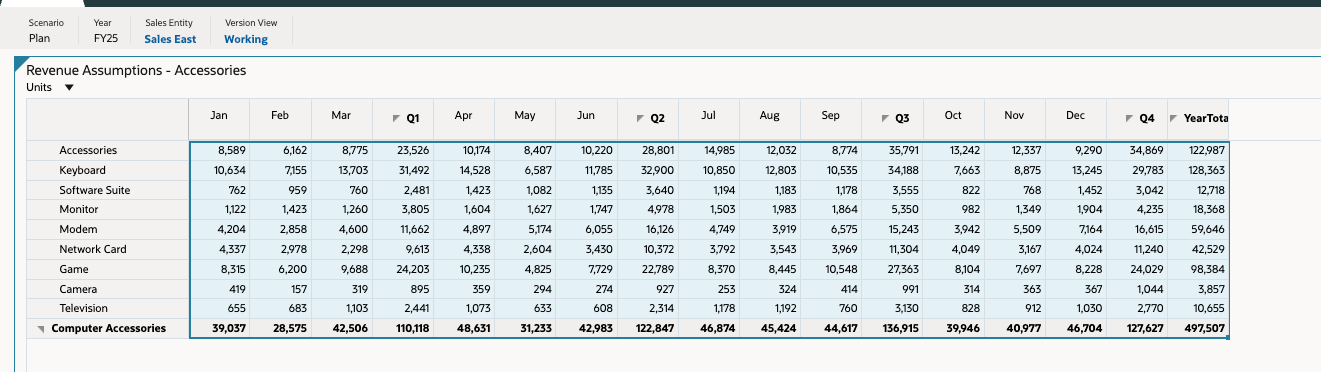
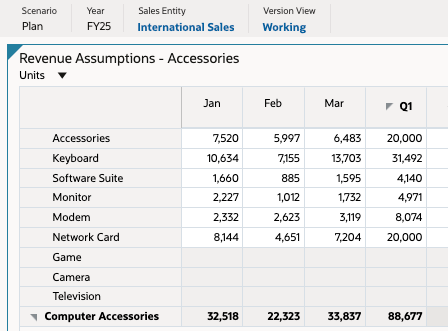
Revenue Assumptions - Accessories is displayed.
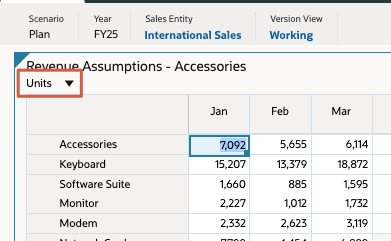
- In the POV, set the Sales Entity to International Sales.
- Right above the data grid, verify that Units is selected.
- In the data grid, in Q1 for Accessories, set the value to 20K.
- In Q1 for Network Card, set the value to 20K.
- Click Save.
- At the information message, click OK.
The form displays updated Revenue targets.
Tip:
When available, you can click a dimension's name to open the Select Member dialog where you can search, select, and assign members, user variables, or substitution variables to a dimension.Setting Expense Targets
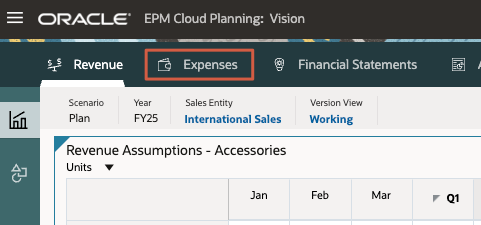
- From the navigation options on the top of the page, click Expenses.
- From the vertical tabs on the left, click
 (Other Expenses).
The Operating Expenses for Overhead Departments form is displayed.
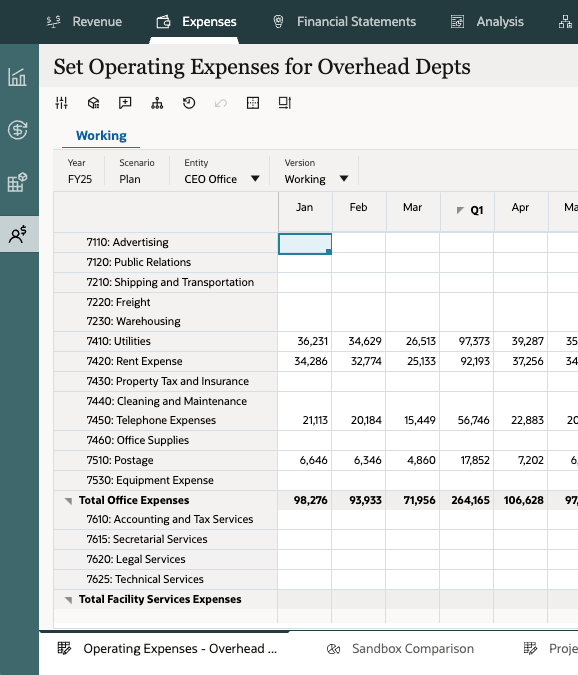
- Ensure that the POV displays:
- Year: <Current Year>
- Scenario: Plan
- Entity: CEO Office
- Version: Working
- In Q1 for 7110: Advertising, set the value to 90K.
- In Q1 for 7410: Utilities, set the value to 100K.
- Review your entries and click Save.
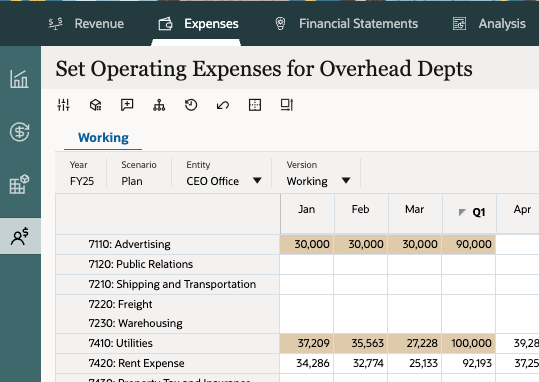
- At the information message, click OK.
Reviewing Plans and Targets
- From the vertical tabs on the left, click
 (Overview).
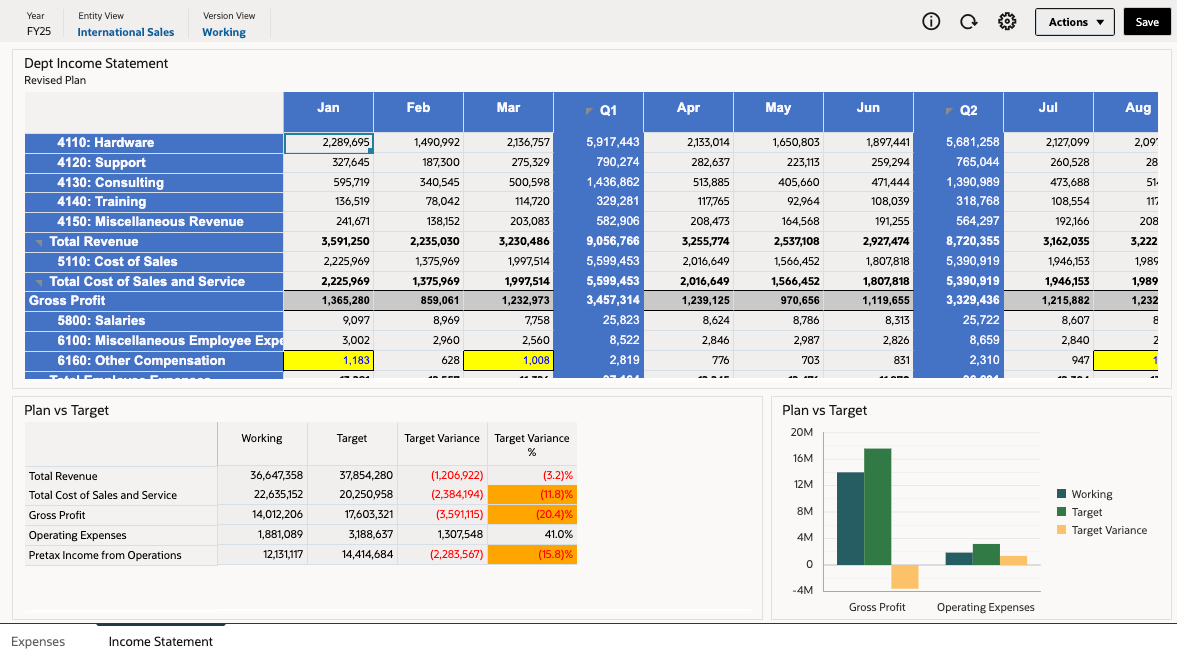
 - From the horizontal tabs, click Income Statement.
The Income Statement dashboard displays top-level plans compared to targets.
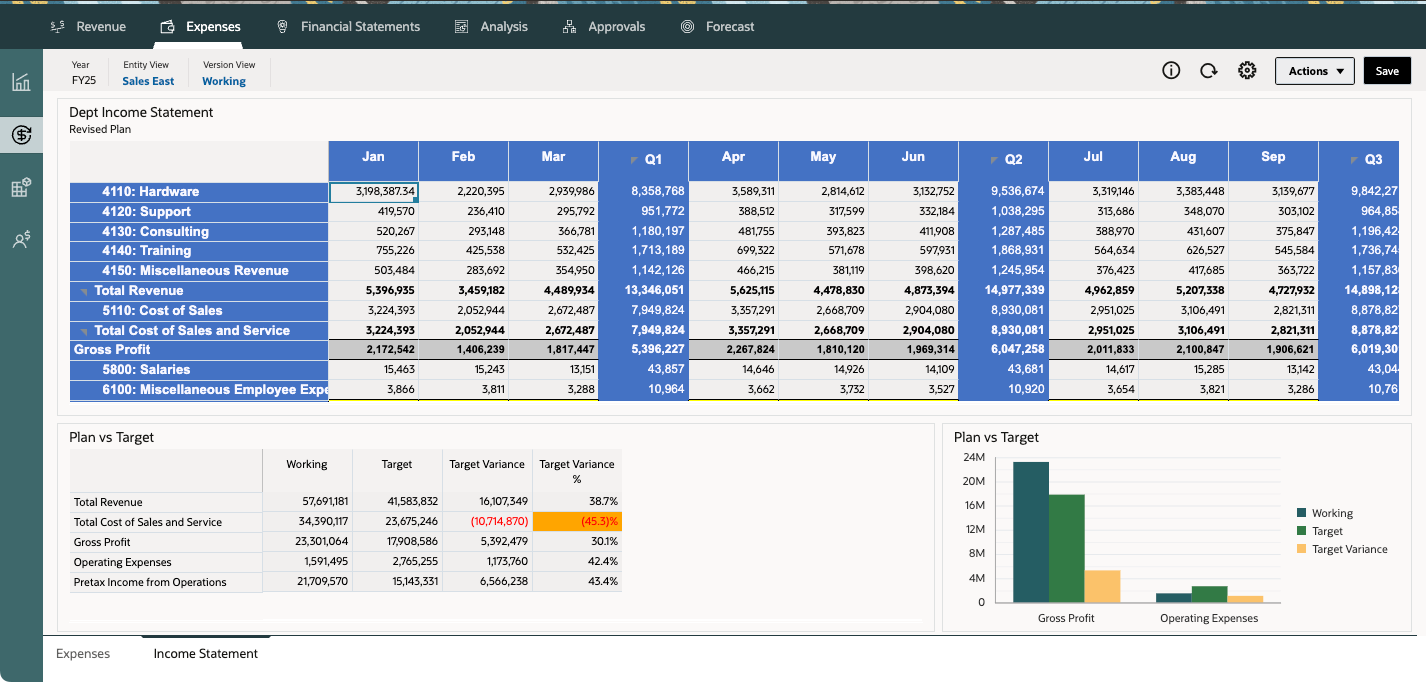
- In the POV, set the Entity View to International Sales.
- Review the revised plan and compare the plan to the target.
Note:
Optionally, view the Income Statement for Revenue to compare plans and targets.
Related Links
More Learning Resources
Explore other labs on docs.oracle.com/learn or access more free learning content on the Oracle Learning YouTube channel. Additionally, visit education.oracle.com/learning-explorer to become an Oracle Learning Explorer.
For product documentation, visit Oracle Help Center.
Performing Top-Down and Bottom-Up Planning
F89990-02
May 2025