Introduction
This 60-minute hands-on tutorial shows you how to create and configure Quota Planning in Oracle Sales Planning. The sections build on each other and should be completed sequentially.
Background
Oracle Sales Planning provides an extensible, reliable framework that enables your teams to set and analyze data-driven, intelligent quotas using best practice methodologies. All key participants engage in the sales planning process including sales operations, sales management, and sales reps.
You can enable the following business processes in Sales Planning:
- Quota Planning offers top-down and bottom-up target quota planning by territory, product, account, or other custom dimensions. Use Predictive Planning and what if scenario planning to explore and compare different quota scenarios for informed decision making. Quota Planning builds best practices into its content, including its forms, calculations, dashboards, infolets, drivers, and measures.
- Advanced Sales Forecasting provides a robust platform for the sales forecasting process, allowing multidimensional sales forecasting across territories, products, accounts, channels, or other custom dimensions. It offers sales teams connected sales planning with integration between Quota Planning, compensation planning, and sales forecasts. With Advanced Sales Forecasting, you can plan at the weekly or monthly level, and use a rolling forecast if your business requires it.
- Key Account Planning expands Sales Planning to cover a data driven approach to sales baseline planning, resulting in an overall view of the customer's profit and loss. Key Account Planning helps key account managers plan trade promotion strategies in order to optimize their trade spends and offers collaborative sales planning. By using baseline planning and promotion planning, key account managers or sales managers can perform gap analysis and see the uplifts - the impact on sales volume or revenue - from running trade promotions.
Extend Oracle Sales Planning by adding configurations and personalization into your Sales Planning application with custom navigation flows, dashboards, and infolets. Use tasks and approvals to manage the quota planning process. Use Groovy rules to customize even further for enhanced calculation and business rules. Integrate Oracle Sales Planning with Oracle Engagement Cloud – Sales Cloud to push quota targets to incentive compensation or bring in actual attainment.
This tutorial shows you how to create a Sales Planning application, as well as enable and configure Quota Planning.
Prerequisites
Before starting this tutorial, you must:
- Have Service Administrator access to Oracle Sales Planning. The instance should not have an application created.
- Download this file and extract the contents to a local folder.
Setting up your Application
In this section, you learn how to create a Sales Planning Application in the EPM Service.
Logging On
Before you create your Sales Planning application and enable features, analyze your organization's current processes and determine your organization's requirements.
- Go to your Planning URL.
- Enter your user name and password.
- Click Go.
- On the EPM Enterprise subscription landing page, for Planning click SELECT.
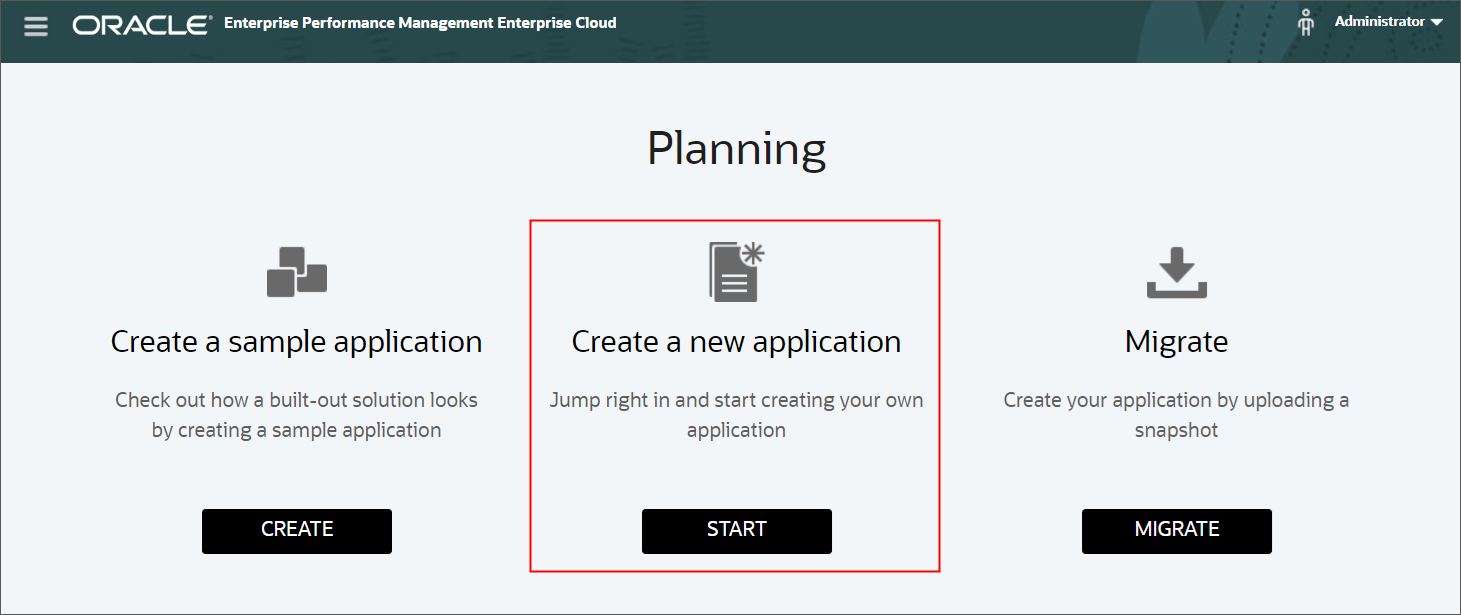
- To create a new Sales application, click START.
The Planning landing page is displayed.
The application wizard is displayed.
Creating a Sales Planning Application
- Enter or select the required general properties:
- Name: SalesPln
- Description: Sales Planning
- Application Type: Sales Planning
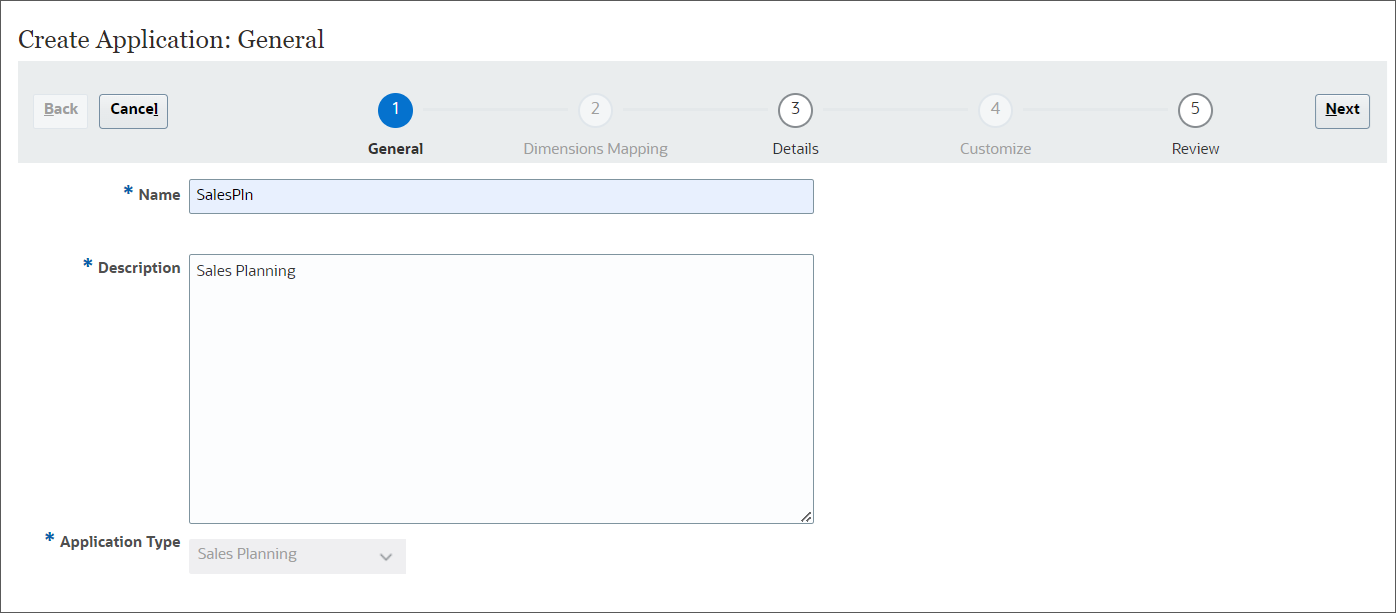
- Click Next.
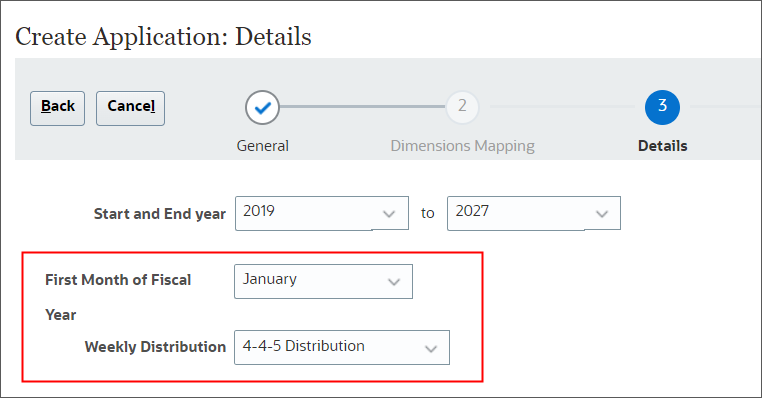
- Set the Start year to 2019, and End year to 2027 .
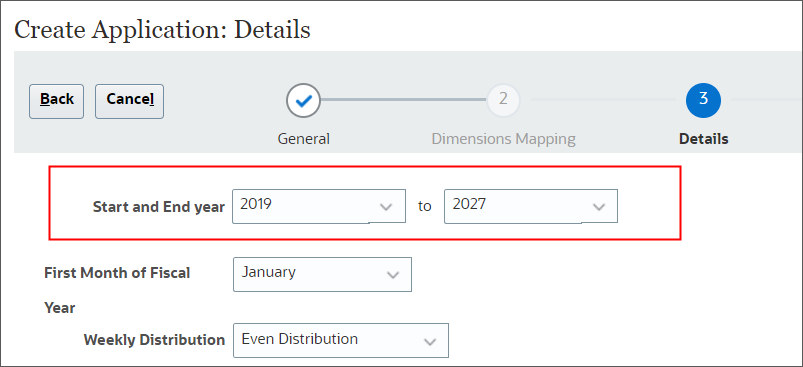
- For First Month of Fiscal Year, accept the default: January, and for Weekly
Distribution, select 4-4-5 Distribution.
- For Task Flow Type, Main Currency, and Multicurrency, accept the default selections.

- Review the name of the reporting cube.

- Click Next.
- Review your selections. If necessary, return to previous pages to make changes.
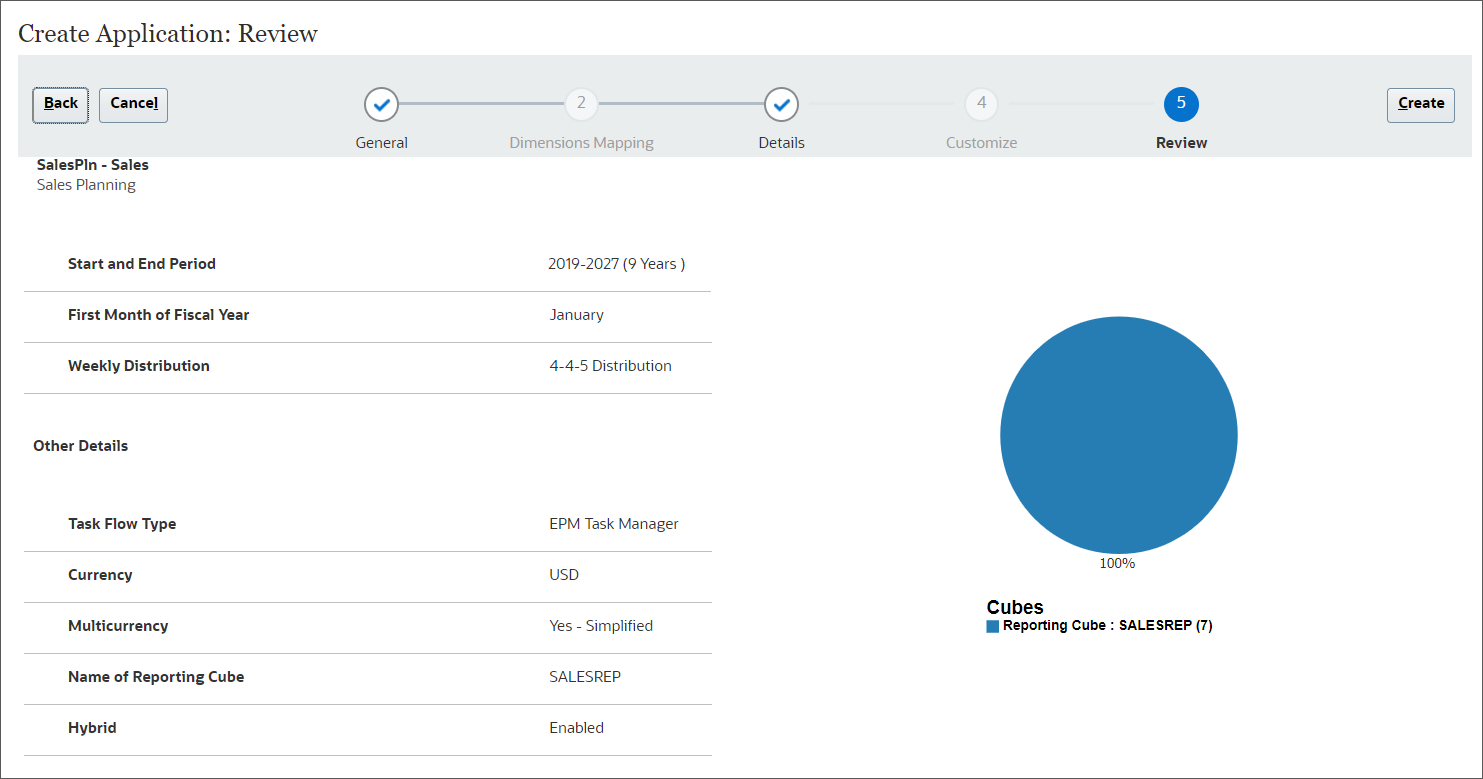
- Click Create.
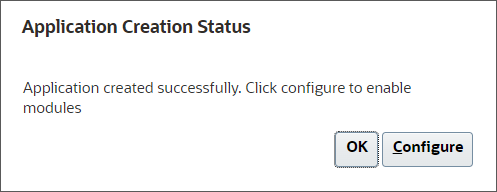
The Application Creation Status message is displayed.

- Click Configure.
Application creation may take a moment to complete. When completed, you'll see an Application created successfully message.
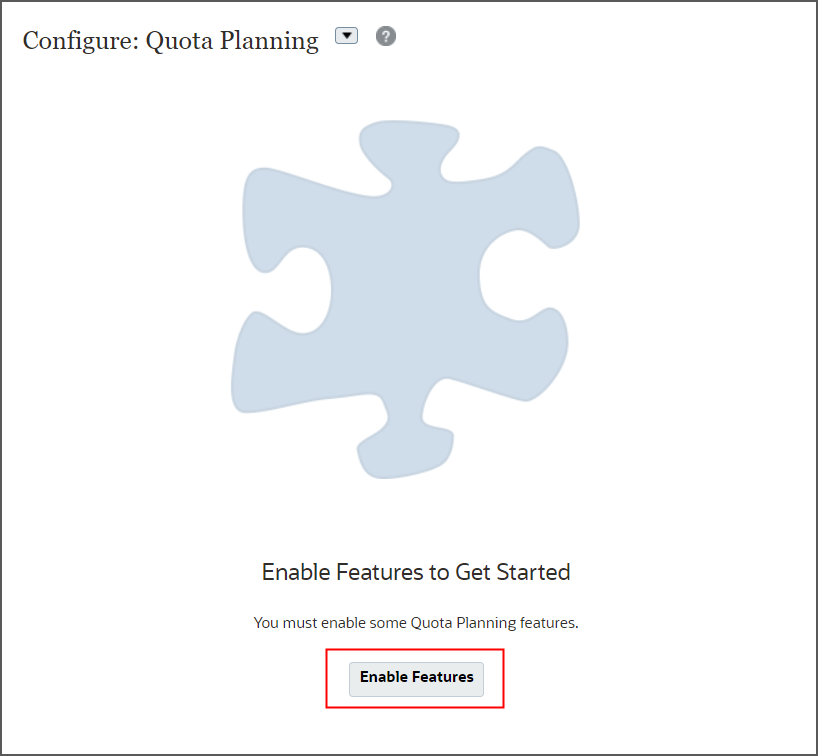
- In Configure: Quota Planning, click Enable Features.
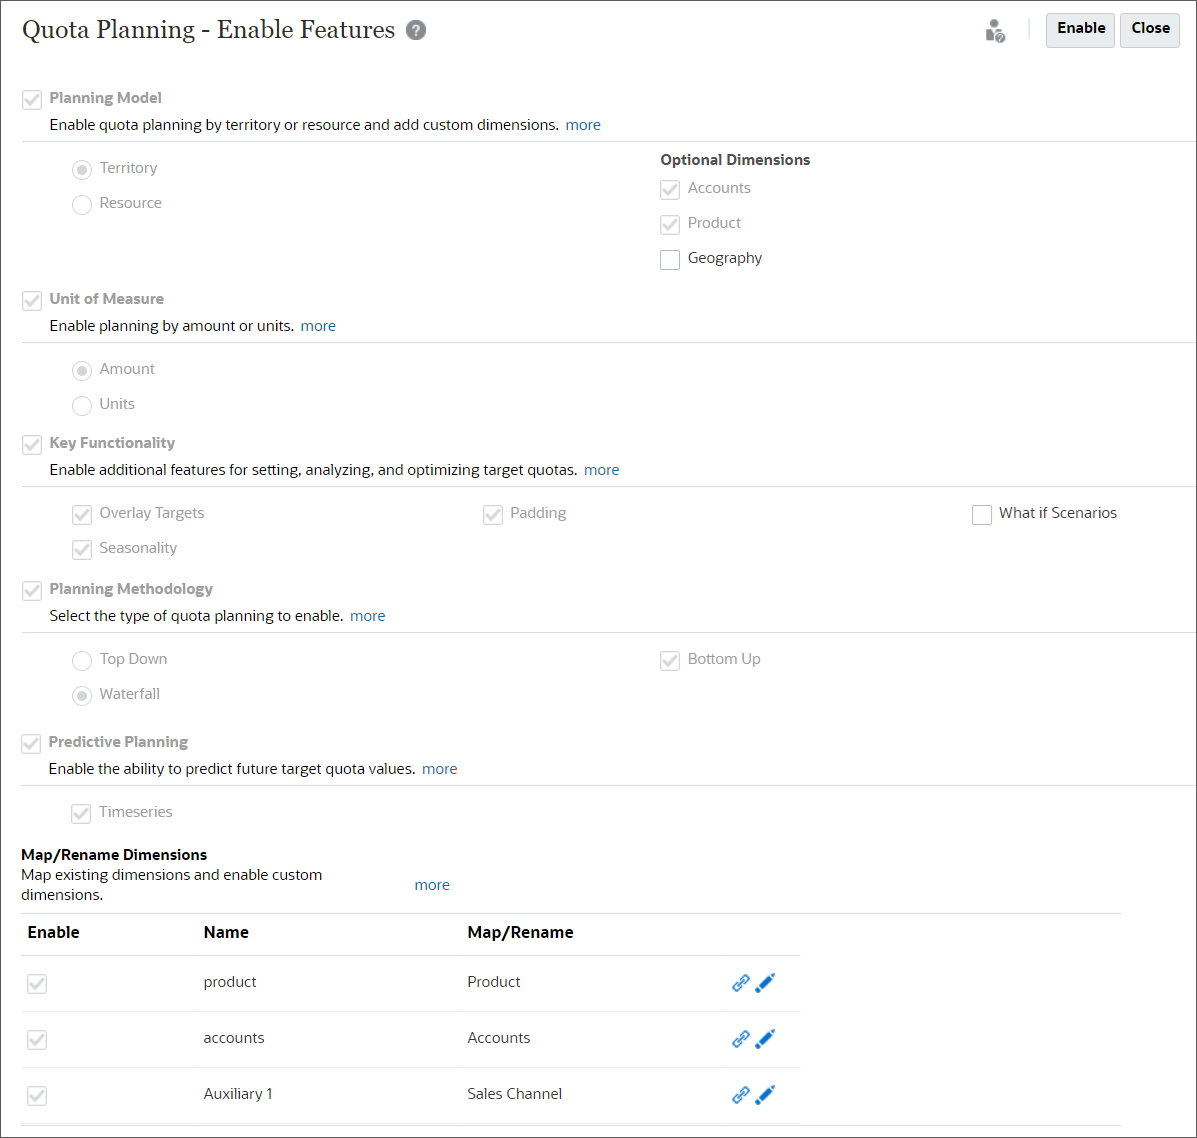
- In Enable Features, select Planning Model, then:
- Accept the default selection, Territory.
- Under Optional Dimensions, select Accounts, and Product.
You can plan by territory or resource. The lowest level in each hierarchy represents a sales rep. With Territory, you can integrate with Oracle Engagement Cloud's Territory Management. With Resource, you can integrate with Oracle Engagement Cloud's Incentive Compensation Management.
The Accounts, Product, and Geography optional core custom dimensions have predefined functionality and artifacts associated with them.
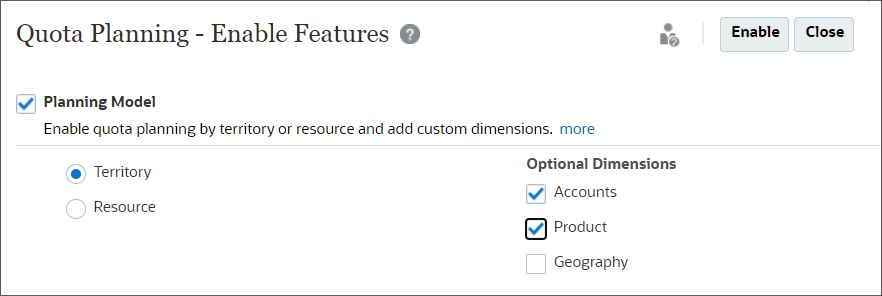
You must add custom dimensions when you first enable Quota Planning.
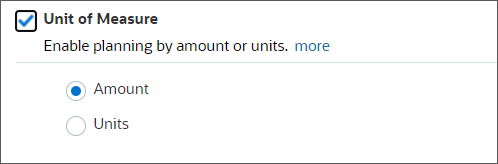
- Select Unit of Measure, and accept the default selection
Amount.
You can choose to plan quota by dollars or units.
- Select Key Functionality, then:
- Select Overlay Targets.
- Select Seasonality
- Select Padding.
- Select What if Scenarios.
You can plan for the additional sales from a support sales force whose assistance increases revenue.
You can adjust quota to better reflect the seasonal impact.
Selecting Padding allows management to make top side adjustments of target quotas before the final quotas are rolled out.
You can compare different business outcomes with the base plan.

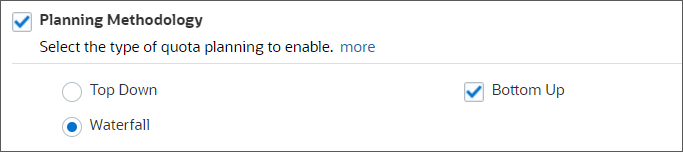
- Select Planning Methodology then:
- Select Waterfall.
- In Planning Methodology, select Bottom Up.
With the top down method, after planning target quota for all territories, you can allocate it throughout the organization with one action. With the waterfall method, you can plan target quota at the top of the organization and then allocate it one step below in the hierarchy.
With bottom up, sales reps can propose quotas for each account that they collaboratively review and adjust with their managers.
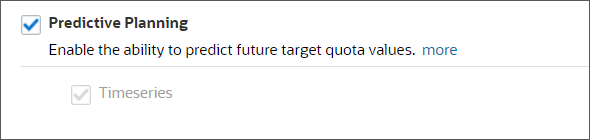
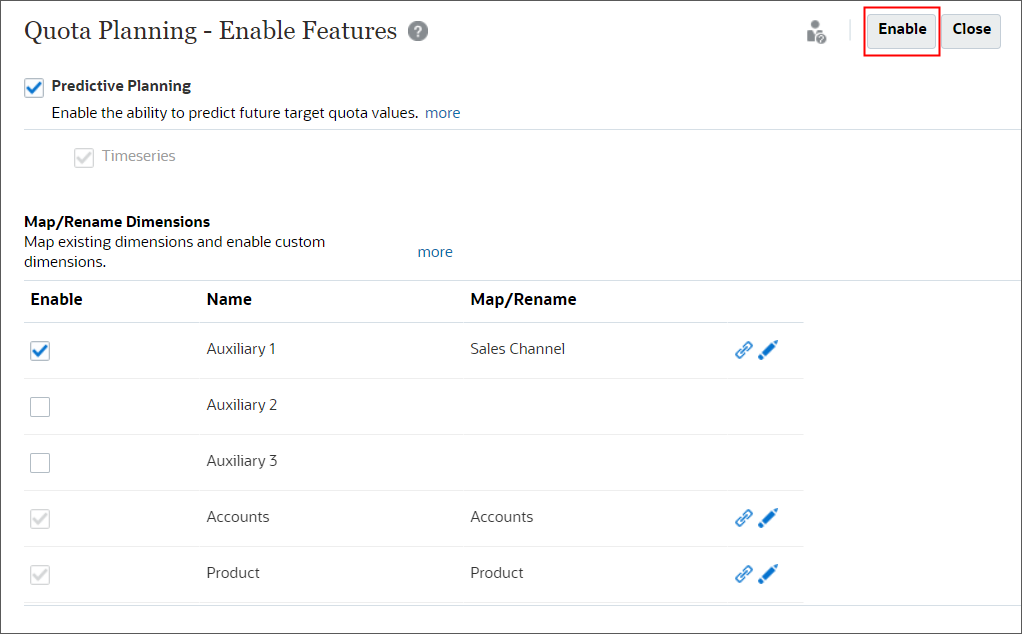
- Select Predictive Planning.
Enable Predictive Planning to perform time series statistical analyses on historical data to predict future results. Users can copy these predictions into forecast and what-if scenarios.
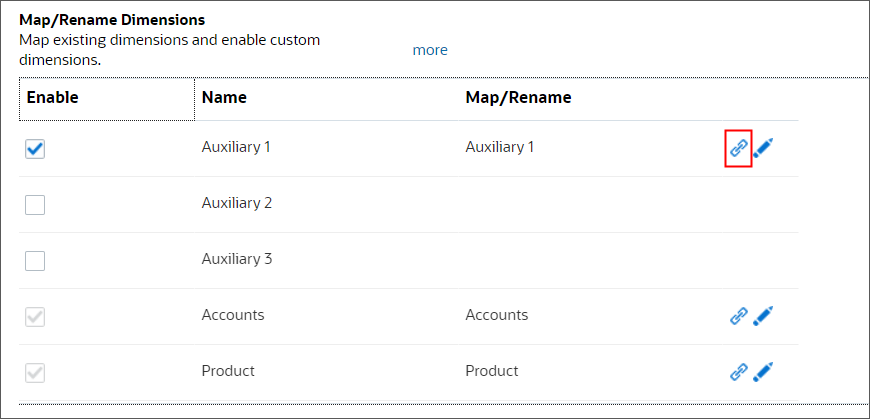
- In Map/Rename Dimensions, enable Auxiliary 1, and click
 (Rename Target
Dimension).
(Rename Target
Dimension).
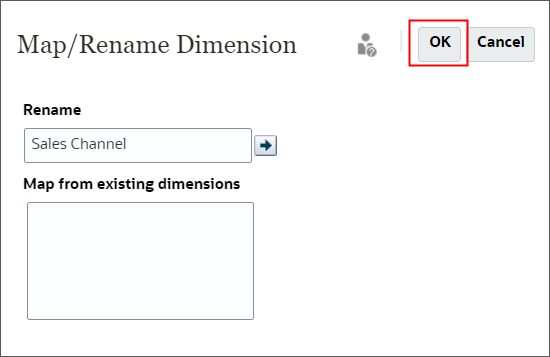
- In Map/Rename Dimension, enter Sales Channel to rename Auxiliary 1, and
click OK.
- Verify the following and click Enable:
- Accounts and Products dimension are selected
- Auxiliary 1 is mapped/renamed to Sales Channel
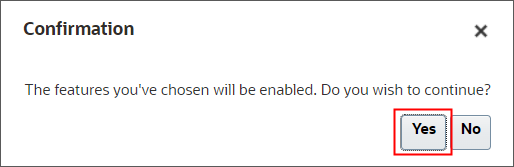
- At the Confirmation message, click Yes.
Enabling features may take a moment to complete.
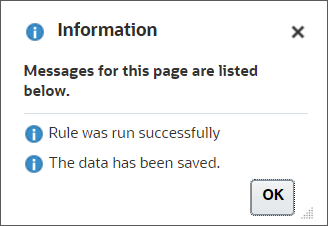
- When an information message displays that features were enabled successfully, click
OK.

- In the upper right corner, click the arrow next to your username, and then click
Sign Out.
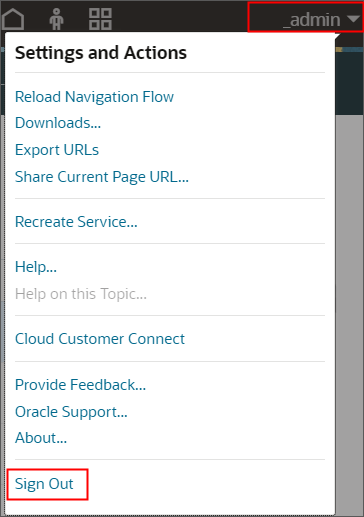
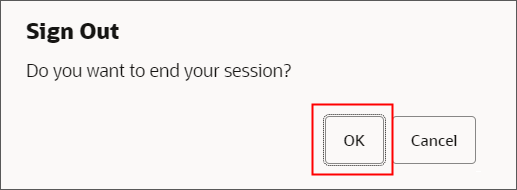
- When prompted to sign out, click OK.
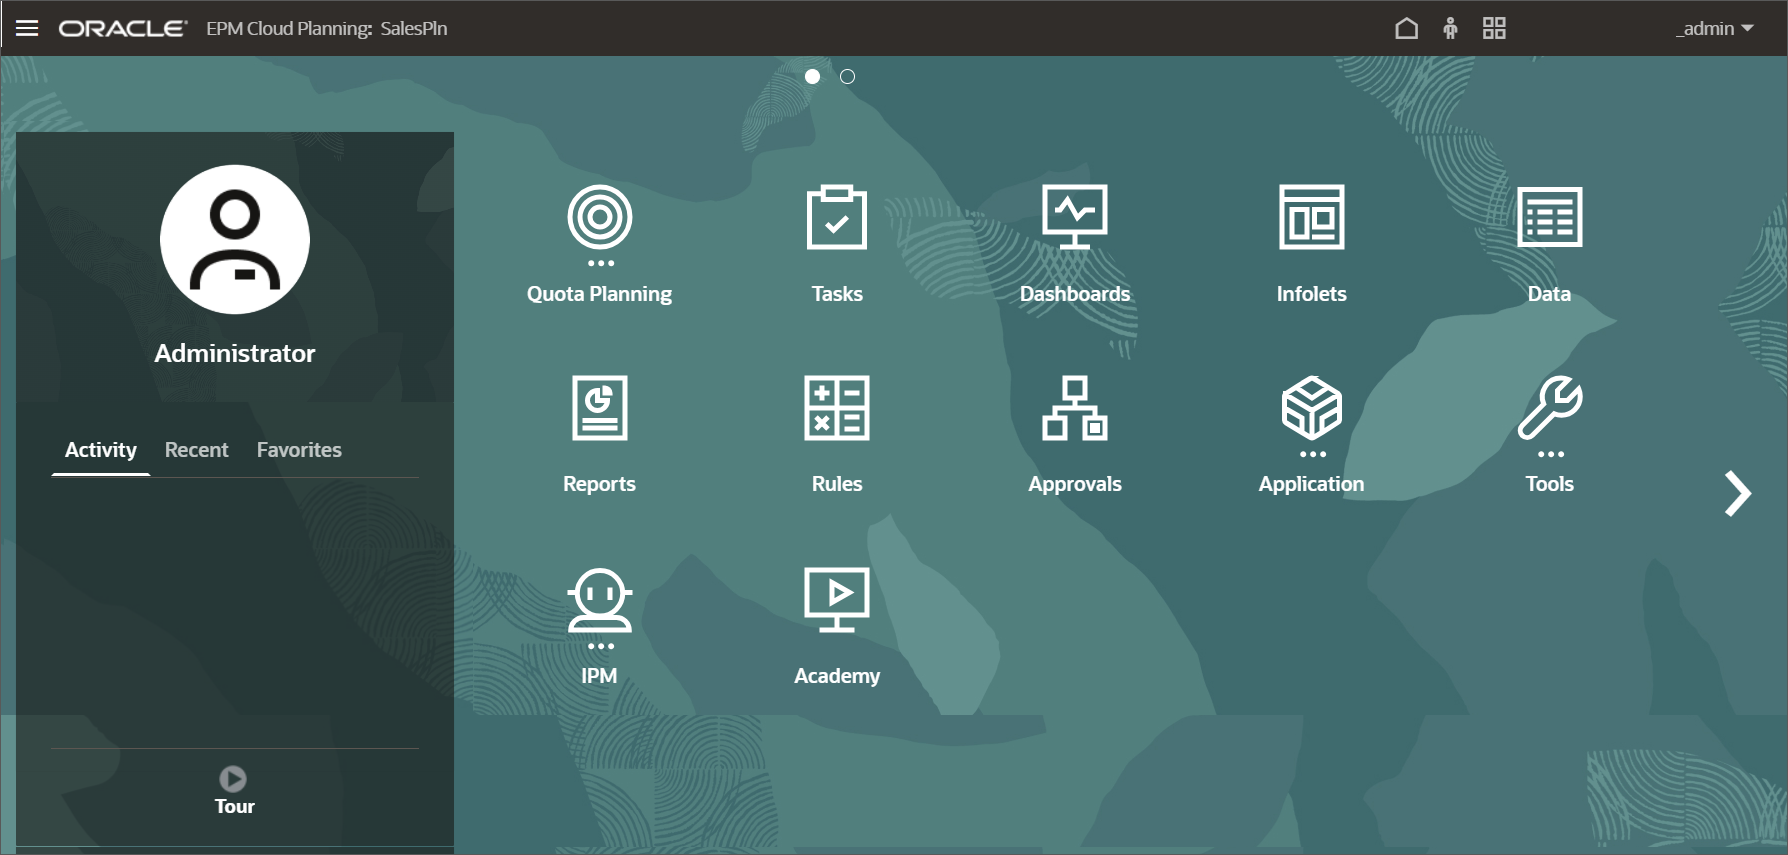
- Log back into Oracle Sales Planning.
The home page is displayed. Note that the Quota Planning card was added to the home page.
- On the home page, click Application, then Configure.
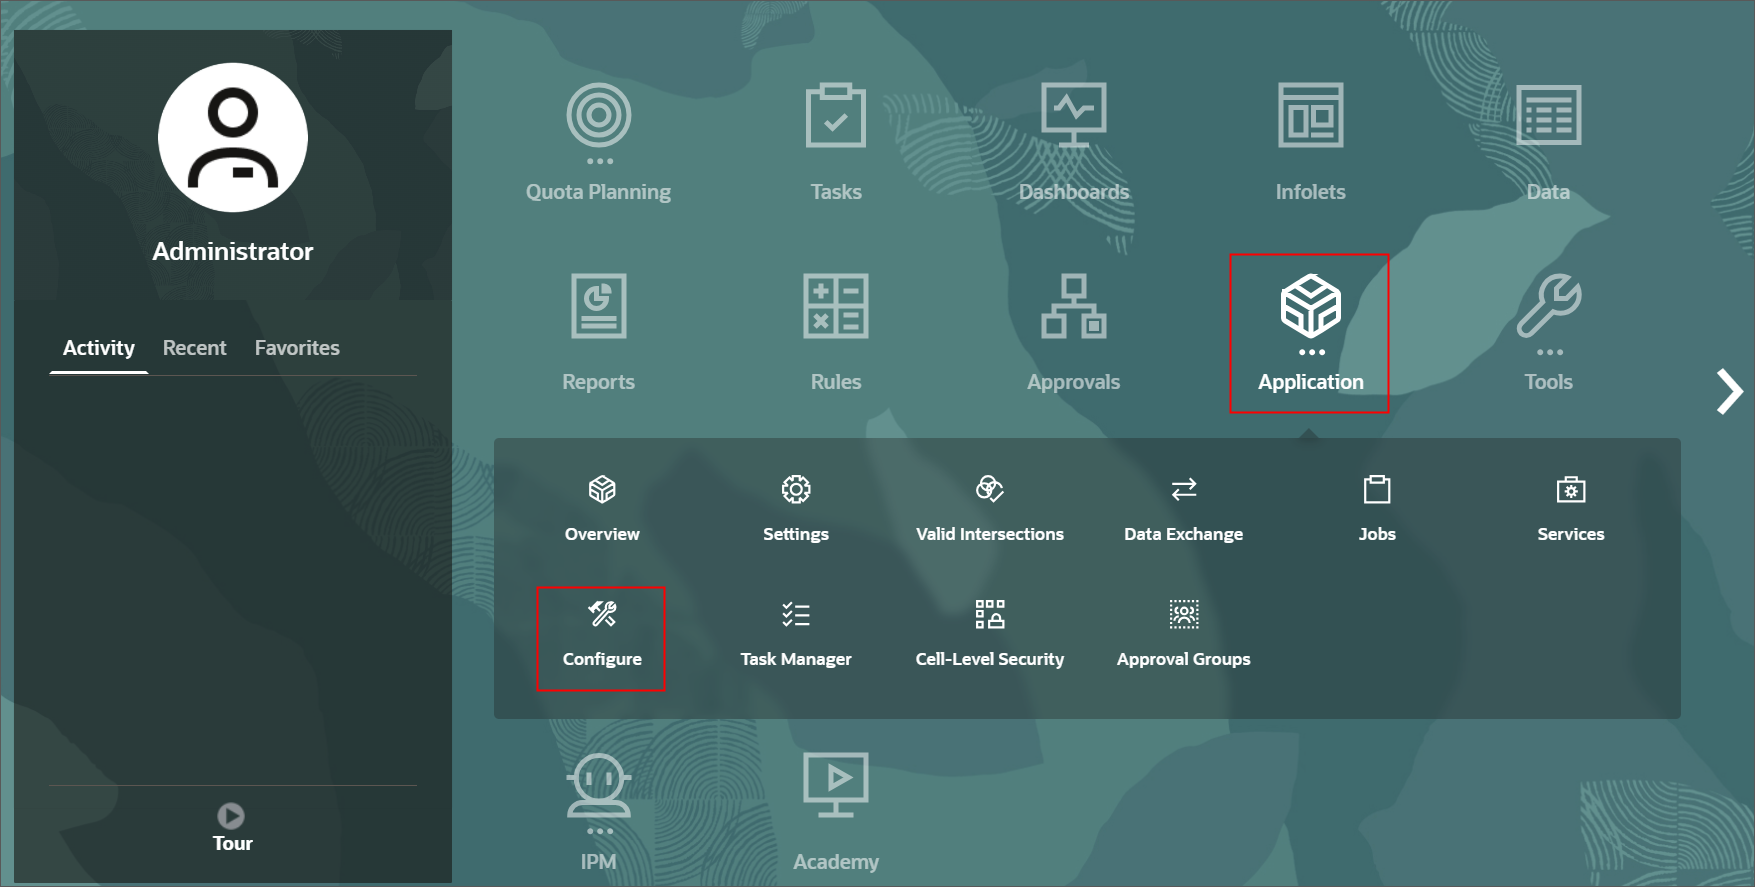
The configuration tasks are displayed.
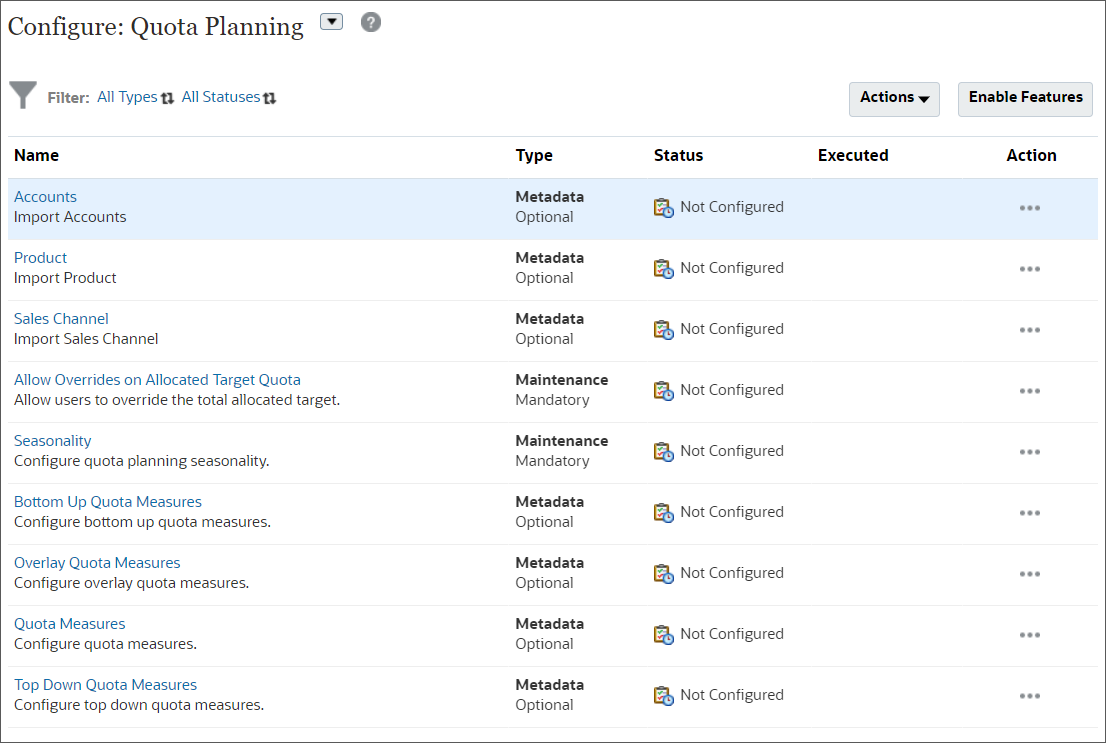
Before you can use the predefined forms, you'll need to import dimension members, load and prepare historical data, set user variable values, and perform additional configuration tasks.
- Click Enable Features.
- Review the enabled features.
- Click Close.
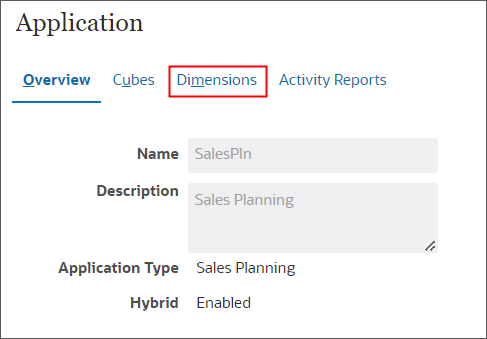
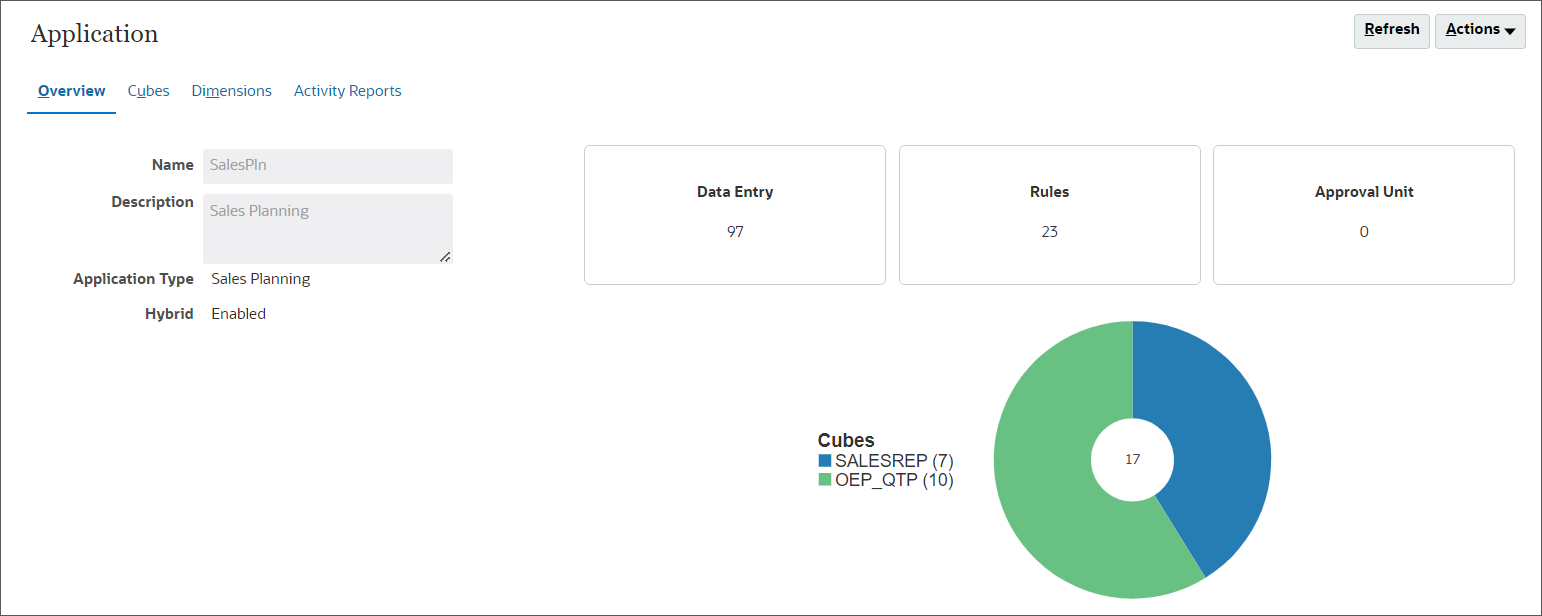
- Click Overview.

- In Application Overview, review the application properties.
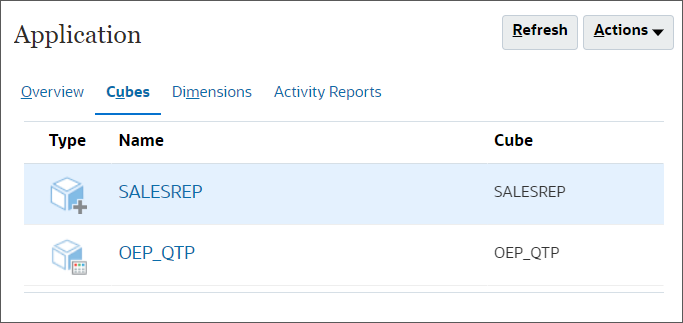
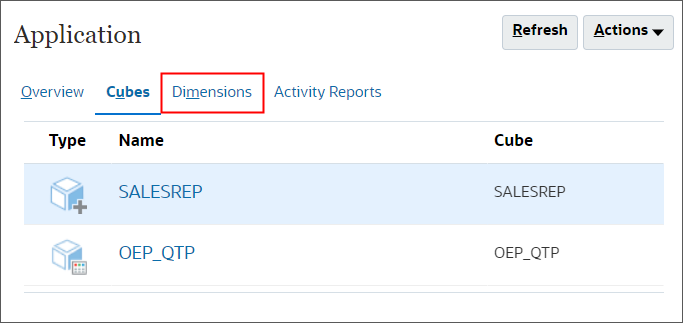
- Click Cubes.
The configuration creates one (1) aggregate storage cube and one (1) block storage cube. Quota Planning includes a SALESREP reporting cube, and the OEP_QTP cube to plan sales quota.
- Click OEP_QTP.
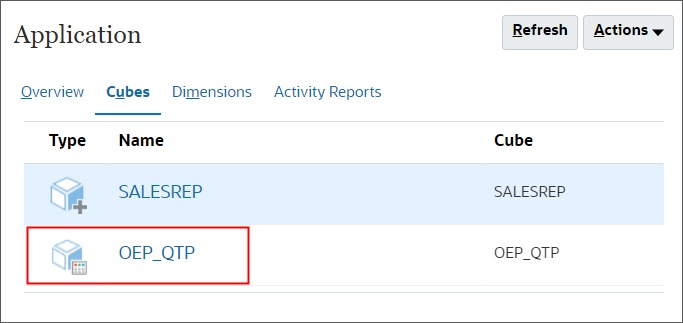
The OEP_QTP cube is a block storage cube with several included dimensions and members. Sales intelligence and terminology is built in to support your sales planning.
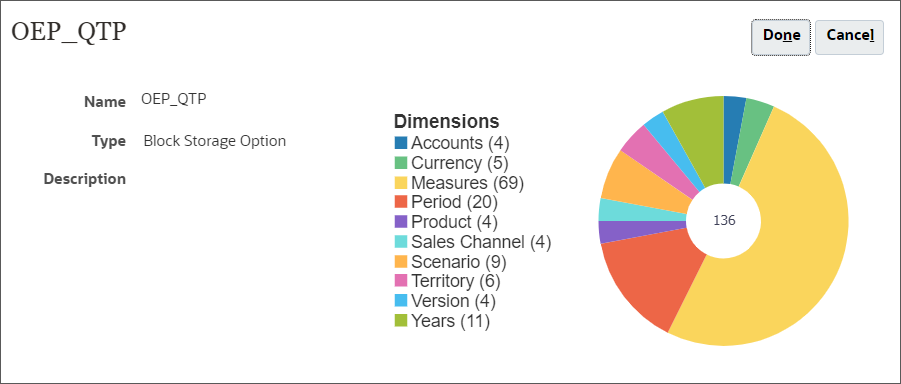
- Click Done.
- Click Dimensions.
- For Cube, click
 (Select Cube), and select OEP_QTP.
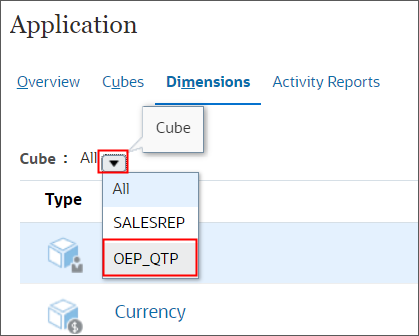
Dimensions included in the cube are displayed.
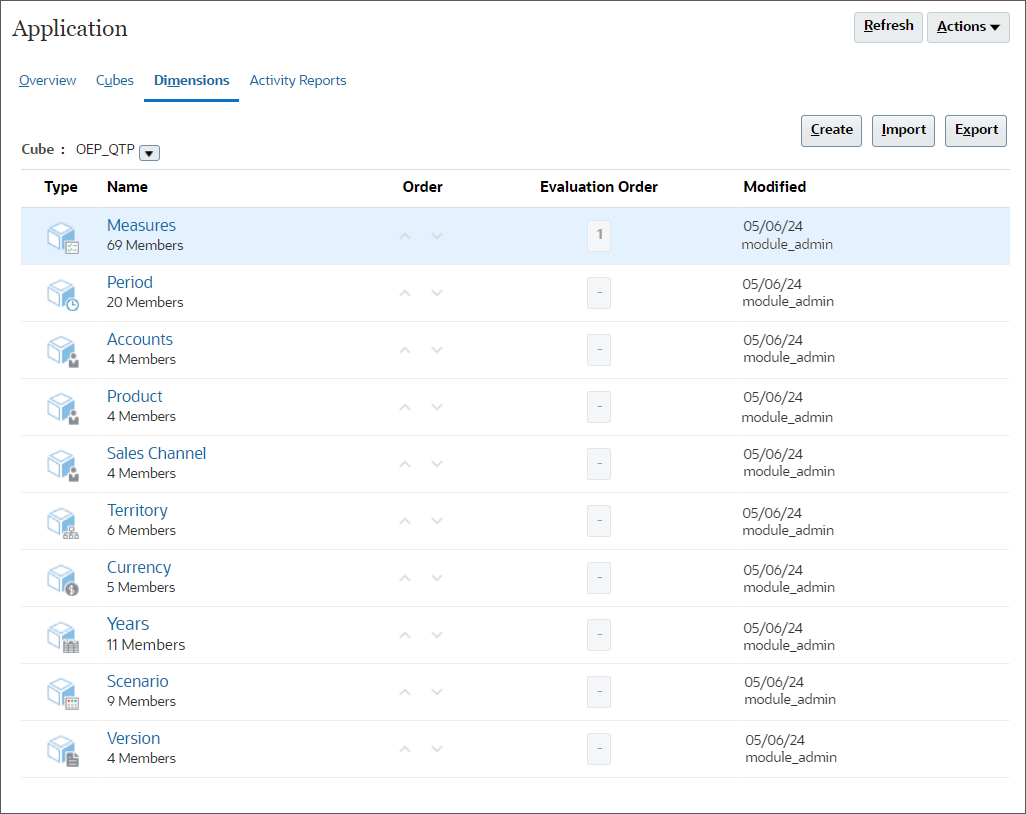
- Click Measures.
- In Edit Member Properties: Measures, click
 (Zoom in All Levels).
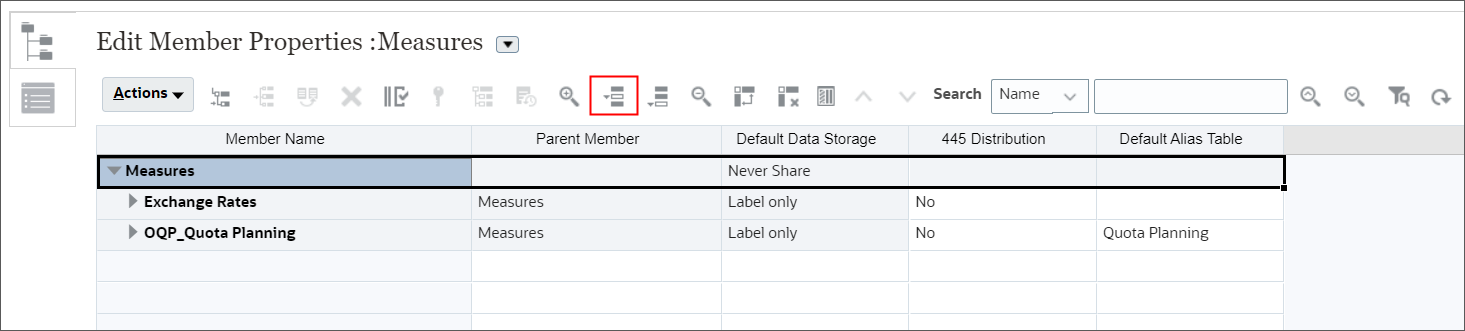
- Review the measures created to help you plan sales quota.
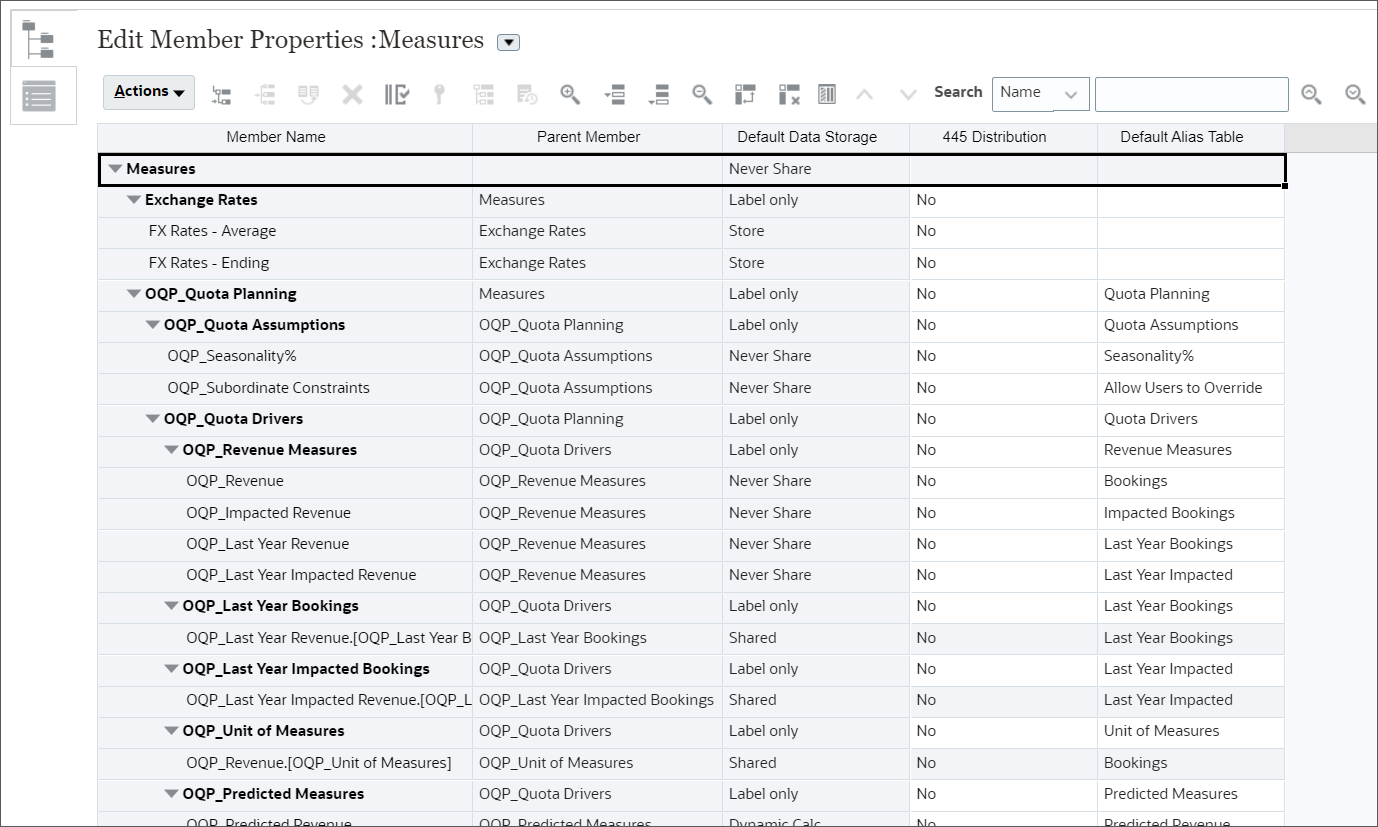
Tip:
If you need more measures, you can add them. Adding measures is covered in a separate tutorial. - Scroll to the right to see the Default Alias Table column.
While you cannot change member names, you can change the alias to reflect the name needed for your organization.
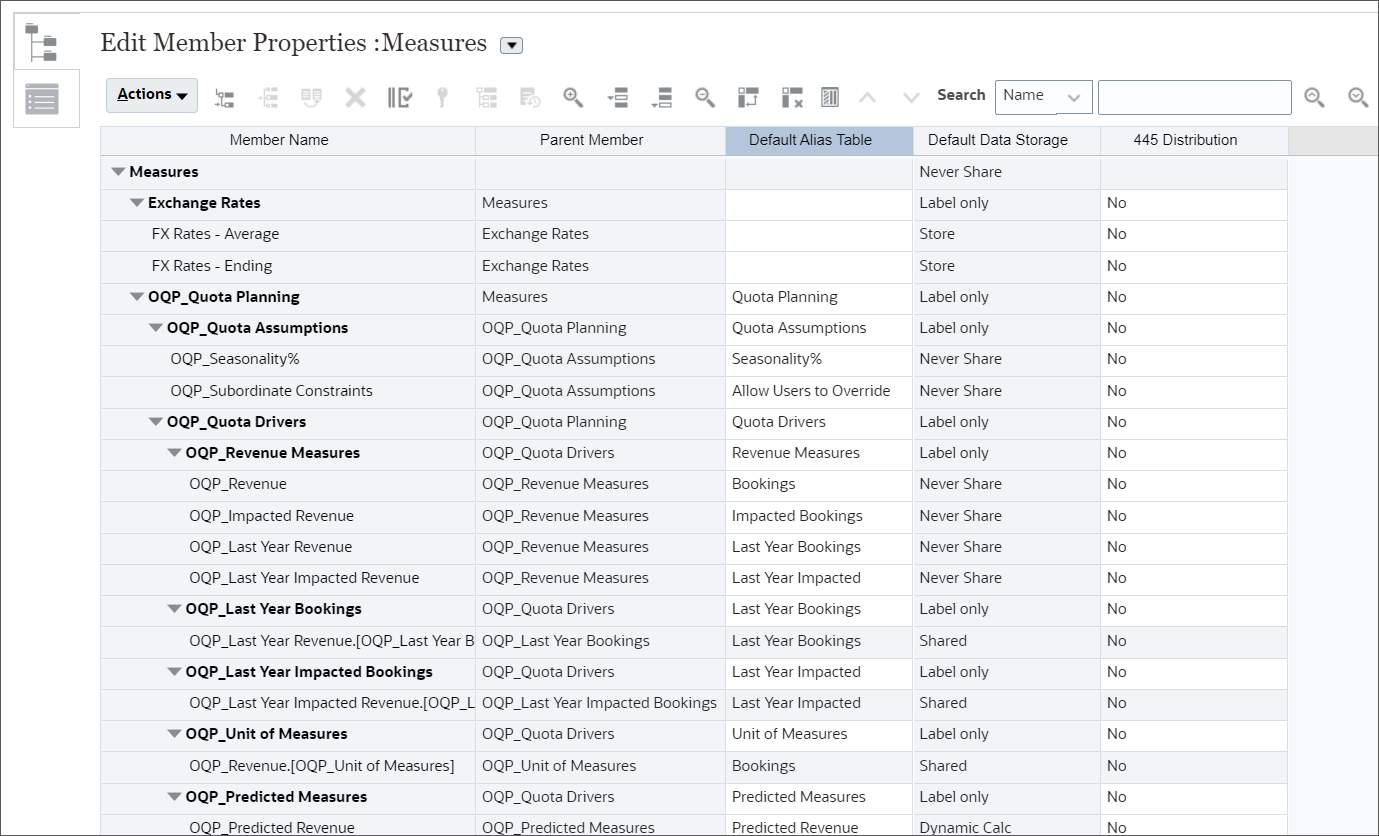
Tip:
You can drag the Default Alias Table column to the left so that it is next to the Member Name. - Click Cancel.
- Click Configure.

- Click Accounts.
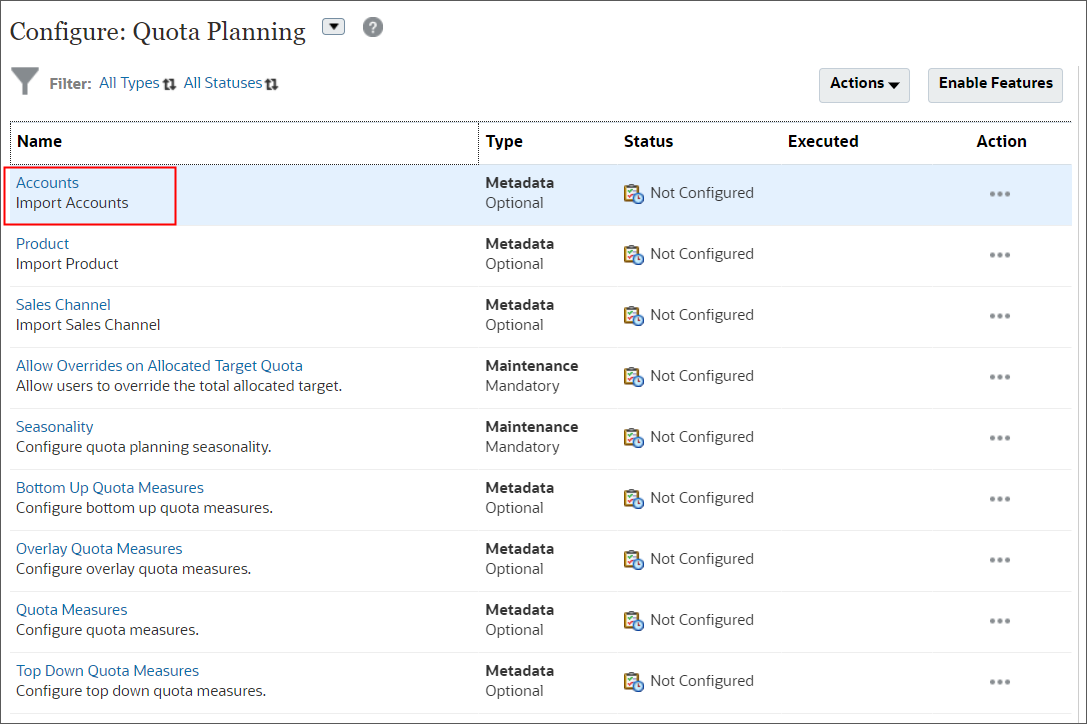
- Click Choose File.
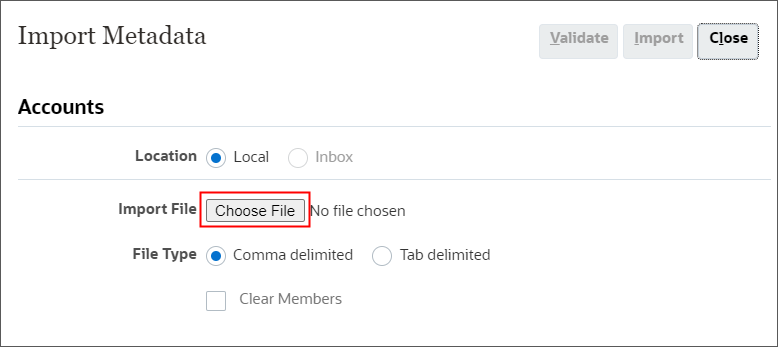
Note:
Depending on your browser, the button label may display Choose File or Browse. - Locate and select Accounts.csv, and click Open.
- Click Validate.
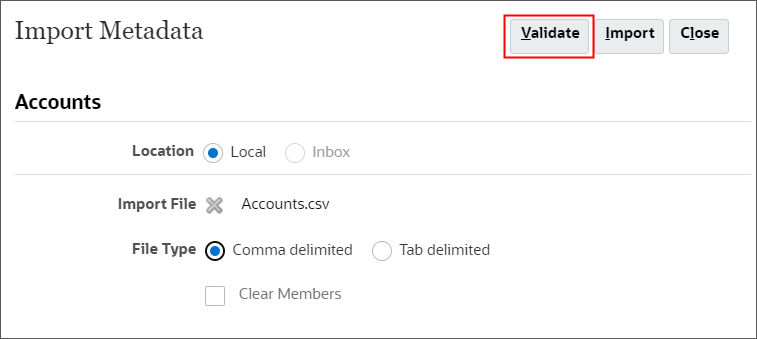
- In the Information message, click OK.

- Click Close.
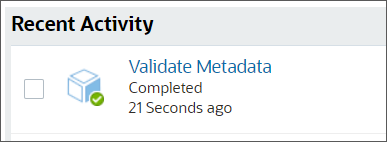
- Click Jobs.

The Validate Metadata job completed successfully.
- Click Configure.

- Click Accounts.
- Click Choose File.
- Locate and select Accounts.csv, and click Open.
- Click Import.
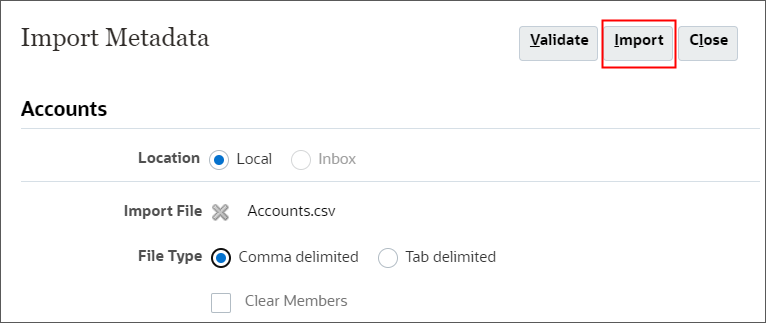
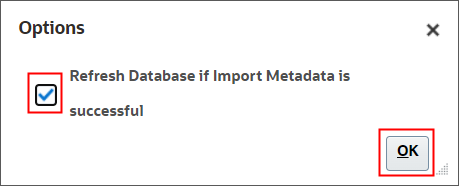
- In Options, select Refresh Database if Import Metadata is successful,
and click OK.
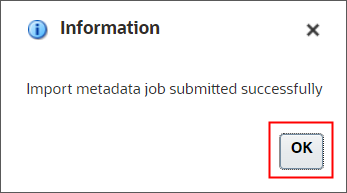
- In the Information message, click OK.
- Click Close.
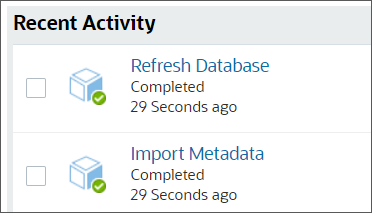
- Click Jobs.
- In Recent activity, verify that the jobs completed successfully.
- Return to Dimensions. Click Overview.

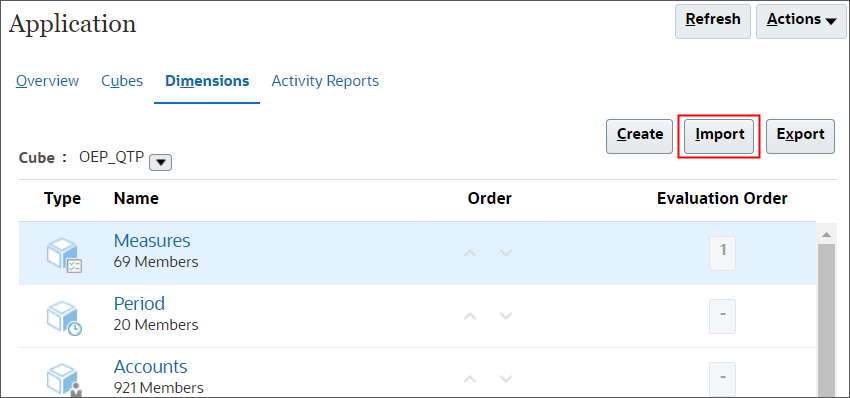
- Click the Dimensions tab.
- For Cube, click
(Select
Cube), and select OEP_QTP.
- Click Import.
- In Import Metadata, click Create.

You can import multiple dimensions at the same time.
- For each of the following dimensions, click Choose File, then locate
where
you saved the csv files, select it, and then click Open.
- Territory—Territory.csv
- Product—Product.csv
- Sales Channel—Sales Channel.csv
Note:
Depending on your browser, the button label may display Choose File or Browse.
- Click Import.
Note:
Best practice is to validate metadata files before importing them. The files included in this tutorial have been validated.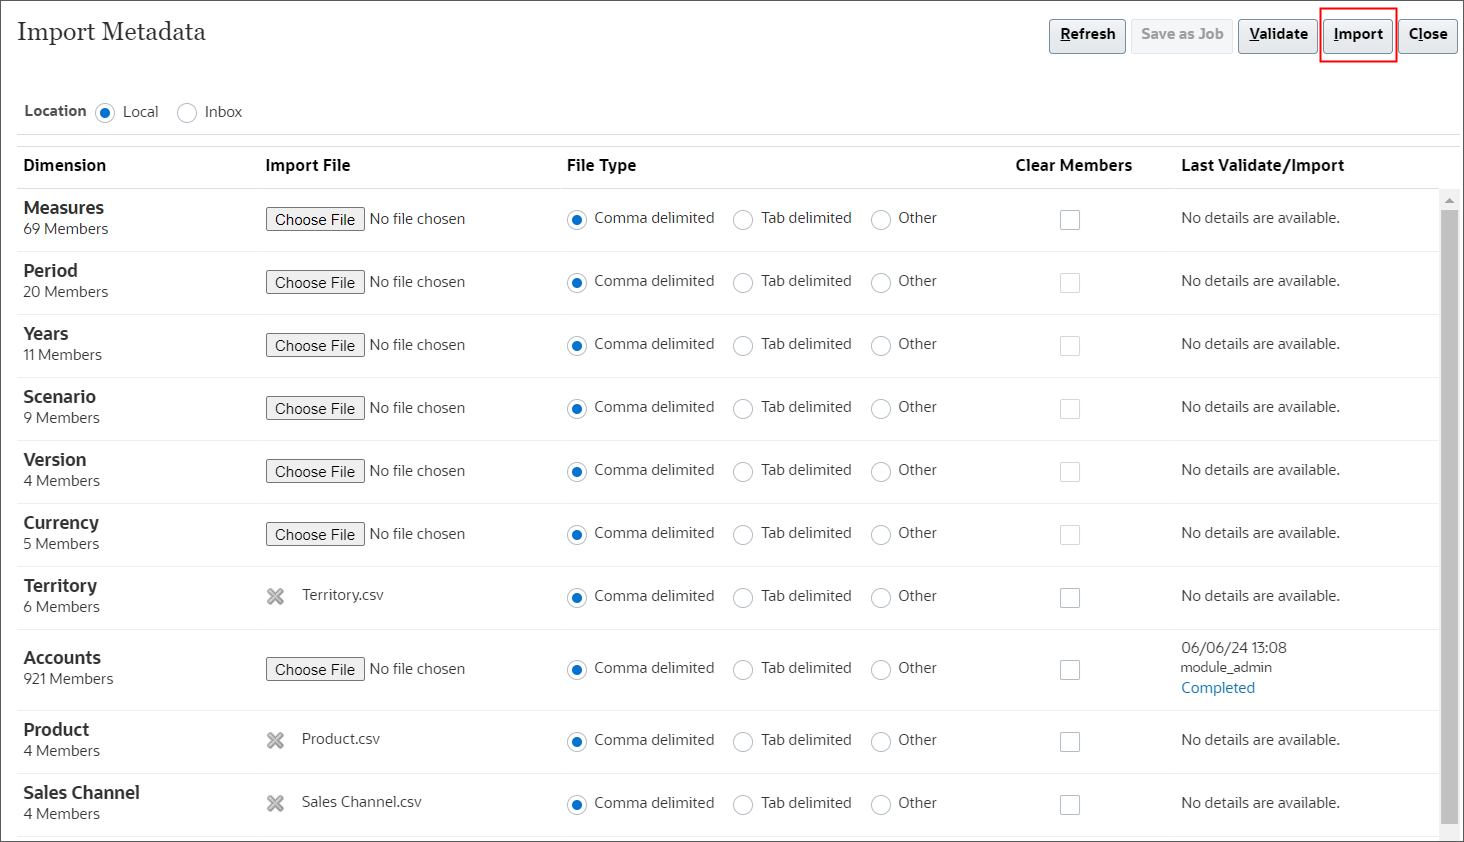
- In Options, select Refresh Database if Import Metadata is successful,
and click OK.
- In the Information message, click OK.
- Click Close twice.
- Click Jobs.
- The import job and the refresh job completed successfully.
- Click Overview.
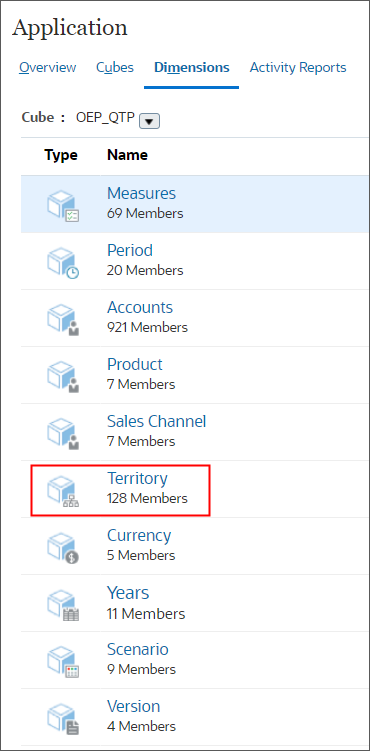
- Click Dimensions.
- For Cube, click
(Select
Cube), and select OEP_QTP.
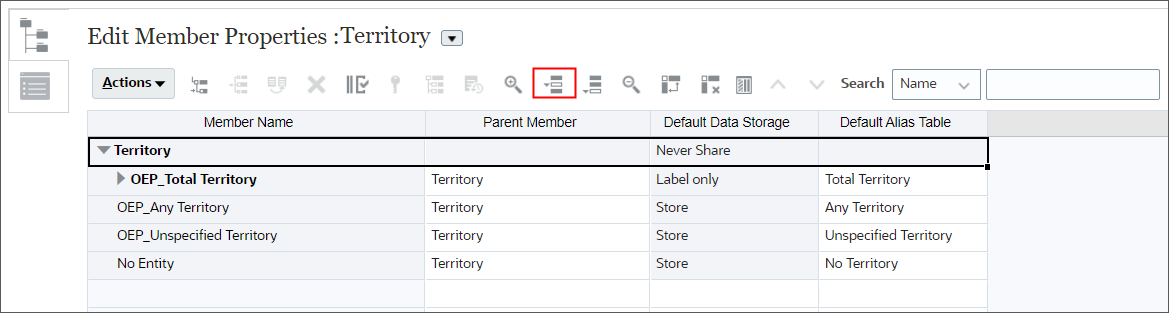
- Click Territory.
- Click
(Zoom in All Levels).
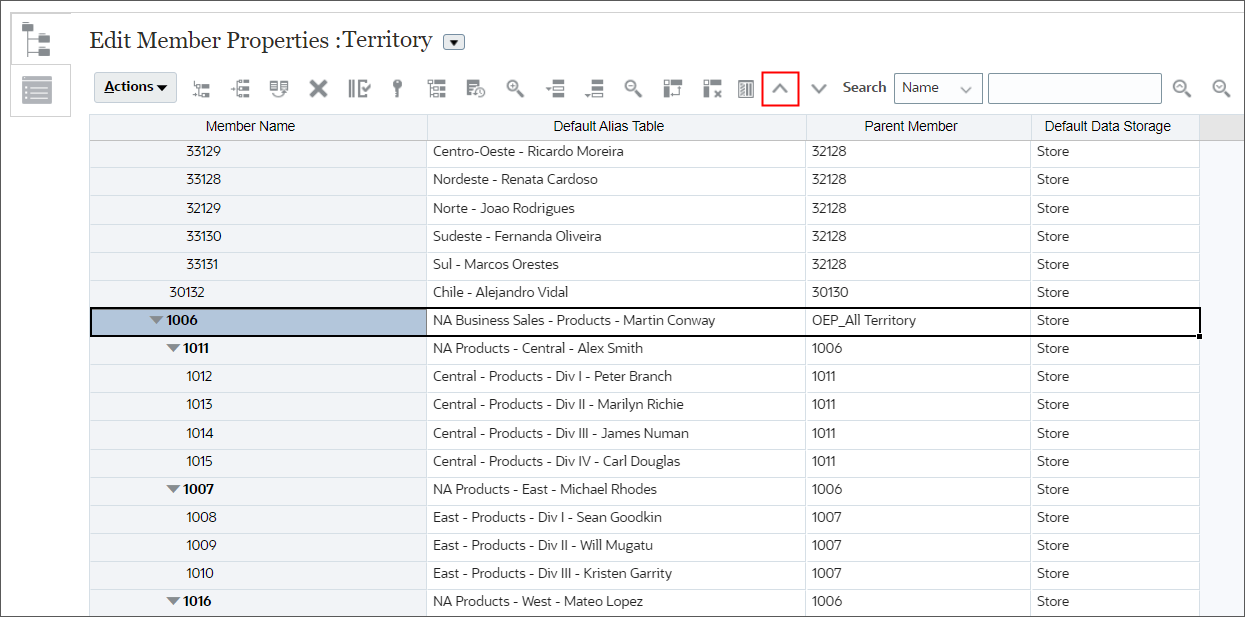
- Scroll right, and drag the Default Alias Table column, and drop it to
the right of Member Name.
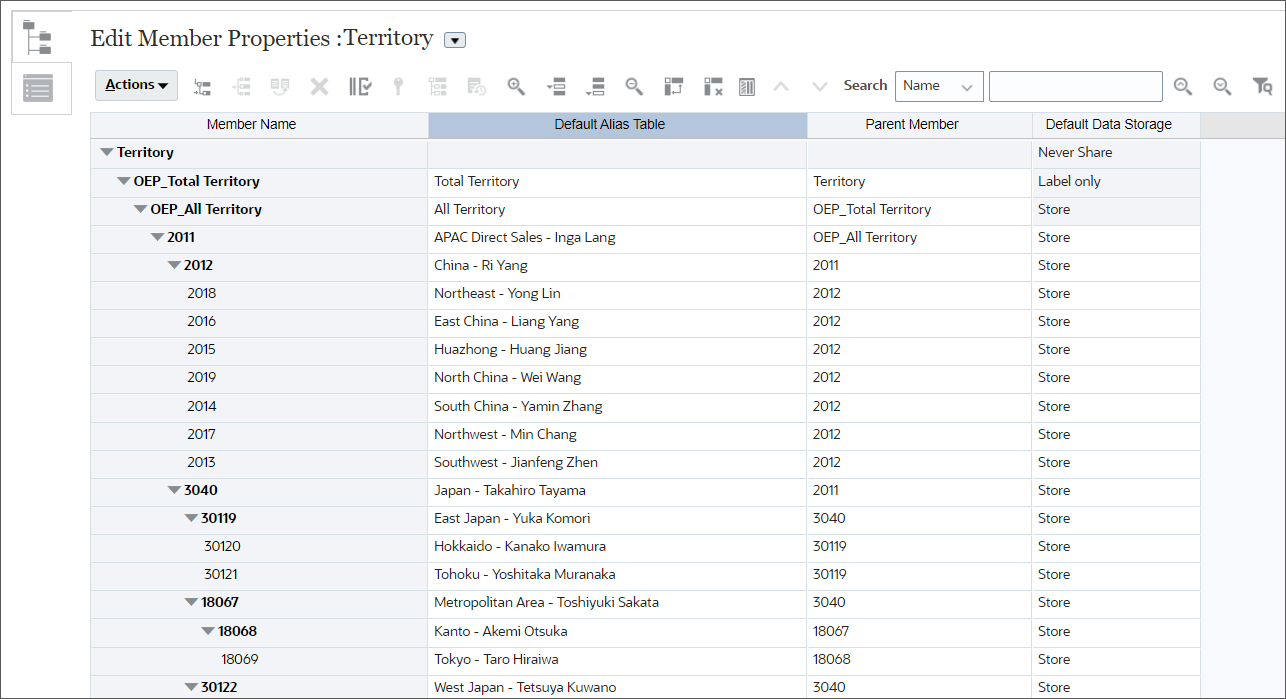
- Scroll down and select the 1006 row for NA Business Sales - Products -
Martin Conway, and click
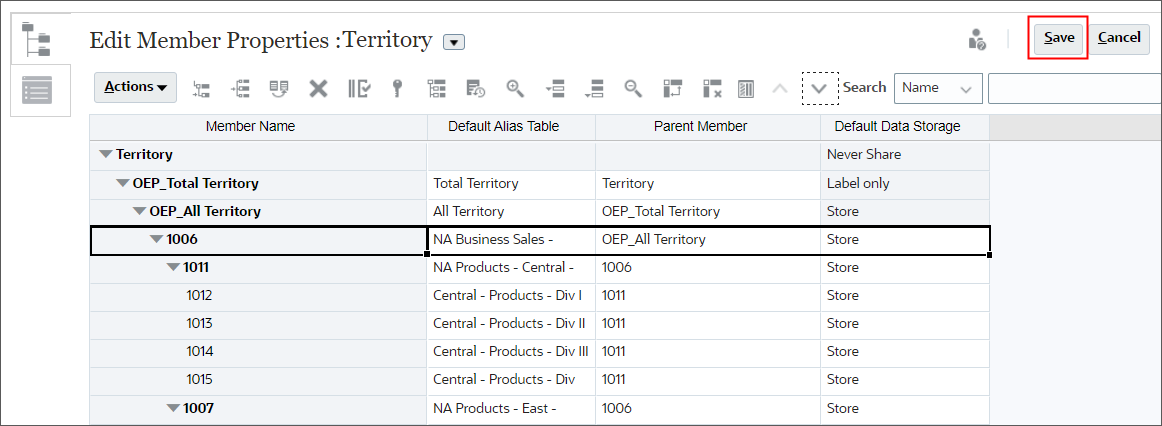
 (Move Up) three times to move it up to the top.
- Click Save.
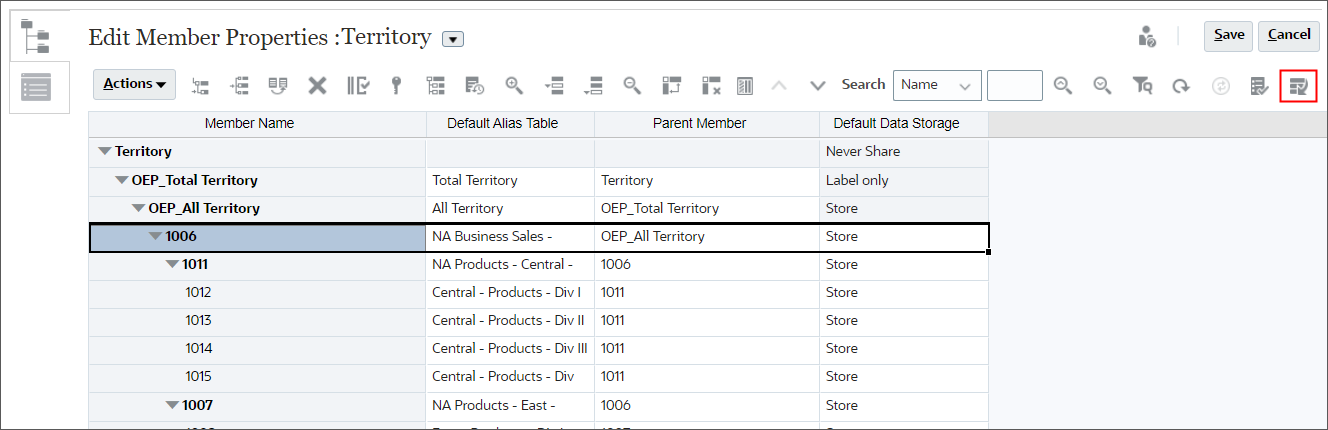
- Click
 (Refresh
Database).
(Refresh
Database).
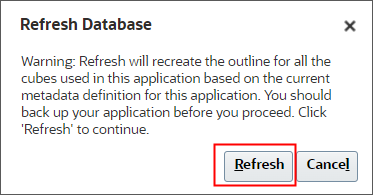
- Click Refresh Database.
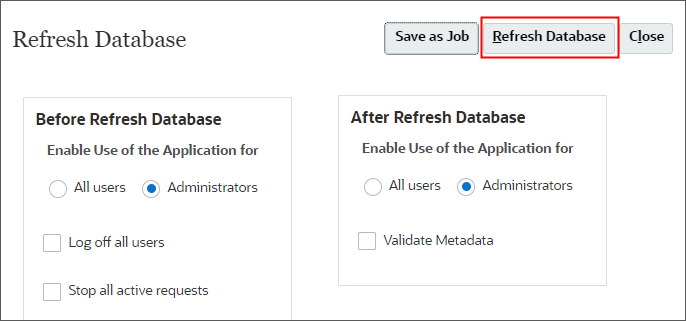
- Click Refresh.
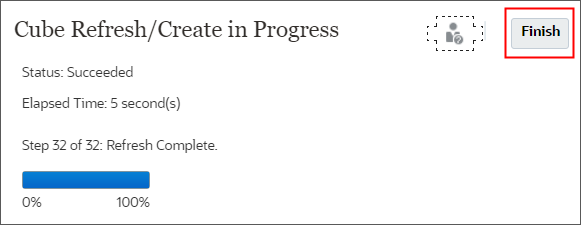
- After the progress message displays Succeeded, click Finish.
- Click Close.
- Click Cancel.
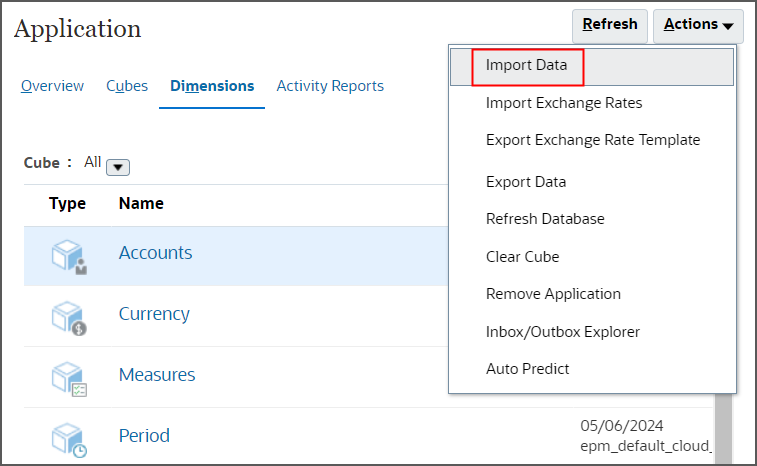
- Click Actions, and select Import Data.
- Click Create.
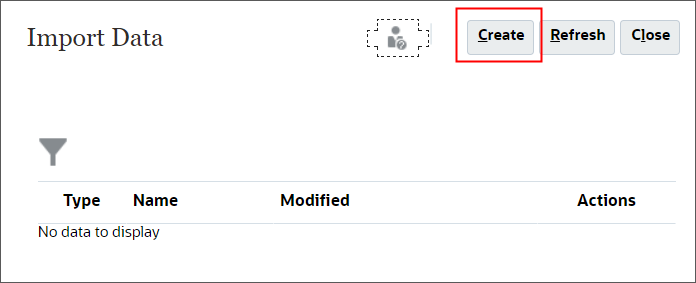
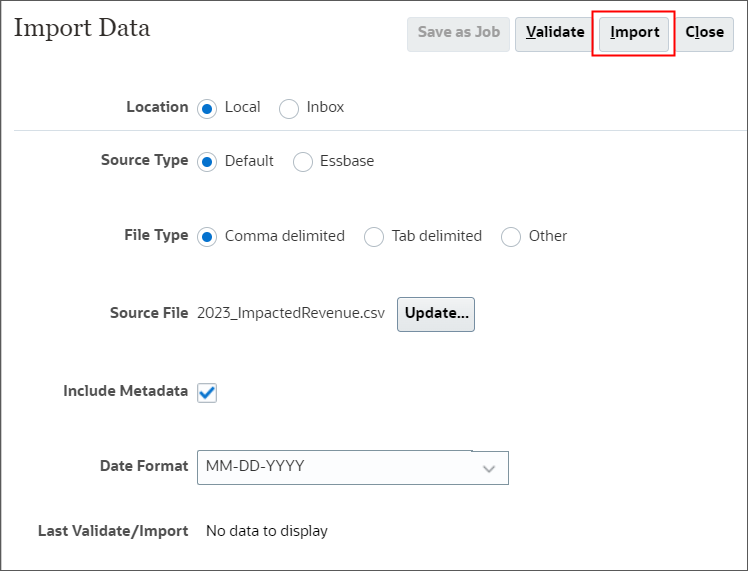
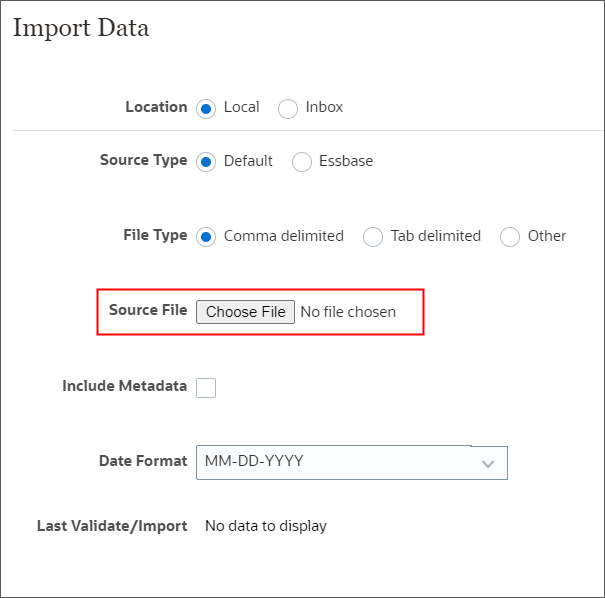
- In Import Data, you select import options and select your data file.
- Keep all the default selections, and click Choose File to select a file.
- Locate and select Historical_Actuals.csv, and click
Open.
When selected, the file name is displayed next to Source File. If you selected the wrong file, you can update your selection.
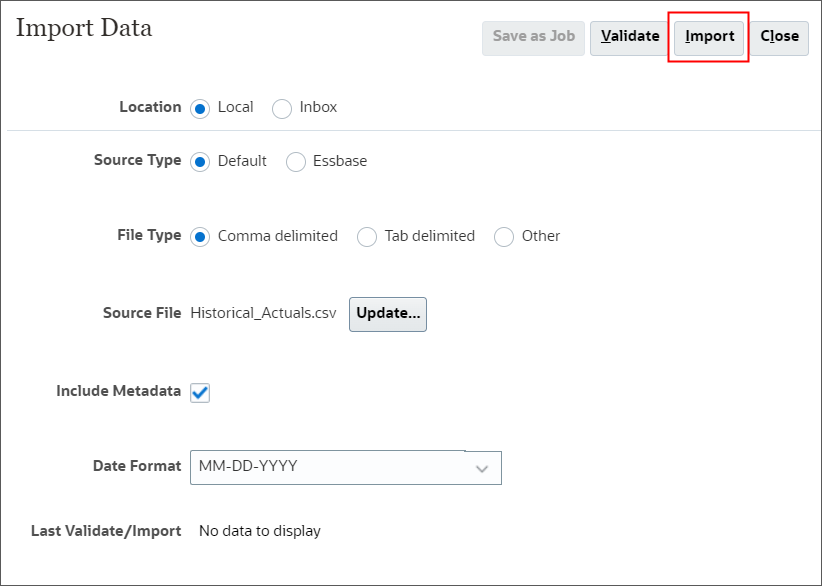
- In the upper right, click Import.
- In the Information message, click OK.
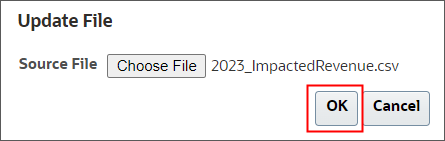
- Next, import 2023_ImpactedRevenue which you'll need for overlay
targets. Next to Source File, click Update.

- In Update File, click Choose File.

- Locate and select 2023_ImpactedRevenue.csv, and click Open.
- In Update File, click OK.
- Verify your selections, and click Import.
- At the Information message, click OK.
- Click Close twice.
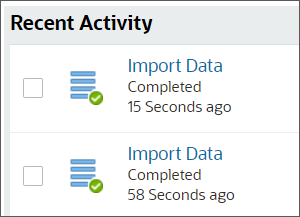
- Click Jobs, and verify that the recent two Import Data jobs completed
successfully.
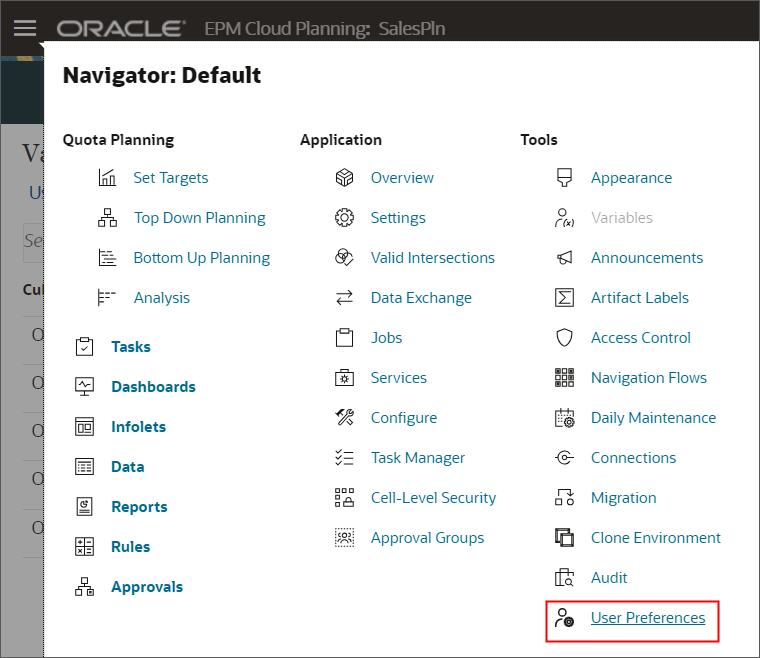
- Click
 (Navigator),
and under Tools, click Variables.
(Navigator),
and under Tools, click Variables.
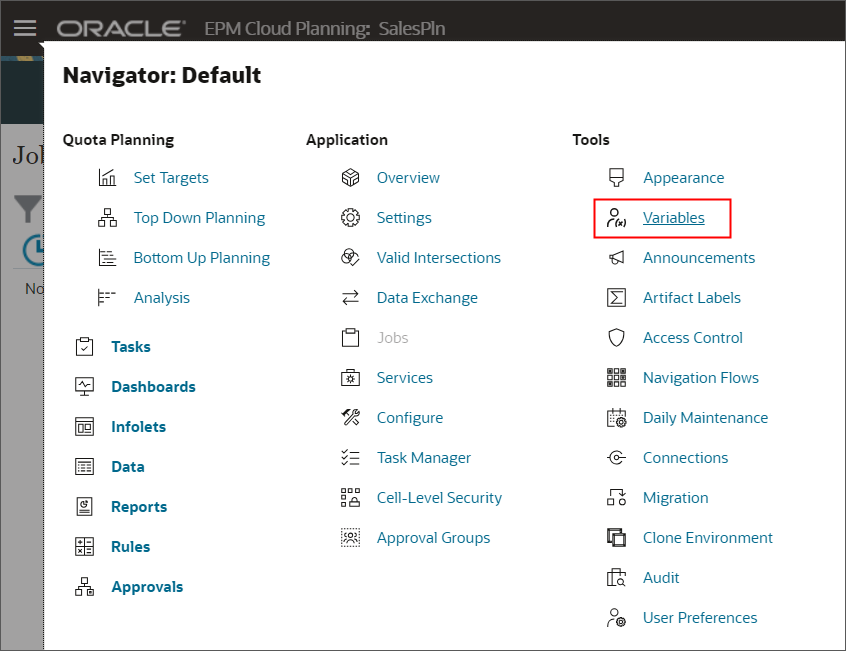
In Variables, you can administer user variables and substitution variables.
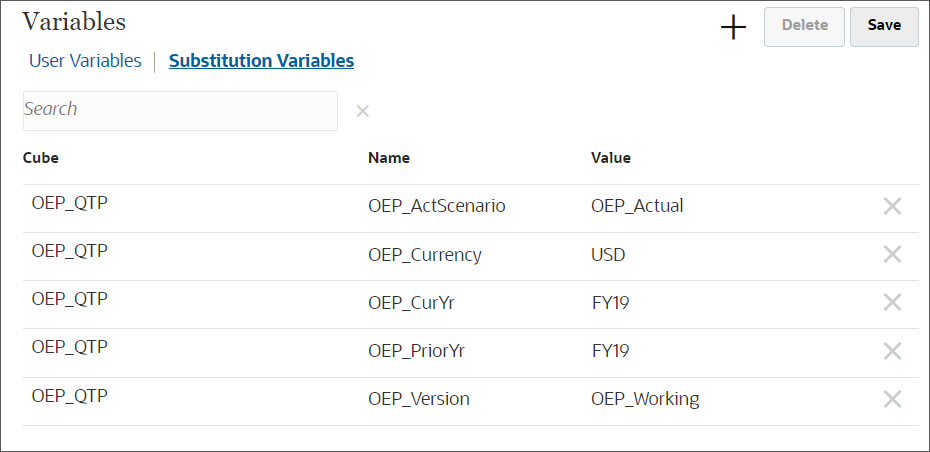
- Click Substitution Variables.
The predefined substitution variables are displayed.
- For OEP_CurYr change the year to FY24, and for
OEP_PriorYr, change the year to FY23, and click
Save.
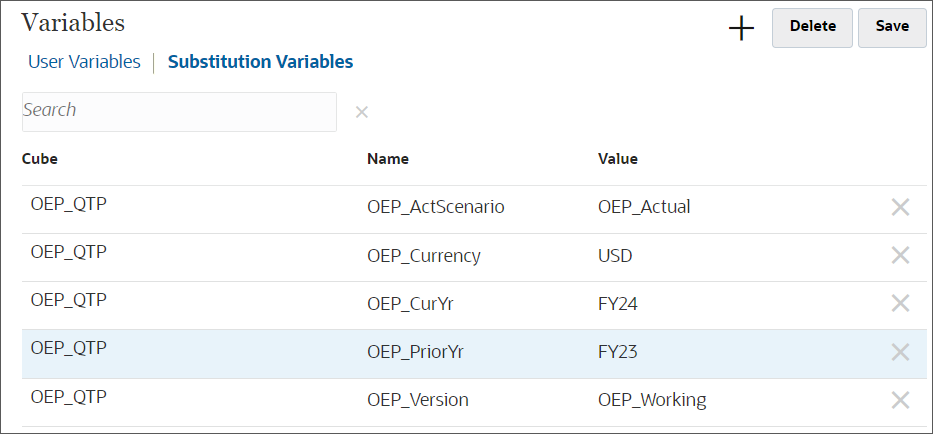
- Click OK.
- Click (Navigator),
and under Tools, click User Preferences.
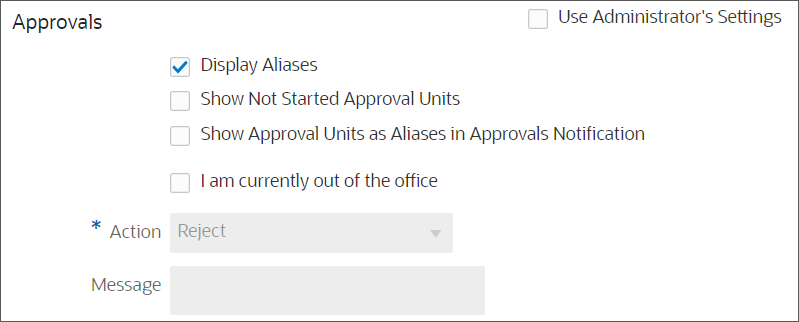
- In General, under Approvals, select Display Aliases.
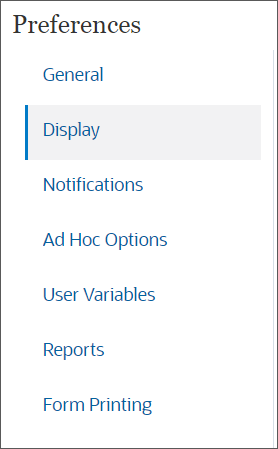
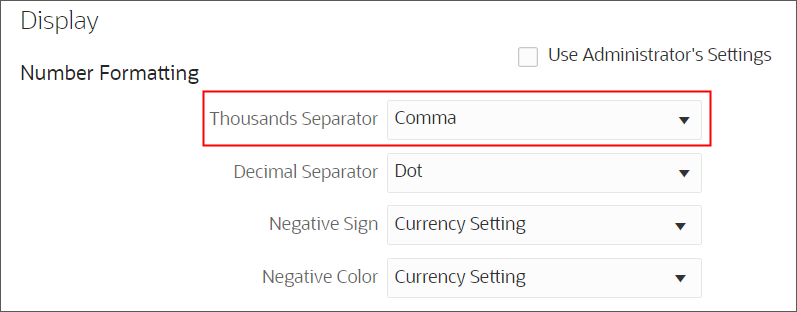
- On the left, under Preferences, click Display.
- Under Number Formatting, for Thousands Separator, select Comma.
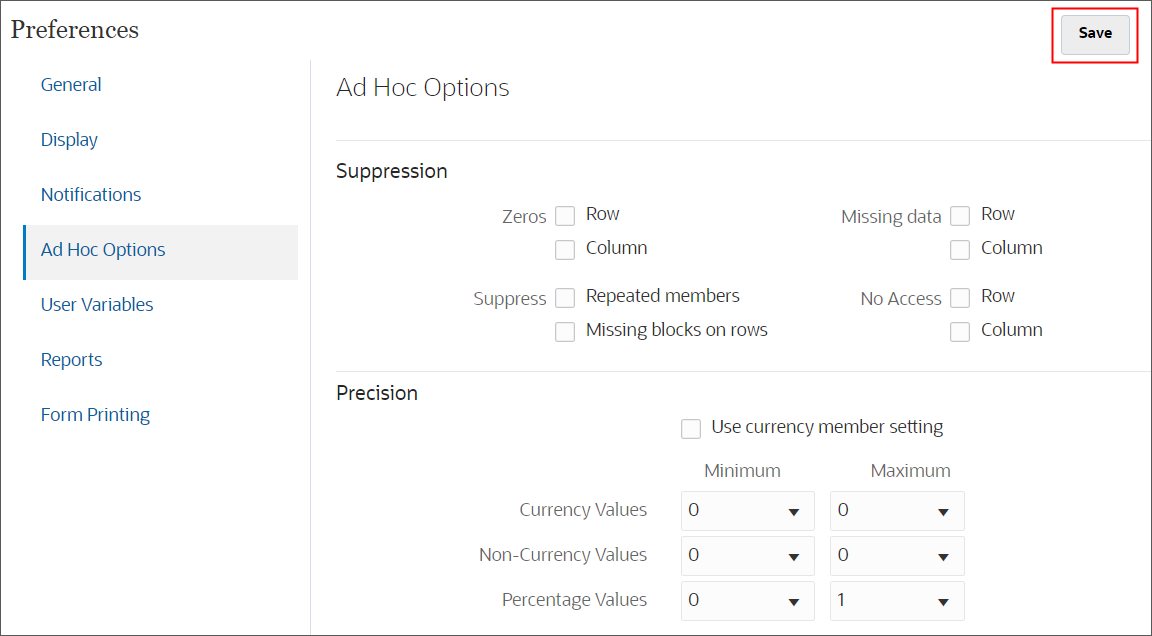
- On the left, under Preferences, click Ad Hoc Options.
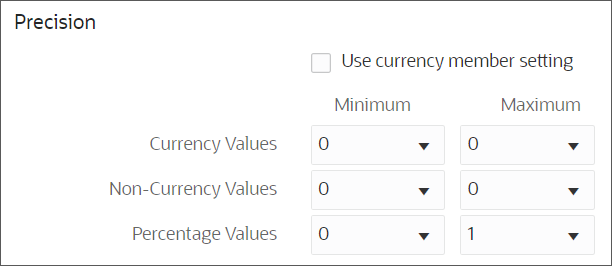
- Set Precision values to:
Minimum Maximum Currency Values 0 0 Non-Currency Values 0 0 Percentage Values 0 1 Precision settings affect the value display only, not their stored values.
- On the upper-right, click Save.
- In the Information message, click OK.
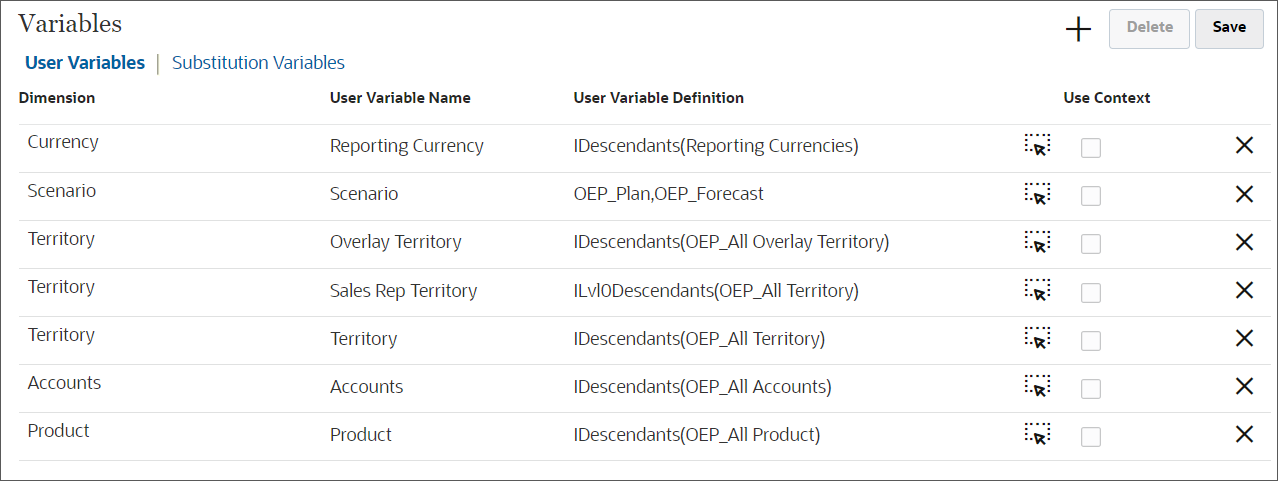
- On the left, under Preferences, click User Variables.
- For each variable, click its
 (Member Selector) to select a member as the variable's
value:
(Member Selector) to select a member as the variable's
value:
Dimension User Variable Member Currency Reporting Currency USD_Reporting Scenario Scenario OEP_Plan Territory OverlayTerritory OEP_All Overlay Territory Territory Sales Rep Territory Central - Products - Div 1 - Peter Branch Territory Territory All Territory Accounts Accounts OEP_All Accounts Product Product OEP_All Product - Verify your selections, and click Save.
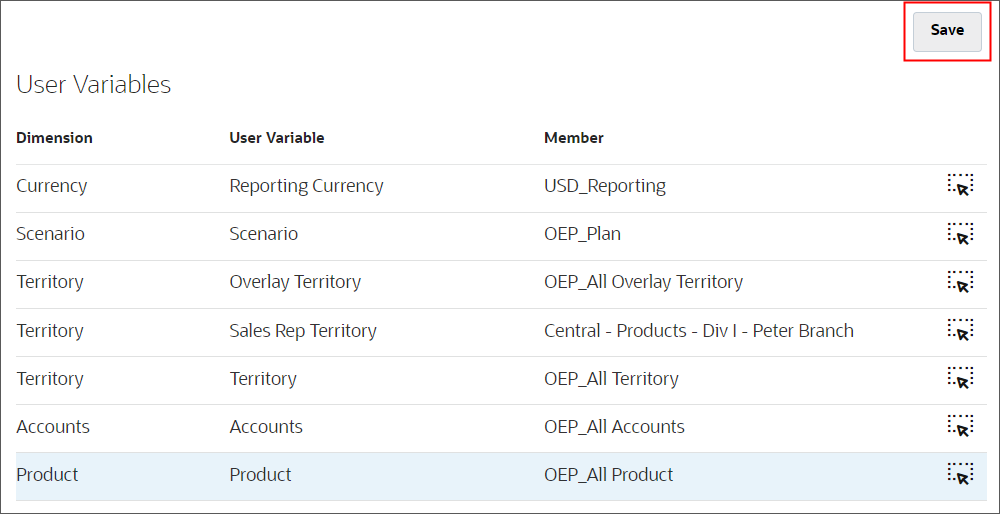
- In the Information message, click OK.
- Return to the home page. Click
 (Home).
 - Click Rules.

Deployed rules are listed on this page.
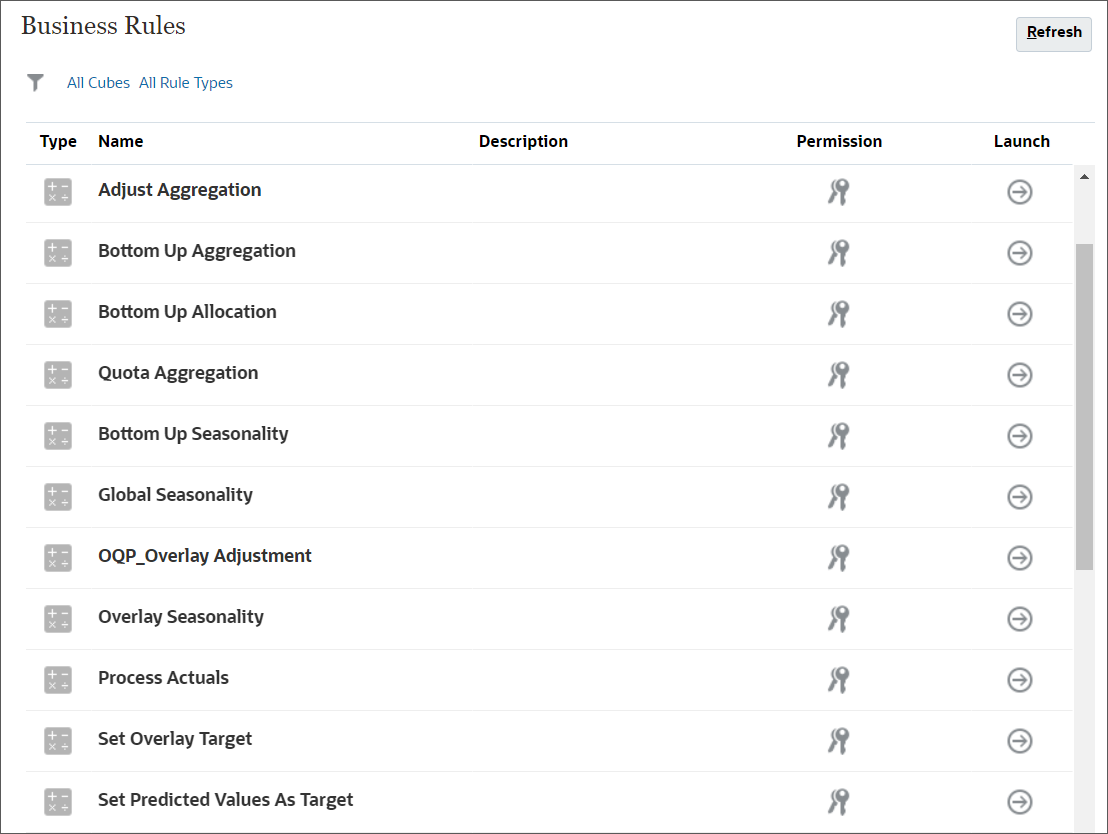
You can filter the display by rule type and cube.
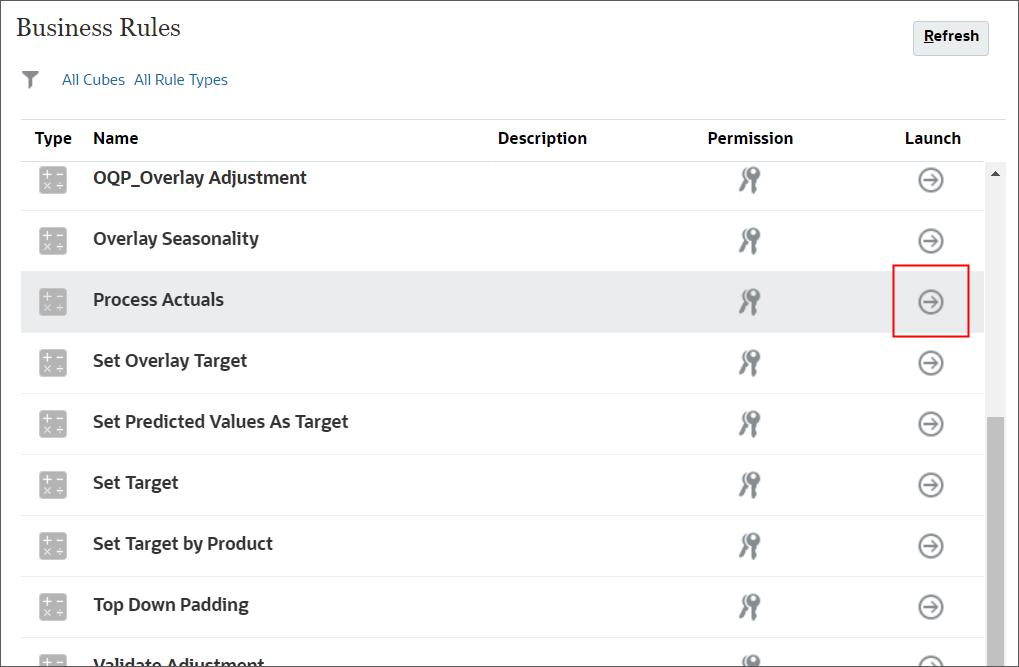
- Scroll down and for Process Actuals, click
 (Actions), then click Launch.
- For each item, click its (Member Selector) to select a member as
its value:
- Historical Years: FY20,FY21,FY22,FY23
- Scenario: OEP_Plan
- Version: OEP_Working
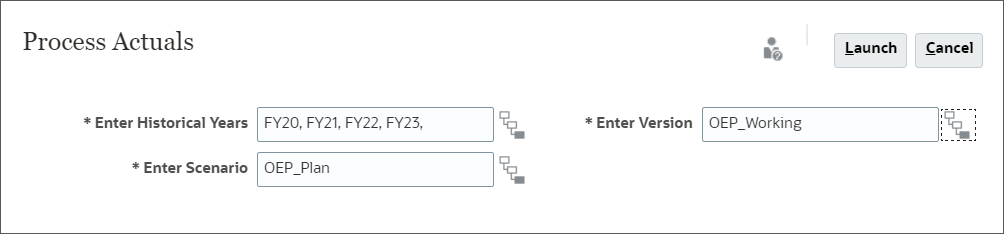
- Click Launch .
- In the Information message, click OK.
- Return to the home page. Click (Home).
- On the home page, click Application, then Configure.
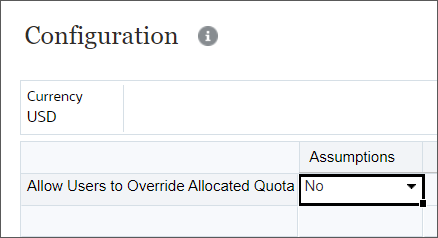
- Select Allow Overrides on Allocated Target Quota.
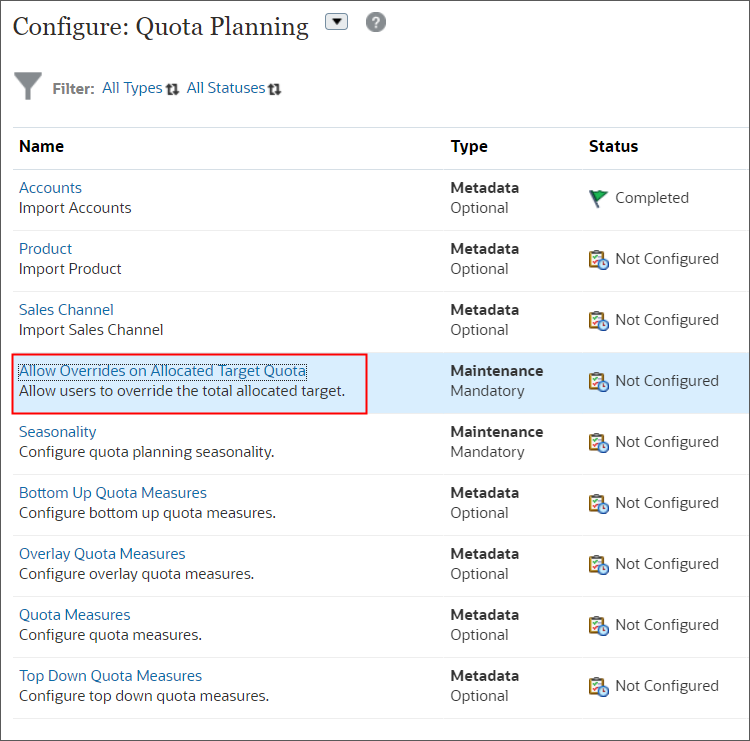
- Keep the default selection, No to ensure that the quota allocated by
someone higher
in the hierarchy cannot be changed by someone lower in the hierarchy.
- Click Close.
- Select Seasonality.
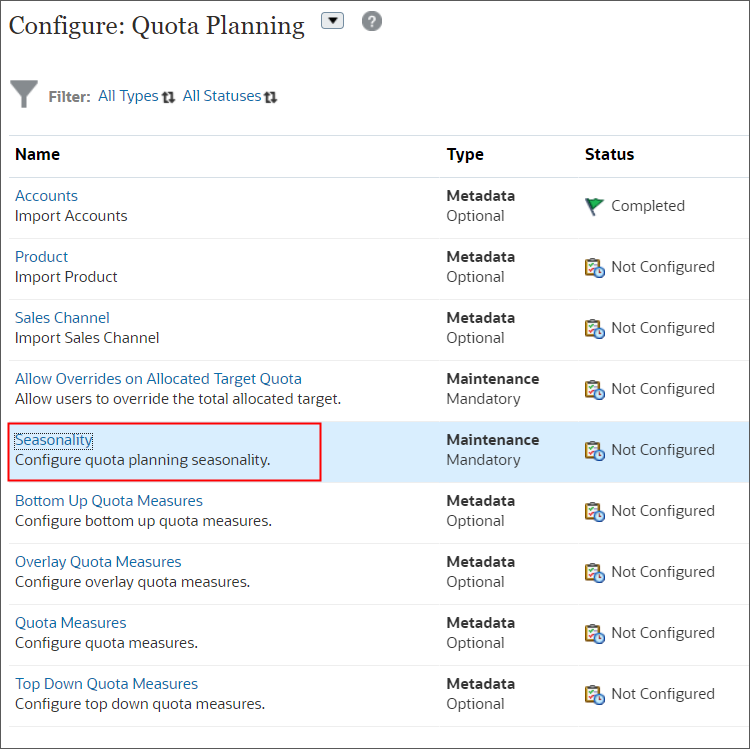
-
Seasonality for the prior year is displayed.
For FY24, enter monthly seasonality based on the following, and click Save.

- In the Information message, click OK.
- Click Close.
- Return to the home page. Click (Home).
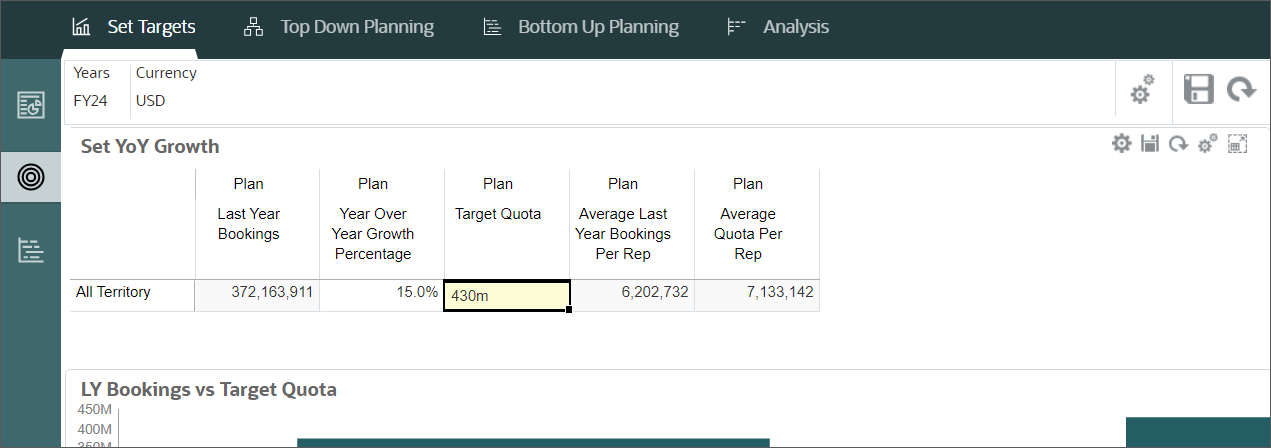
- On the home page, click Quota Planning, then Set
Targets.
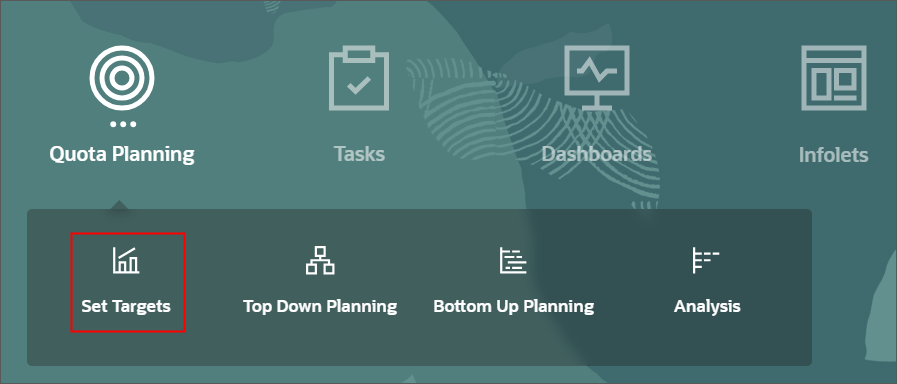
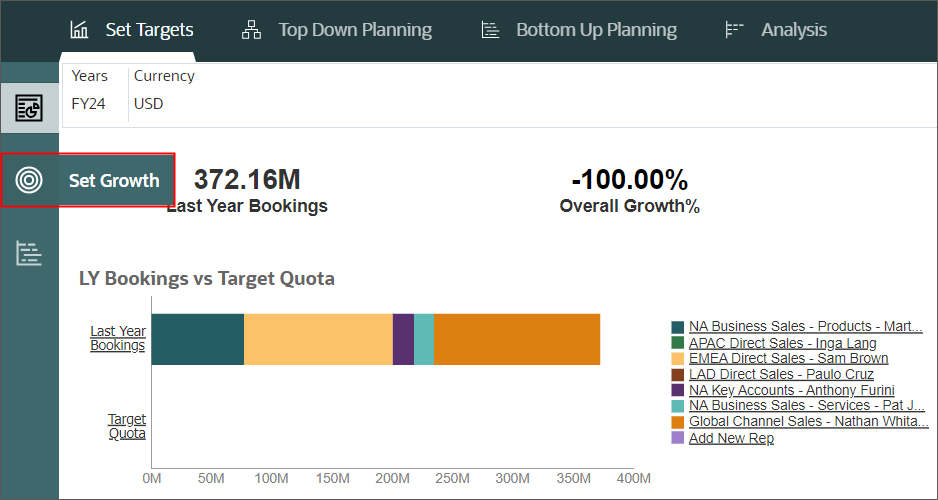
- Click Set Growth from the second vertical tab.
- In Plan YOY Growth %, enter 15%, and click
 (Save).
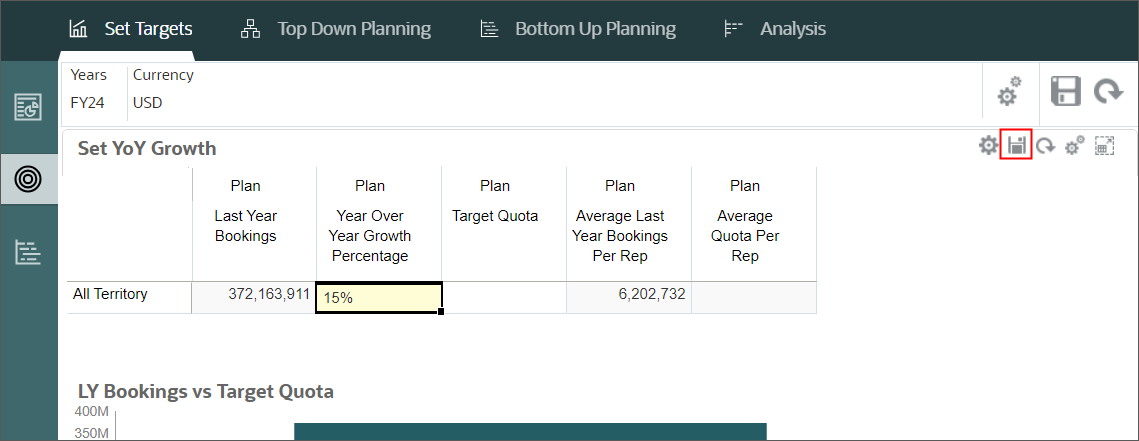
- In the Information message, click OK.
- For Plan Target Quota, enter 430m.
- Click (Save).
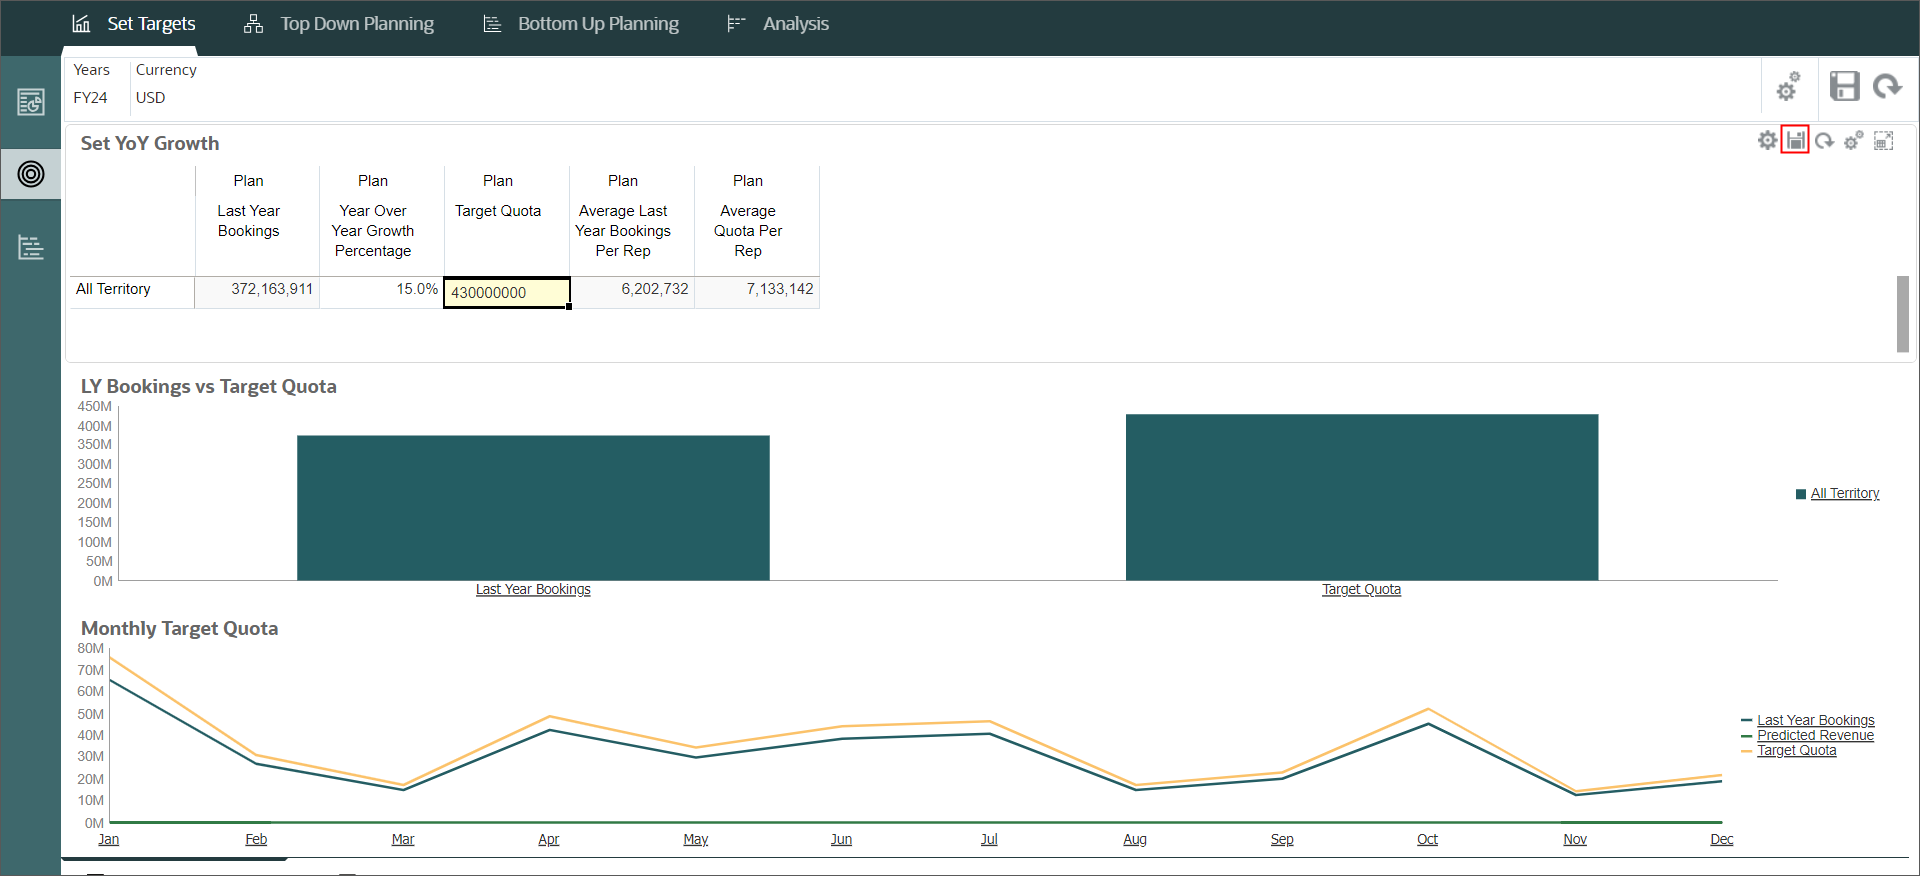
- In the Information message, click OK.
Enabling Quota Planning
You enable the features you want to use in Quota Planning. When you enable features, dimensions, drivers, forms, and other artifacts are created based on your selections. You can incrementally implement features.
Enabling Features
Reviewing Enabled Features
Reviewing Cubes and Dimensions
In this section, you review the cubes and dimensions created after enabling features.
Performing Configuration Tasks
In this section, you import metadata and configure components.
Importing Metadata


Reviewing and Modifying Territories
In this section, you review the territories you imported and you make modifications.
Loading Data
In this section, you load actual data.
Setting Variables and User Preferences
In this section, you specify the current and previous plan year. You also set user preferences so that you can work with forms and dashboards.
Setting Values for Substitution Variables
Setting User Preferences
Setting Values for User Variables
Tip:
When selecting Sales Rep Territory, click the Settings icon and select Show Alias.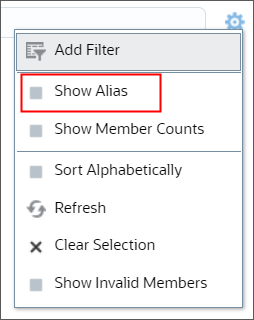
Preparing Actual and Forecast Data
After loading data, you run a rule to prepare and calculate the loaded data, and aggregate it across the hierarchy to make it available for target setting and predictive planning.
Performing Additional Configuration Tasks
In this section, you verify an option that allows sales reps to override the allocated target quota of a sales manager. You also set seasonality for the upcoming year.
Setting Allocated Target Overrides
The default selection for allocated target overrides is set to No. If you
change it to Yes, then targets assigned by those higher in the hierarchy
can be changed by those lower in the hierarchy.
So, if the Sales VP allocates 5
million dollars to their Sales Manager, the
Sales Manager can allocate a quota less than 5 million dollars to their Sales reps,
if the allocated target overrides is set to Yes.
To ensure the quota does not get modified, set this option to No.
Setting Seasonality
Verifying the Configuration
In this section, you verify what you set up. You ensure that you can select Quota Planning and you set targets to get started.
Setting Targets
Related Links
Configuring Quota Planning in Oracle Sales Planning
G10060-02
June 2024