Before You Begin
This 30 minute hands-on tutorials shows you how to map Workforce accounts to accounts in Financials and push Workforce data to Financials. The sections build on each other and should be completed sequentially.
Background
You can push summarized data from Workforce to Financials. If you are using the provided chart of accounts in Financials, both the Salary and Merit account in Workforce are mapped automatically to the Salaries account in Financials. For other compensation data, when you configure Workforce compensation items using the Benefits and Taxes wizard, you map each item to an account in Financials. You then use the Compensation Data data map to push the data to Financials.
Note:
If you are using a custom chart of accounts in Financials, you can enable Flexible Account Mapping in Enable Features to map data for your Salary and Merit accounts. Flexible account mapping lets you map Salary and Merit to separate accounts in Financials. This tutorial covers integrating compensation data using the provided chart of accounts.What Do You Need?
An EPM Cloud Service instance allows you to deploy and use one of the supported business processes. To deploy another business process, you must request another EPM Enterprise Cloud Service instance or remove the current business process.
- Have Service Administrator access to an EPM Enterprise Cloud instance. The instance should not have a business process created.
- Upload and import this snapshot into your instance.
Note:
If you run into migration errors importing the snapshot, re-run the migration excluding the HSS-Shared Services component, as well as the Security and User Preferences artifacts in the Core component. For more information on uploading and importing migration snapshots, refer to the Administering Migration for Oracle Enterprise Performance Management Cloud documentation.Reviewing Integration Data
The Financials Integration Summary, Balance Sheet Integration Summary, and Cash Flow Integration Summary forms included with Financials show data that has been pushed from other modules to Financials. Data pushed from Workforce is displayed in the Workforce Detail column of the form.
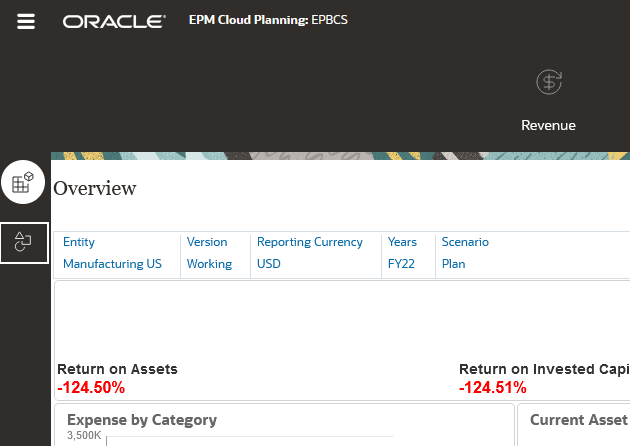
- Login to your Planning instance with Service Administrator credentials.
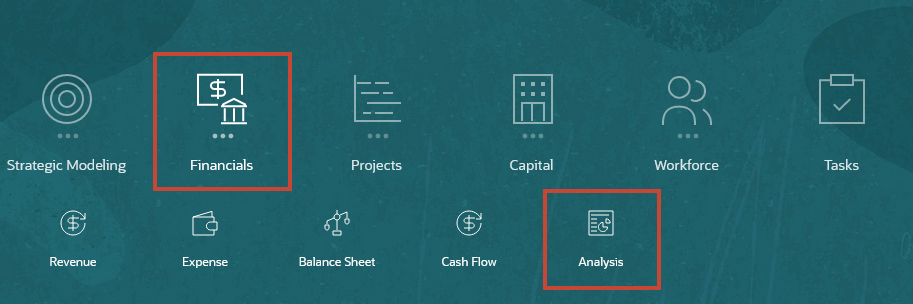
- On the Home page, click Financials, and then Analysis.
- Click the Forms vertical tab.
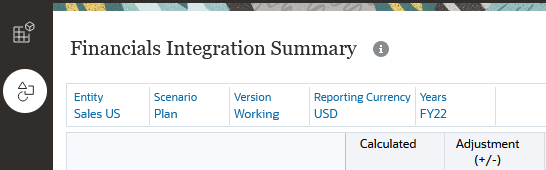
- In the list of forms, click Financials Integration Summary.
- Verify that the point of view is Sales US, Plan, Working, USD, FY22.
- Scroll the form to review the data under Total Compensation in the Workforce Detail column.
The Workforce Detail column shows data that has been pushed from Workforce. Notice that there is currently no data for the Bonus account. You will be updating data for this account in a later section. The current value for Total Compensation is 1,247,056.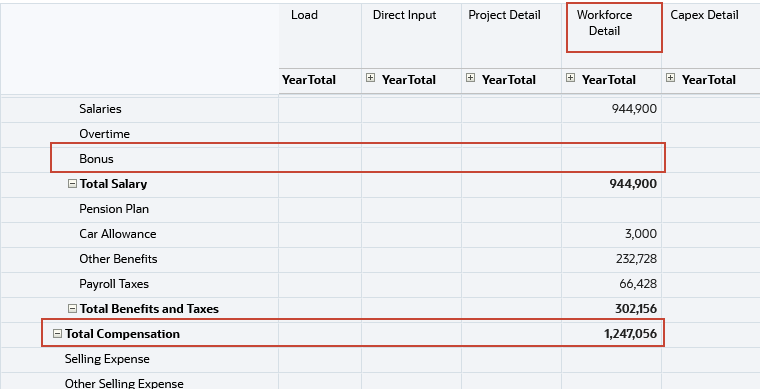
Integrating Compensation Data with Financials
Adding Bonus Pay and Mapping to Financials Accounts
In this section, you use the Benefits and Taxes wizard to configure a holiday bonus to be paid to all employees in December. You will map the data for bonus pay to the Bonus account in Financials.
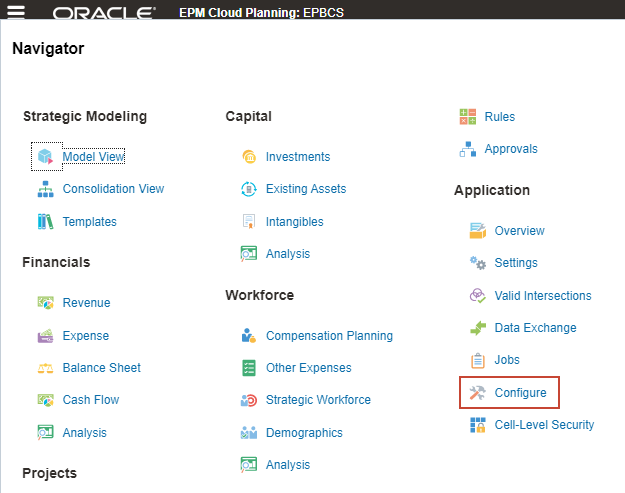
- Click
 (Navigator), and under Application, click Configure.
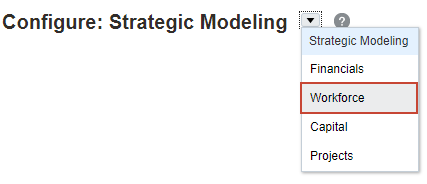
- From the Configure drop down list, select Workforce.
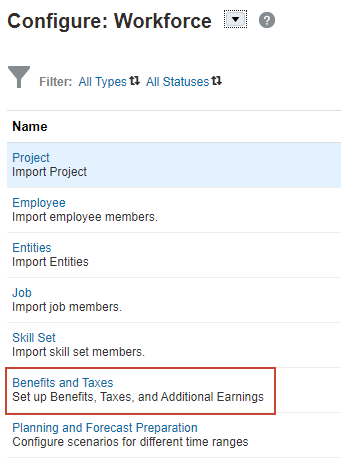
- Click Benefits and Taxes.
- In Benefits & Taxes, click any of the filter links to change it:

- In the Filter dialog, select the following values:
Filter By Value Scenario OEP_Plan Version OEP_Working Components Additional Earnings - Verify your selections and click Apply.

- In Benefits & Taxes, click Bonus Pay.

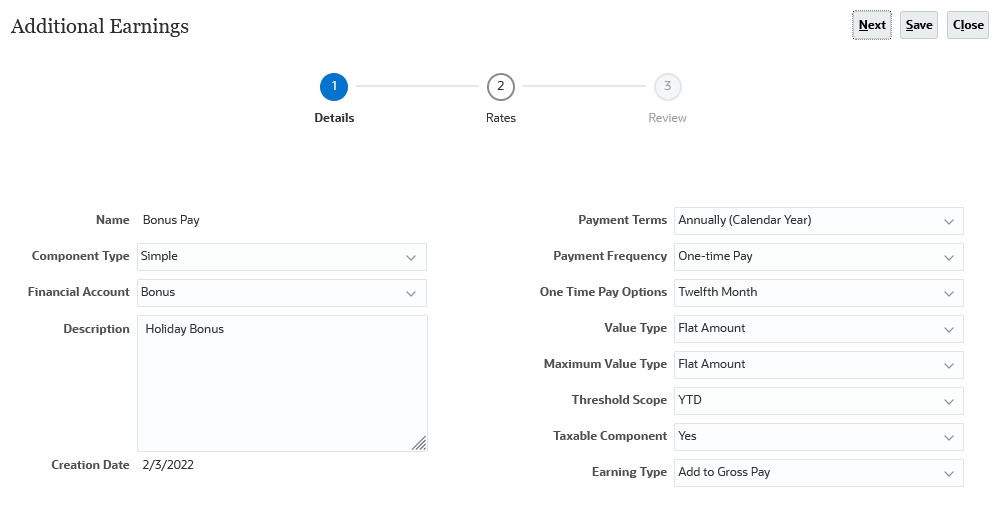
- In Additional Earnings for Bonus Pay, select the following values. Note that the account you select in the Financial Account list is the Financials account to which you want to map data for Bonus Pay.
Bonus Pay Details Value Component Type Simple Financial Account Bonus Description Holiday Bonus Payment Terms Annually (Calendar Year) Payment Frequency One-time pay One Time Pay Options Twelfth Month Value Type Flat Amount Maximum Value Type Flat Amount Threshold Scope YTD Taxable Component Yes Earning Type Add to Gross Pay - Verify your selections and click Next.
- Verify or set the POV to the following values:
Dimension Member Scenario Plan Version Working Currency USD Entity Sales US Tip:
To modify the POV selections and open Member Selector, click the member you want to change. When finished, click (Go) to apply your changes.
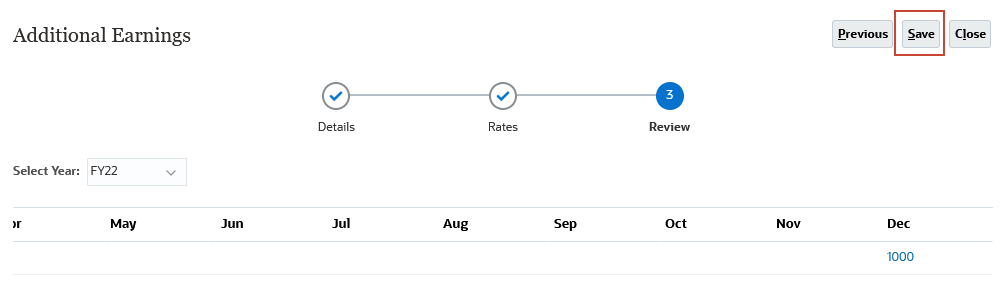
 - In the data grid, for FY22, in the Rate column, expand Year Total, and then Q4, and then enter 1000 in Dec. Leave the Threshold column blank. Repeat for FY23 and FY24.

- Click Next.
- Review the rate values you entered for each year and click Save.
- At the information message, click OK.
- In Additional Earnings, click Close.
- In Benefits & Taxes, click Close.
Assigning Default Values
In this section, you add an earnings default for Bonus Pay and synchronize defaults. to update your compensation data.
- Click (Navigator), and under Workforce, click Compensation Planning.
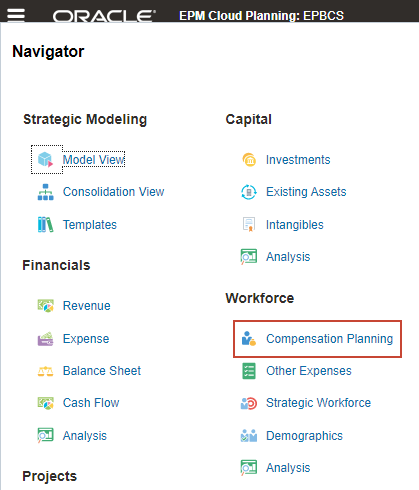
- From the vertical tabs on the left, click
 (Defaults).
 - From the horizontal tabs, click Additional Earnings.
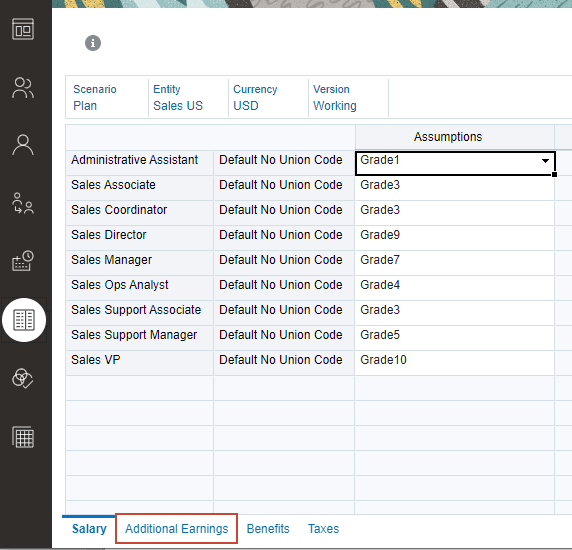
- In Additional Earnings, right-click in the content area and select Add Earning Default.

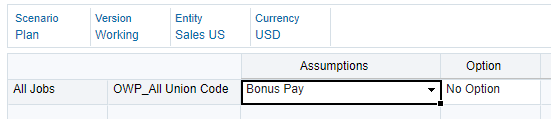
- In Add Earning Defaults, set values as follows:
Prompt Value Earning Bonus Pay Job OWP_All Jobs Union Code OWP_All Union Code Option No Option - Verify your selections and click Launch.

- At the information message, click OK.
Bonus Pay is added to the form.
-
From the vertical tabs on the left, click
 (Manage Employees).
 - Click the Existing Employees horizontal tab.
- Set the POV to the following members and click (Go):
Dimension Member Version Working Entity Sales US Currency USD Years FY22 Scenario Plan Project No Project - Expand the Total Compensation column.
Currently there is no data for additional earnings.
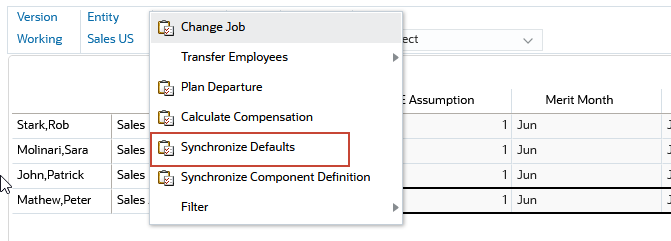
- In the empty read-only cell in the header row above the employee names, right-click and select Synchronize Defaults.
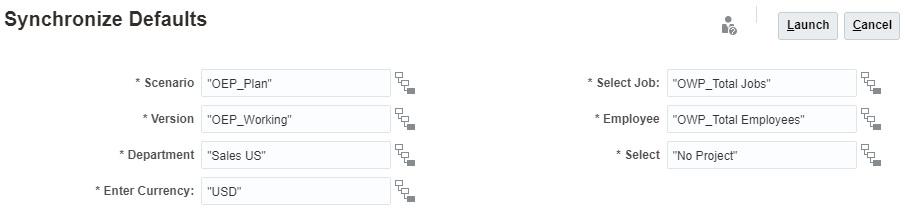
- In Synchronize Defaults, set the prompt values to:
Prompt Value Scenario OEP_Plan Version OEP_Working Department Sales US Enter Currency USD Select Job OWP_Total Jobs Employee OWP_Total Employees Select No Project Note:
"OWP_Total Jobs" is different from "OWP_All Jobs", which was used in the assignment of defaults. - Verify your selections and click Launch.
- At the information message, click OK.
- In the data grid, expand the Total Compensation column.
Notice that the Total Earnings column displays the holiday bonus of 1000.
- Click
 (Home) to return to the Home page.
Pushing Compensation Data from Workforce to Financials
In this section, you use the Push Data option with the Compensation Data data map in Data Exchange to push compensation data from Workforce to Financials.
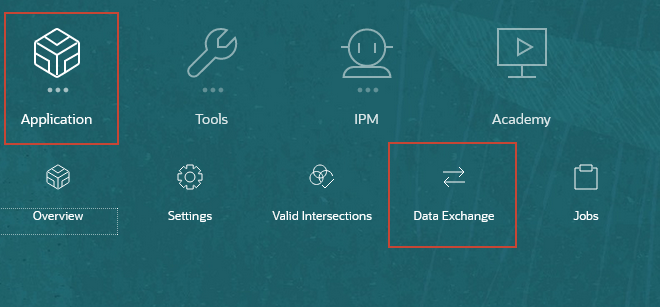
- On the Home page, click Application, and then Data Exchange.
- Click the Data Maps tab at the bottom of the page

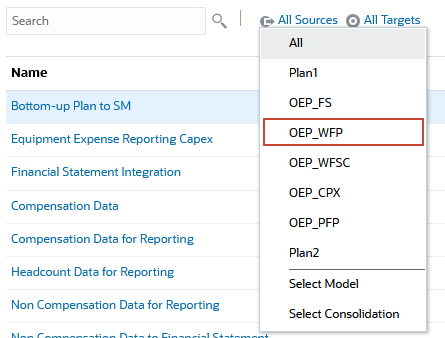
- Click All Sources and select OEP_WFP.
- Click Compensation Data.
Notice that Source is Workforce and Target is Financials. The mappings here are generated automatically by the system based on the mappings you defined in the Benefit and Taxes wizard, so you do not need to edit the integration. However, when you change account mappings, you need to run Synchronize to update the integration.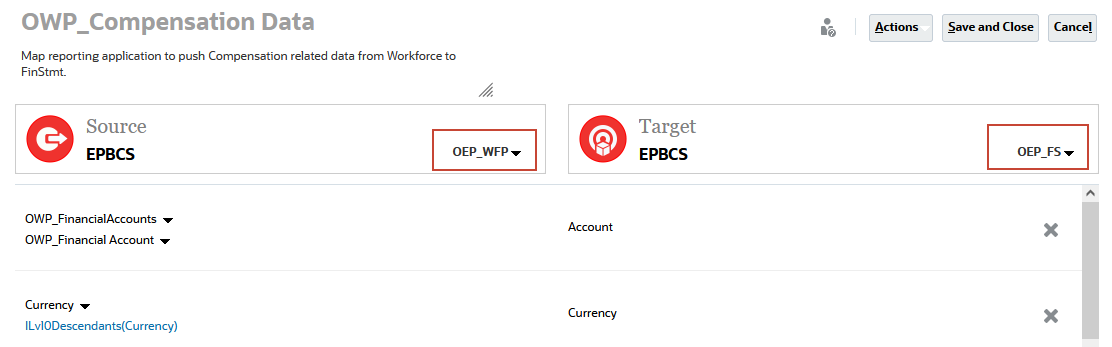
- Click Cancel to close the integration.
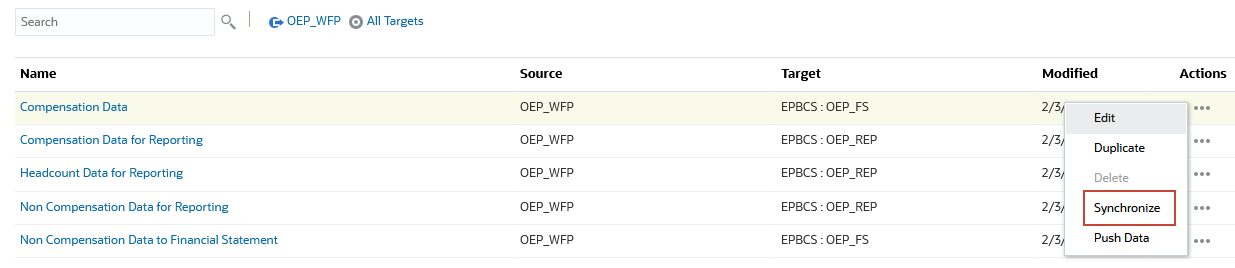
- For Compensation Data, in the Actions column, click the ellipsis (...), and then select Synchronize.
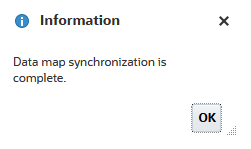
- At the Information prompt, click OK.
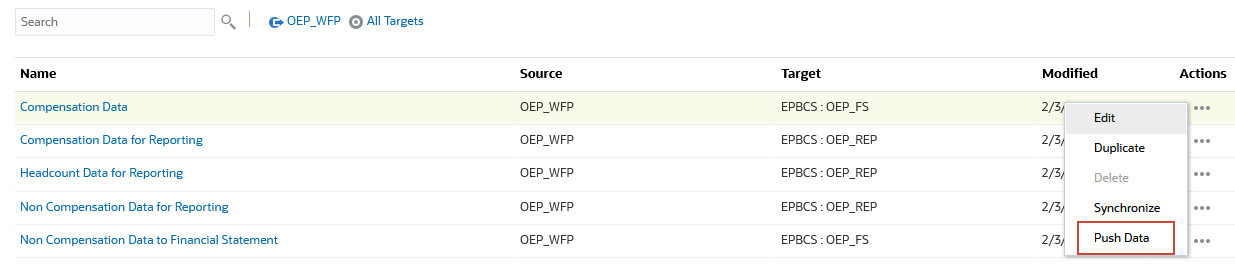
- For Compensation Data, in the Actions column, click the ellipsis (...), and then select Push Data.
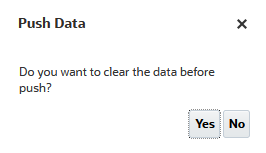
- You are prompted whether to clear data. If you select Yes, the current data for Workforce will be cleared before the new data is loaded. If you select No, the new data is merged into the existing data. Select Yes.
- At the Warning prompt, click OK.
The integration includes a warning message because some members in the source are dynamically calculated in the target, so those members are ignored during the data push. You can optionally view the Job console for a listing of the dynamically calculated members that were ignored. - Click Home to return to the Home page.
- On the Home page, click Financials, and then Analysis.
- Click the Forms vertical tab if it is not already selected.
- If it is not already open, In the list of forms, click Financials Integration Summary.
- Verify that the point of view is Sales US, Plan, Working, USD, FY22.
- Scroll the form to review the data in the Workforce Detail column.
Notice that summarized data for Bonus Pay in Workforce have been pushed to the Bonus account in Financials. Total Compensation has been updated from 1,247,056 to 1,258,783 to reflect the new data in the Bonus account and the additional payroll taxes calculated for the bonus data.
Learn More
Integrating Workforce Data with Financials
F54064-02
April 2022
Copyright © 2022, Oracle and/or its affiliates.
This 30 minute hands-on tutorial shows you how to map Workforce accounts to accounts in Financials, and push Workforce data to Financials.
This software and related documentation are provided under a license agreement containing restrictions on use and disclosure and are protected by intellectual property laws. Except as expressly permitted in your license agreement or allowed by law, you may not use, copy, reproduce, translate, broadcast, modify, license, transmit, distribute, exhibit, perform, publish, or display any part, in any form, or by any means. Reverse engineering, disassembly, or decompilation of this software, unless required by law for interoperability, is prohibited.
If this is software or related documentation that is delivered to the U.S. Government or anyone licensing it on behalf of the U.S. Government, then the following notice is applicable:
U.S. GOVERNMENT END USERS: Oracle programs (including any operating system, integrated software, any programs embedded, installed or activated on delivered hardware, and modifications of such programs) and Oracle computer documentation or other Oracle data delivered to or accessed by U.S. Government end users are "commercial computer software" or "commercial computer software documentation" pursuant to the applicable Federal Acquisition Regulation and agency-specific supplemental regulations. As such, the use, reproduction, duplication, release, display, disclosure, modification, preparation of derivative works, and/or adaptation of i) Oracle programs (including any operating system, integrated software, any programs embedded, installed or activated on delivered hardware, and modifications of such programs), ii) Oracle computer documentation and/or iii) other Oracle data, is subject to the rights and limitations specified in the license contained in the applicable contract. The terms governing the U.S. Government's use of Oracle cloud services are defined by the applicable contract for such services. No other rights are granted to the U.S. Government.
This software or hardware is developed for general use in a variety of information management applications. It is not developed or intended for use in any inherently dangerous applications, including applications that may create a risk of personal injury. If you use this software or hardware in dangerous applications, then you shall be responsible to take all appropriate fail-safe, backup, redundancy, and other measures to ensure its safe use. Oracle Corporation and its affiliates disclaim any liability for any damages caused by use of this software or hardware in dangerous applications.
Oracle and Java are registered trademarks of Oracle and/or its affiliates. Other names may be trademarks of their respective owners.
Intel and Intel Inside are trademarks or registered trademarks of Intel Corporation. All SPARC trademarks are used under license and are trademarks or registered trademarks of SPARC International, Inc. AMD, Epyc, and the AMD logo are trademarks or registered trademarks of Advanced Micro Devices. UNIX is a registered trademark of The Open Group.
This software or hardware and documentation may provide access to or information about content, products, and services from third parties. Oracle Corporation and its affiliates are not responsible for and expressly disclaim all warranties of any kind with respect to third-party content, products, and services unless otherwise set forth in an applicable agreement between you and Oracle. Oracle Corporation and its affiliates will not be responsible for any loss, costs, or damages incurred due to your access to or use of third-party content, products, or services, except as set forth in an applicable agreement between you and Oracle.