Working with Property Information
Property information displays the properties and other GIS objects associated with a transaction. Use this page to add or remove associated GIS objects.
Property information is configured on the application forms by the agency during the design process. When filling out an application, the public user enters information, which is then displayed in the detail pages of the transaction.
Only agency staff can update information on the Property Information page after an application has been submitted.
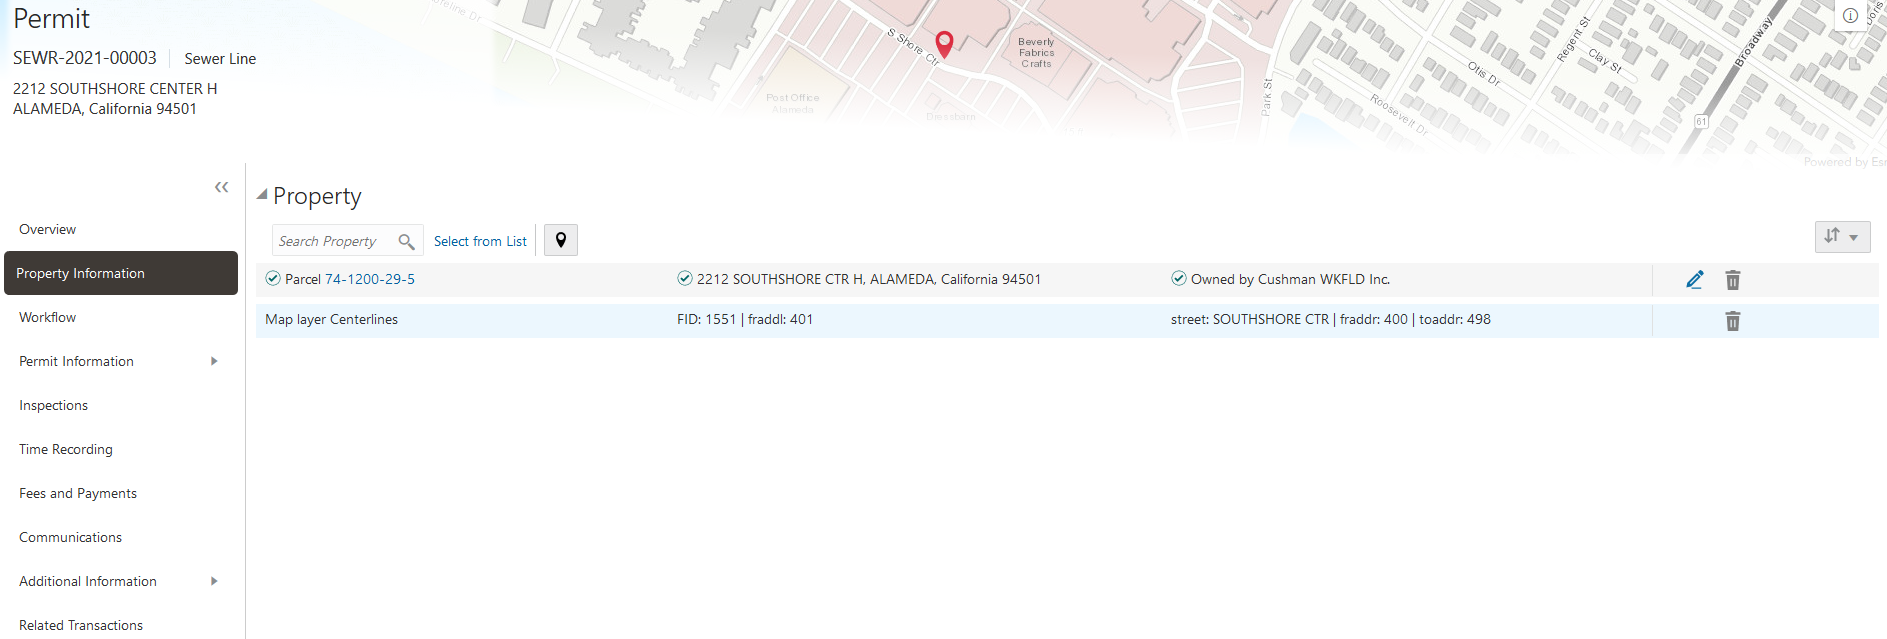
This example shows the Property Information page.
Security Details for Working with Property Information
This section describes important security roles, requirements, or considerations specific to working with property information.
|
Primary Role |
Access Description |
Associated Job Roles and Abstract Roles |
|---|---|---|
|
Anonymous access |
View property information on permits. |
All users including users without login |
|
PSC Permit Property Management |
Manage property information till it is not closed. |
PSC System Administrator PSC Principal Planner PSC Planning Coordinator PSC Plan Reviewer PSC Permits Supervisor PSC System Administrator PSC Permit Technician |
|
PSC Permits Management with Elevated Access |
Manage property information at all times. |
PSC Permits Supervisor PSC System Administrator |
|
Primary Role |
Access Description |
Associated Job Roles and Abstract Roles |
|---|---|---|
|
Anonymous access |
View property information on planning applications. |
All users including users without login |
|
PSC Planning and Zoning Property Management |
Manage Property information till it is not closed. |
PSC Planning Assistant PSC Associate Planner PSC Principal Planner |
|
PSC Planning Application Management with Elevated Access |
Manage Property information at all times. |
PSC Zoning Administrator PSC System Administrator |
For more information on creating roles for Public Sector Licensing and Permits, see Creating Custom Roles for Public Sector Licensing and Permitting.
For more information on all the predefined security data such as abstract roles, job roles, privileges and so on, see the Security Reference for Oracle Public Sector Licensing and Permitting.
Viewing Property Information
Select the Permits or Planning Applications tile on the Agency Springboard.
On the Transactions page, click the row for the permit or planning application you are working with.
Click Property Information in the left panel.
The Property Information page displays a list of properties associated with the application.
Click a row to view detailed parcel, address, and owner information for the property on the Property Information modal page.
Adding New Properties
Select the Permits or Planning Applications tile on the Agency Springboard.
On the Transactions page, click the row for the permit or planning application you are working with.
Click Property Information in the left panel.
Click Select from List next to the Search field.
On the Search Property page, click Create New.
Enter parcel, address, and owner information on the Property Information modal page.
Note: You can enter only address information and leave the parcel and owner information blank. Likewise, you can enter only parcel information, or only parcel and owner information, and leave the address information blank. You cannot enter owner information without first selecting a parcel.
Adding Existing Properties
Select the Permits or Planning Applications tile on the Agency Springboard.
On the Transactions page, click the row for the permit or planning application you are working with.
Click Property Information in the left panel.
To add a single property:
Use the Search Property field to find the property that you want to add.
You can search by parcel address. Properties with a parcel status of Retired do not appear in the search results.
Click the property to add it to transaction. The selection appears in the grid on the Property Information page.
To add multiple properties:
Click Select from List to access the Search Property modal page.
Search for the properties that you want to add and select the check box next to them.
You can search by parcel address. Properties with a parcel status of Retired do not appear in the search results.
You can view all of the selected properties in the Selections tab.
Click Done. All of the properties that you selected appear in the grid on the Property Information page.
Adding Properties and other GIS objects from the Map View
Select the Permits or Planning Applications tile on the Agency Springboard.
On the Transactions page, click the row for the permit or planning application you are working with.
Click Property Information in the left panel.
Click the Map View icon.
Use map tools such as searching or zooming to locate the GIS object on the map.
Click the object.
The object is highlighted on the map and added to the list of objects associated with the transaction.
Modifying Property Details
Select the Permits or Planning Applications tile on the Agency Springboard.
On the Transactions page, click the row for the permit or planning application you are working with.
Click Property Information in the left panel.
Click the Edit icon next to the property that you want to modify.
Note: This icon is not available for GIS objects that are not related to a property, so you can't edit them.Update parcel, address, and owner information on the Property Information modal page.
Note: If the selected property has its parcel or address assigned as primary for the transaction, then you can’t disable the Primary switch. You must first assign another parcel or address as primary, which automatically changes the selected property to non- primary.Click Save. If you have modified the primary parcel address, the header of the summary page now shows the updated address.
Deleting a Property
Select the Permits or Planning Applications tile on the Agency Springboard.
On the Transactions page, click the row for the permit or planning application you are working with.
Click Property Information in the left panel.
On the Property Information page, click the Delete icon next to the property that you want to remove from the application.
Note: You can’t delete a property that has its parcel or address assigned as primary for the transaction. You must first assign another parcel or address as primary and then delete the non-primary property.Click OK to confirm the deletion.