The Public User Registration Process
Although anonymous users can access information that is available to the general public, they must register before starting applications or performing most application-related activities.
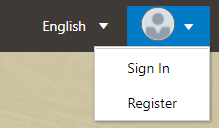
When a public user is not signed in, the account menu on the anonymous user landing page includes options for registering and signing in.
Here is a summary of the registration process:
-
On the landing page for anonymous users, the public user clicks the account icon and then clicks the Register menu item.
-
The registrant enters information on the Register page.
-
The registrant accepts the registration terms of use, if required.
-
The registrant submits registration information.
-
A confirmation page directs the new account holder to complete the registration process by following instructions in an email that the system sends.
-
The account holder clicks the link in the email to set up the account password.
-
The account holder submits the password to complete the registration process.
-
The system takes the account holder to the registered public user landing page.
To sign in again in the future, the account holder clicks the account icon in the landing page header and then clicks the Sign In menu item.
This example illustrates the Register page and is described in the following table.
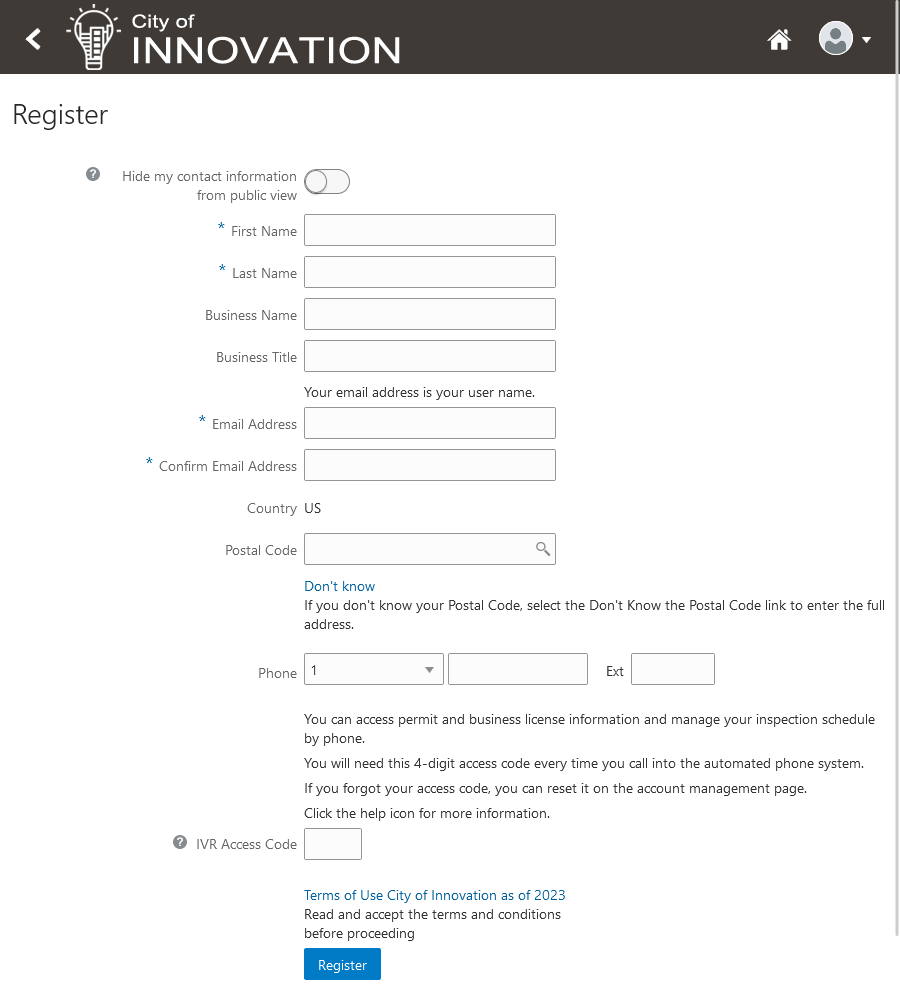
Entering Registration Information
Users enter the following registration information.
|
Page Element |
Description |
|---|---|
|
Hide my contact information from public view |
Gives the registrant the option to hide their name and contact information when a member of the public views their applications. This question appears only if enabled by the agency on the Public User Setup page. The default answer to this question is No. You can access help for this question by clicking the question mark icon adjacent to the question. The help explains that even when the registrant's own information is hidden, the property addresses for all applications are visible to the public. |
|
First Name and Last Name |
Enter the registrant's name, which will appear on the account profile created by the registration process. |
|
Business Name and Business Title |
Enter the registrant's business name and business job title, which will be associated with the profile created by the registration process. A business name is optional, but if you enter a business name, you must also enter the registrant's business job title. |
|
Email Address and Confirm Email Address |
Enter an email address that will be associated with the registrant's account. Enter the email address again to confirm. Note: The registrant's email address is
their user name or user ID. There is no separate user name or user ID to sign
in.
After the registrant submits registration information, the system sends an email to this address. The email contains a link that they need to complete the registration process. |
|
Address fields |
Enter the mailing address that will be associated with the registrant's account. The Country field displays US for the United States. When you enter a Postal Code, the type-ahead list shows values that include appropriate city and state combinations. After you select a value, the city and state appear as read-only fields, and two address fields appear so that you can enter the rest of the address. If you don't know the postal code, you can click the Don’t know link to display the full set of address fields. |
|
IVR Access Code (Interactive Voice Response Access Code) |
Add a 4-digit PIN that is required when public users accessing inspections for applications using the agency's interactive voice response (IVR) system. The code is masked on this page, and you can't see this code again even after registration is complete. Users who forget their code can reset it on the account management page. For information about entering a new code after registering, see Managing Public User Accounts. This field appears only if the agency enabled IVR access codes on the Public User Setup page. See Setting Up Public Users. When you enable the IVR Access Code field, help information indicates whether the IVR access code applies to permits or business licenses, or both. |
|
Phone |
Enter a phone number for the account holder. This field is optional. |
After entering information and agreeing to the terms and conditions, if required, click the Register button.
Agreeing to Terms and Conditions
The Public User Setup page specifies whether public users must agree to terms and conditions. If registrants must agree, the setup page also specifies the Terms of Use definition to use during registration, and public users must accept the terms and conditions during the registration process.
When the terms of use are required, the description from the Terms of Use definition appears as a link on the Register page. Instructional text directs the user to read and accept the terms before proceeding.
To view and accept the terms, the registrant clicks the link to open a new window. The window displays the complete text of the terms followed by a check box that indicates I have read and accepted the terms and conditions. The registrant must select the check box to continue the registration process.
After the registrant accepts the terms and continues, the main Register page displays a selected agreement check box instead of instructions. The link to the detail window is still available, and the registrant can return to the window to reread the terms or rescind agreement.
Completing Registration by Resetting the Password
When the public user clicks the Register button, a confirmation page provides instructions for completing the registration process. The instructions direct the user to an email with the necessary information.
The confirmation page also provides a registration ID number for reference in case the user needs to contact the agency for help. The registration number is the user’s party ID.
These are the system actions and user steps that finalize the registration:
-
The system creates user account information in the Oracle Permitting and Licensing system and in the Fusion Applications system.
-
The system emails the user a link for completing the registration process.
-
The link takes the user to the Reset Password page in the Oracle Applications Cloud.
Although the page name suggests that the user is resetting a password, the user is actually creating a password for the first time.
-
The user enters a password and confirms it, then clicks the Submit button.
-
The system creates the password, completing the registration process.
-
The system transfers the user to the Oracle Permitting and Licensing landing page for registered public users.
The emailed link that the user clicked to access the Reset Password page includes the parameter that redirects the user to the appropriate page.